Bill and Will's Synth
|
||
|
Table of Contents |
||
|
This page has become really long, so here's a table of contents that we hope will make it easier to traverse: History - the genesis of our design Case Design - our case design drawings Parts - The rails, feel, handles Fabrication - making the plywood parts Assembly - assembling the cabinet carcasses Finishing - Trim - Black Paint Final Assembly - Handles - Power Panels - Feet Power - but let's not forget the power supplies In the end, it took us about five man-weeks to build the cases. We should have tracked our time more accurately - but we didn't. I think if we had to do it again, we could build them in two weeks two of us working on them. But the advantage would be that the routing templates are already cut, and we've done it once. The second time is easier. But fat chance we'll do this again any time soon <g>. |
||
|
History |
||
|
Our modules and their layout has dictated the design of our synth cases. Early on - we considered a couple module layout designs. Like - back in 2005 - when we had first decided to build an analog synth - and we decided to base our synth on Synthesis Technology components - well, even then we started considering what the components would be and how they'd be laid out.
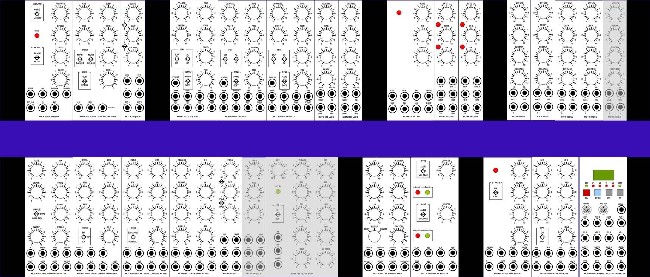
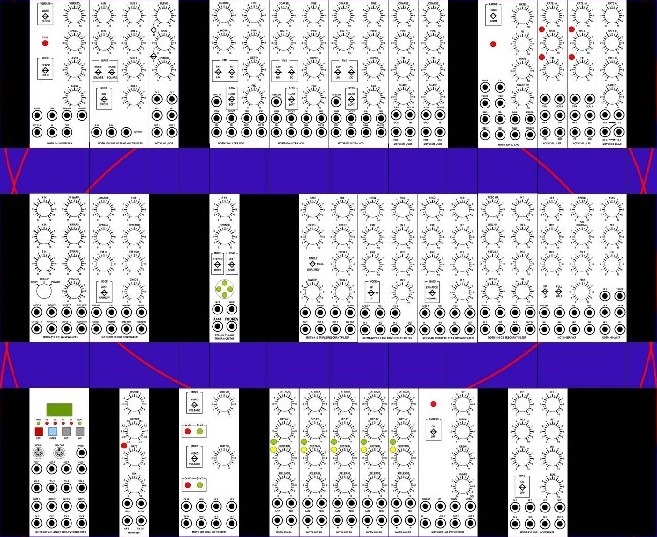
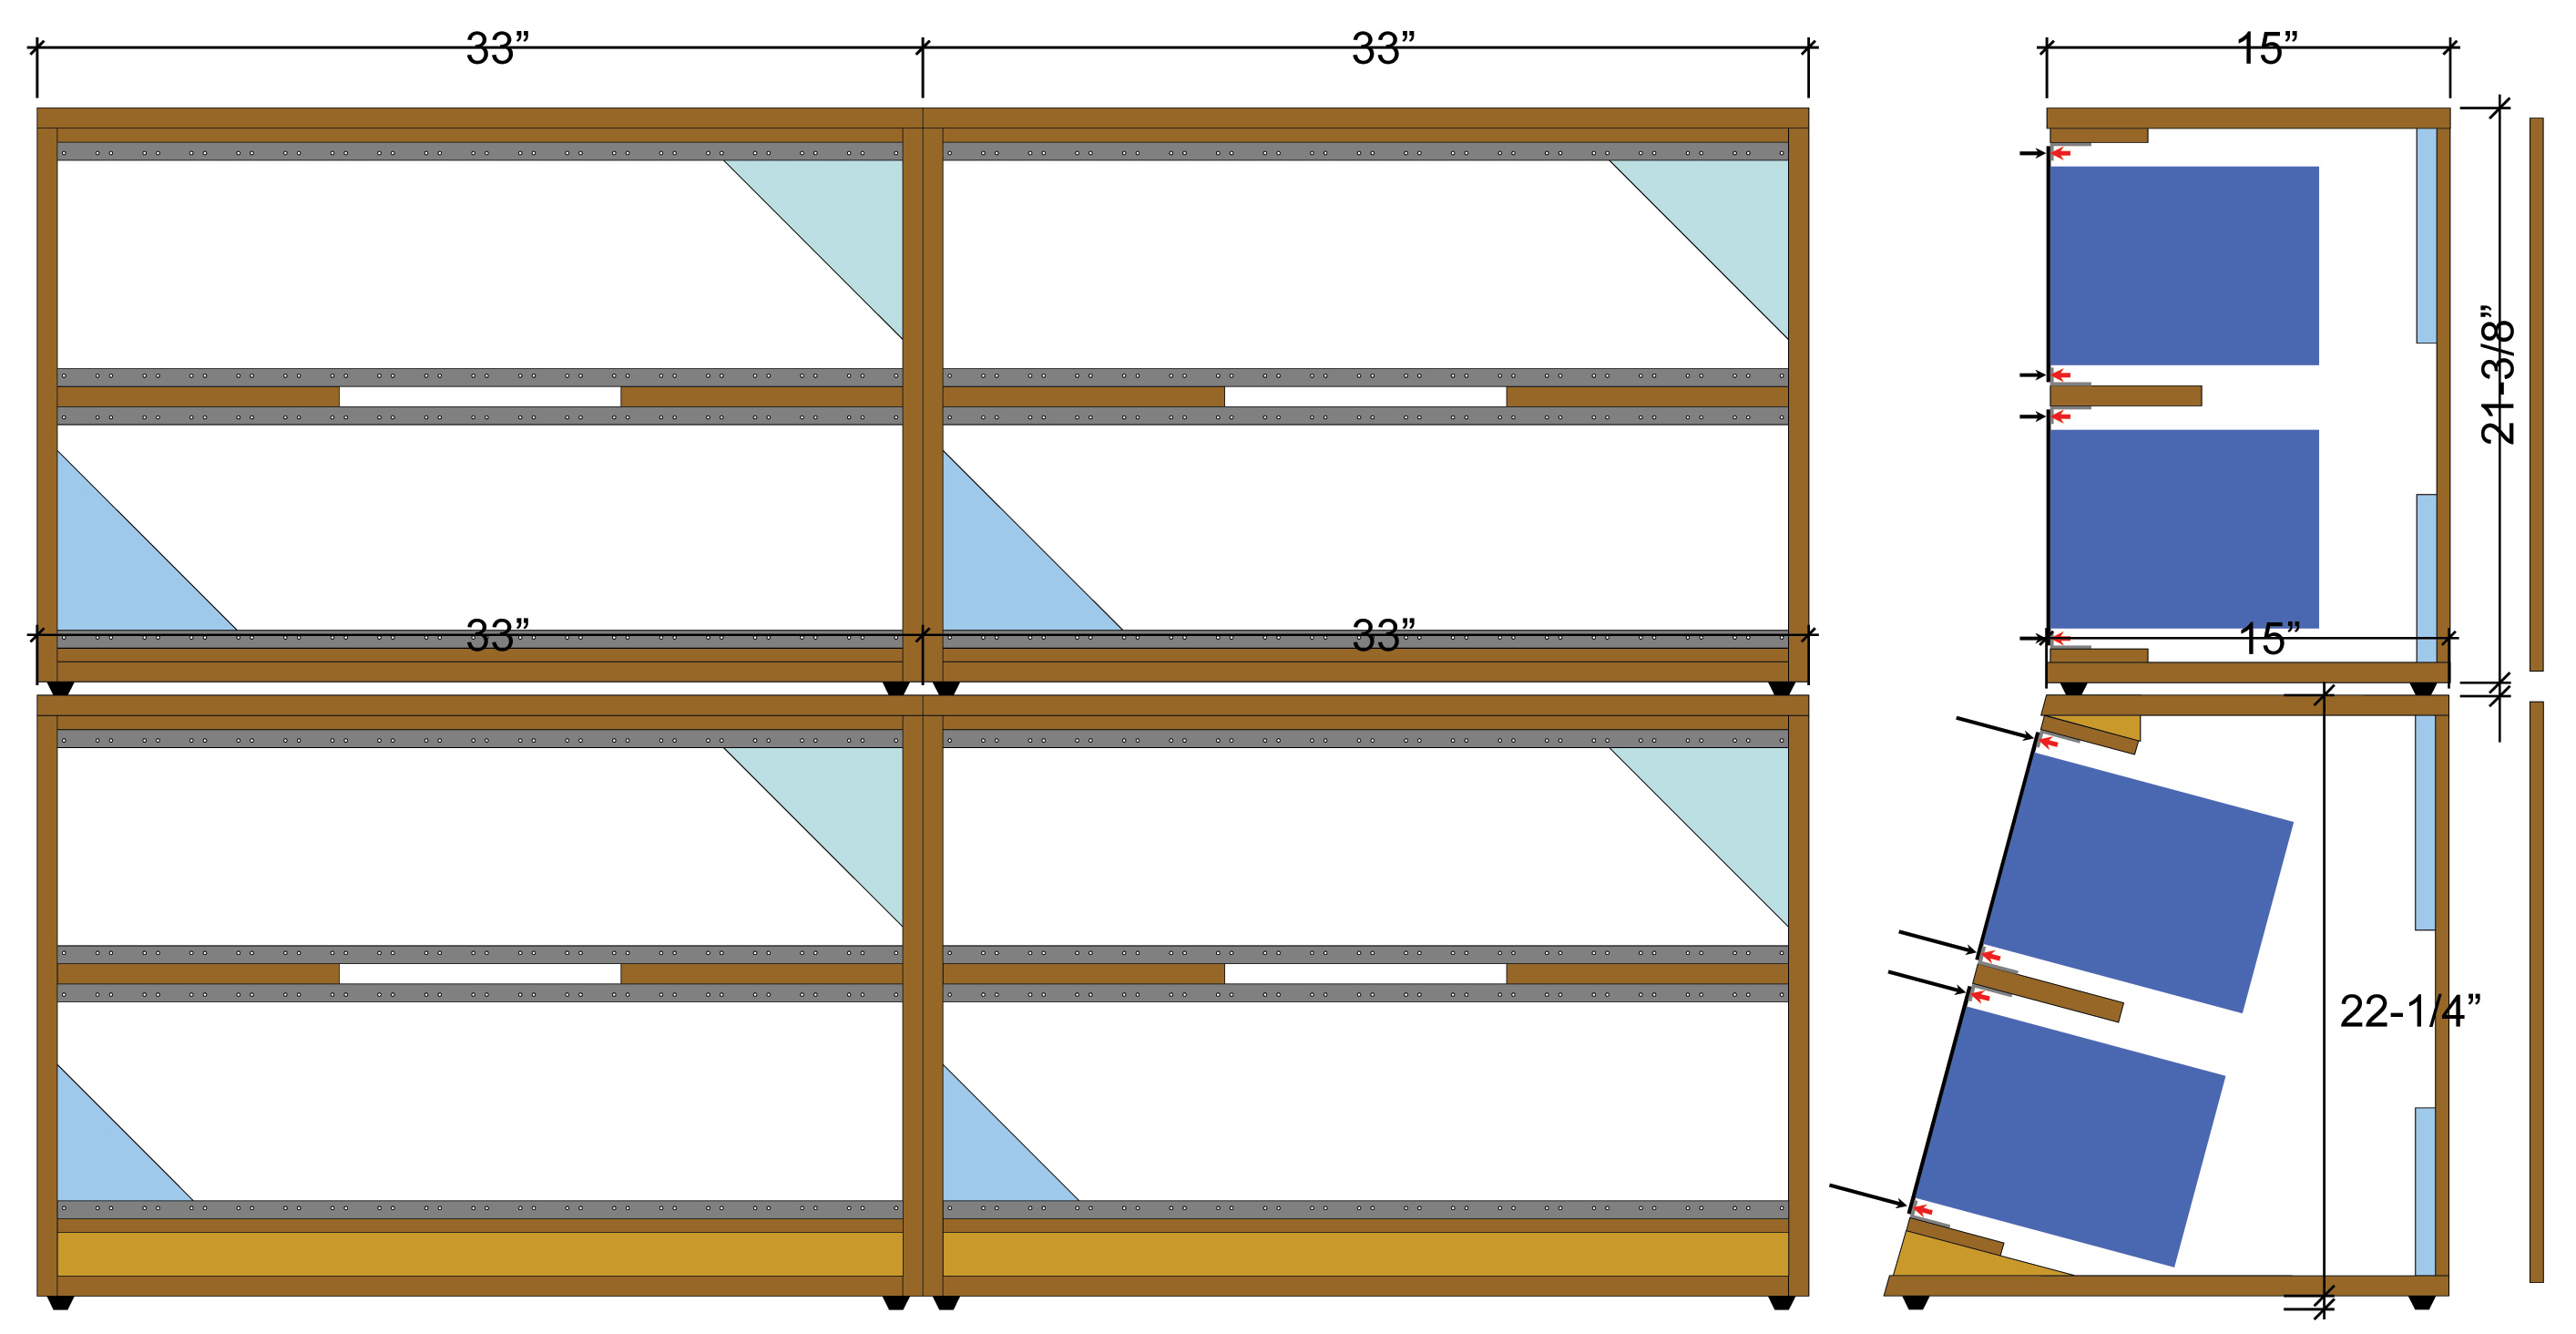
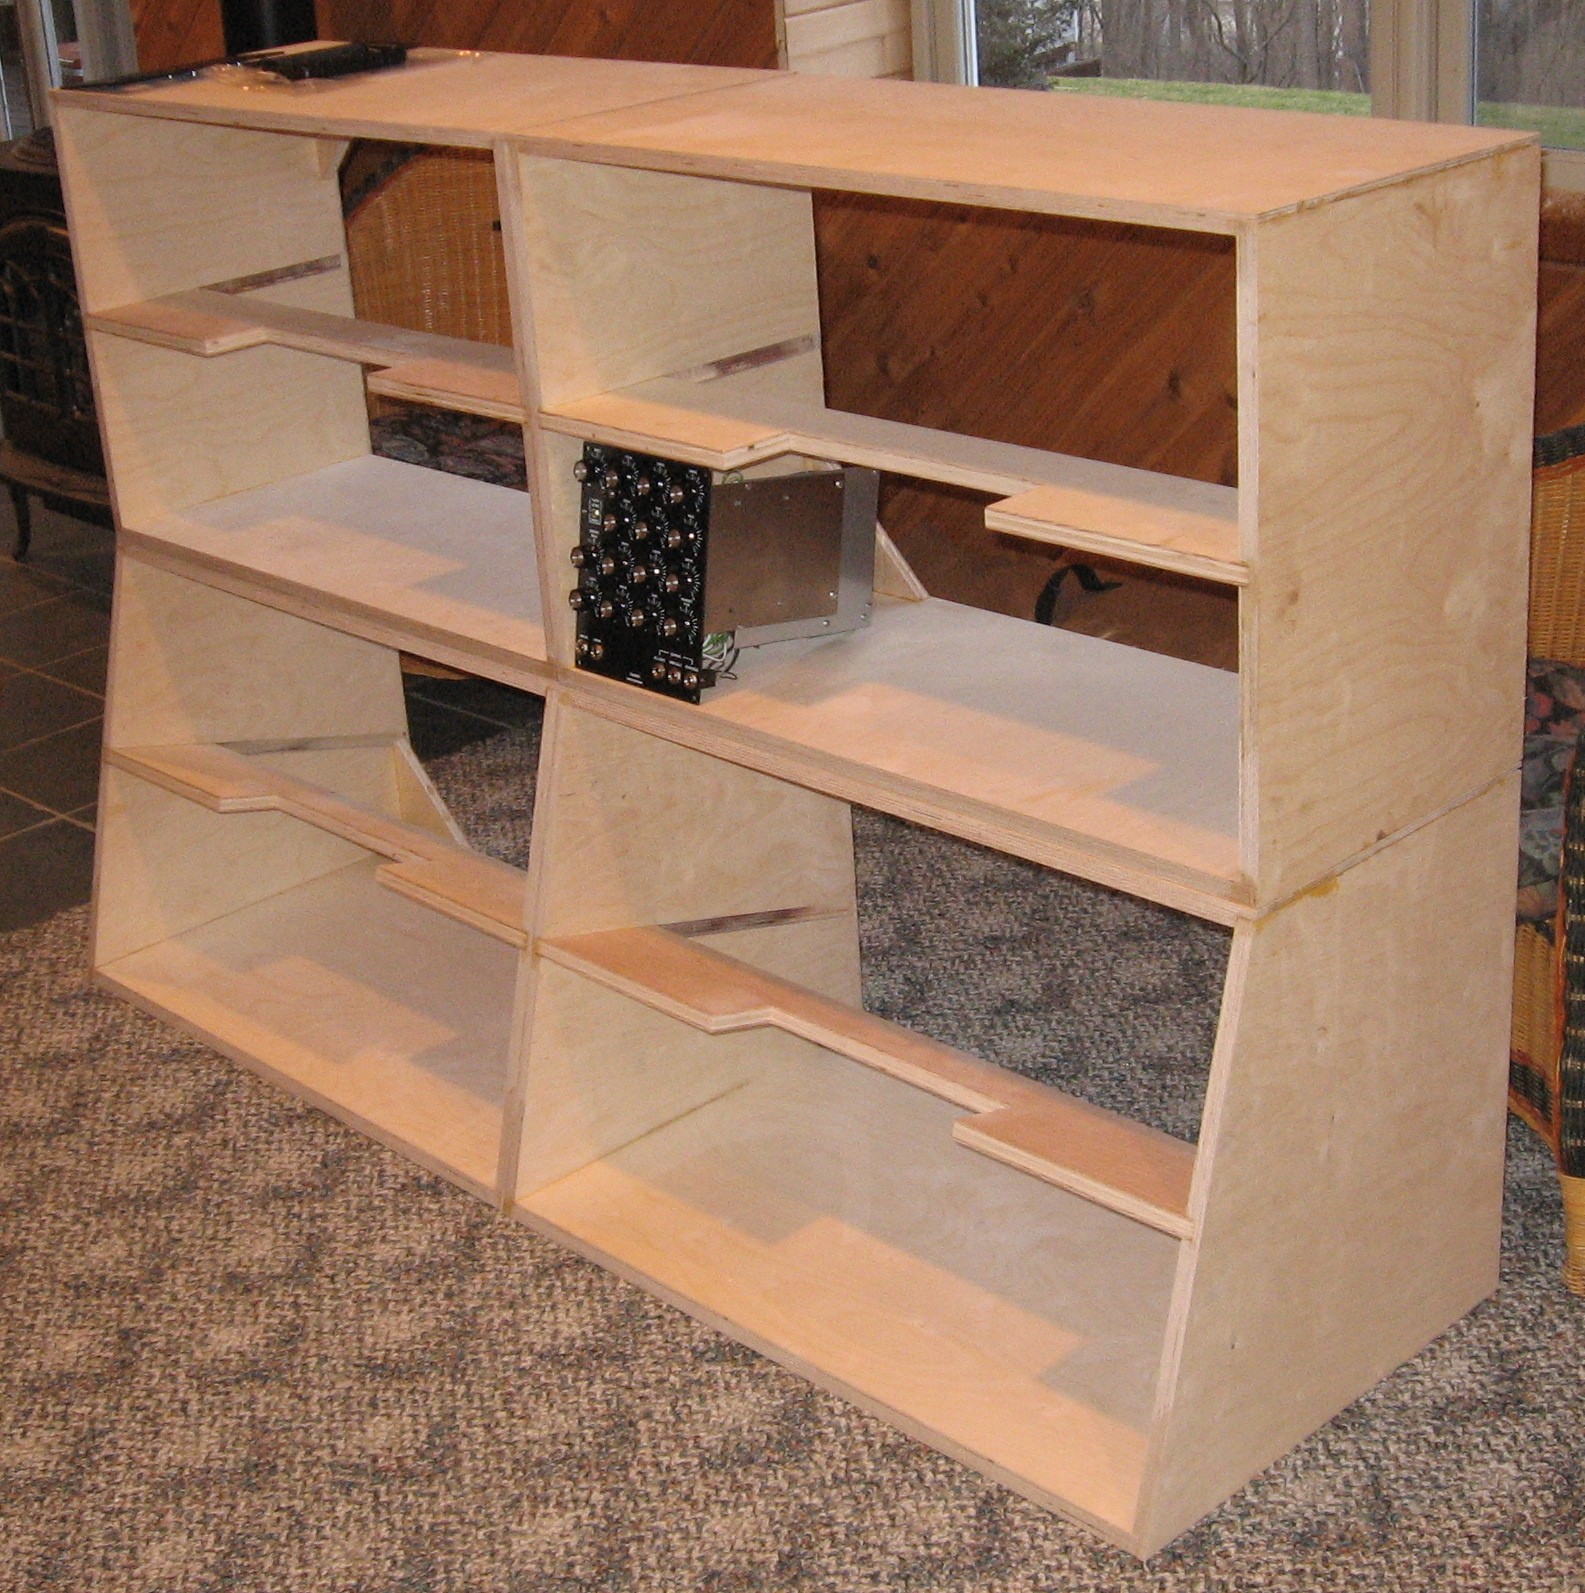
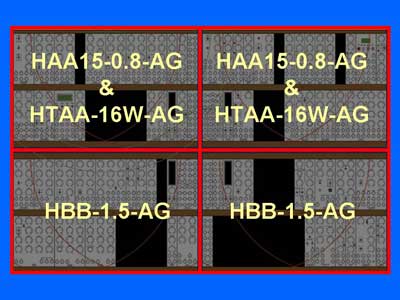
But our horizons expanded - we decided to acquire more modules - and beyond that - we decided to allow for more expansion. So as of 2009, our layout evolved to the present four case layout:
|
||
|
Case Design |
||
|
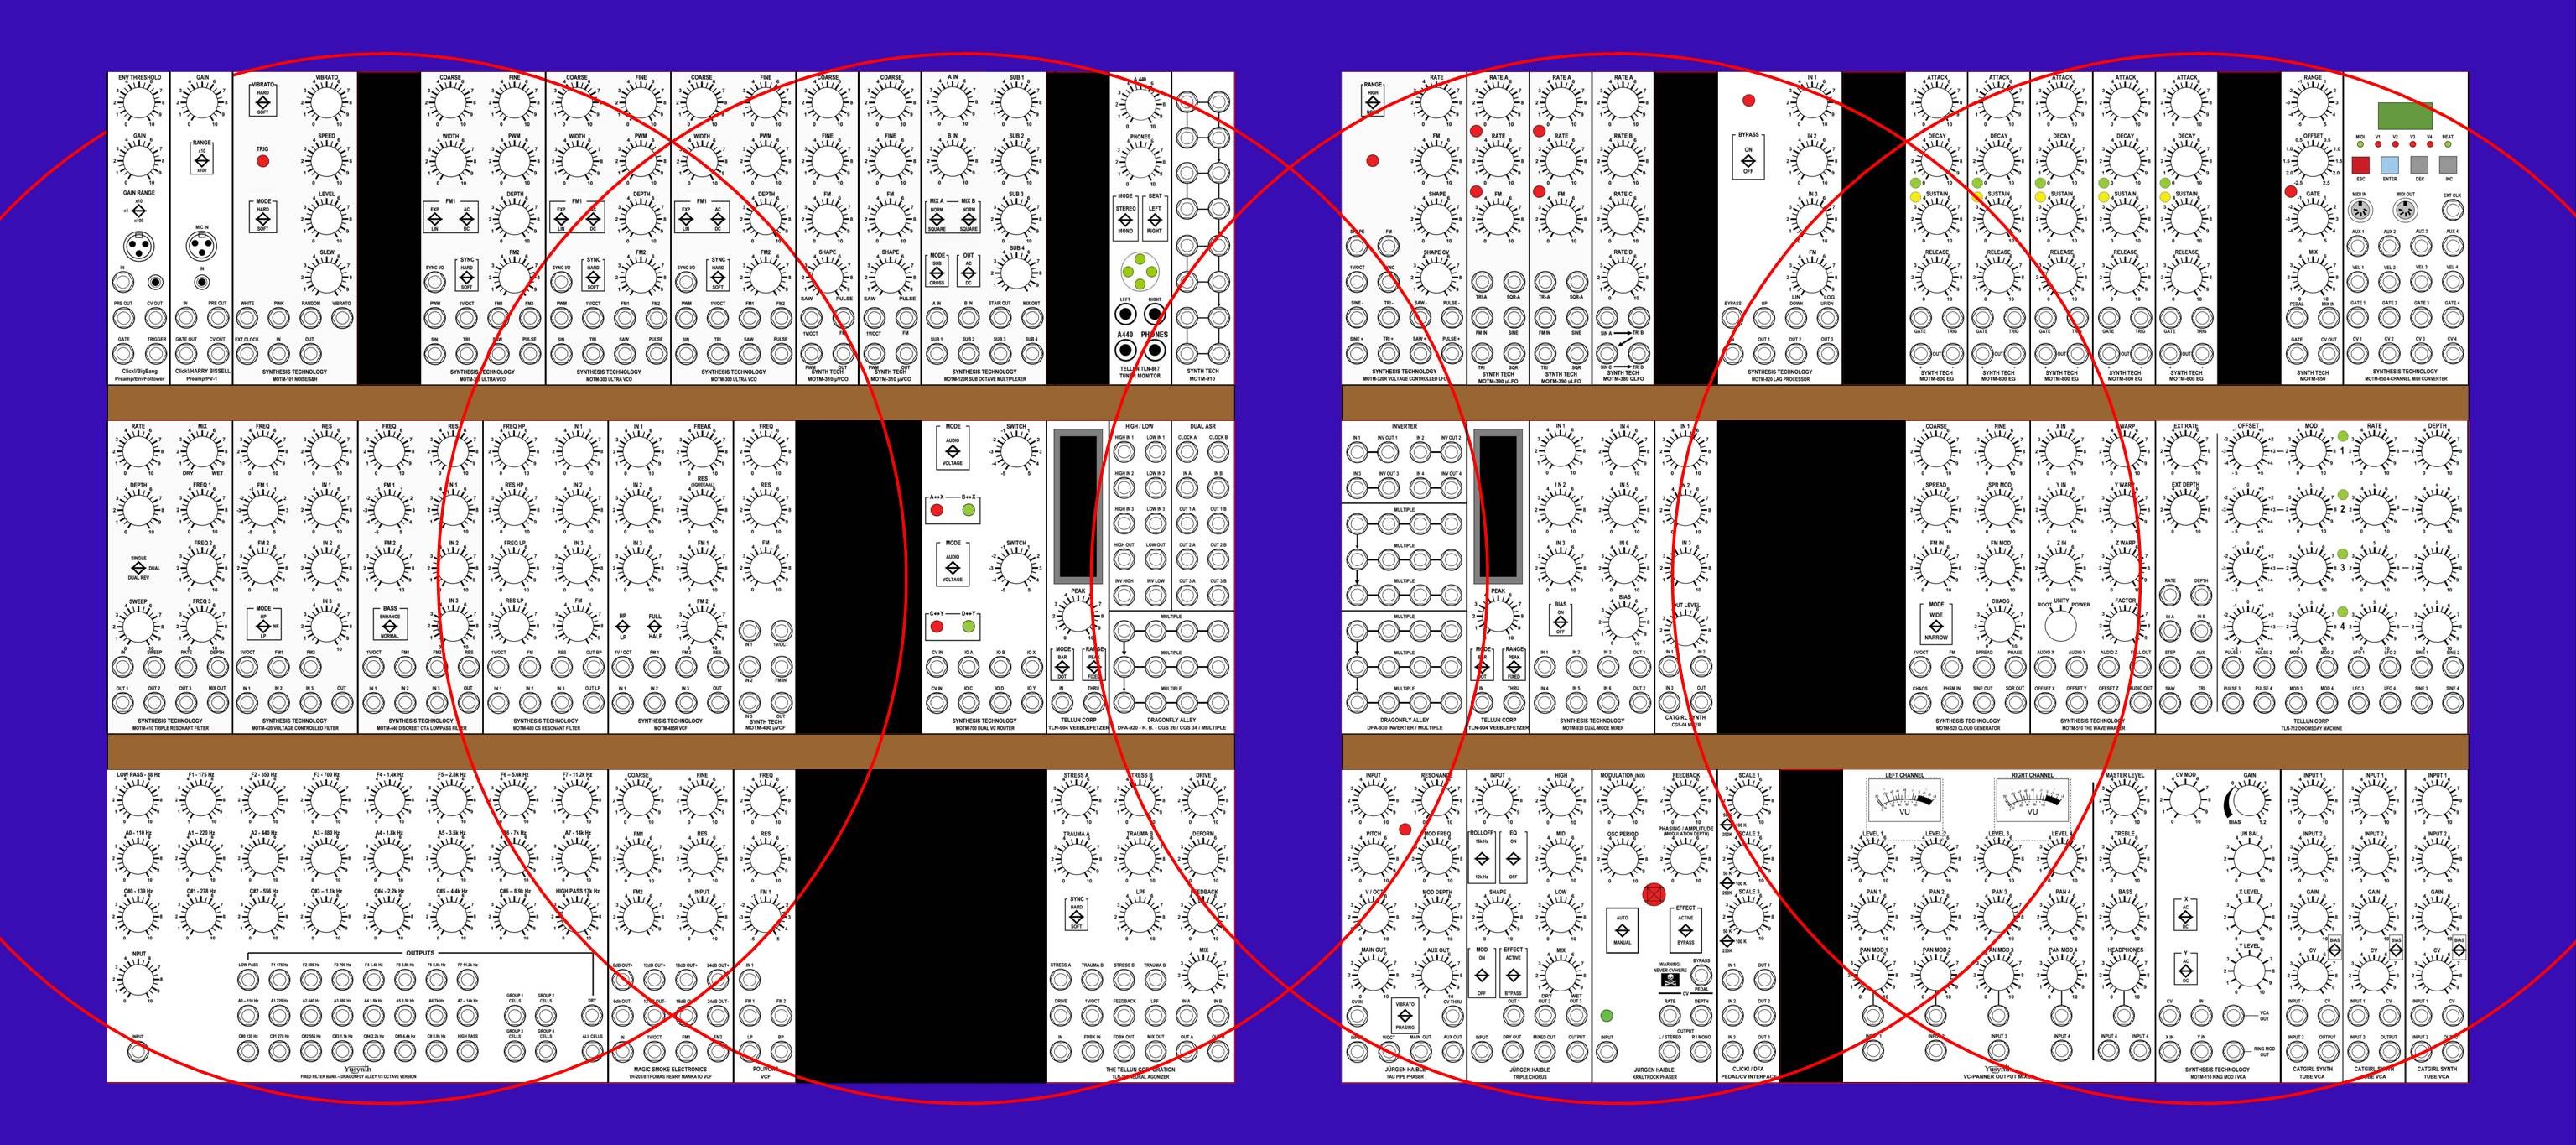
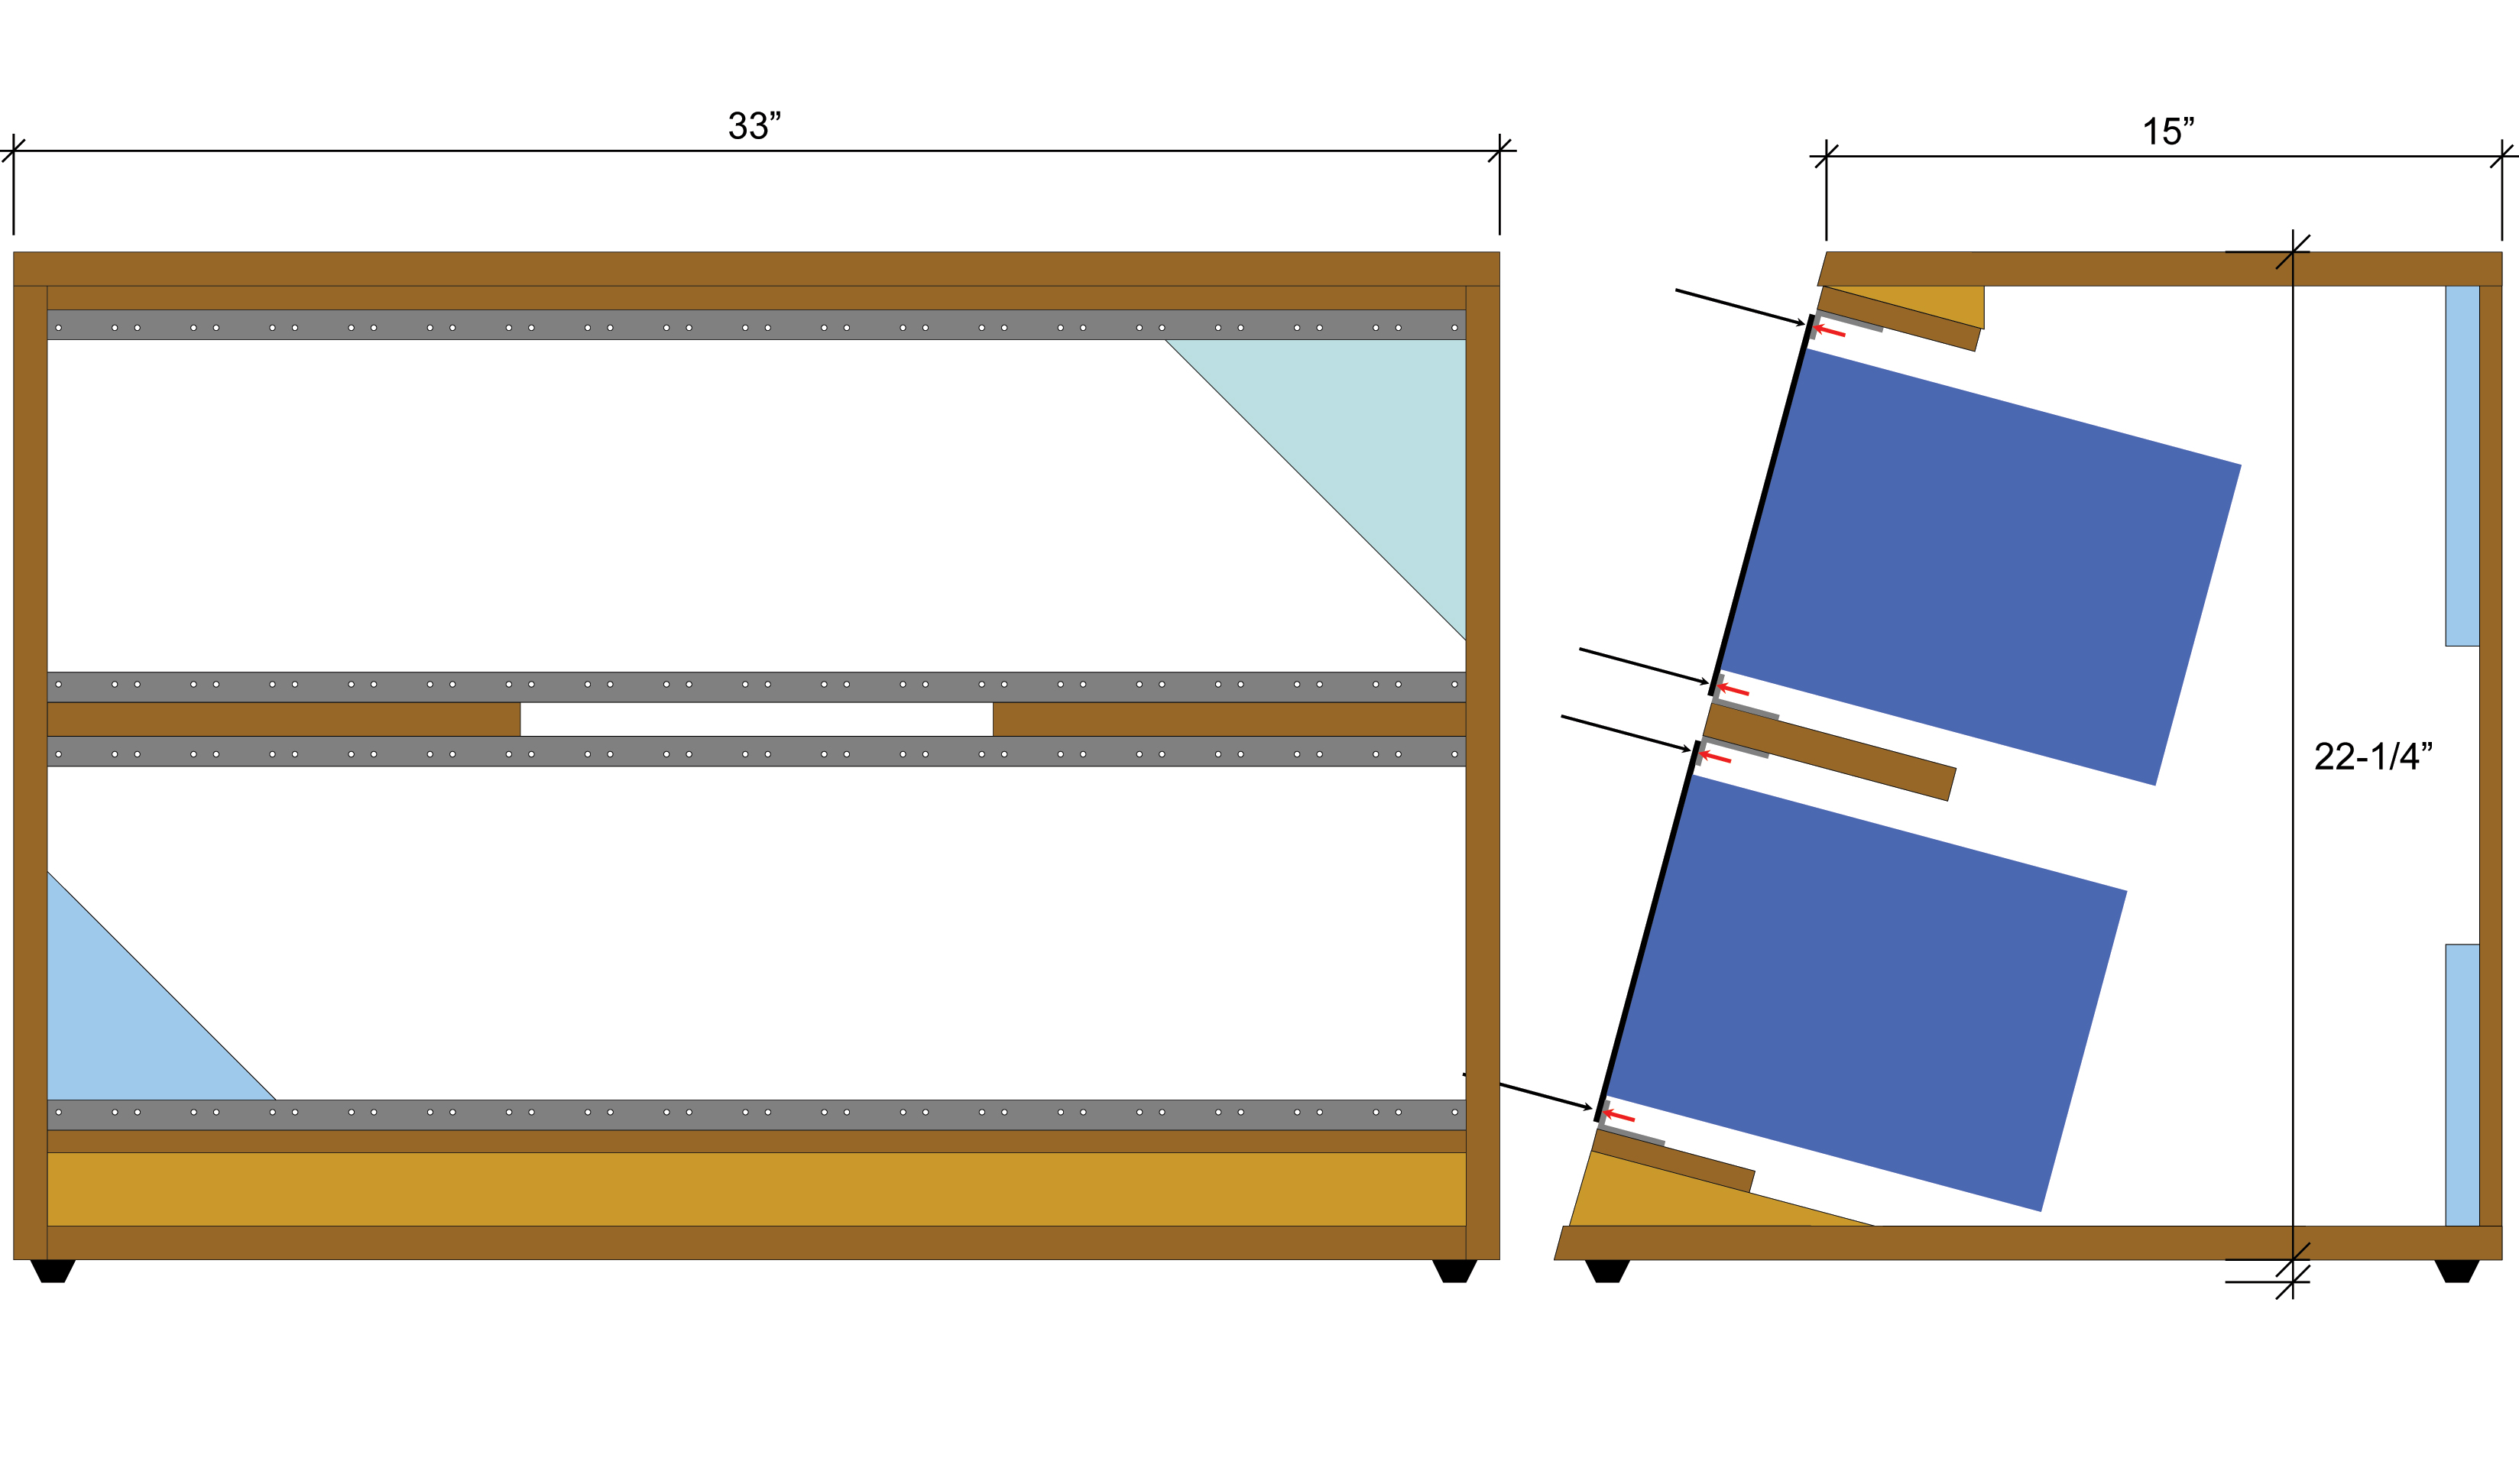
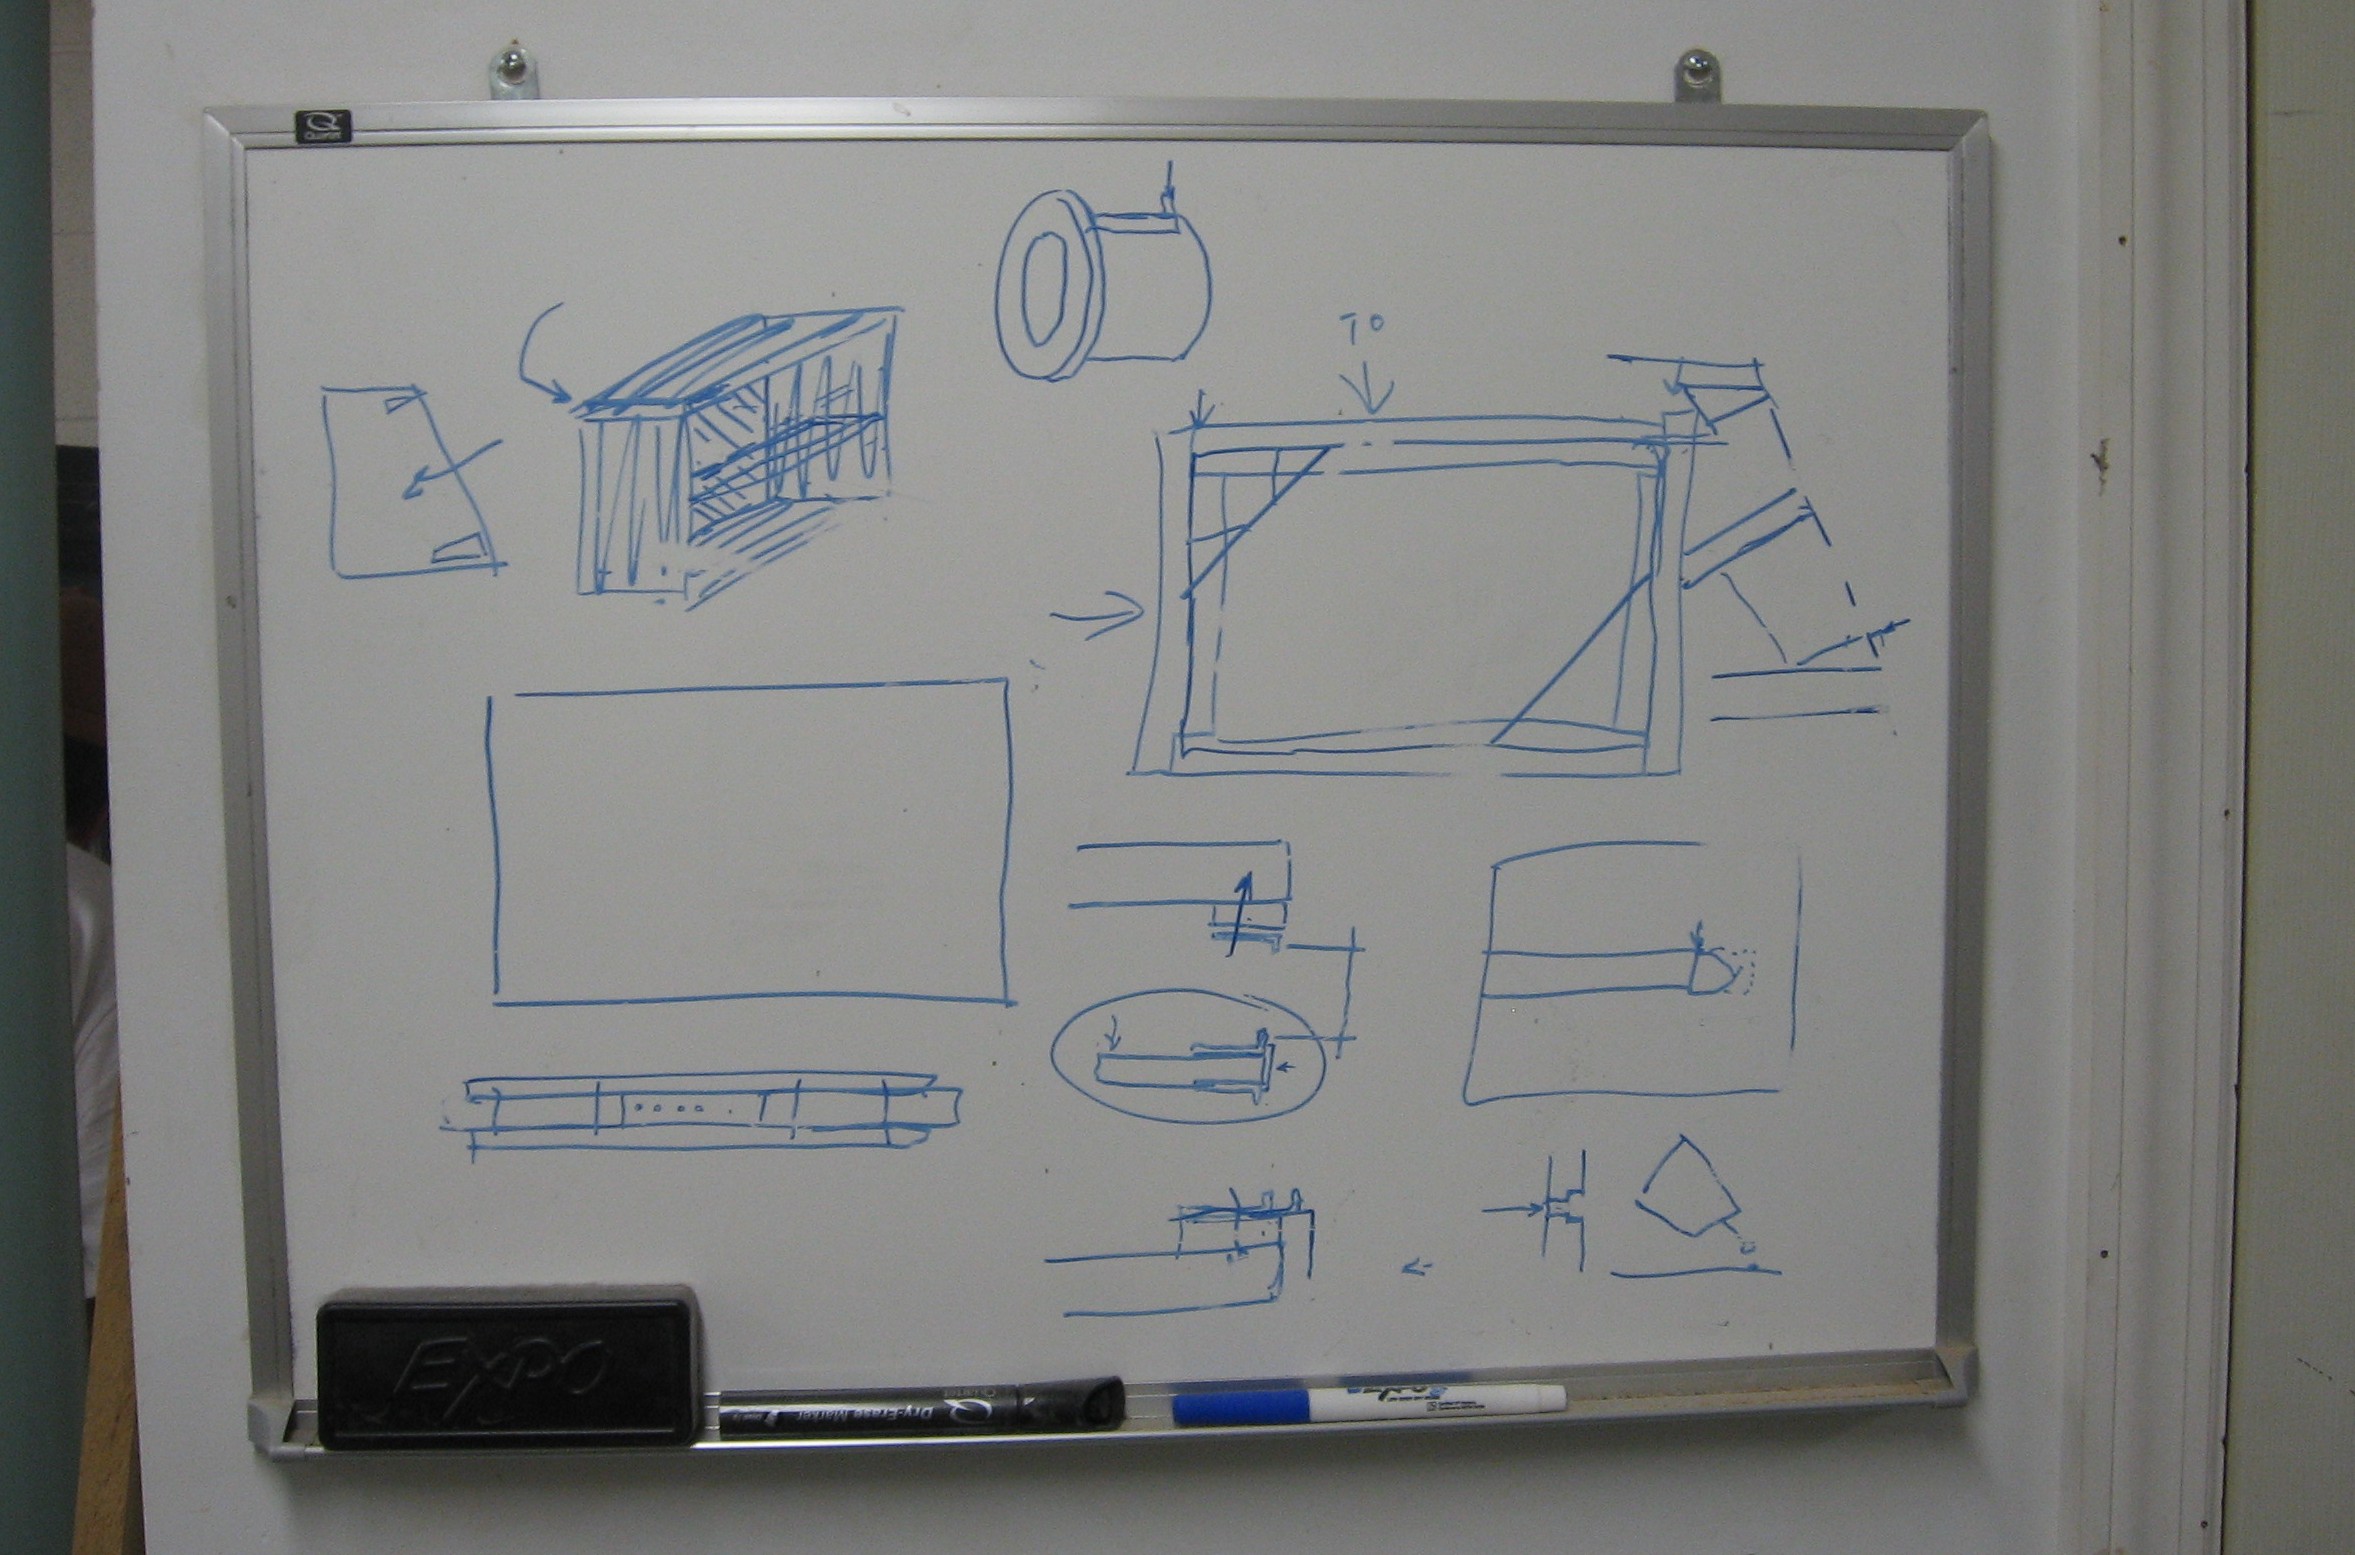
And so, satisfied that whatever the exact module layout, certainly this four-case design would suffice (well - for now), we set about designing it in June of 2009. Ordinarily we'd have laid it out in AutoCad, but there were details of construction we weren't sure of and so we made drawings less technical but accurate, at least, in expressing the intention.
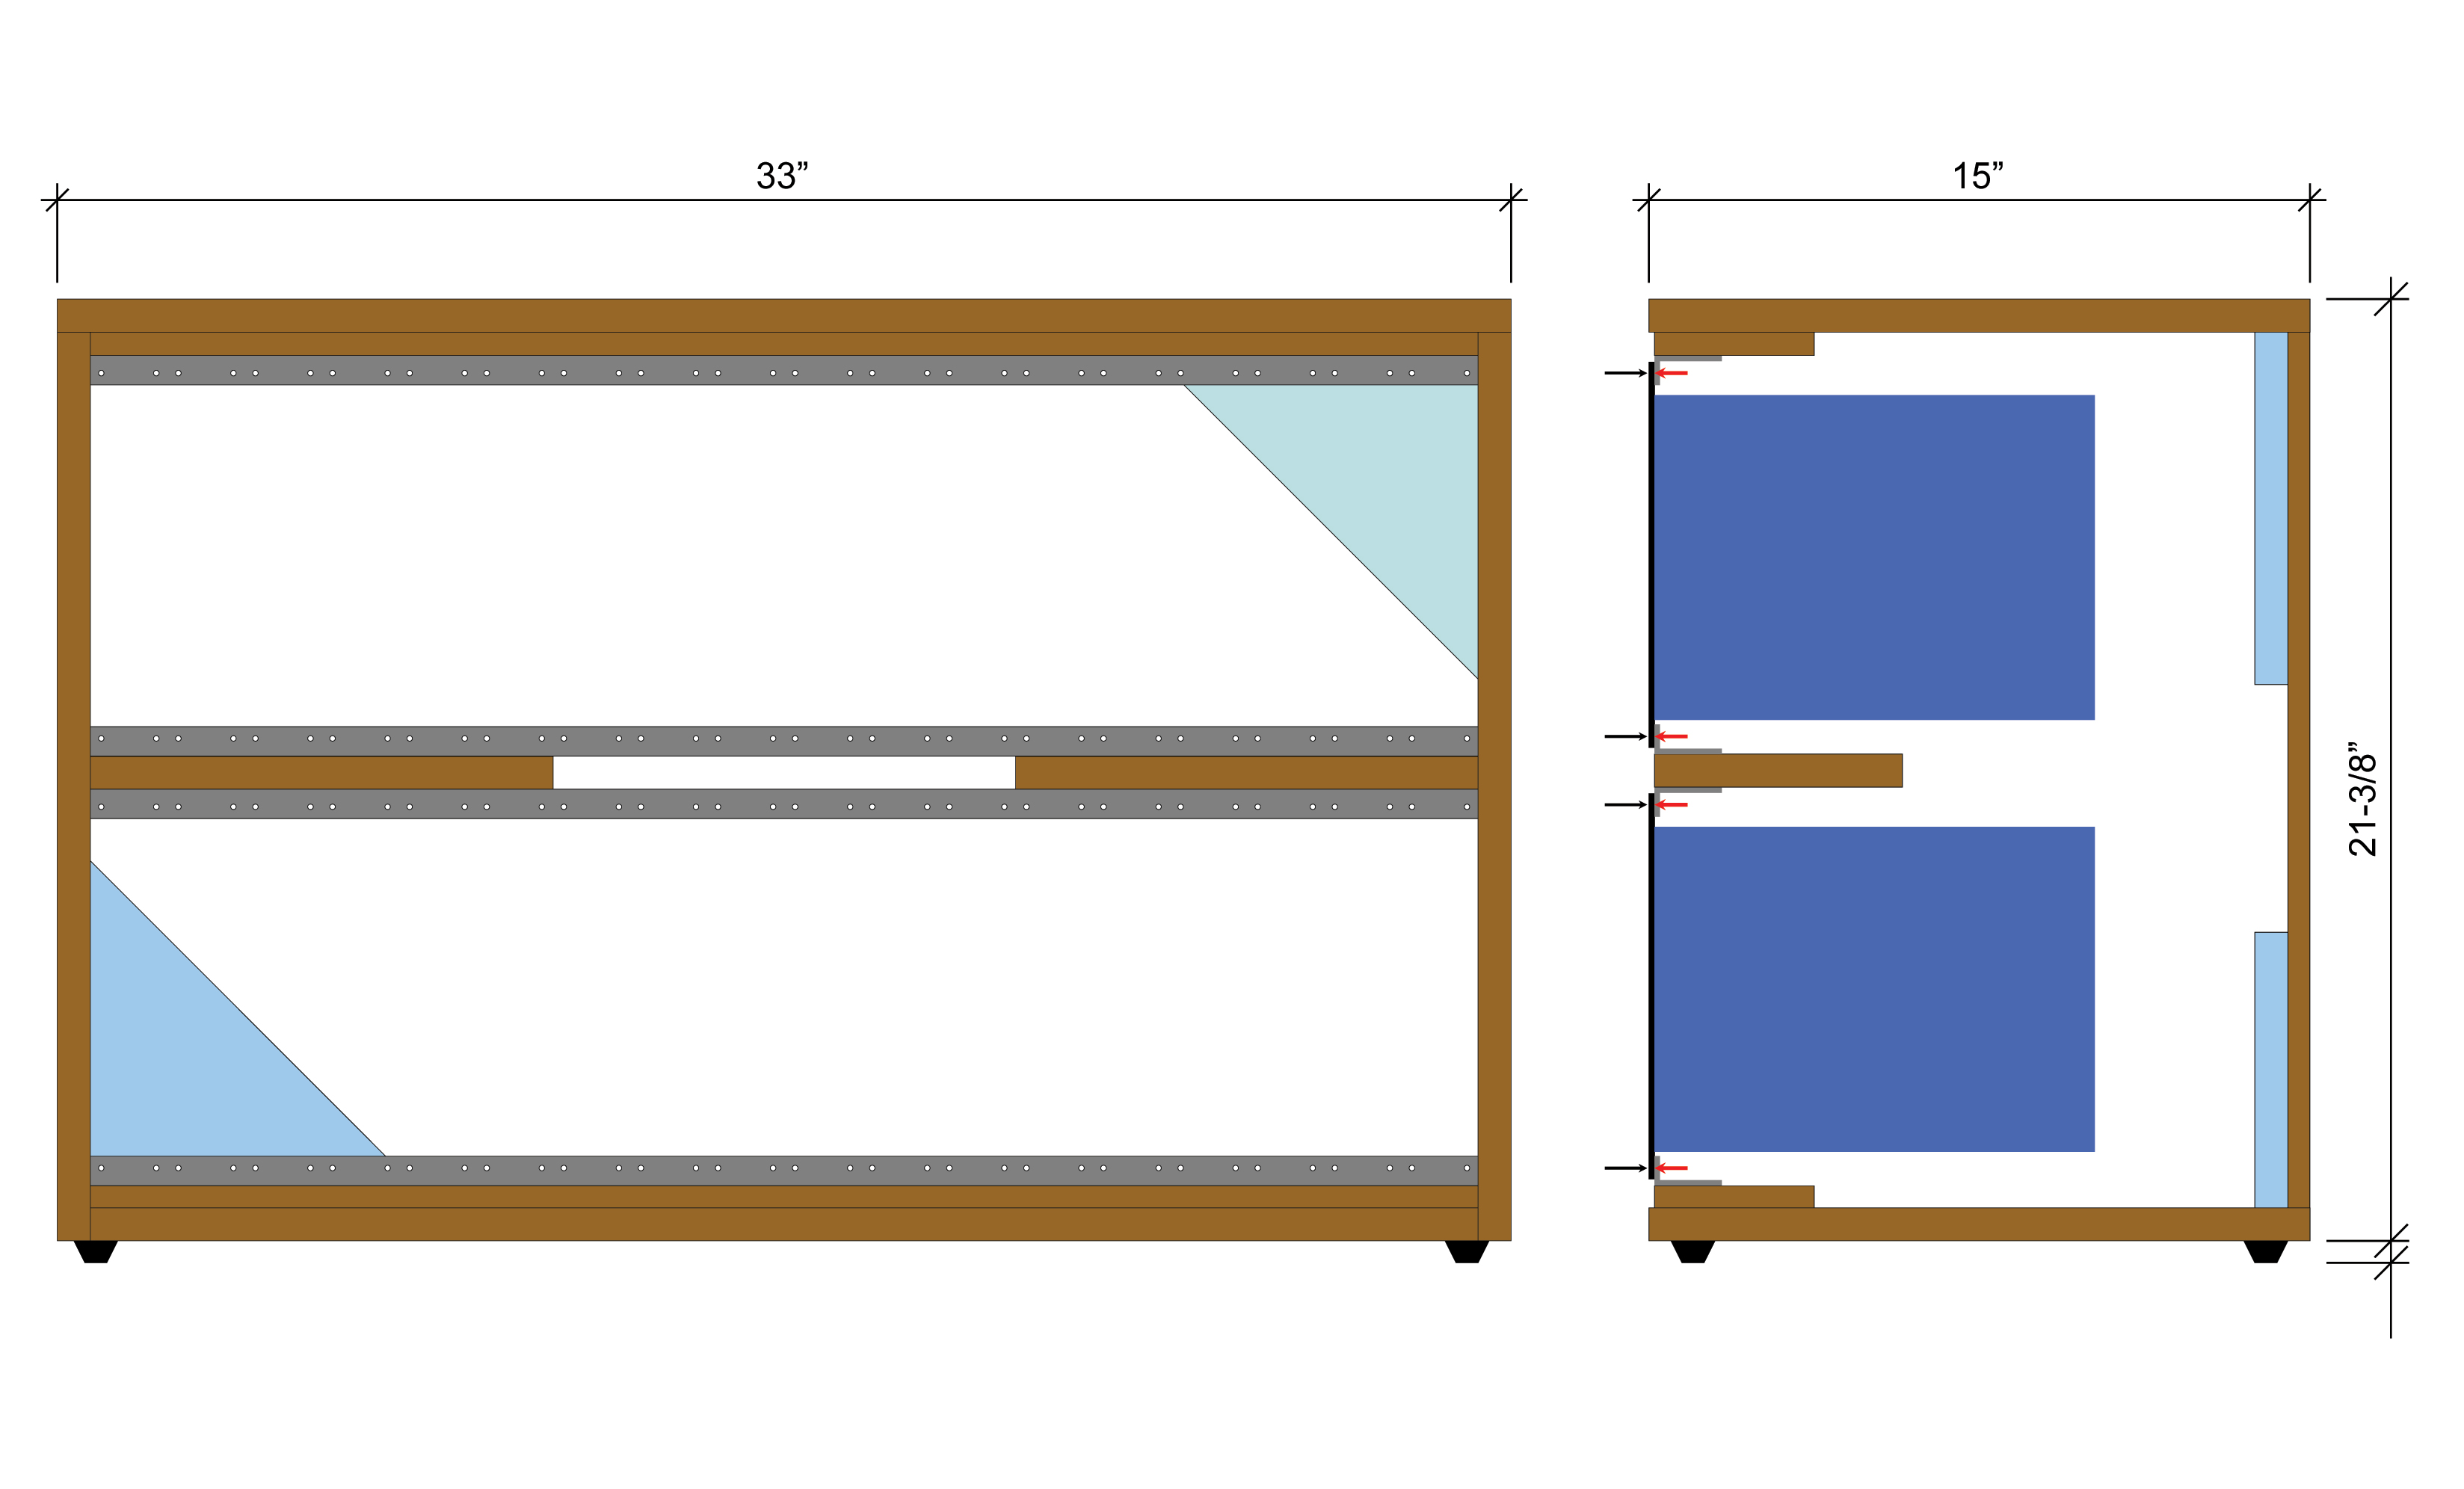
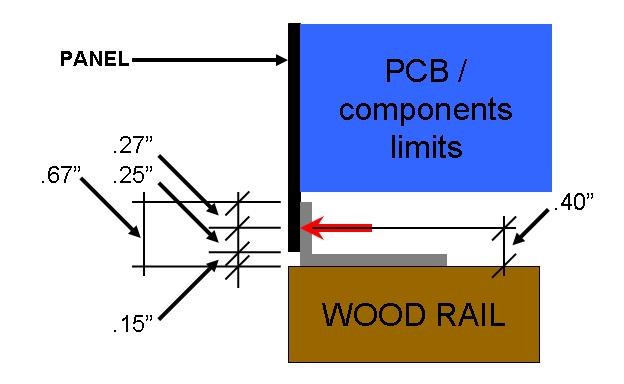
Width Each of the four cabinets is 33 inches wide. This to accommodate the 18-unit rails we'd gotten. In practice, we added an eighth inch to allow a little extra space - 1/16in at each end of the rail. It would have been better if we had left more space at the ends of the rails by increasing the width of the cabinets to 34-1/2 inches. This way, the vertical facings would have been 1-1/2 inches wide instead of just covering the 3/4 inch thickness of the cabinet sides. The advantage would have been to keep the modules' PCB brackets at least 3/4 inch away from the cabinet sides. We highly recommend this if you're building cabinets. We ran into a minor problem (easily accommodated) in that the handles we got, mounted into holes in the case sides, protrude into the case about 1/4 inch. There are some modules that bump this when they're installed. We just re-arranged the modules so that the one that did interfere is in a slightly different location. But you'll want to avoid this in the first place. Depth The depth of the top cabinets is 15 inches (15 inches outside - about 14 inches inside). This is overkill; the deepest of our modules is about 10-1/2 inches (our layout for the JH Subtle Chorus is the deepest module, the Yu Synth Fixed FIlter is about 9in, the Tau Pipe is around 8in.) so a depth of 12 inches inside would have sufficed. But we were concerned about having enough room for the power distribution components and also the physical stability of the synthesizer... we want it to be completely self-supporting. So in that light, we felt that was better to overcompensate with a 15 inch depth. If you're considering buiding such a thing, though, you could do fine with a 13in depth - or less if you don't want to allow for those one or two odd modules that have very deep profiles. I don't think MOTM modules exceed 6 in deep. Bottom Cabinet Slope - 15 degrees The bottom cabinets have a 15 inch deep top. The front tilts at a fifteen degree angle. So the depth of the bottom, determined by the slope of the front, is going to be about 21 inches. Rail Details We got our rails from an outfit online.
|
||
|
Parts |
||
|
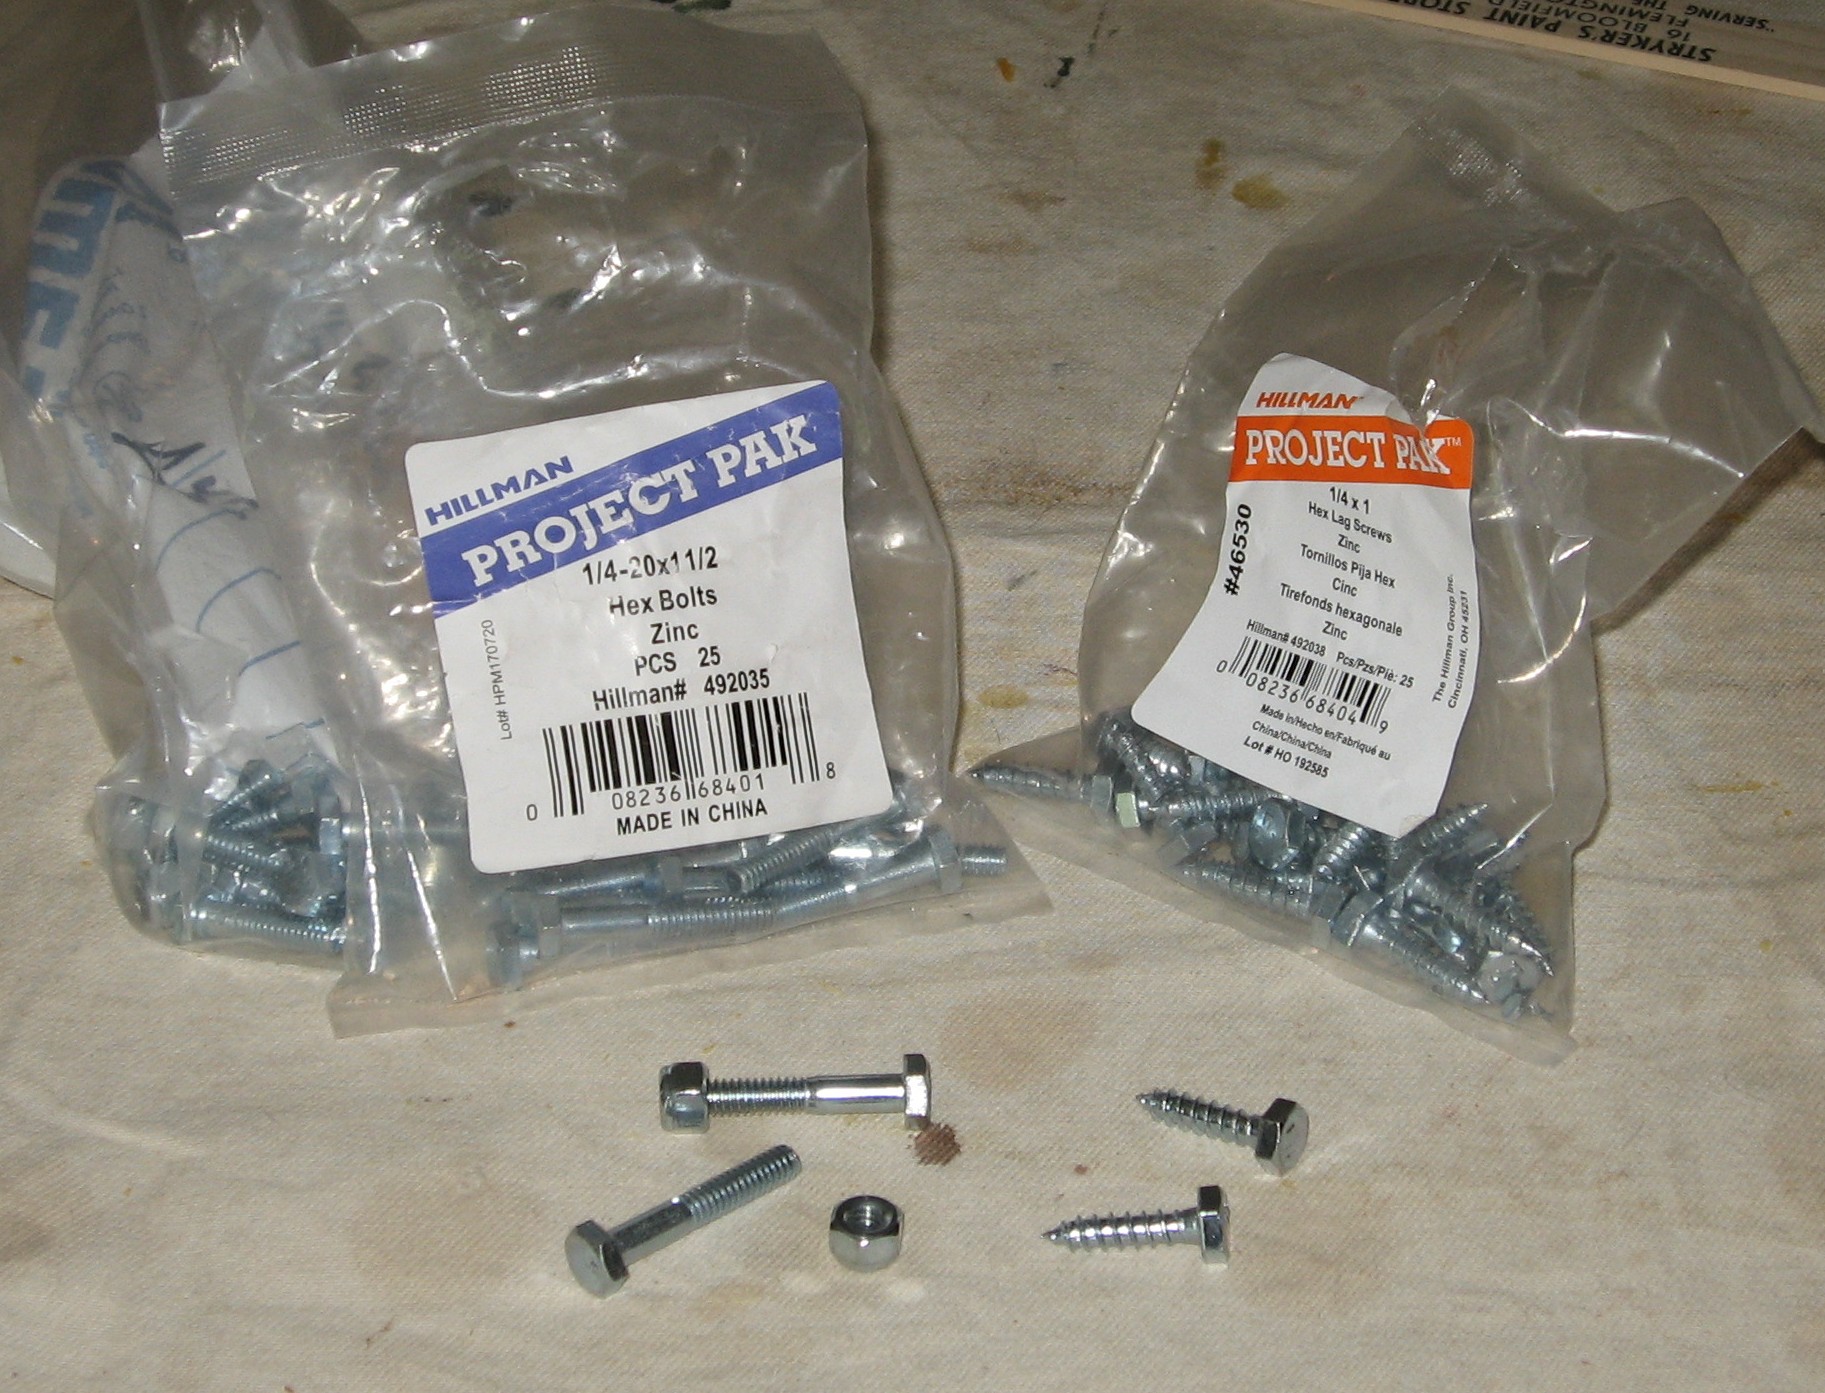
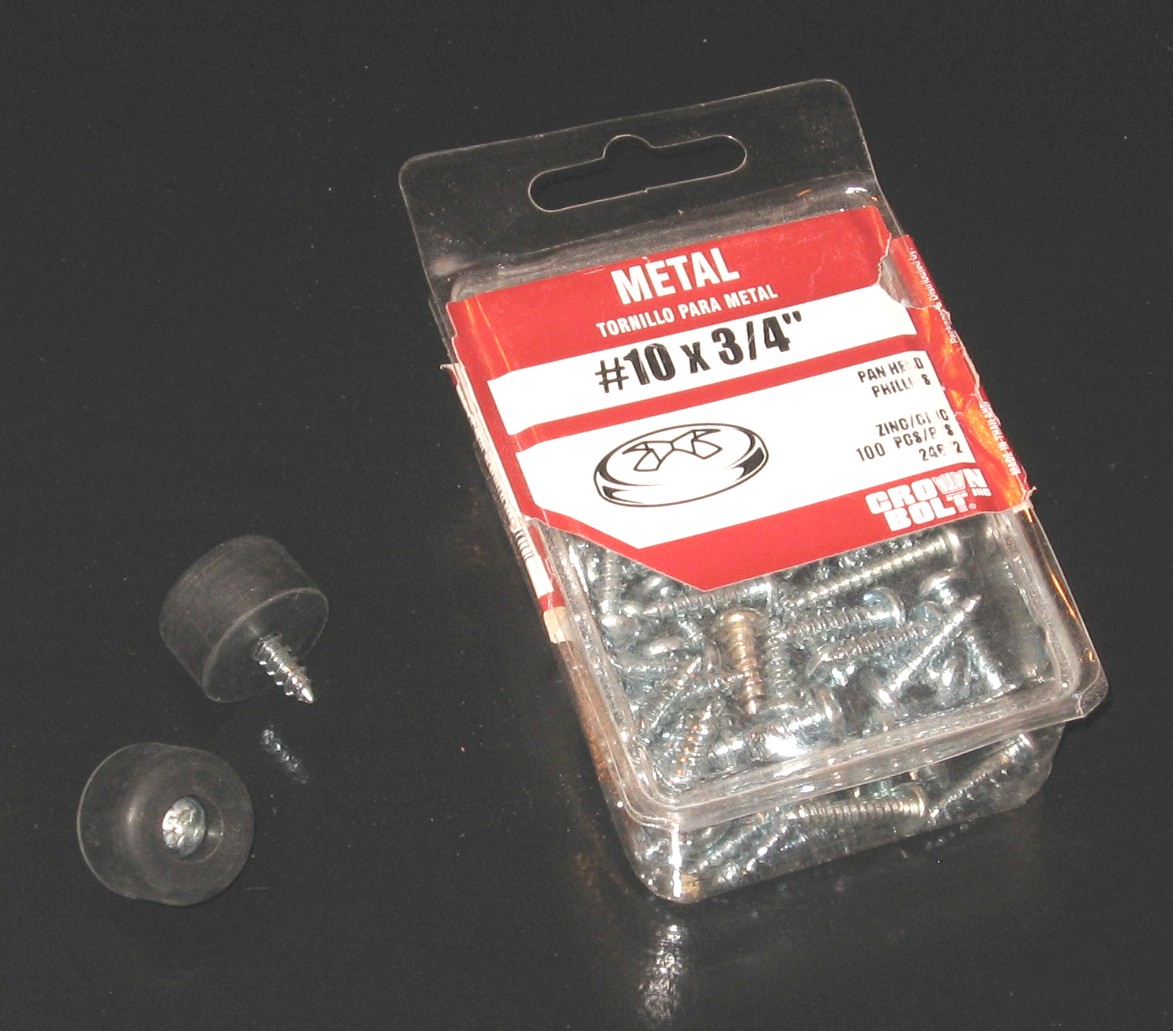
We got 18 unit rails on ebay, we got handles and feet from ___. |
||
|
Fabrication |
||
|
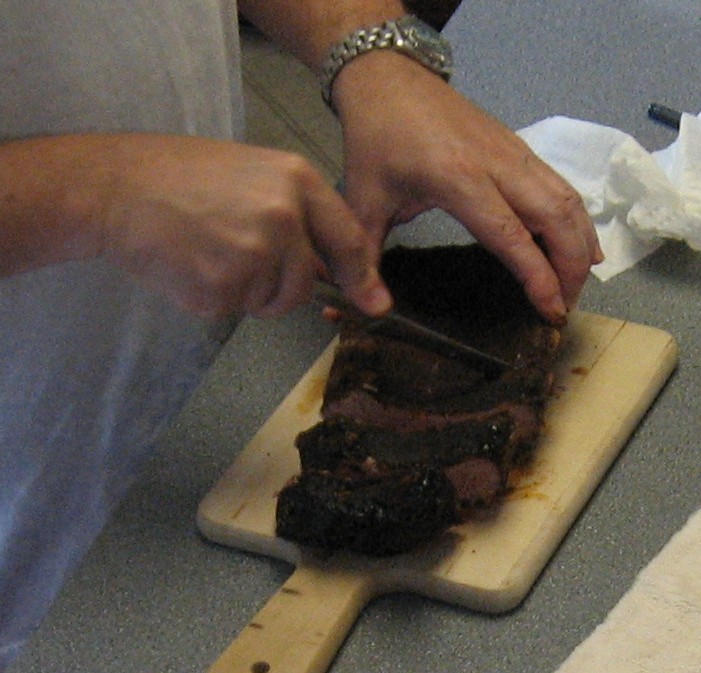
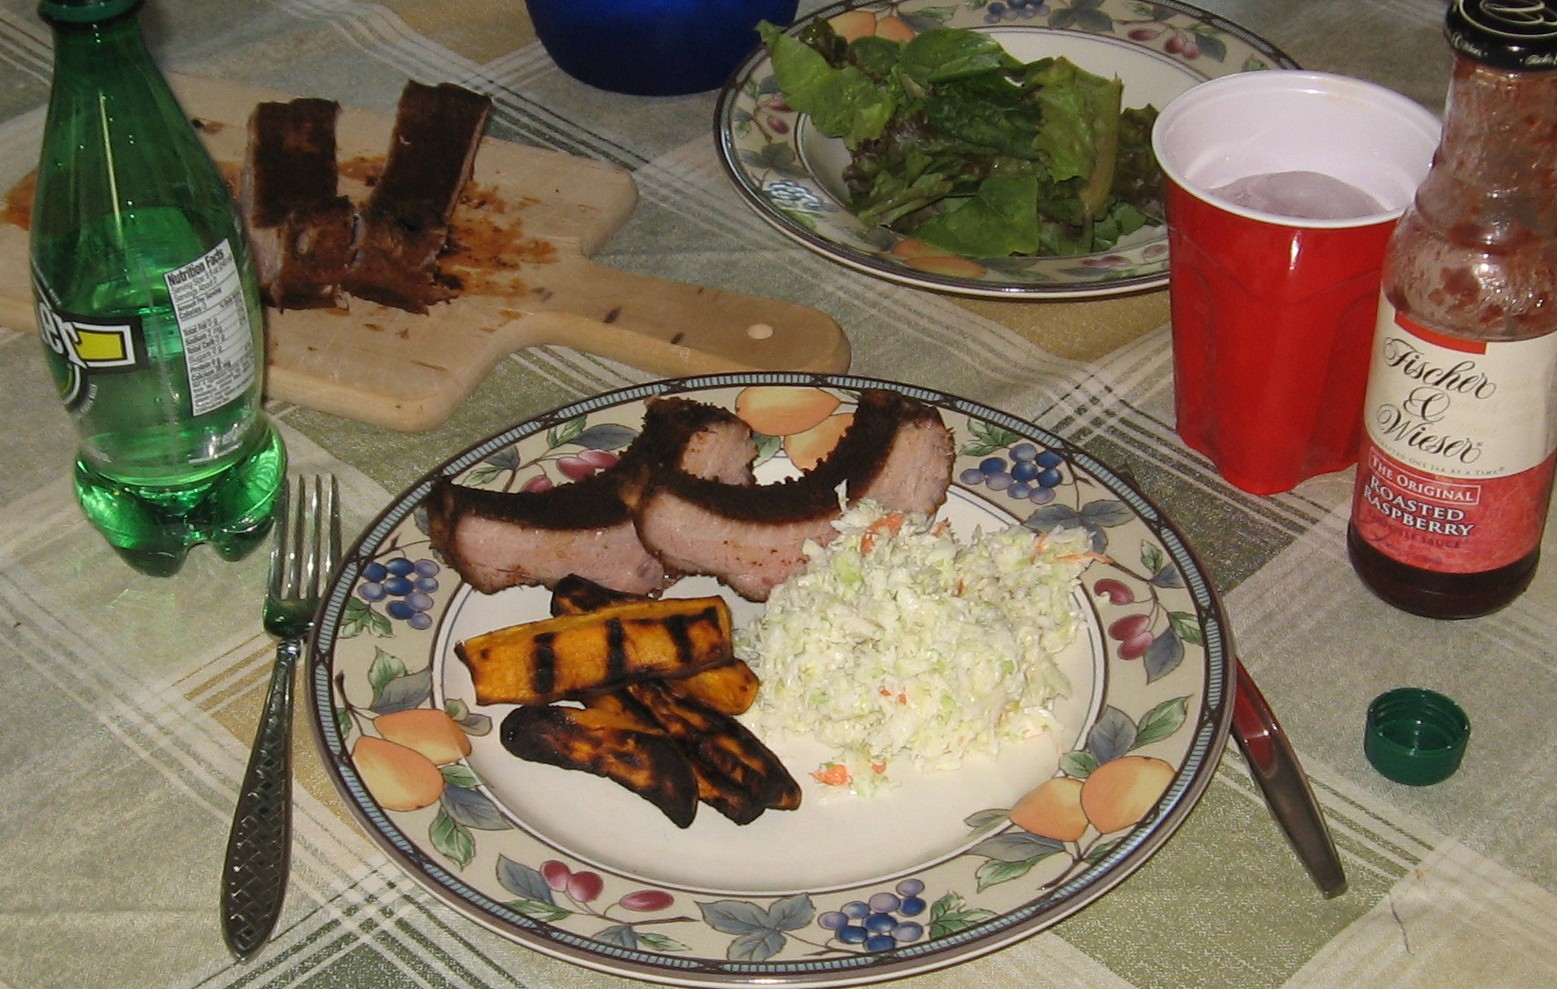
Preliminary By March of 2010, having dealt with power distribution plans, we began to actually build the cases. This involved the generosity of my brother-in-law (Will's uncle), Bart, tirelessly and enthusiastically donating his time, expertise, and woodworking shop to the project and, of course, this necessarily involved my sister (Will's aunt) and their progeny (Ben) giving up time and household peace and sanity. Our deep thanks go to all three. We had a blast.
|
||
|
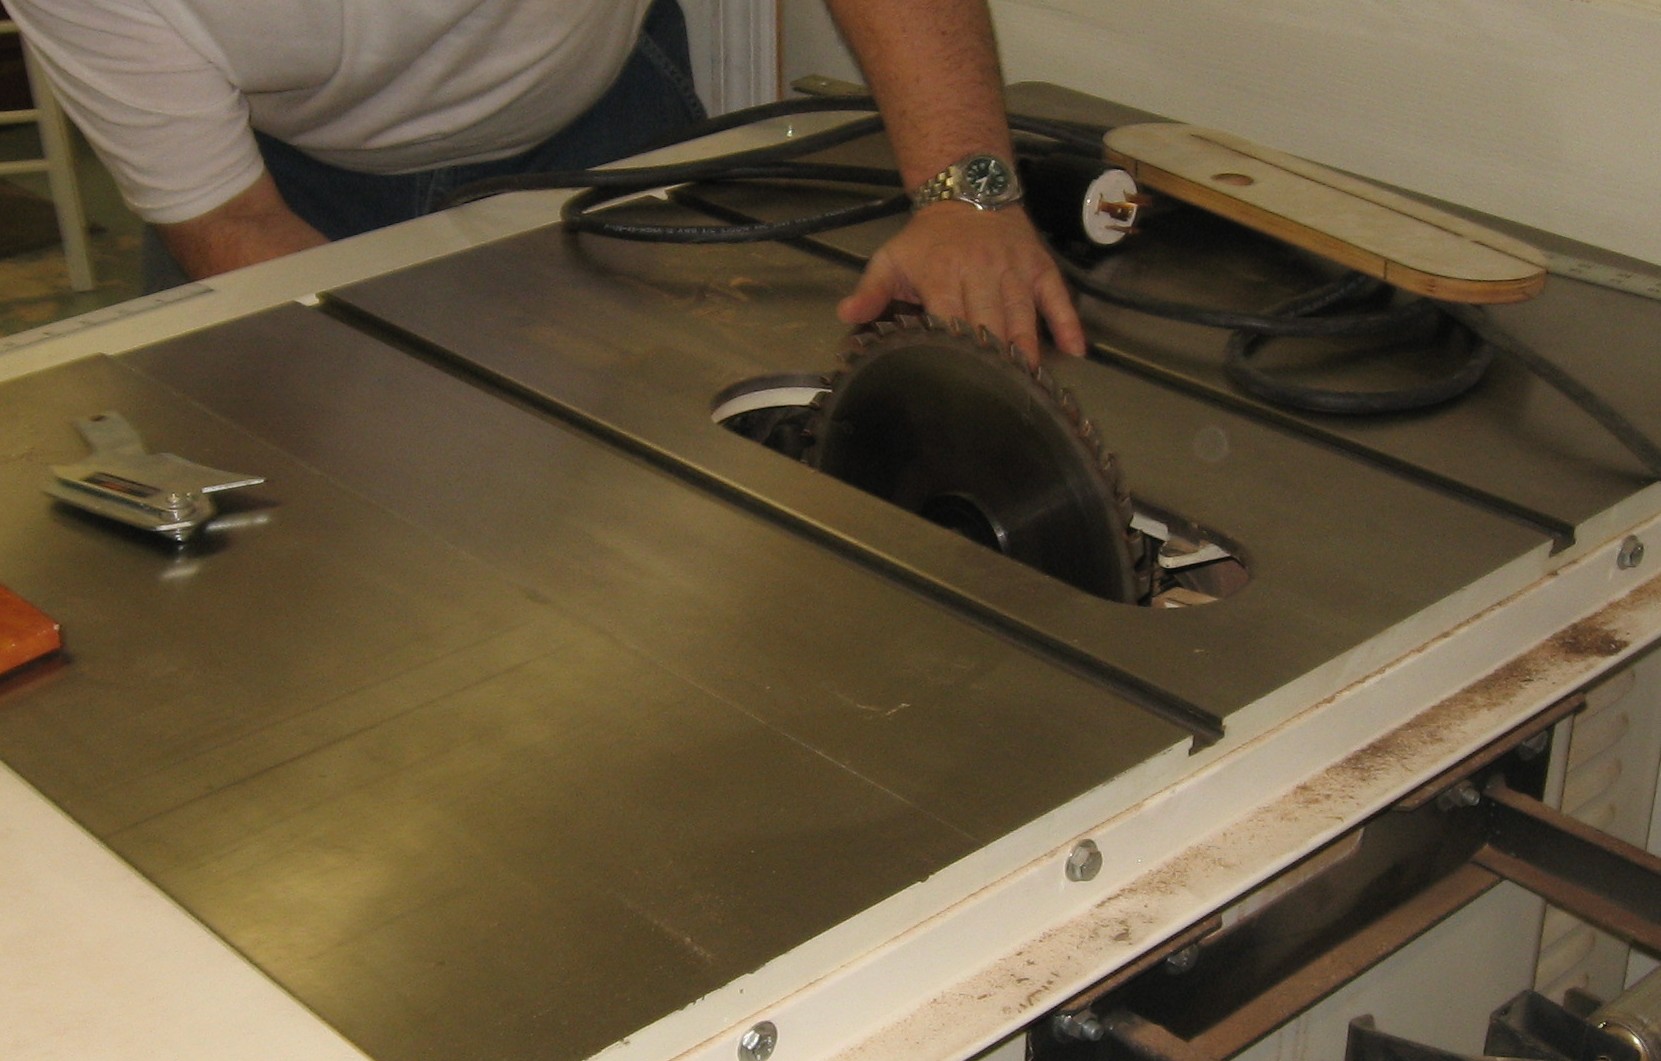
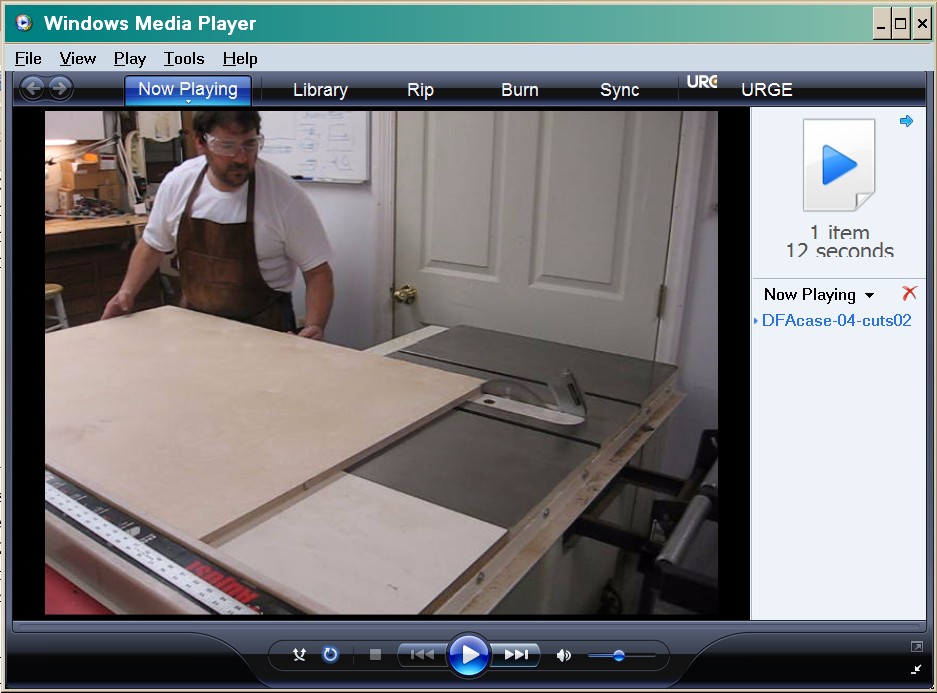
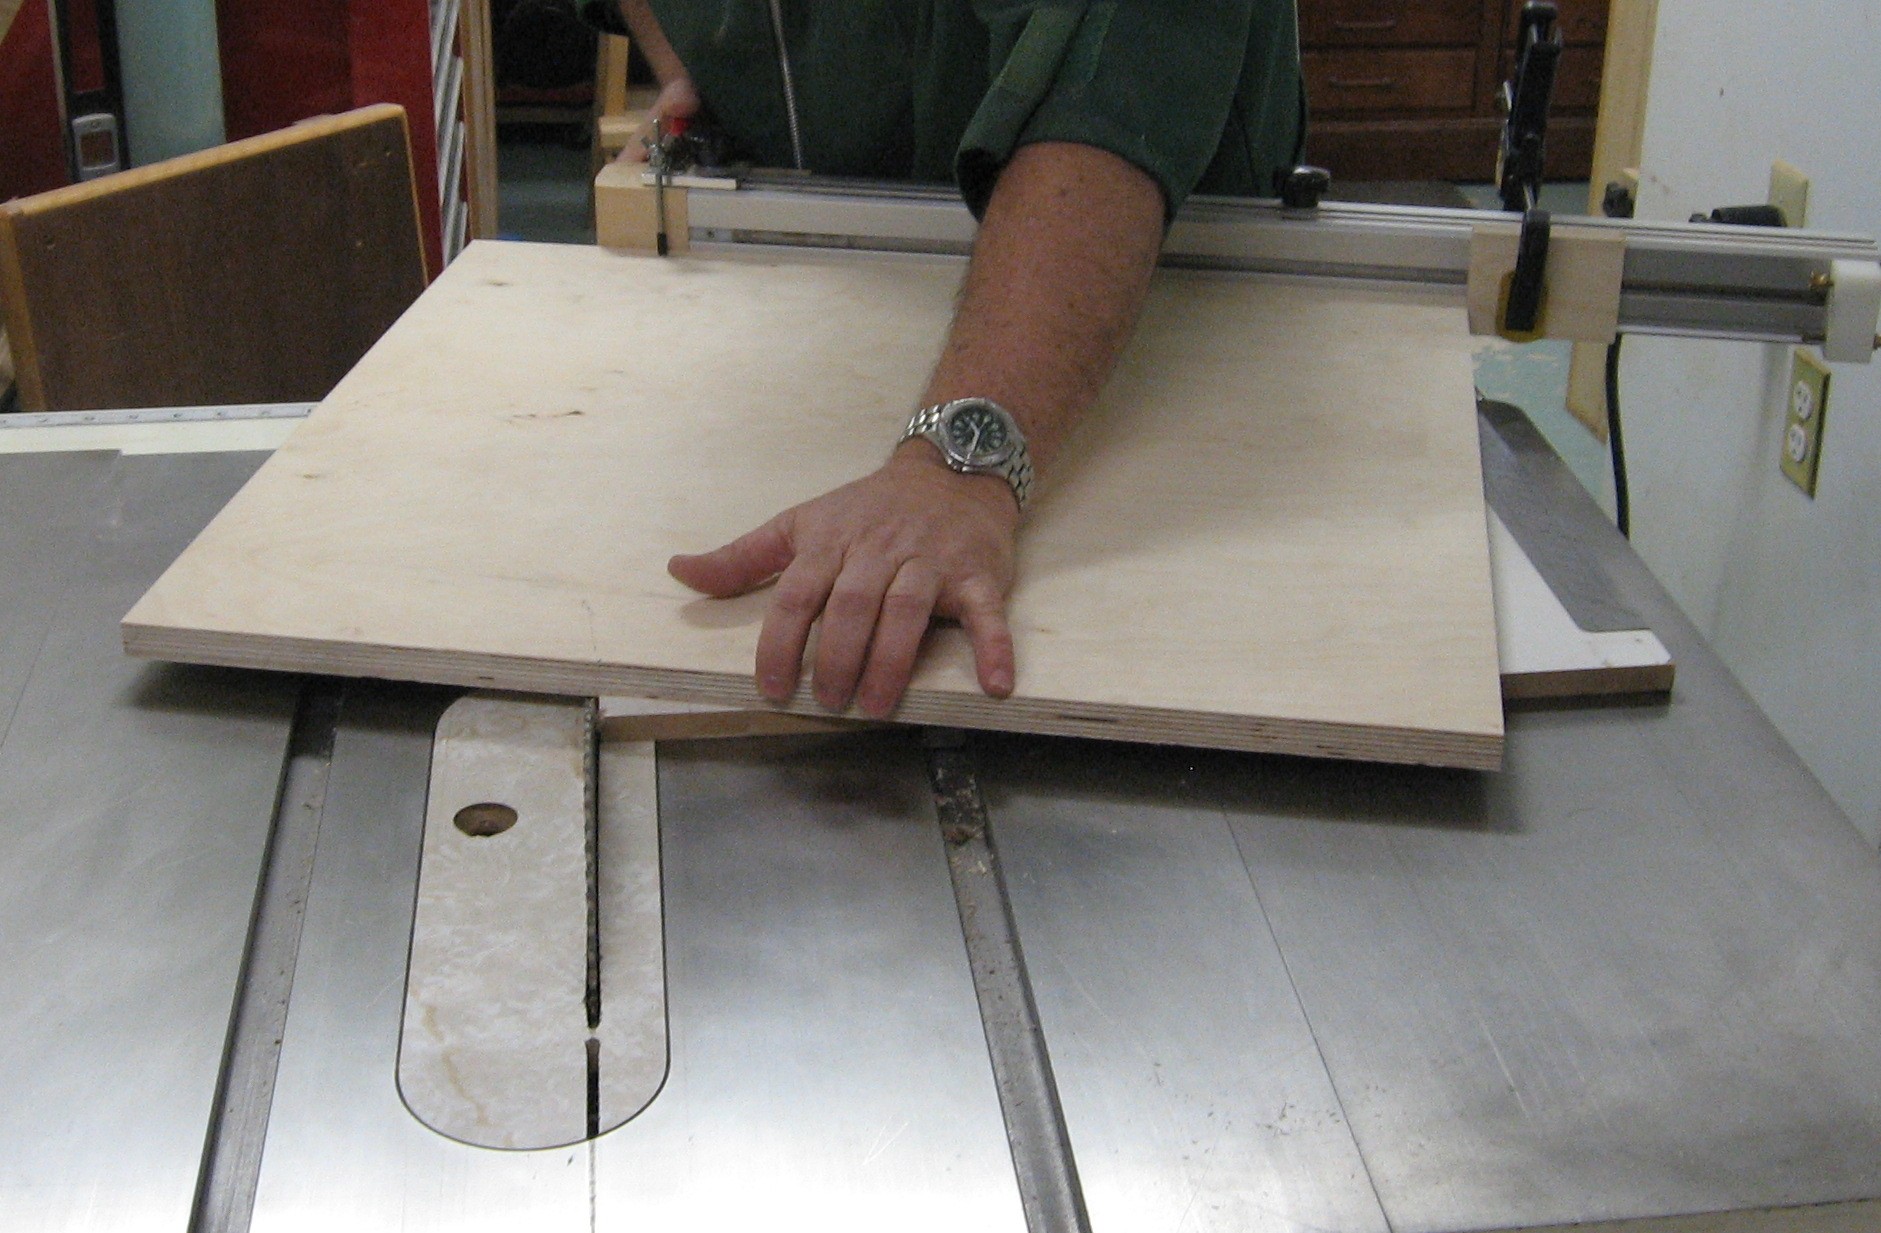
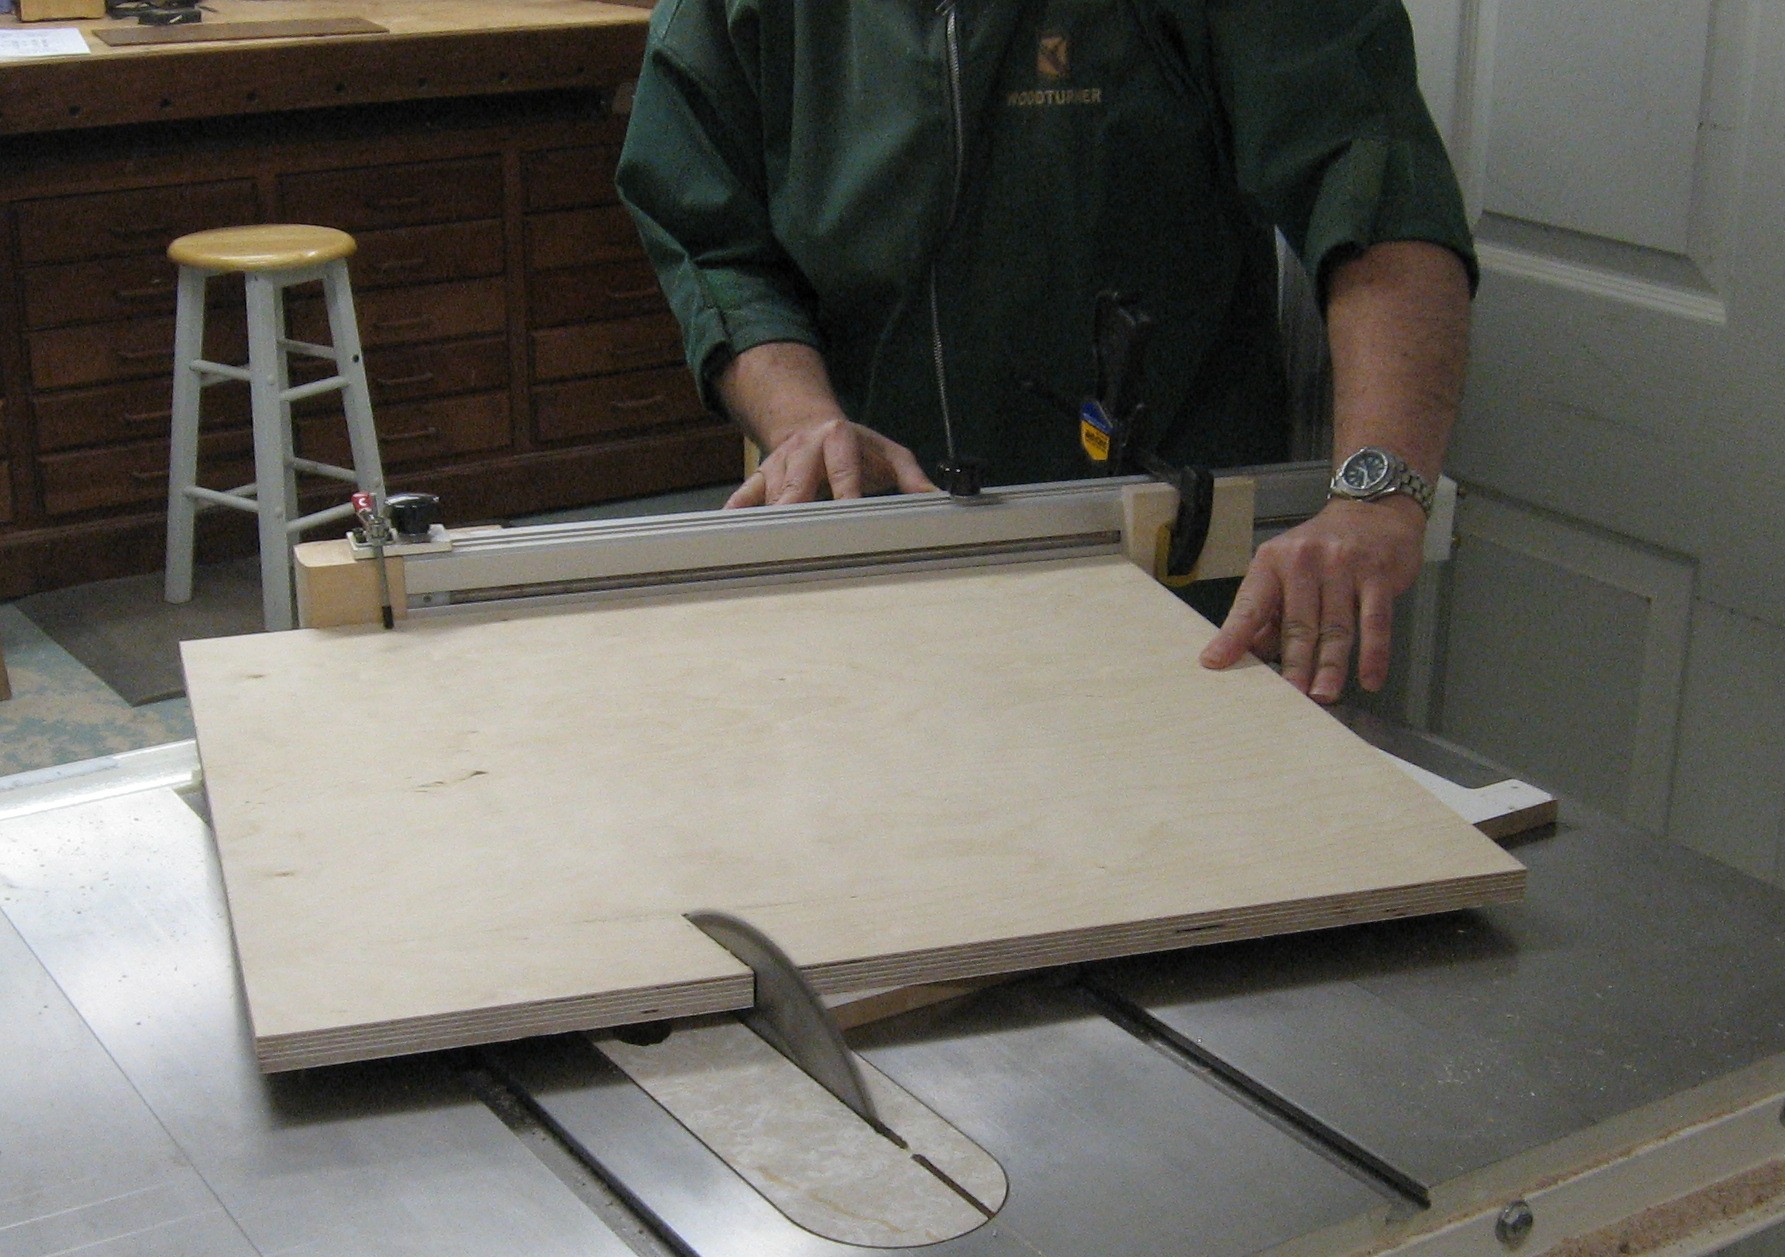
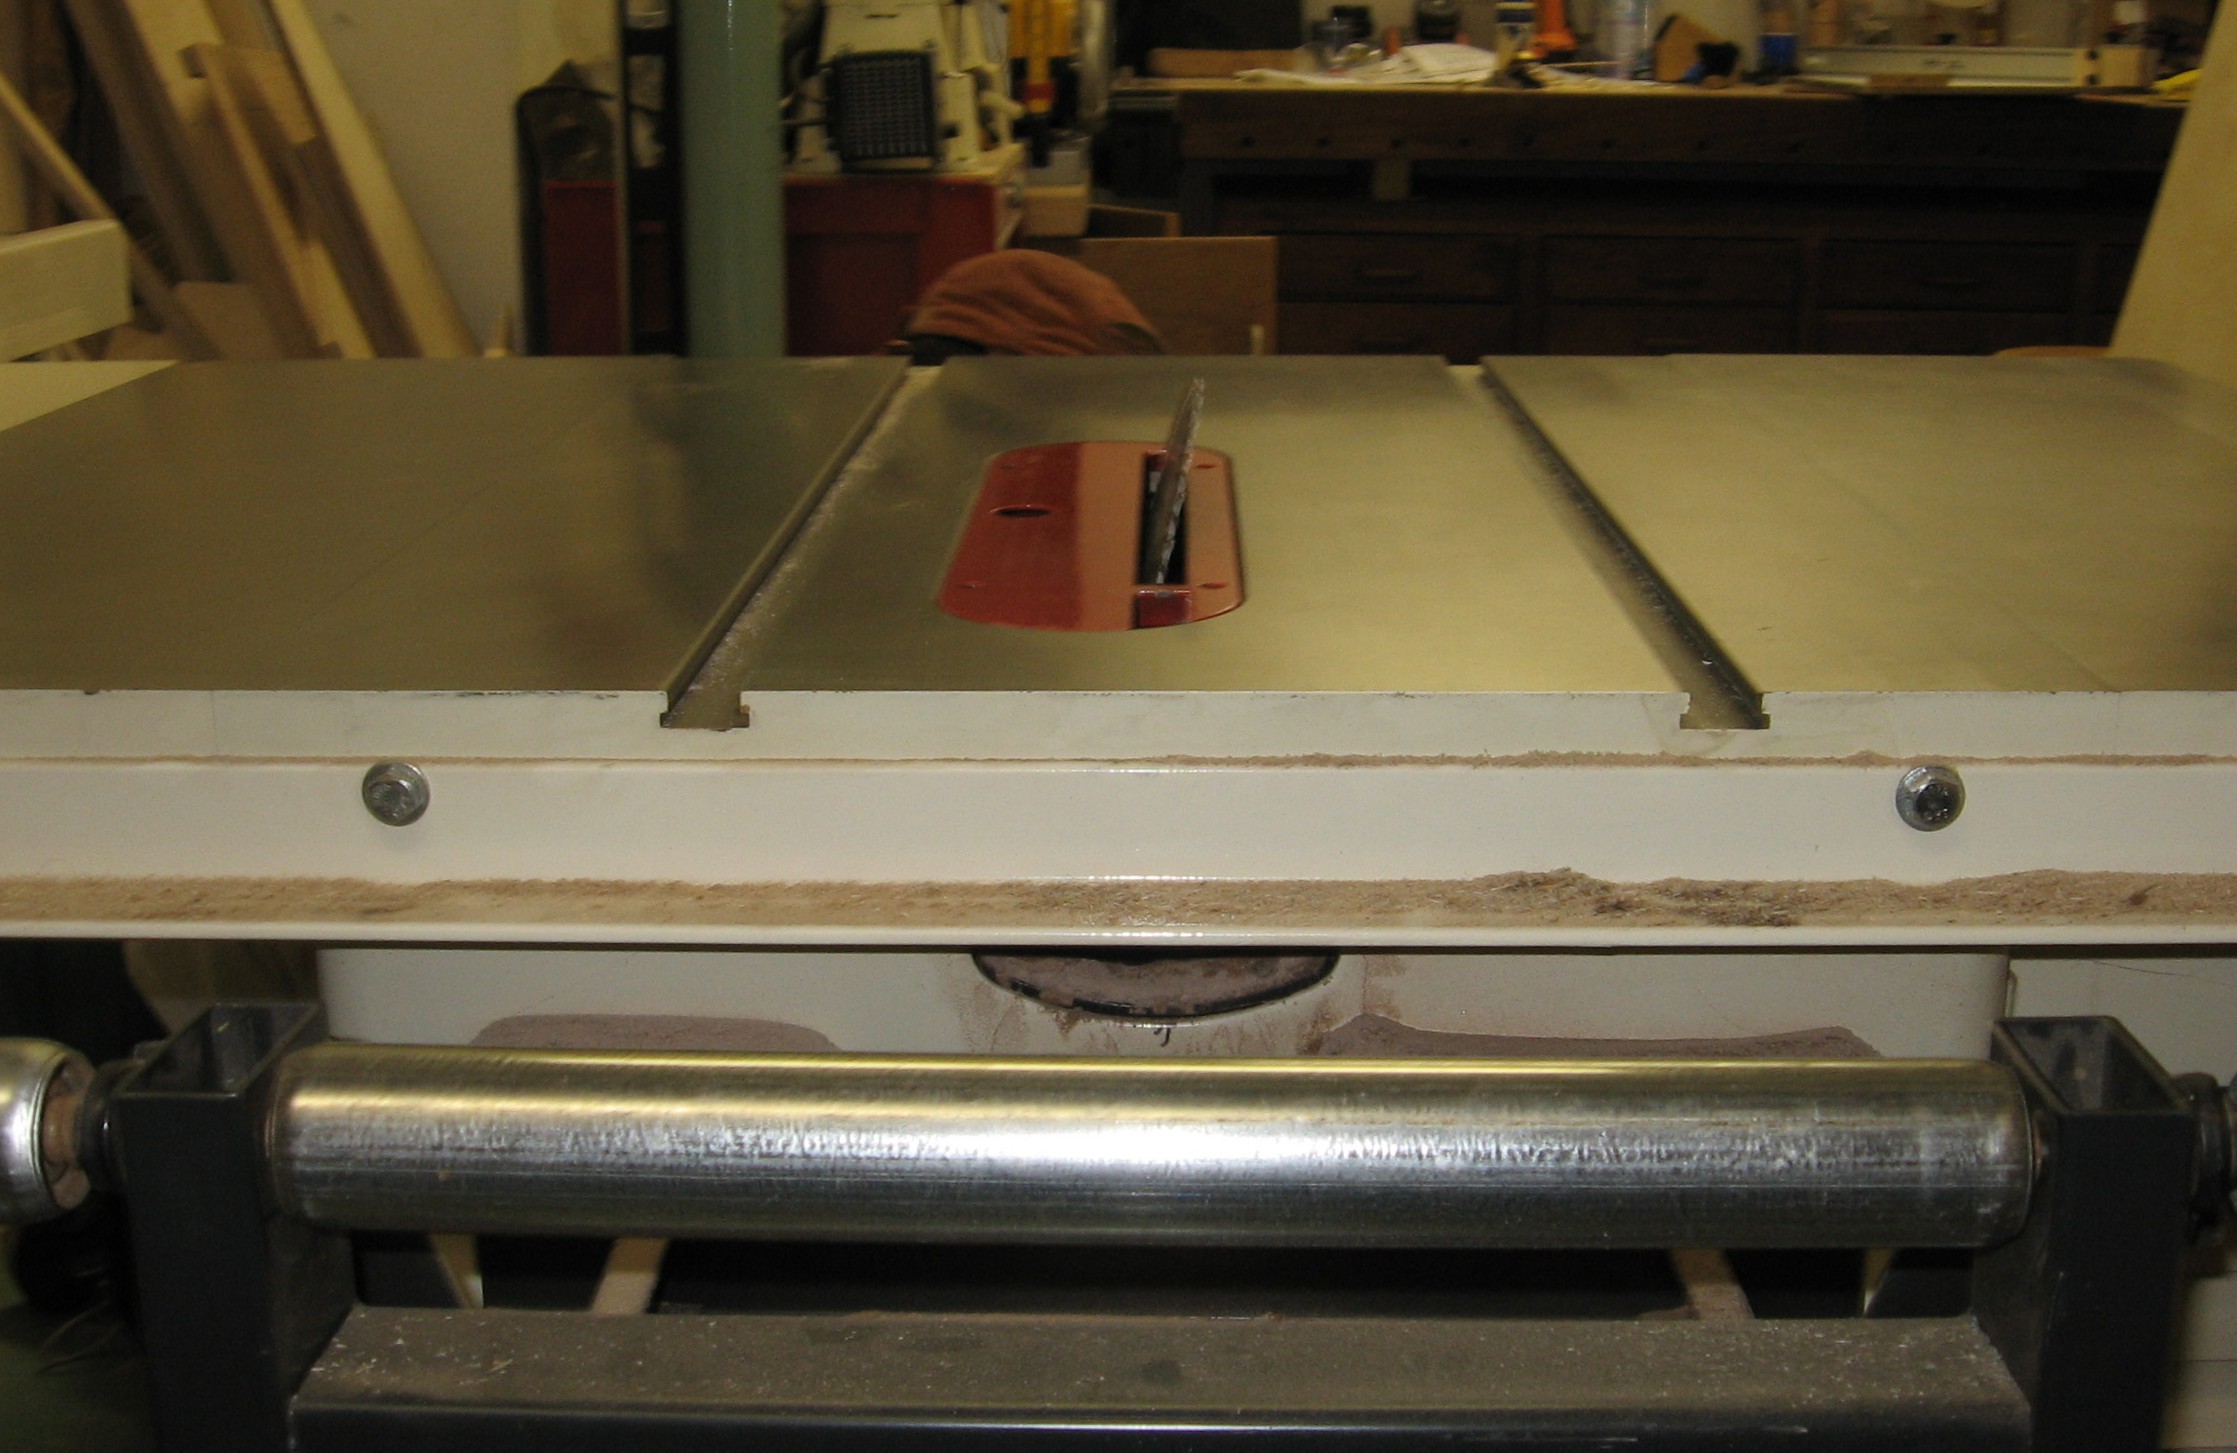
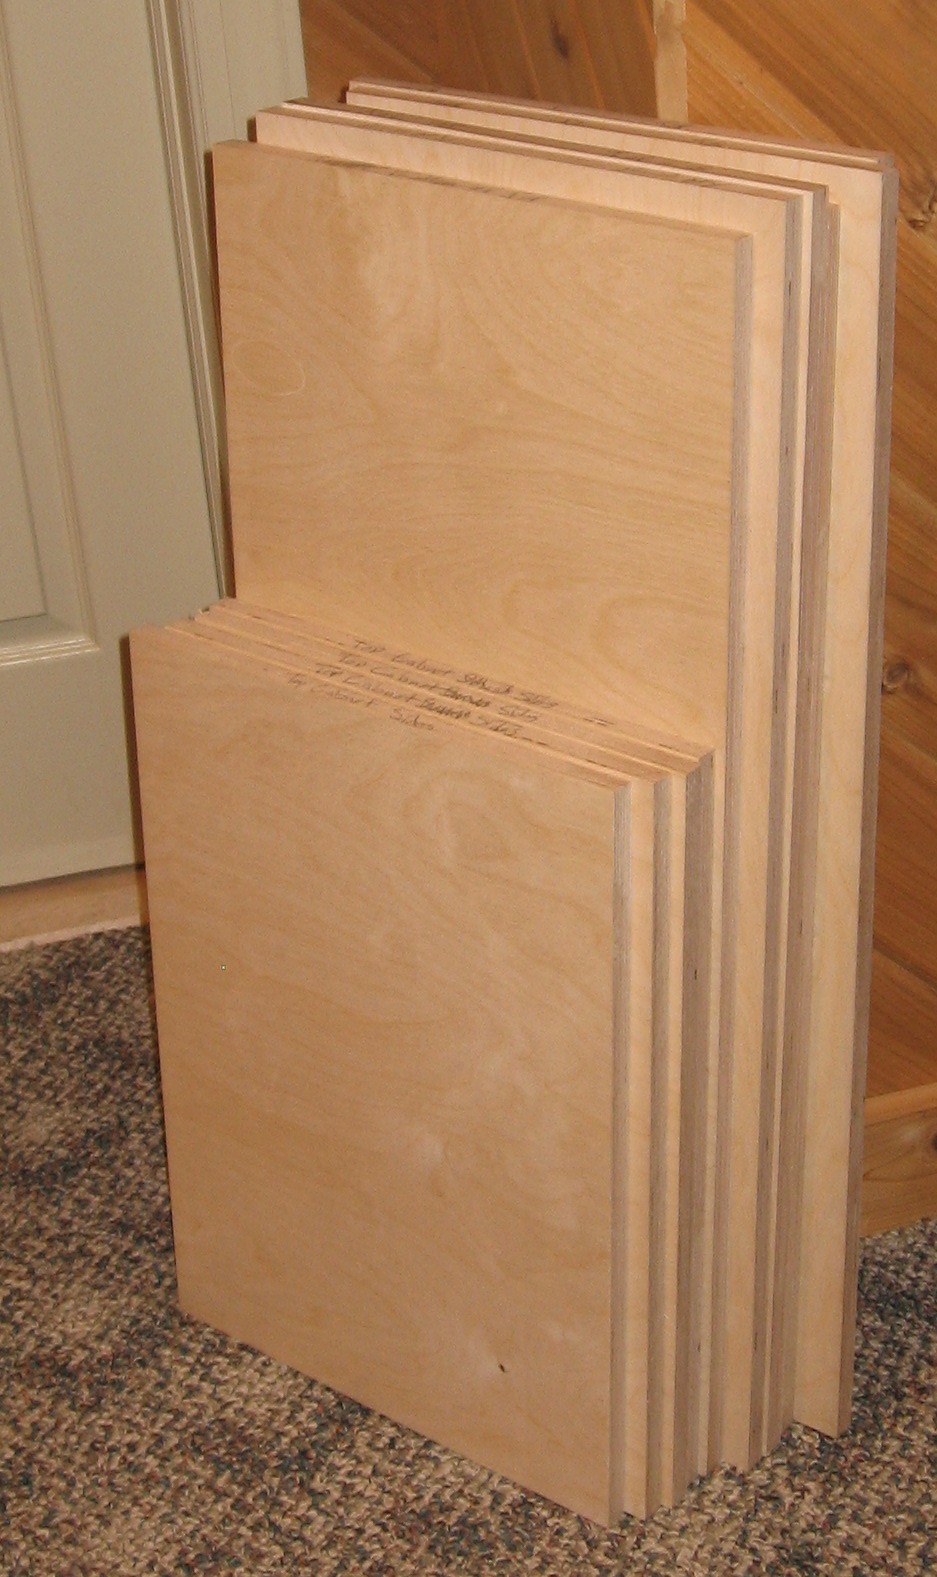
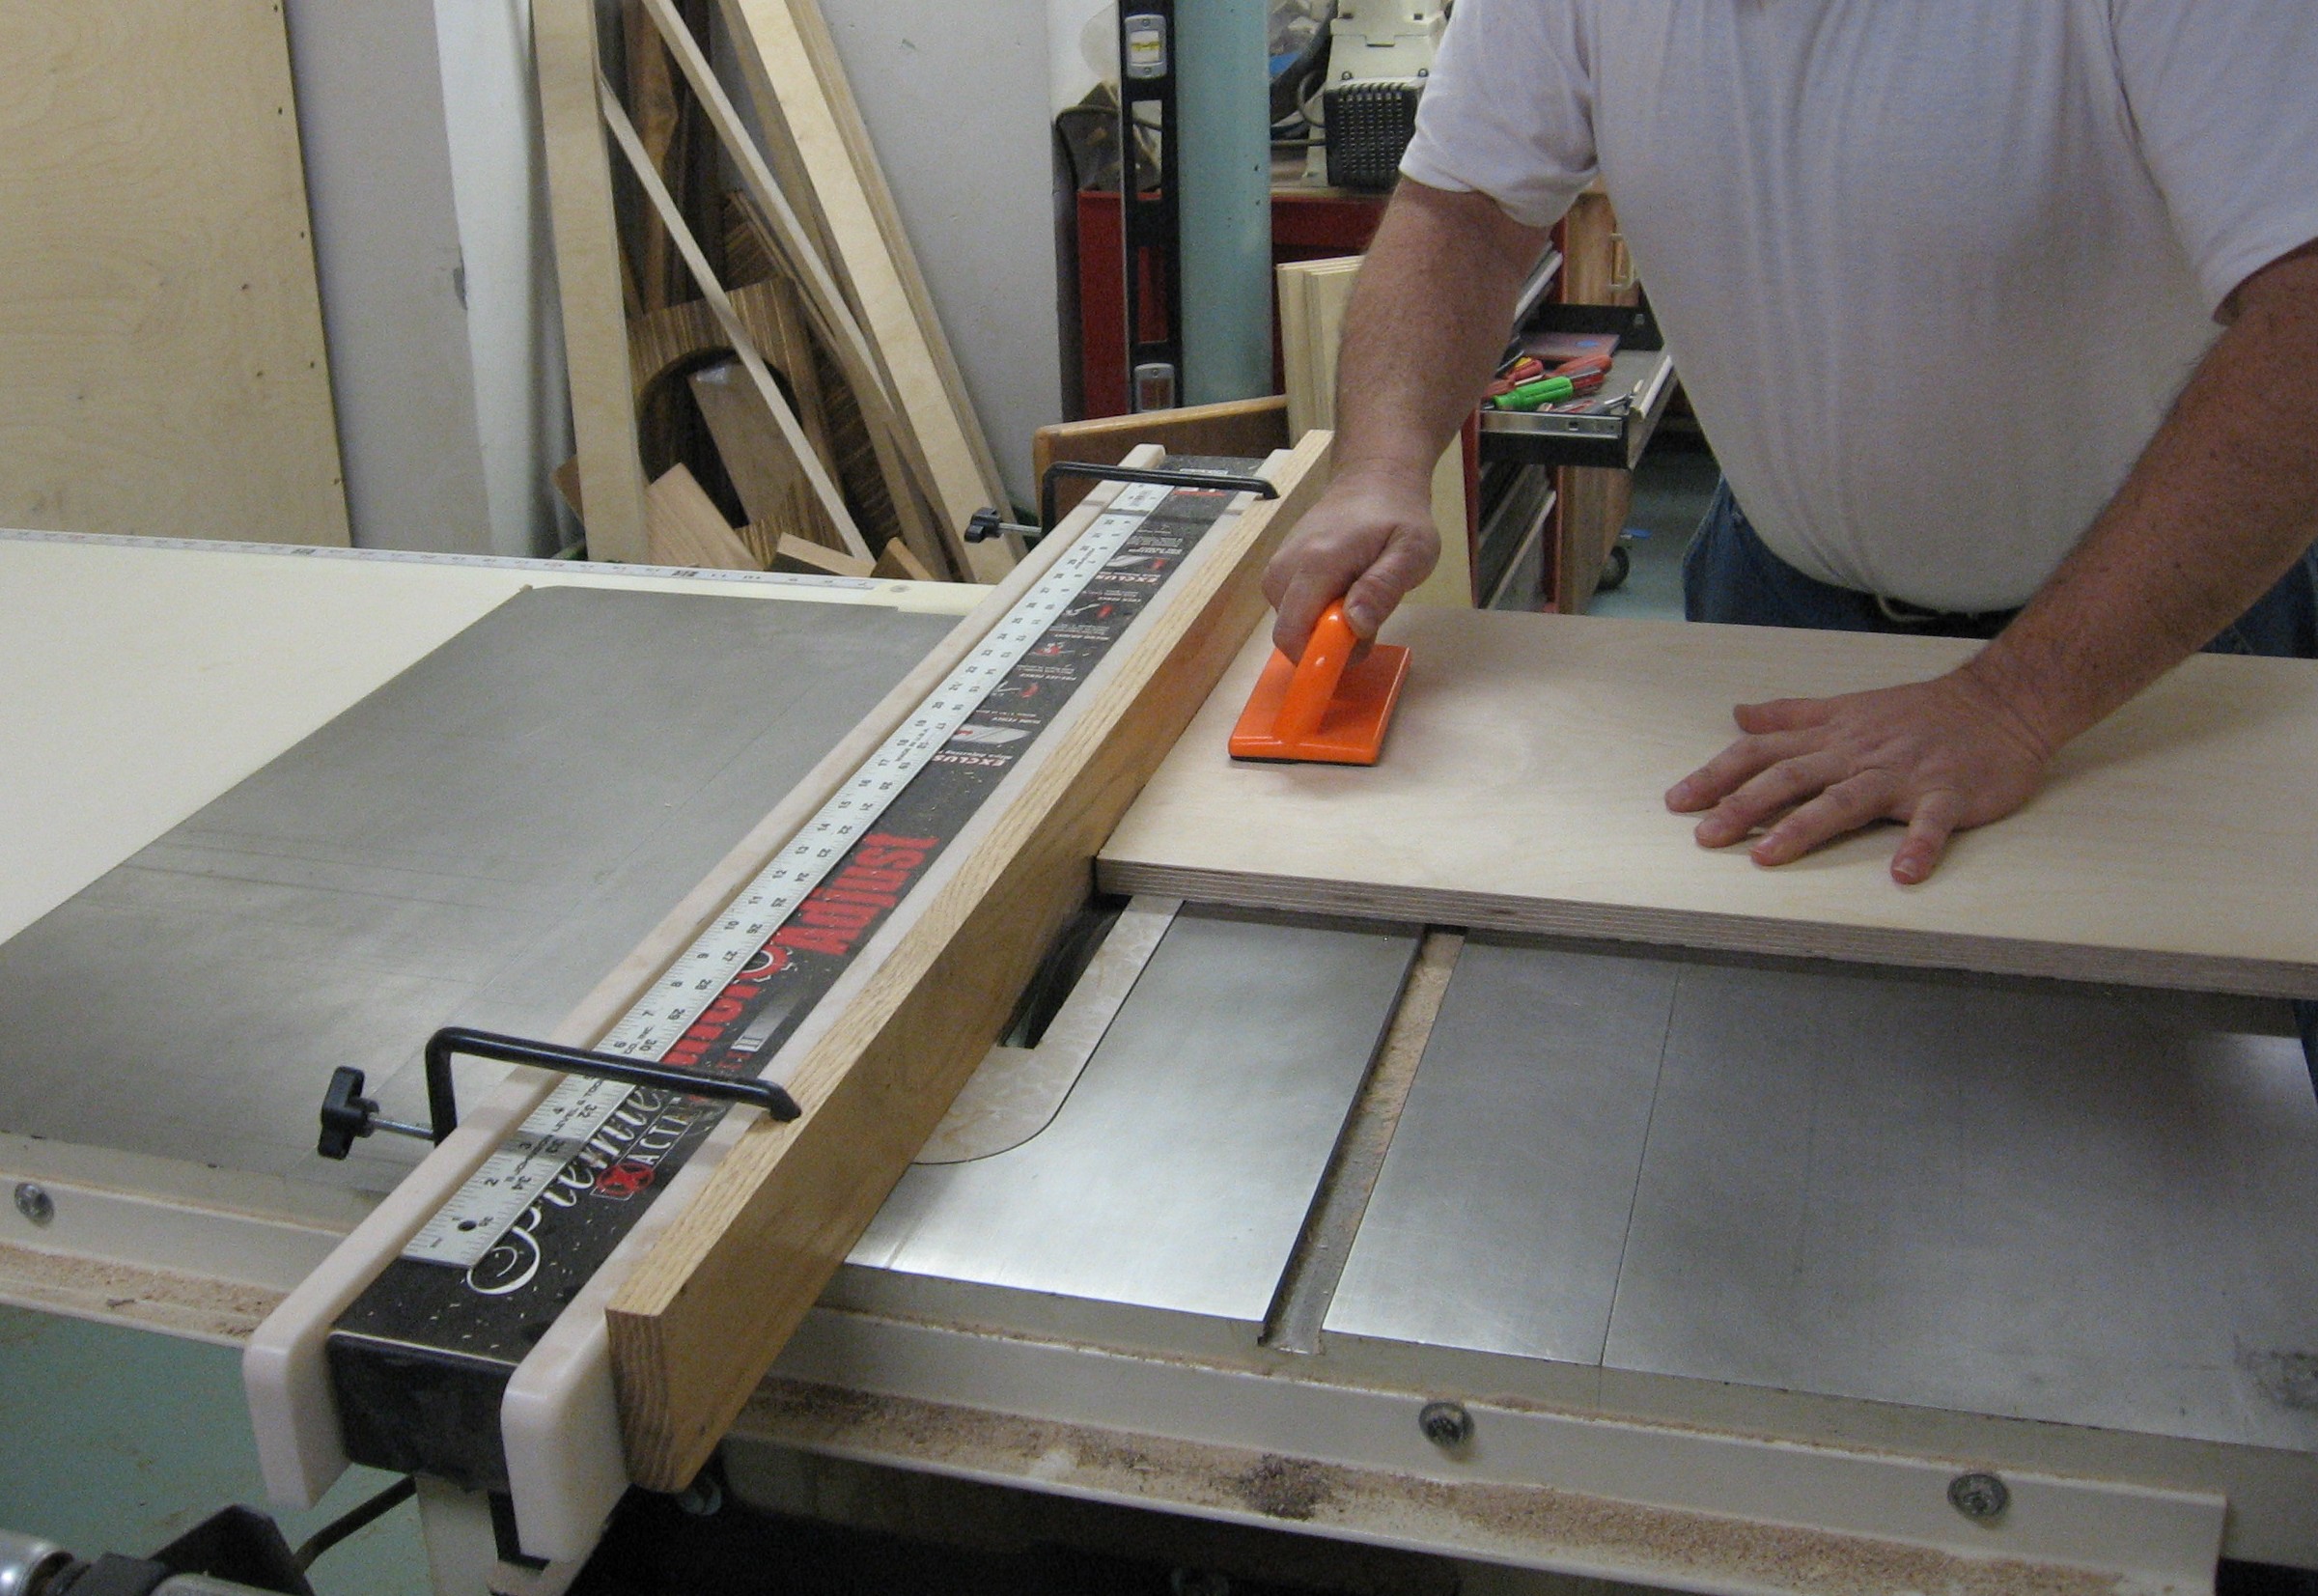
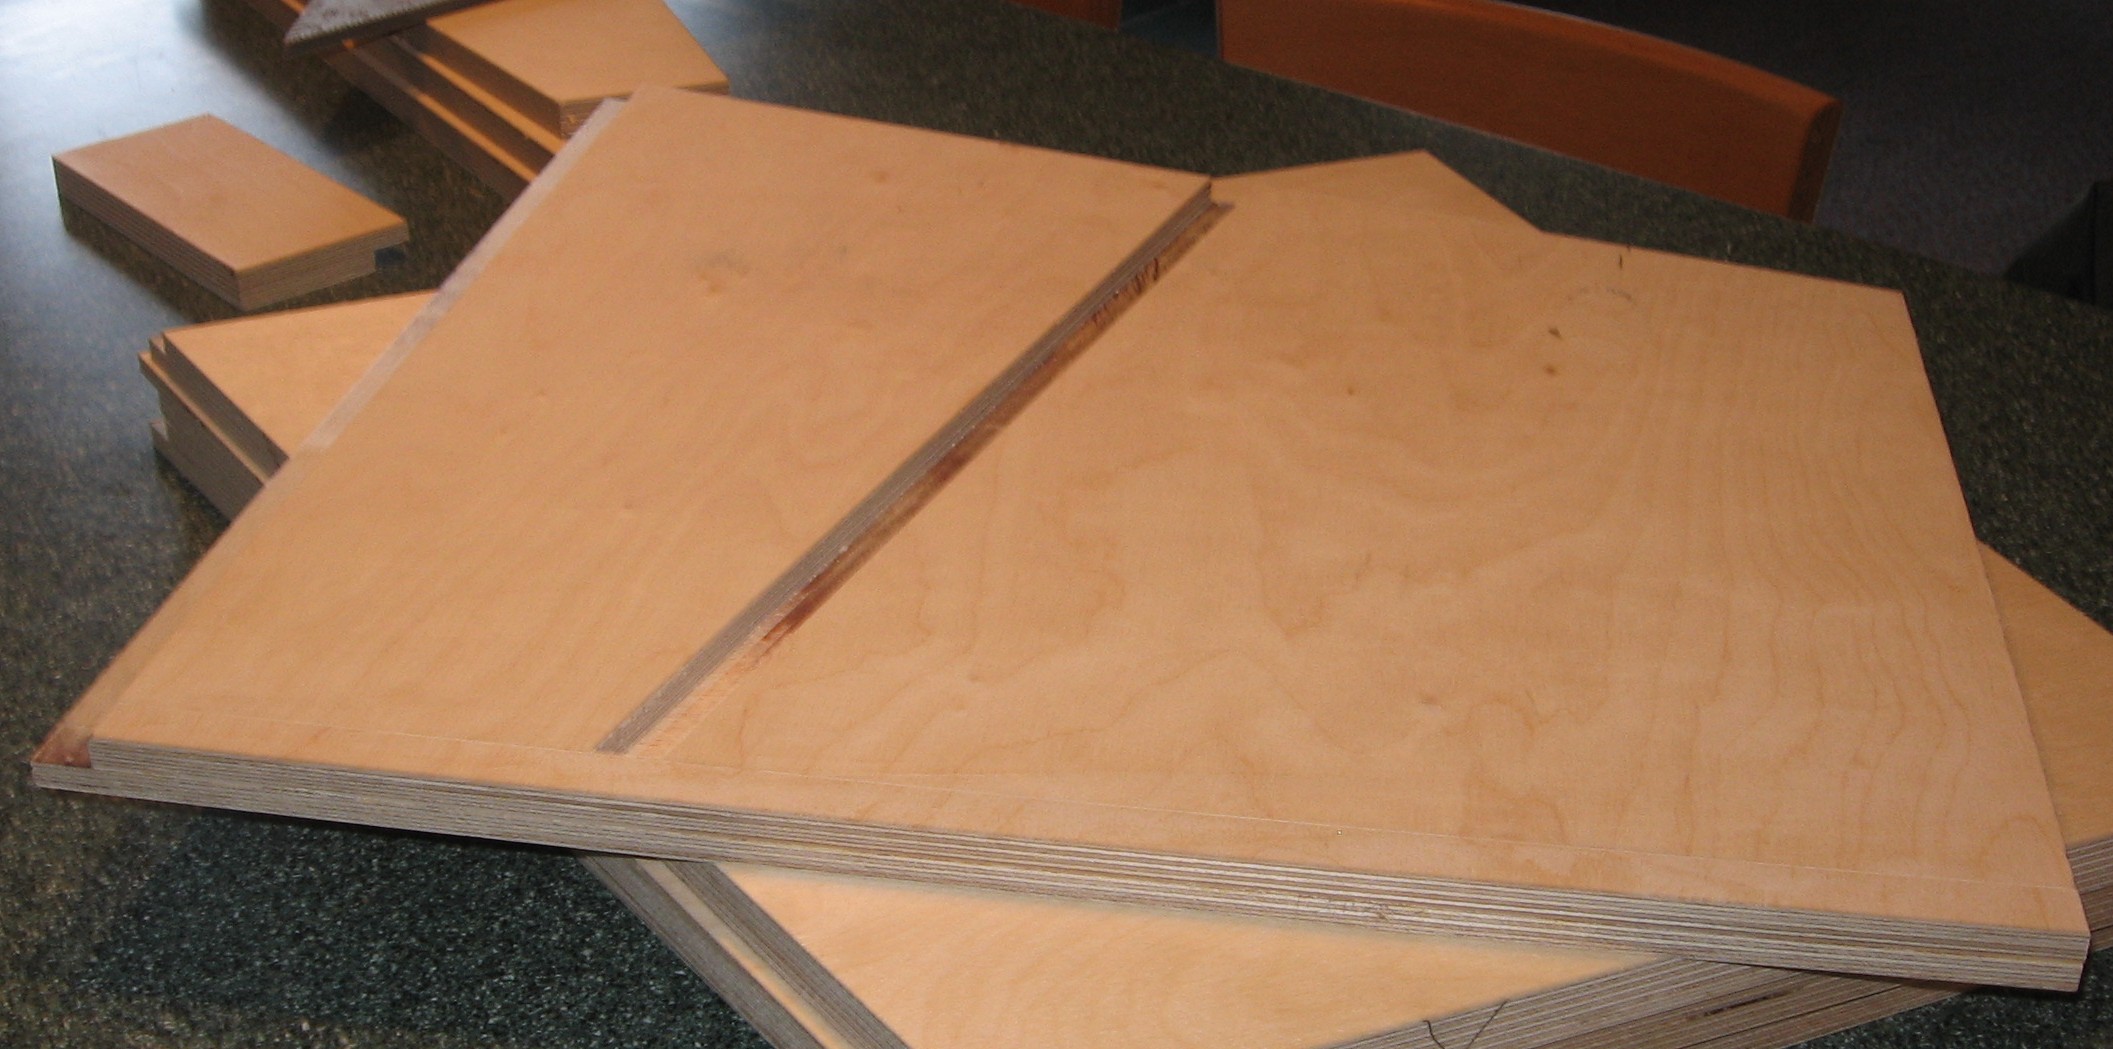
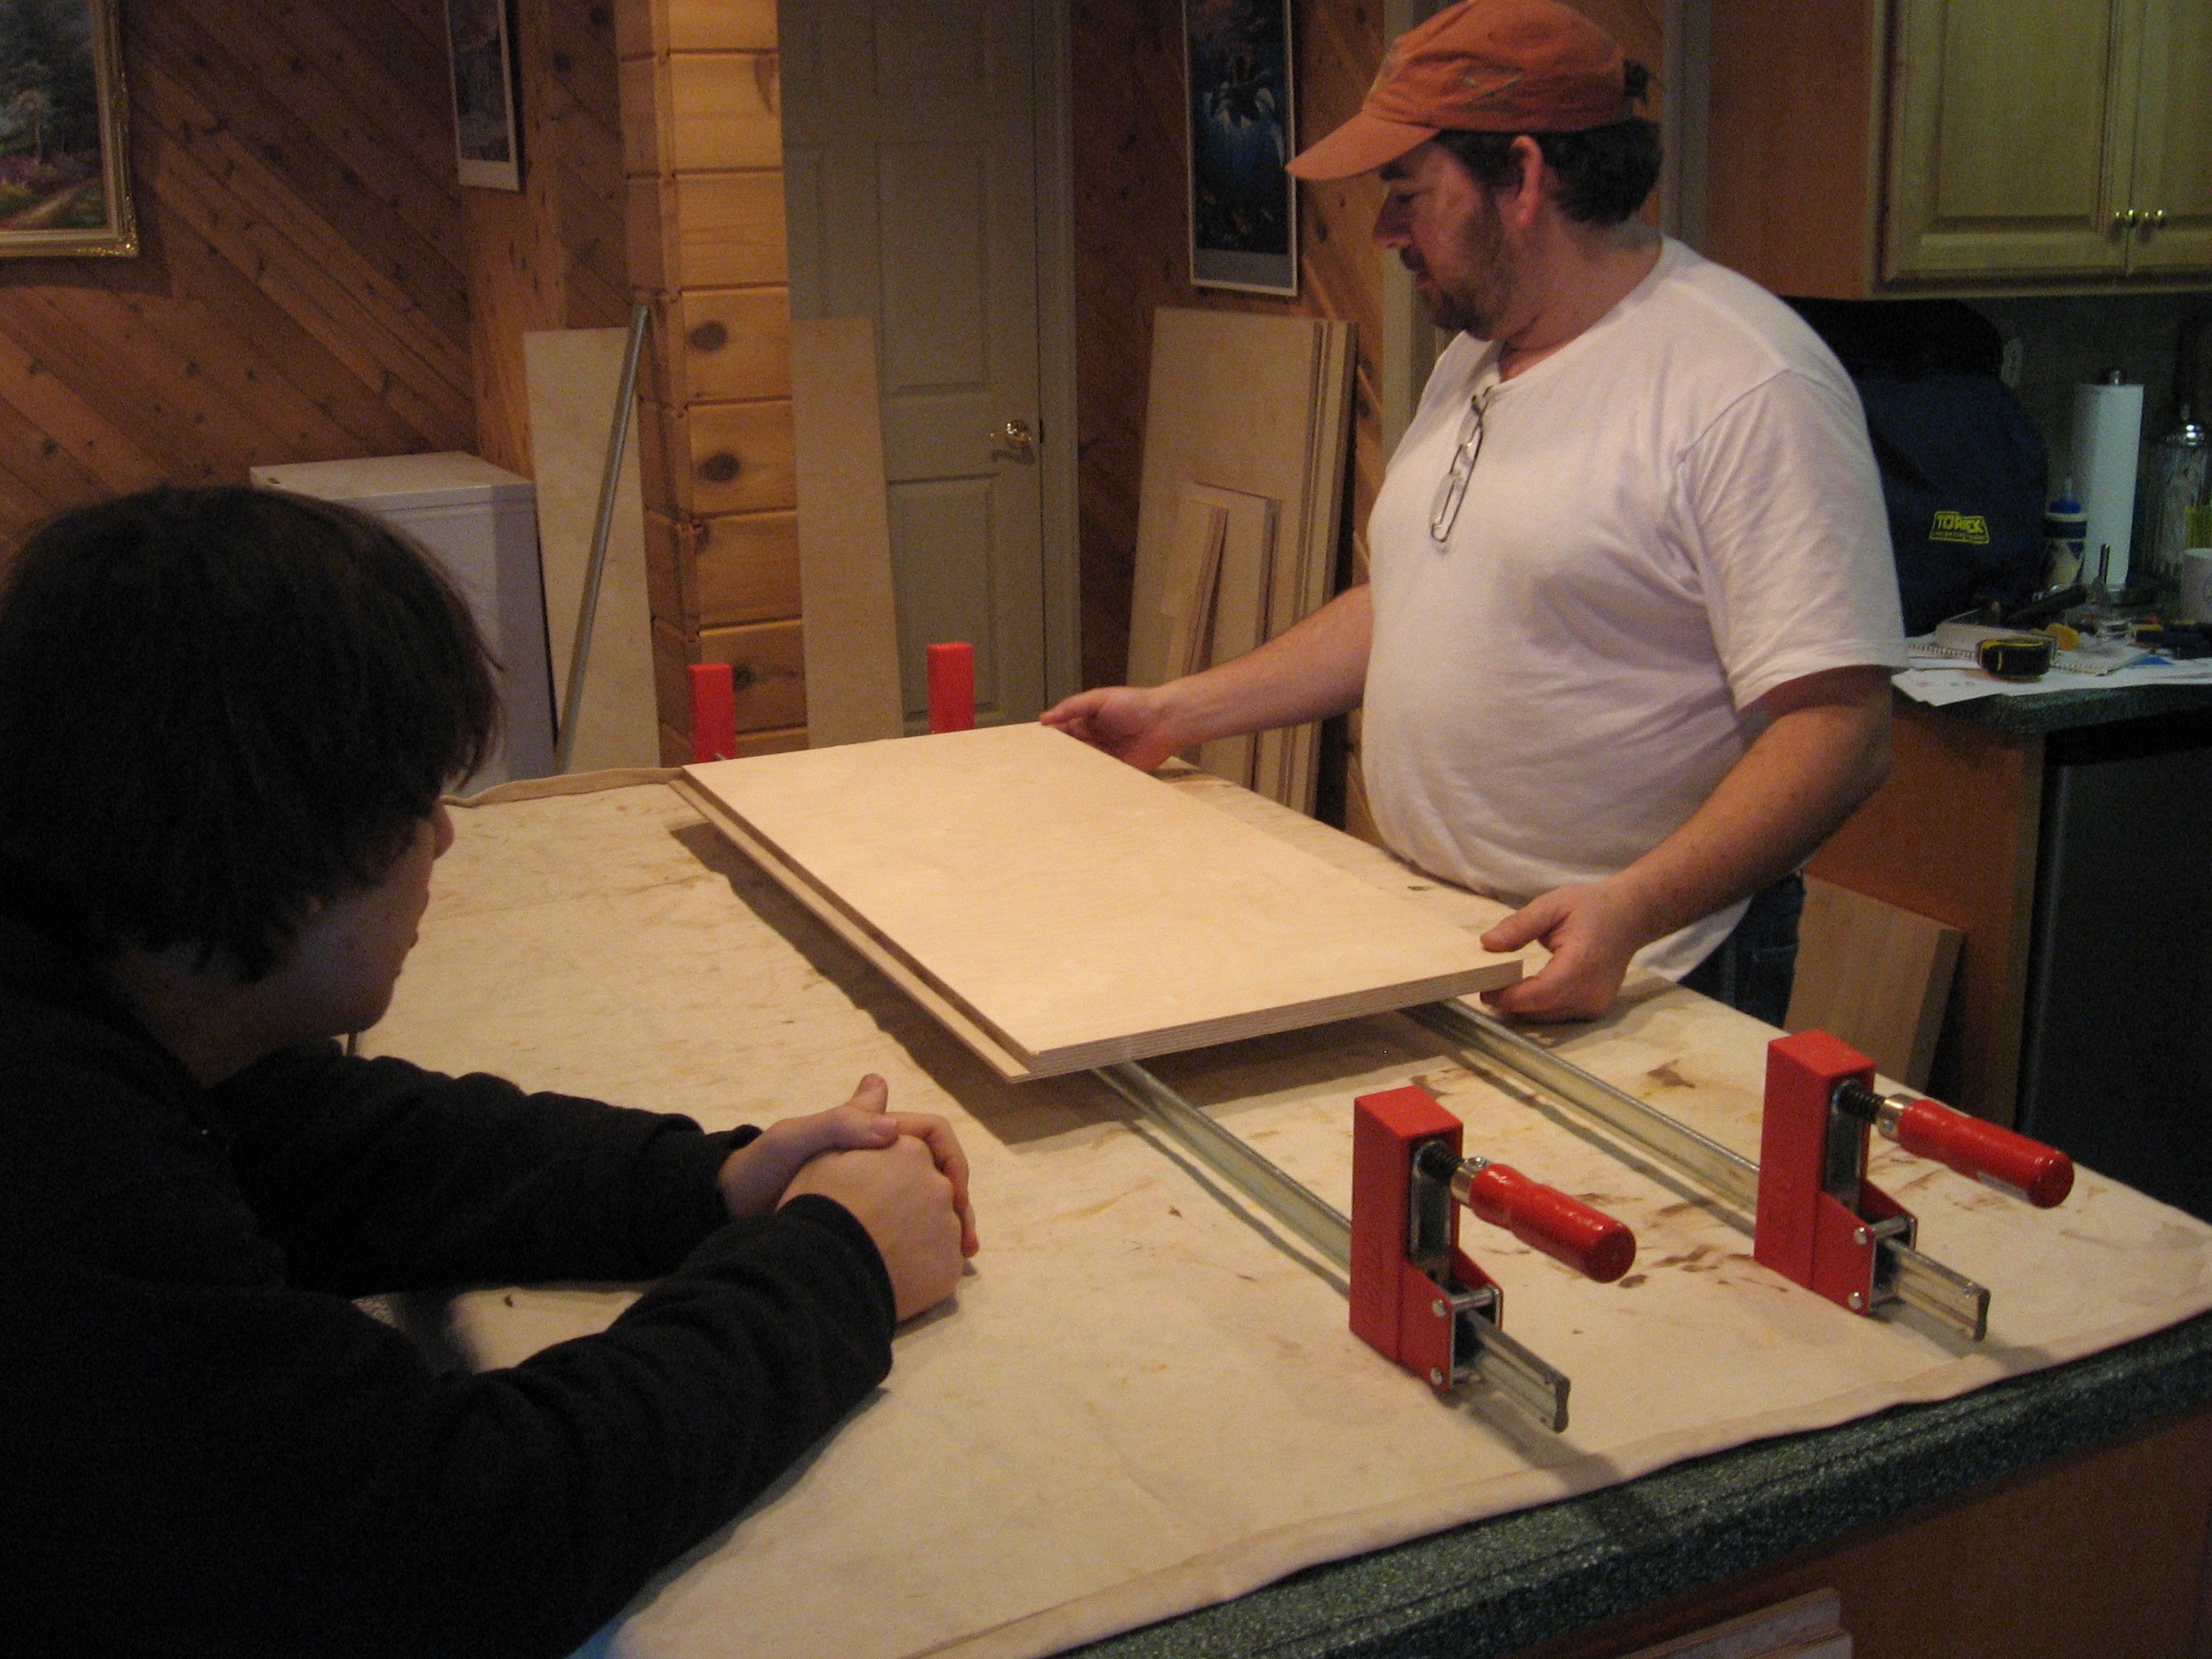
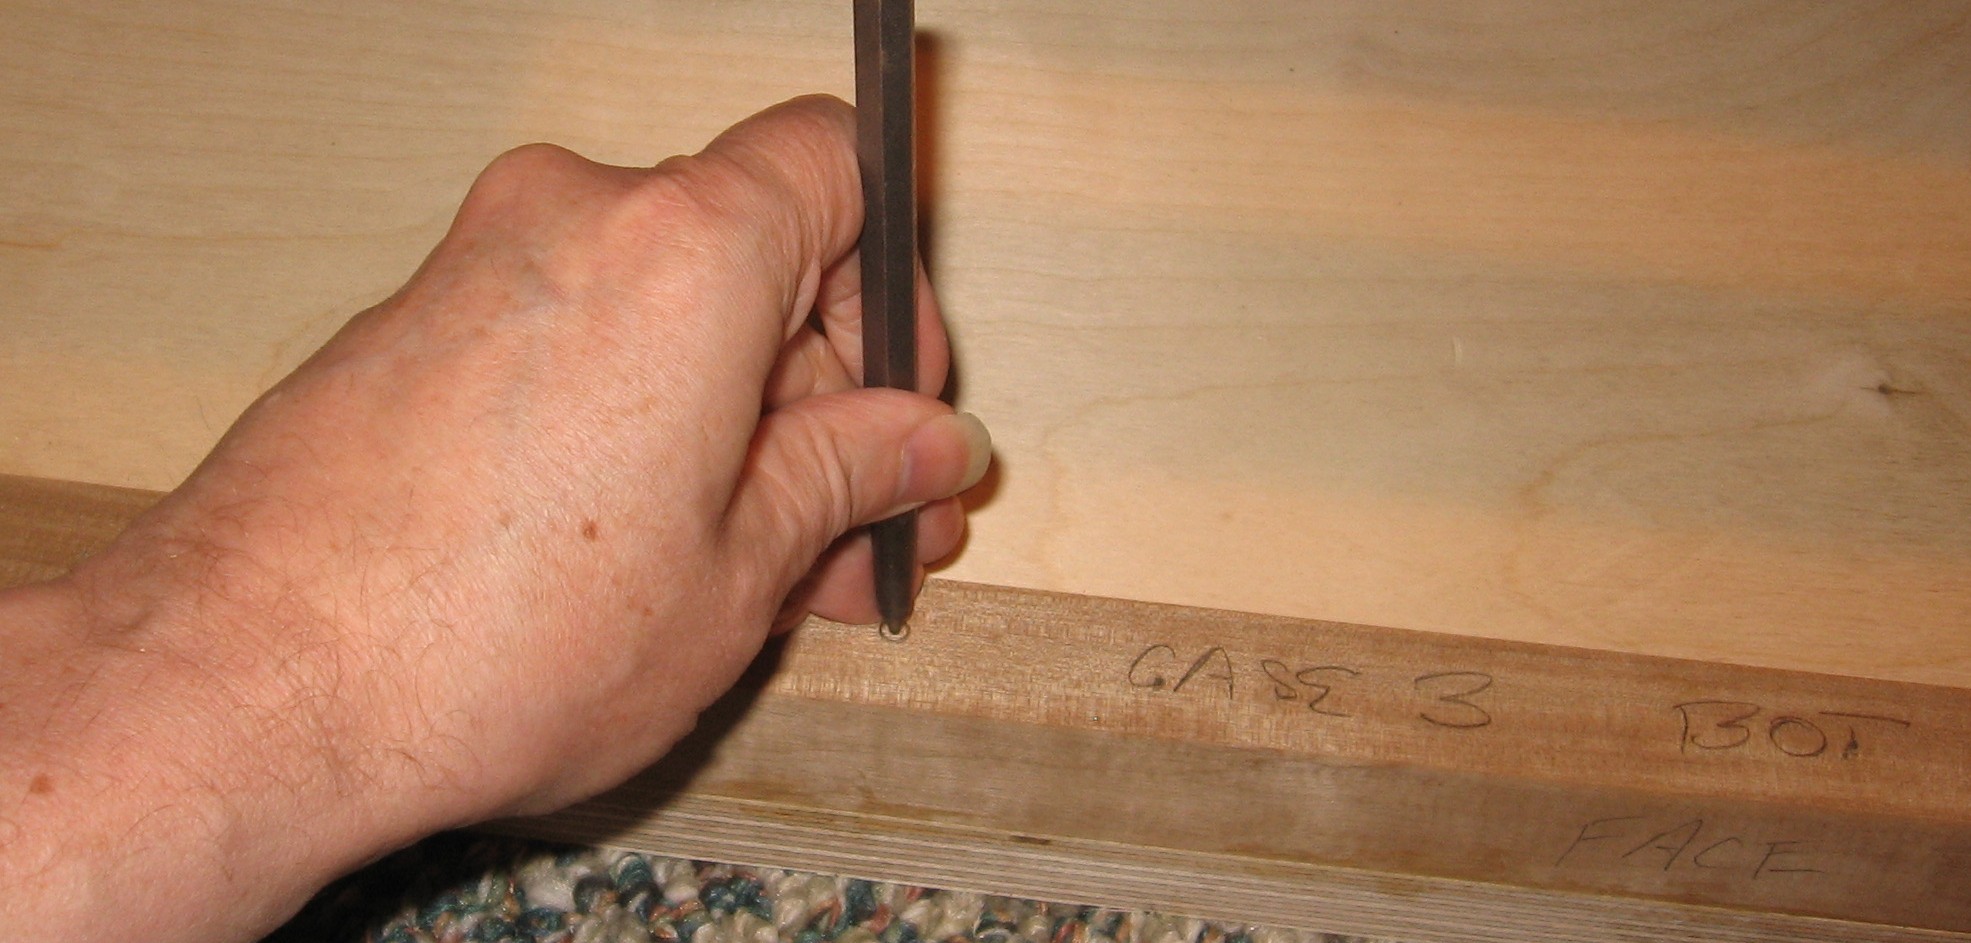
Cuts We settled into a rhythm of fabricating plywood parts
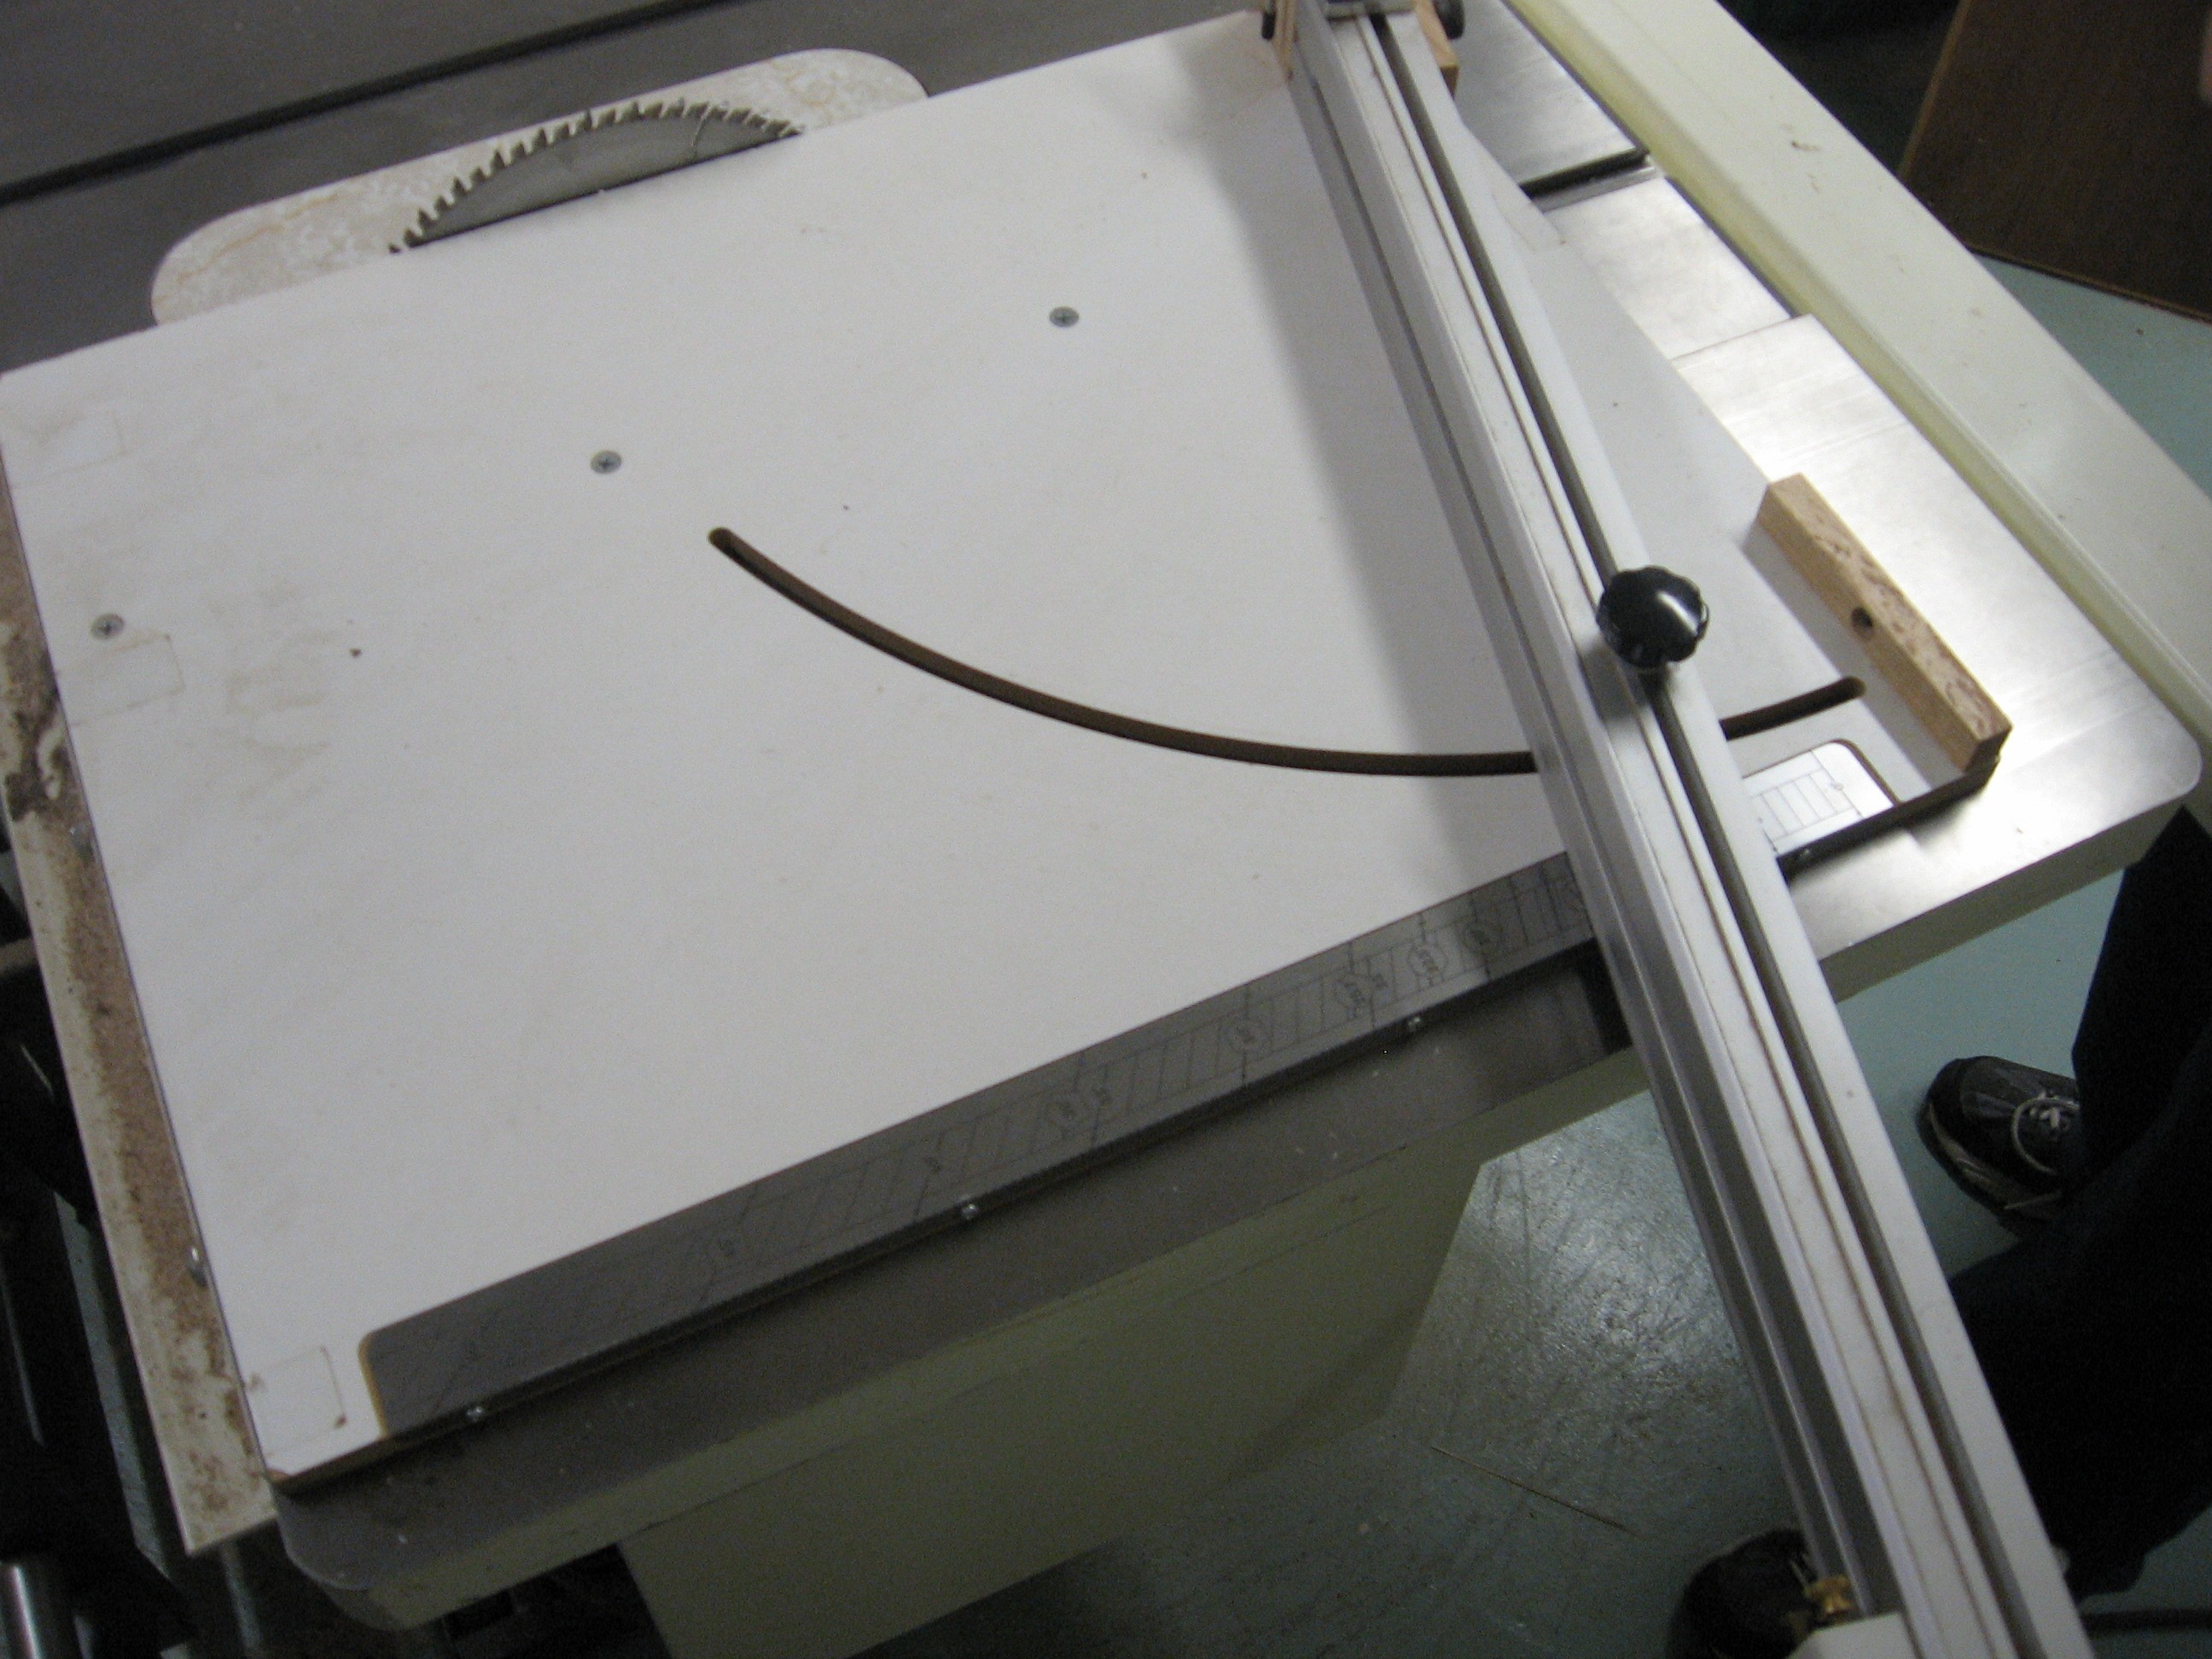
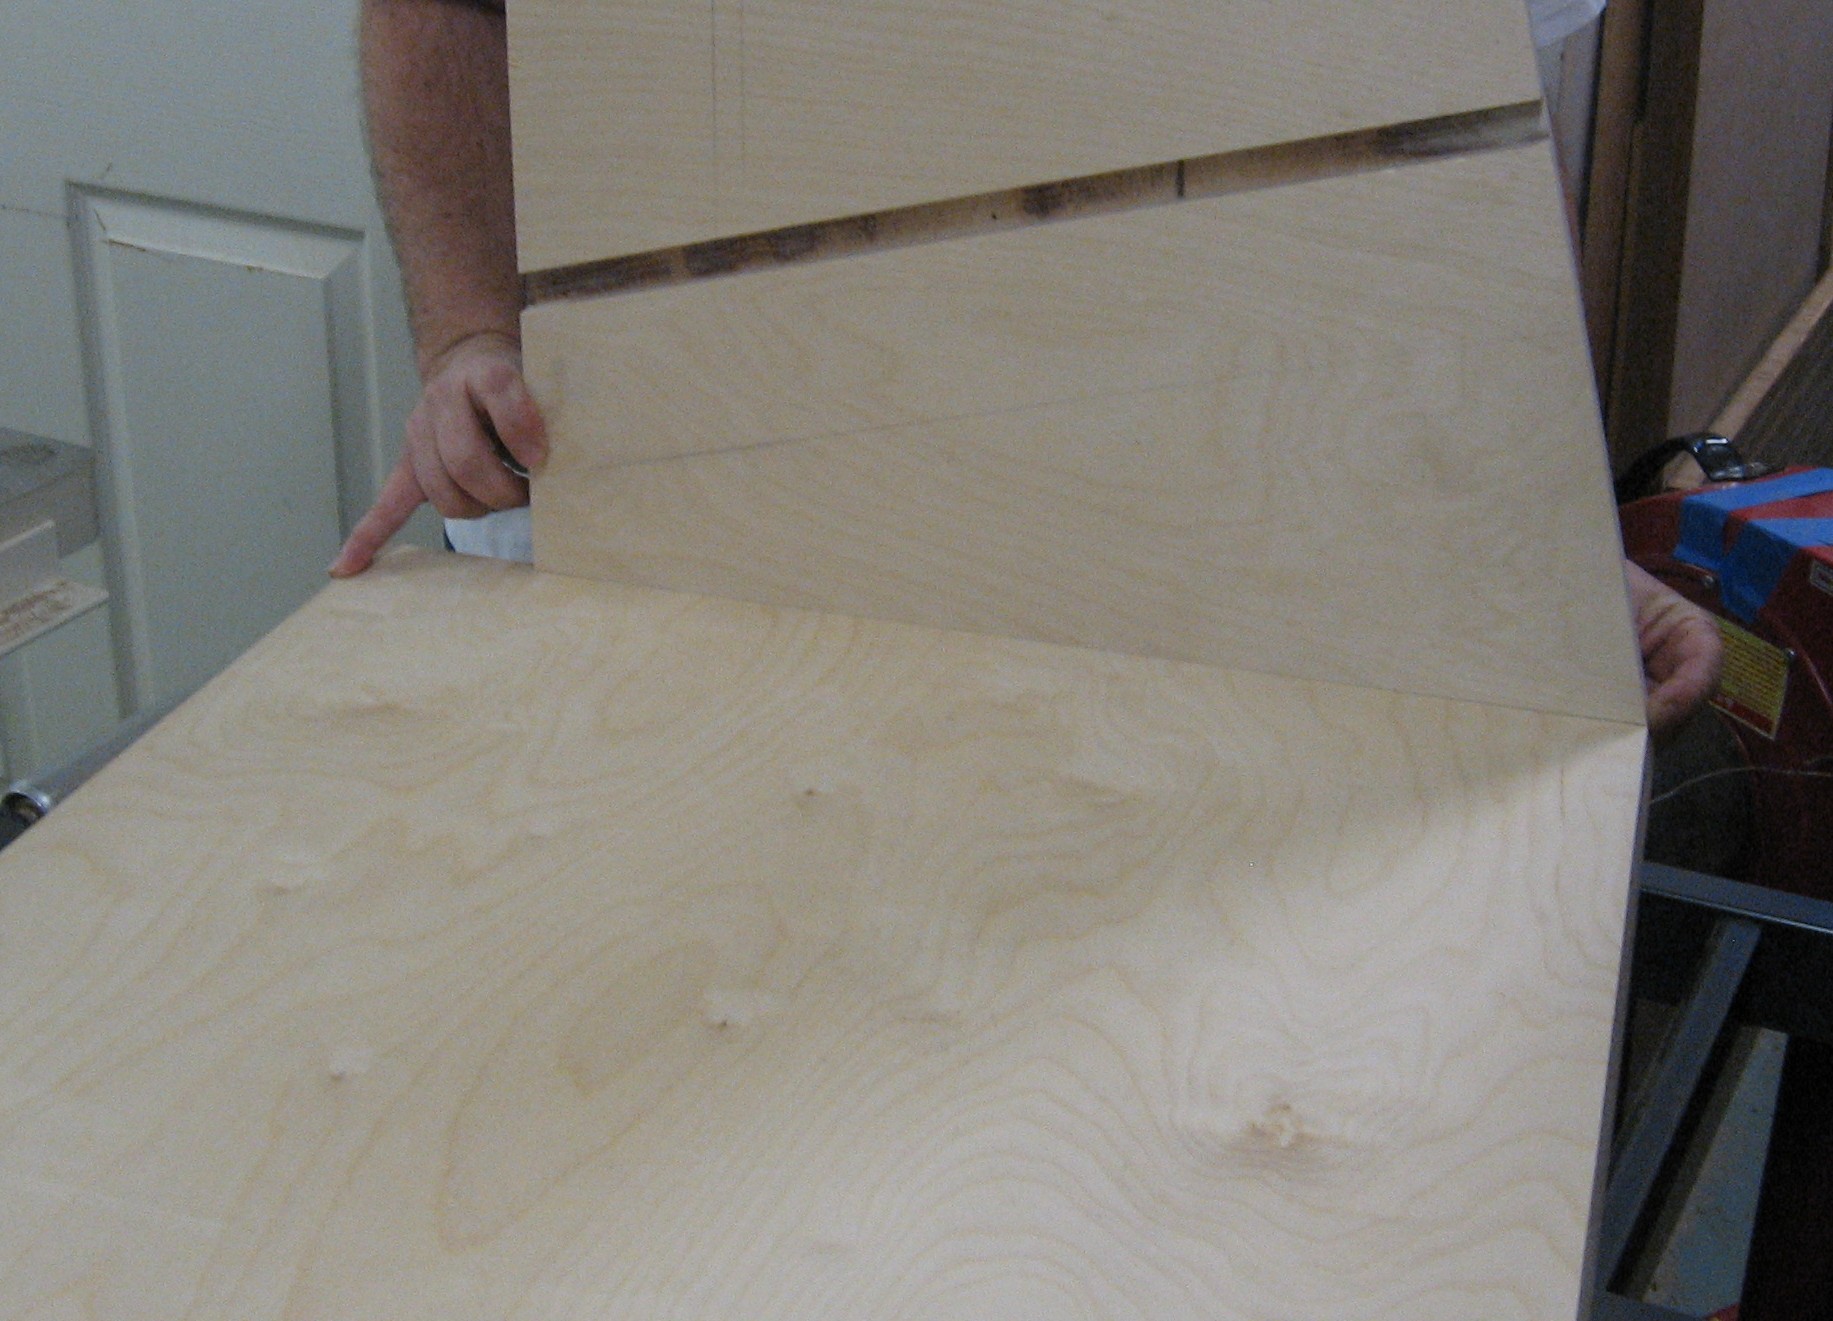
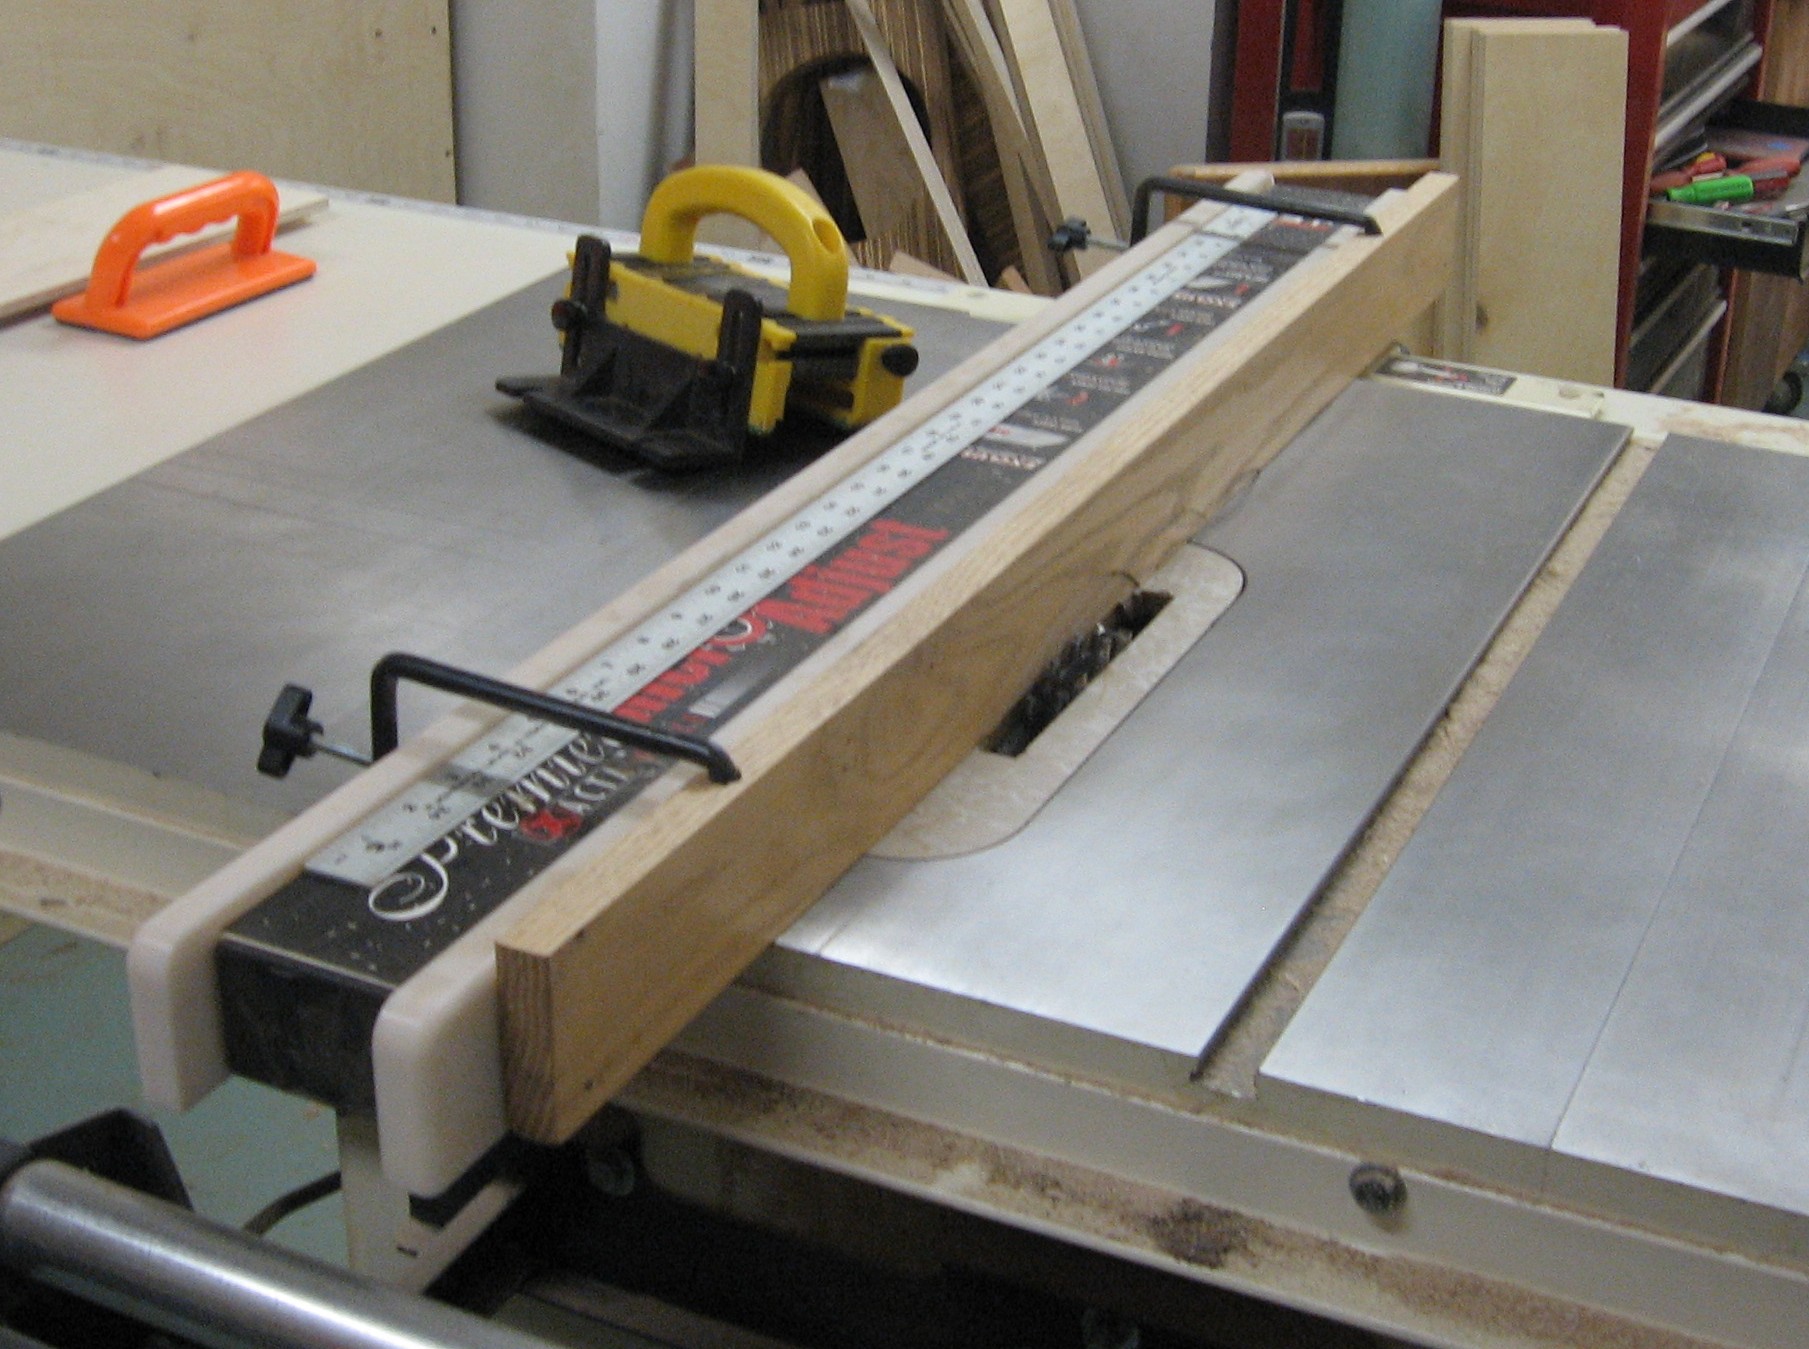
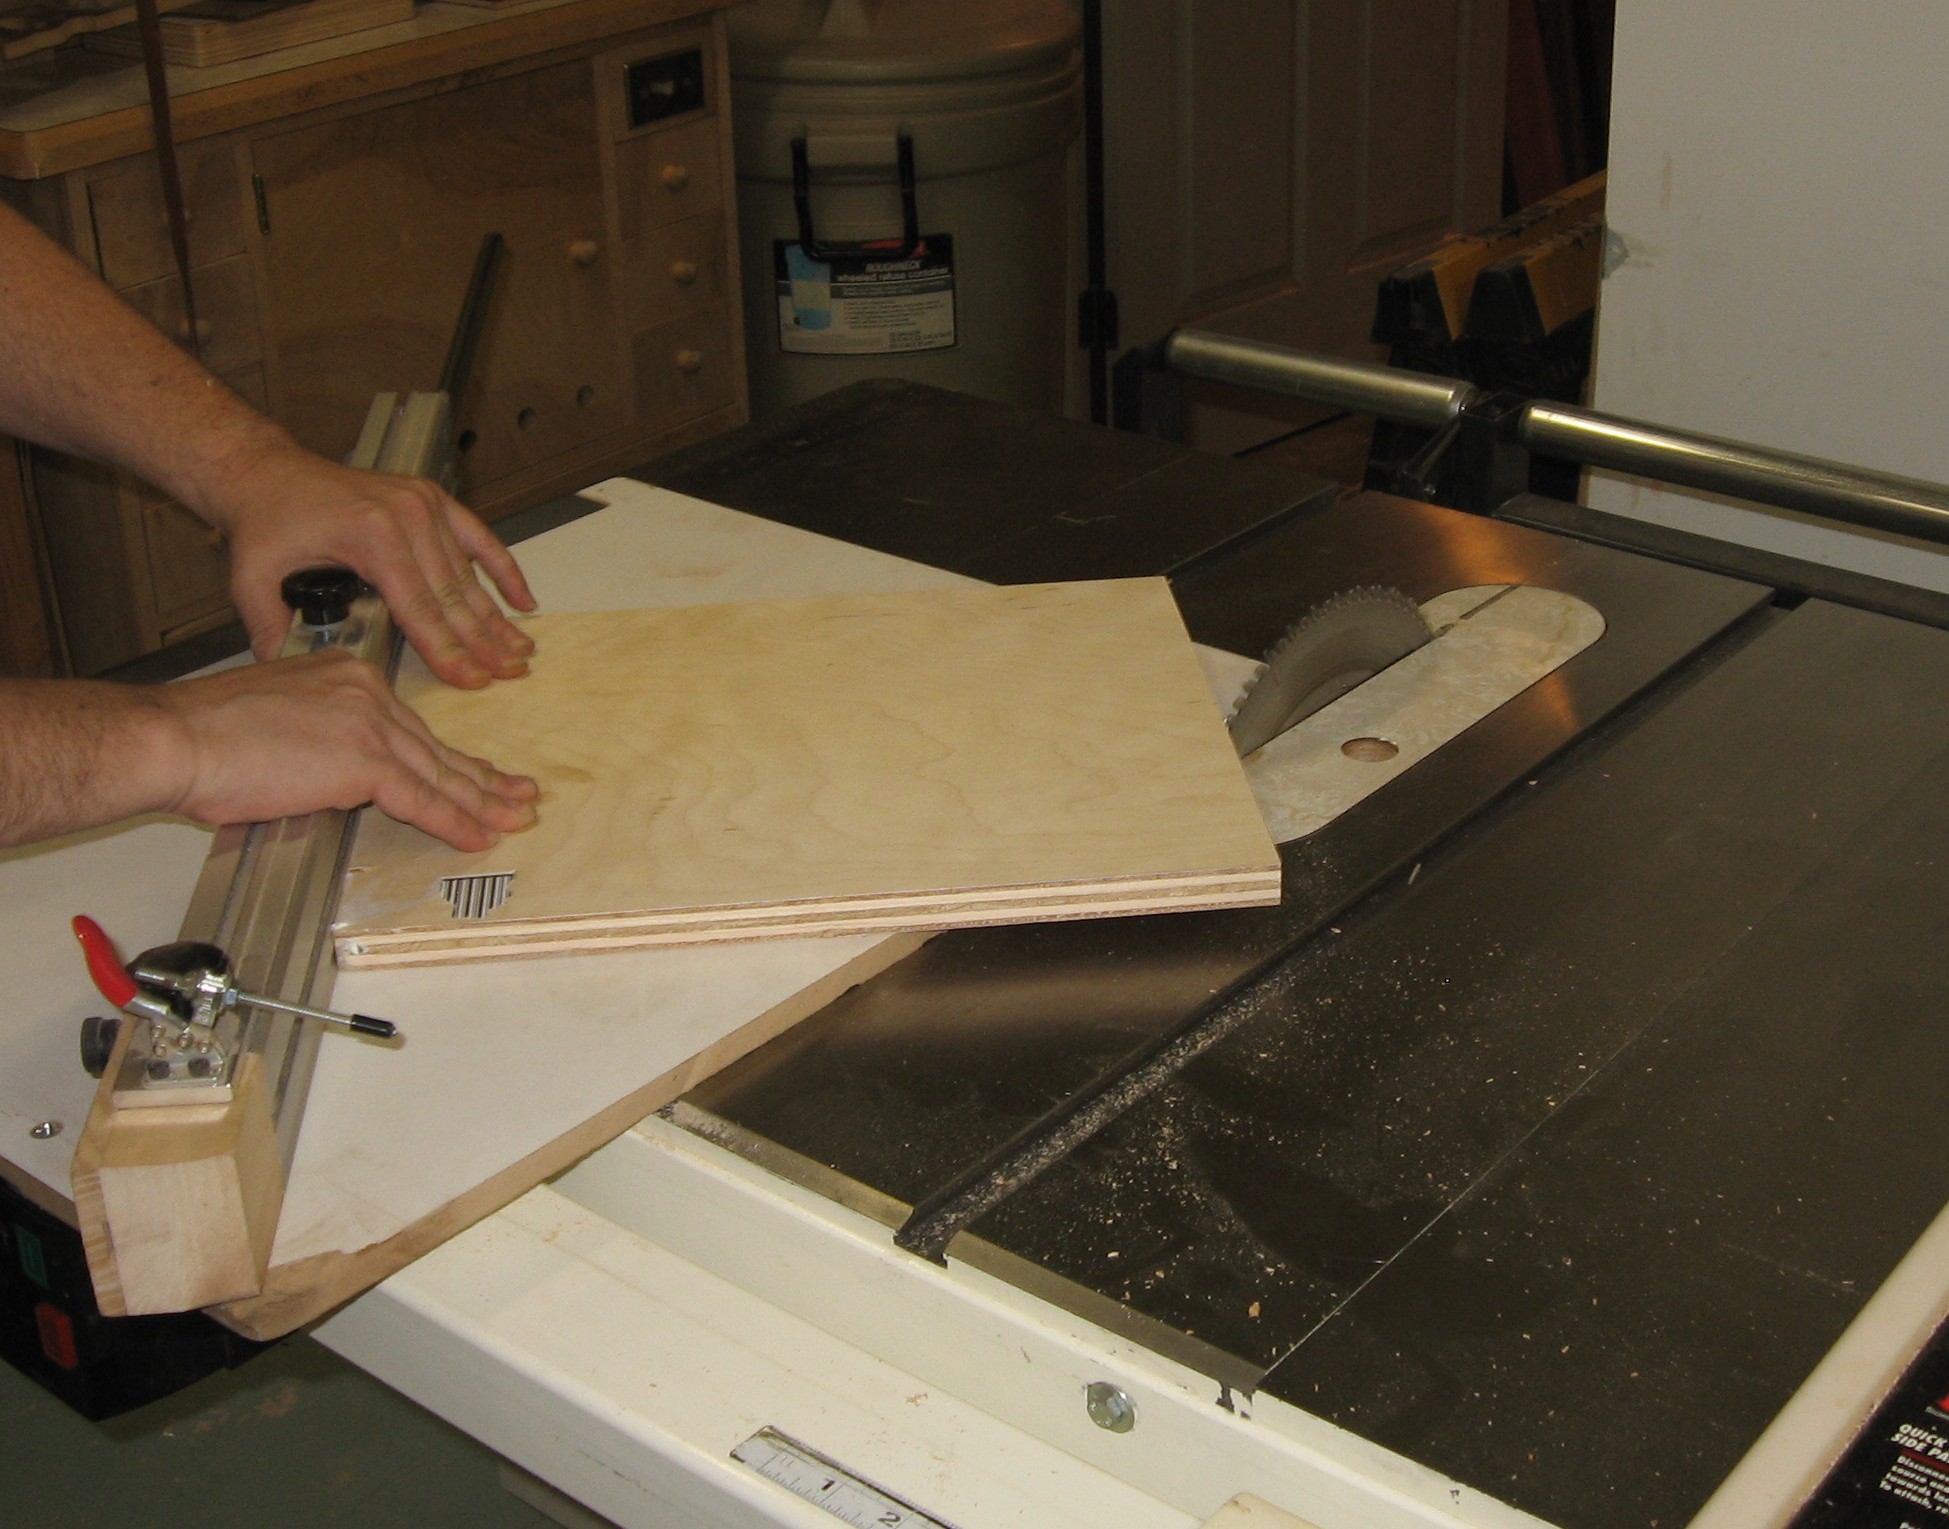
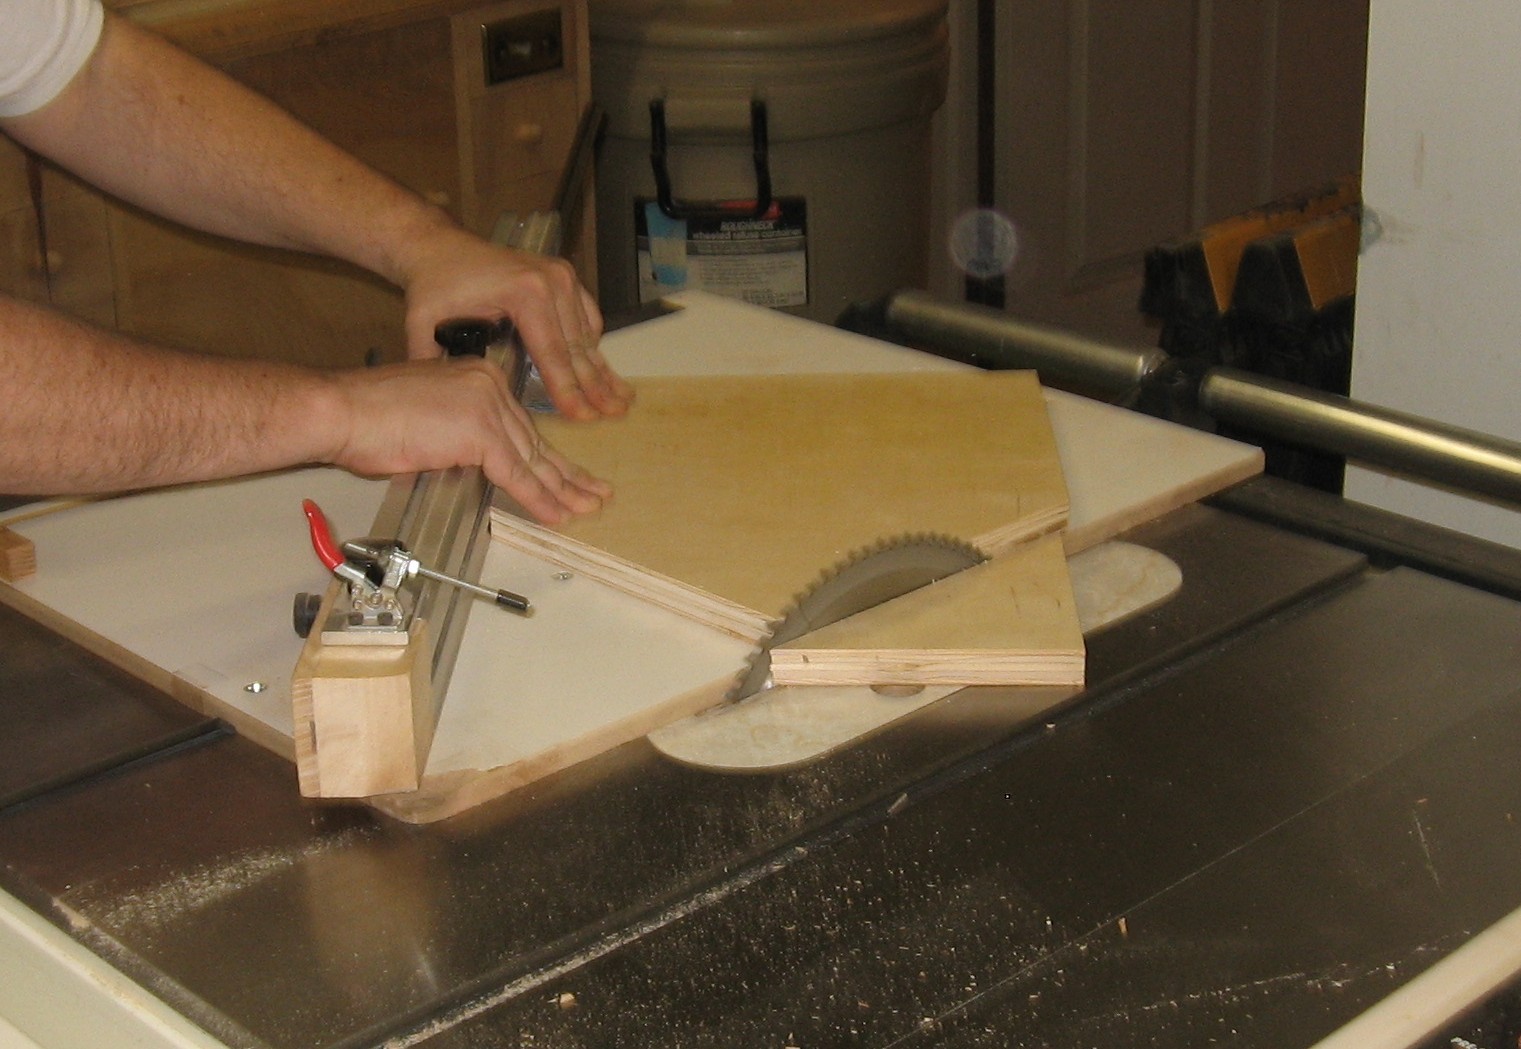
When it came to the sloped sides, we used a saw fence set to fifteen degrees.
For the front edge of the tops and bottoms of the lower cases, we tiled the blade 15 degrees to match the slope of the sides.
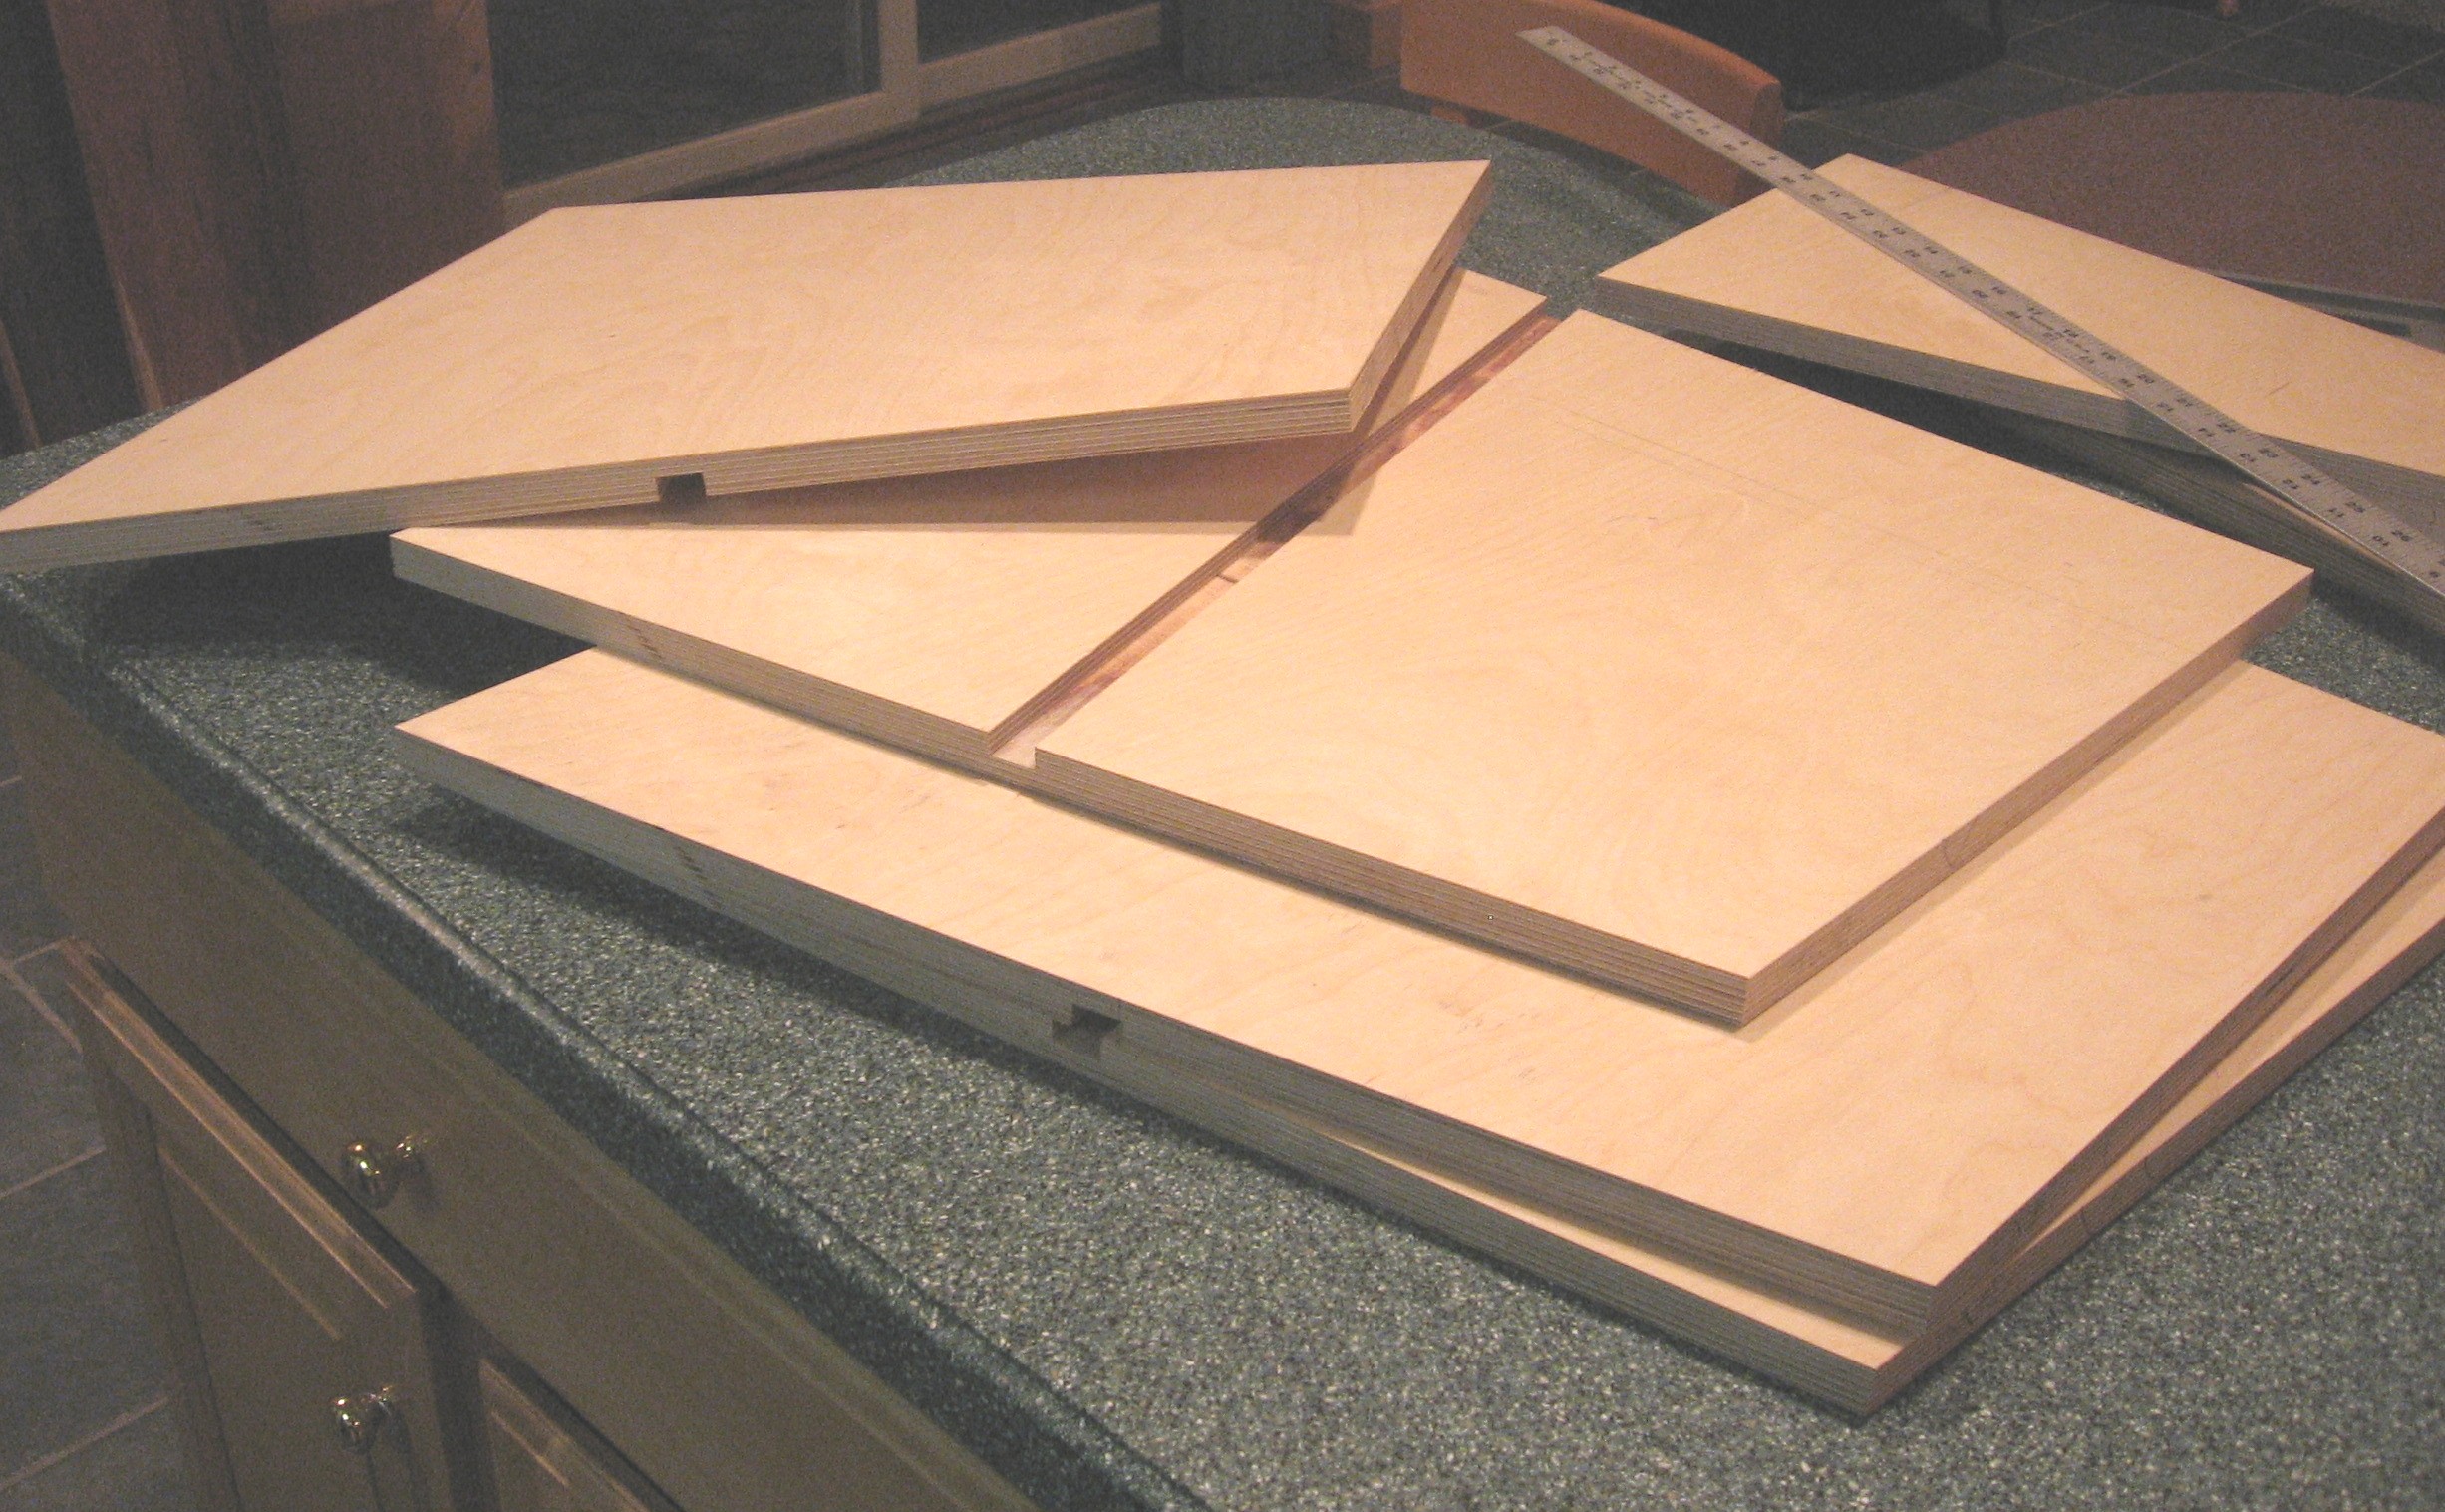
The we used the sides to determine the exact depth of the lower cabinets' bottom.
|
||
|
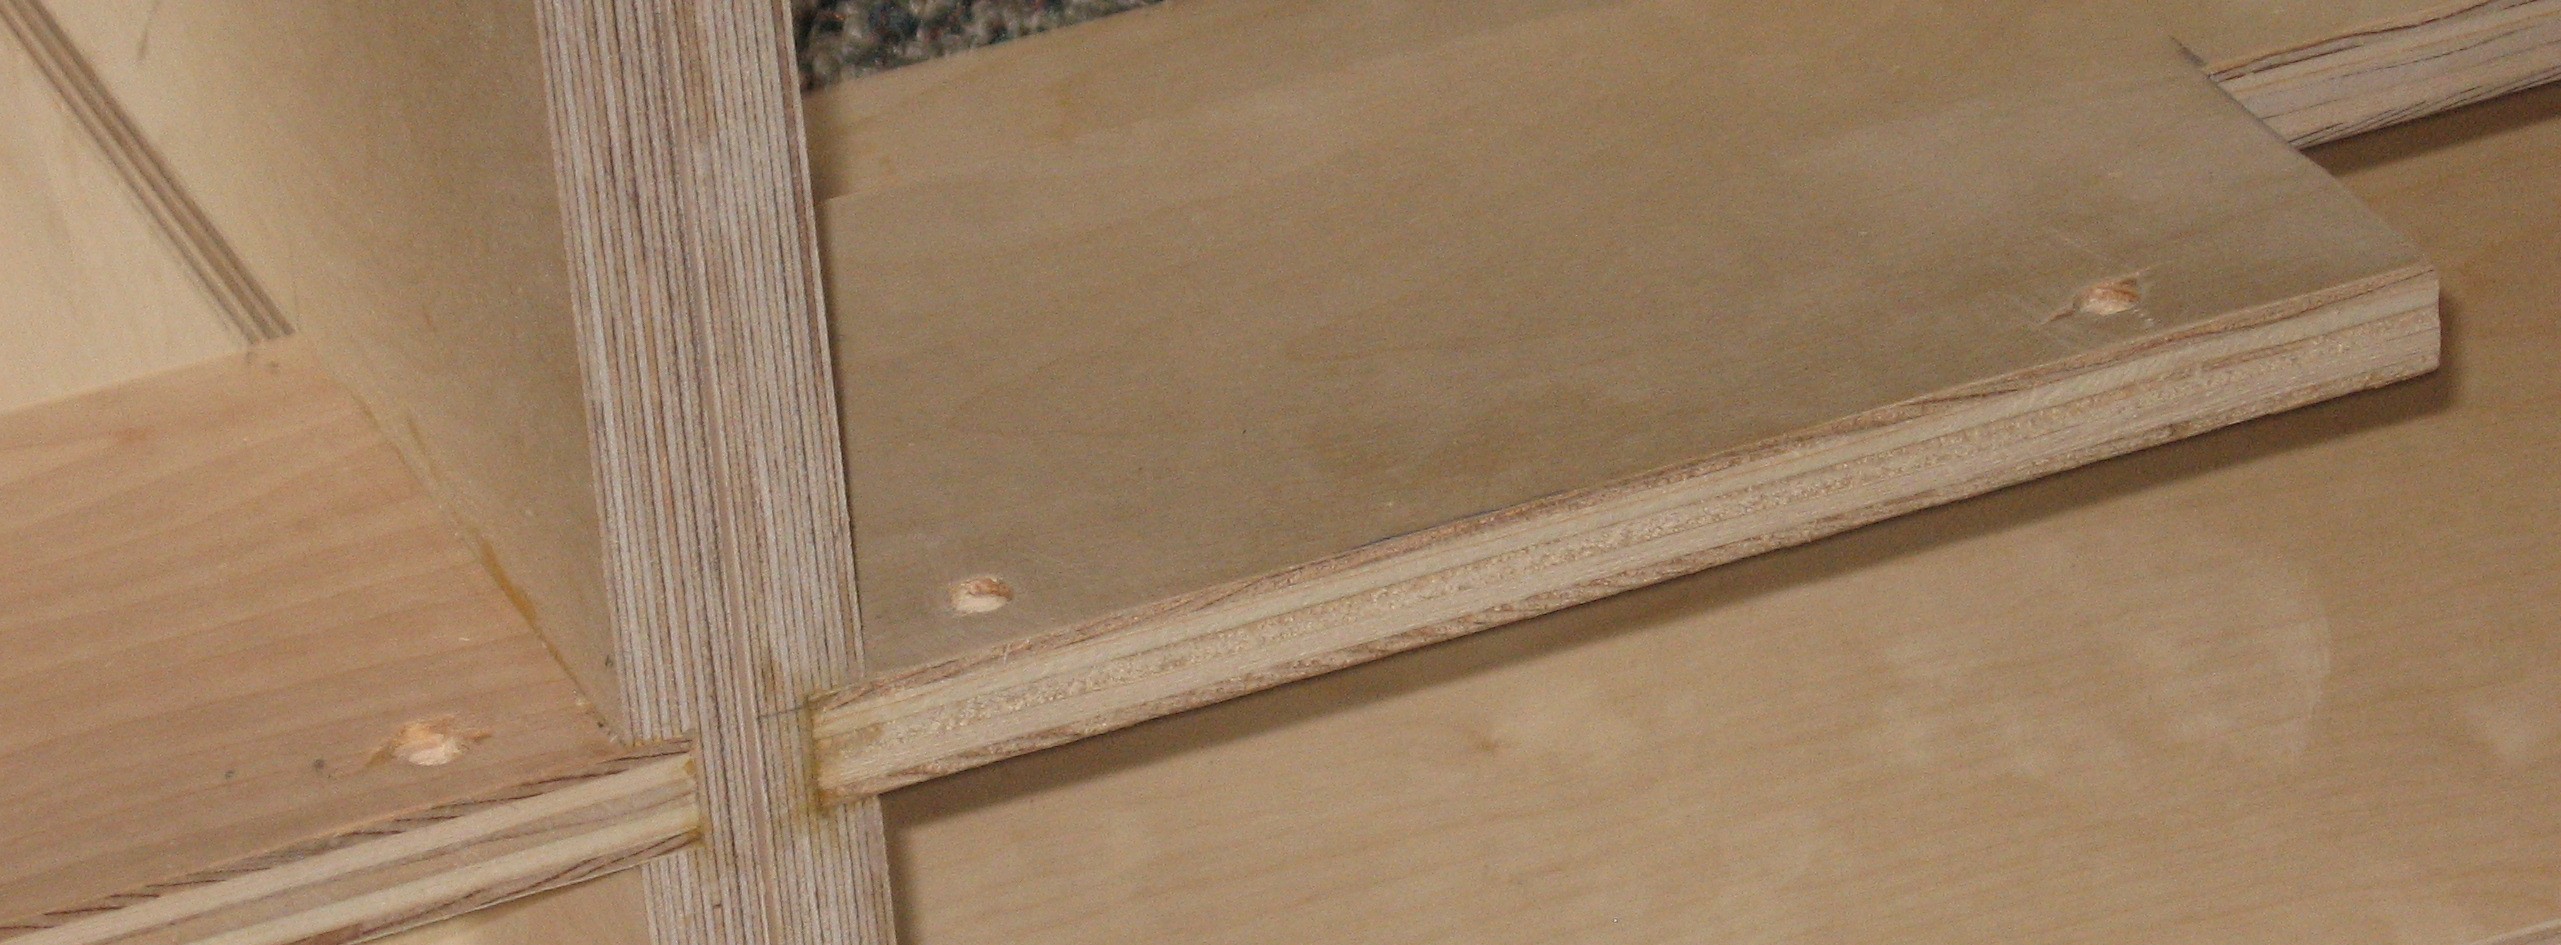
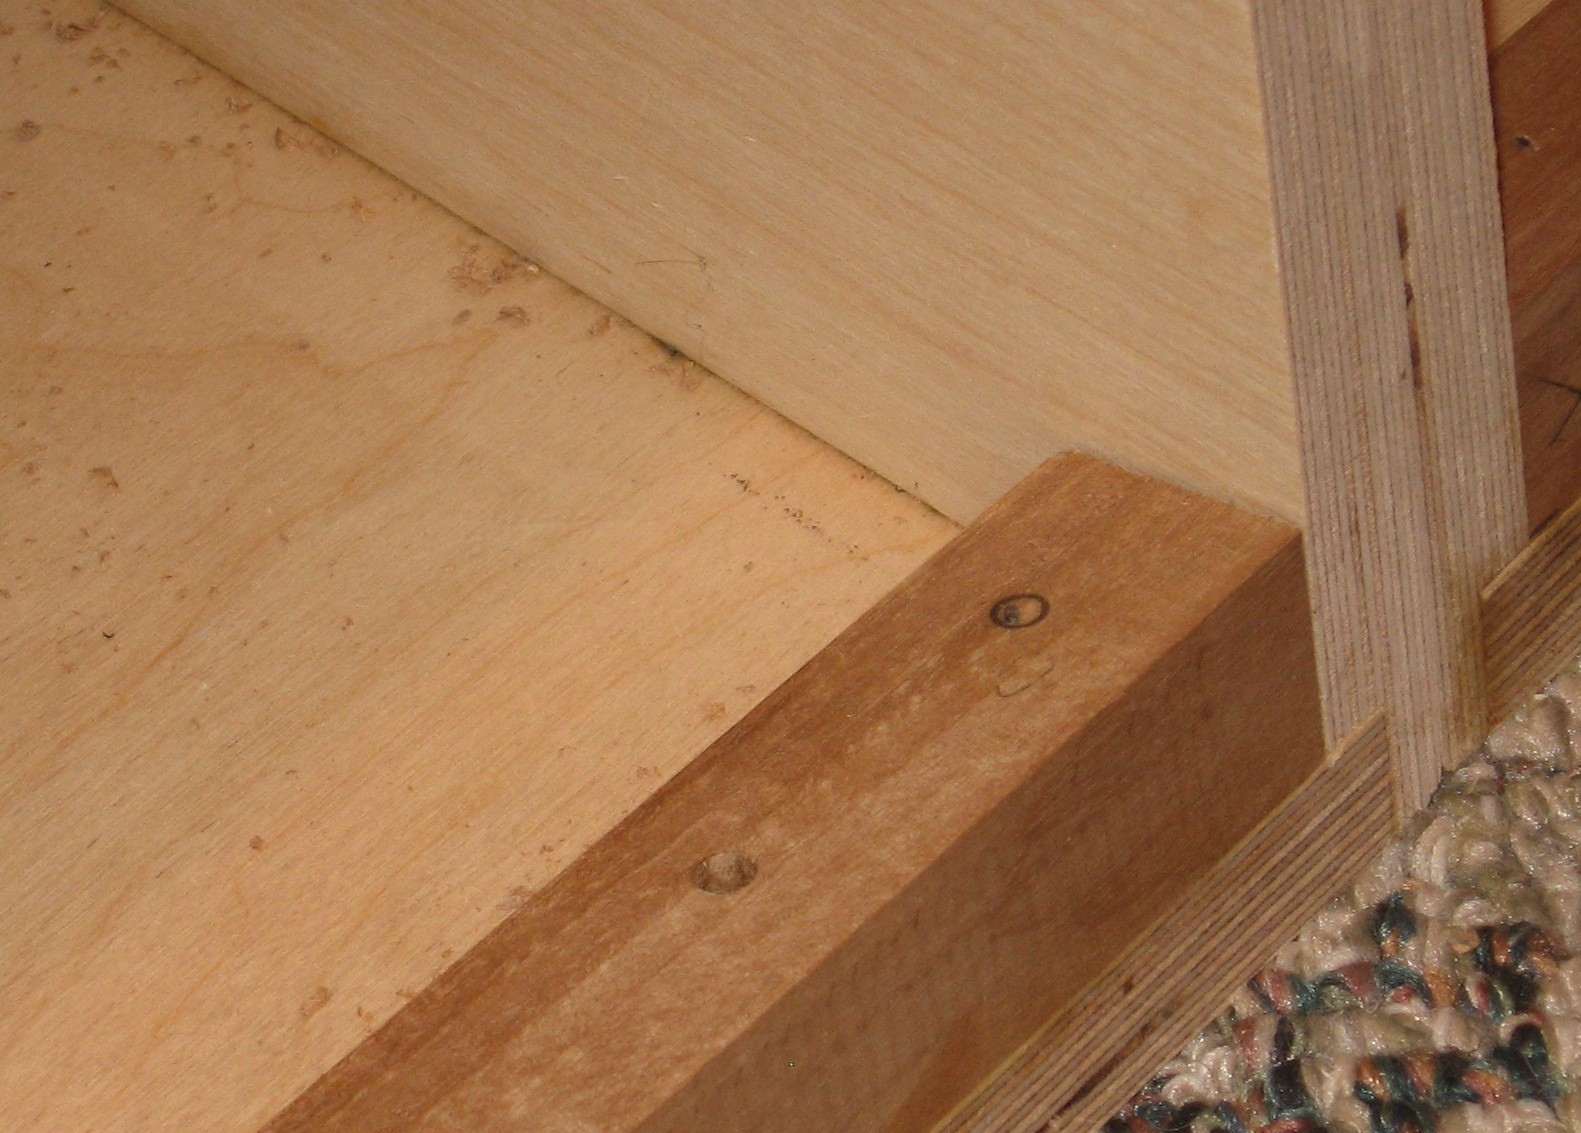
Rabbets and Dadoes
|
||
|
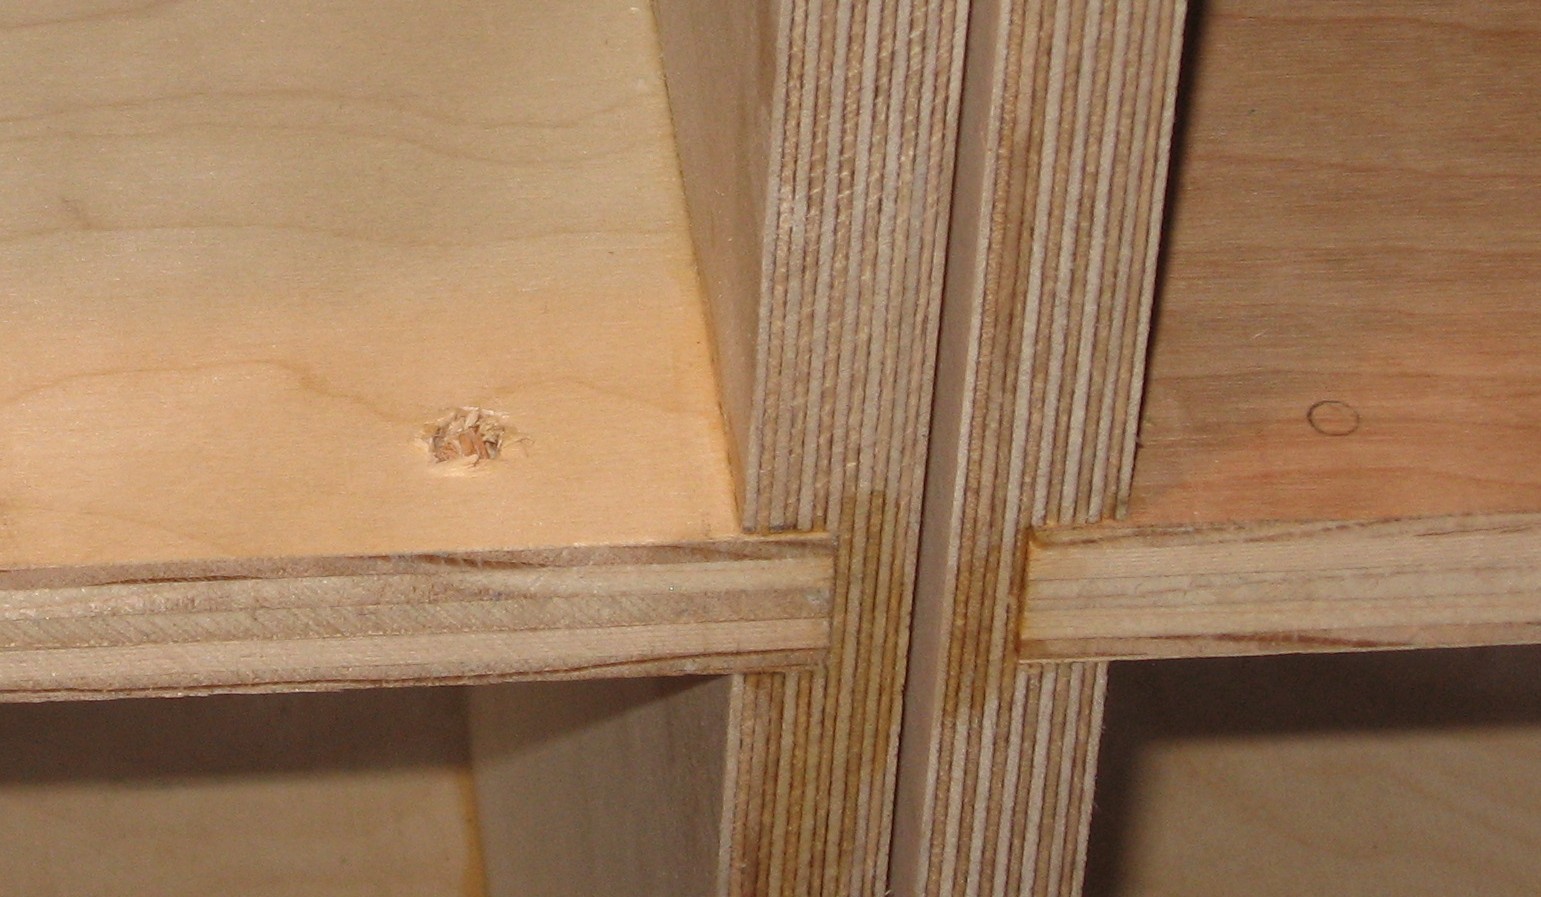
A mistake - a fix We rabbeted the back edge of one of the sides wrong - if it had been too narrow, it wouldn't have mattered... but this was too wide. So we had to do a repair, filling the rabbet with wood and re-rabbeting it to the correct depth. Thanks to Bart's skill this was not such a difficult thing.
Next morning:
The rabbet corrected - narrower (but deeper)
|
||
|
Braces
|
||
|
Center Shelf
|
||
|
Fitting the Shelf's Dado When we tried the shelf in its dado, it was a little tight in the lower cabinets, so Bart planed them a little bigger with one of the amazing little planes he has.
|
||
|
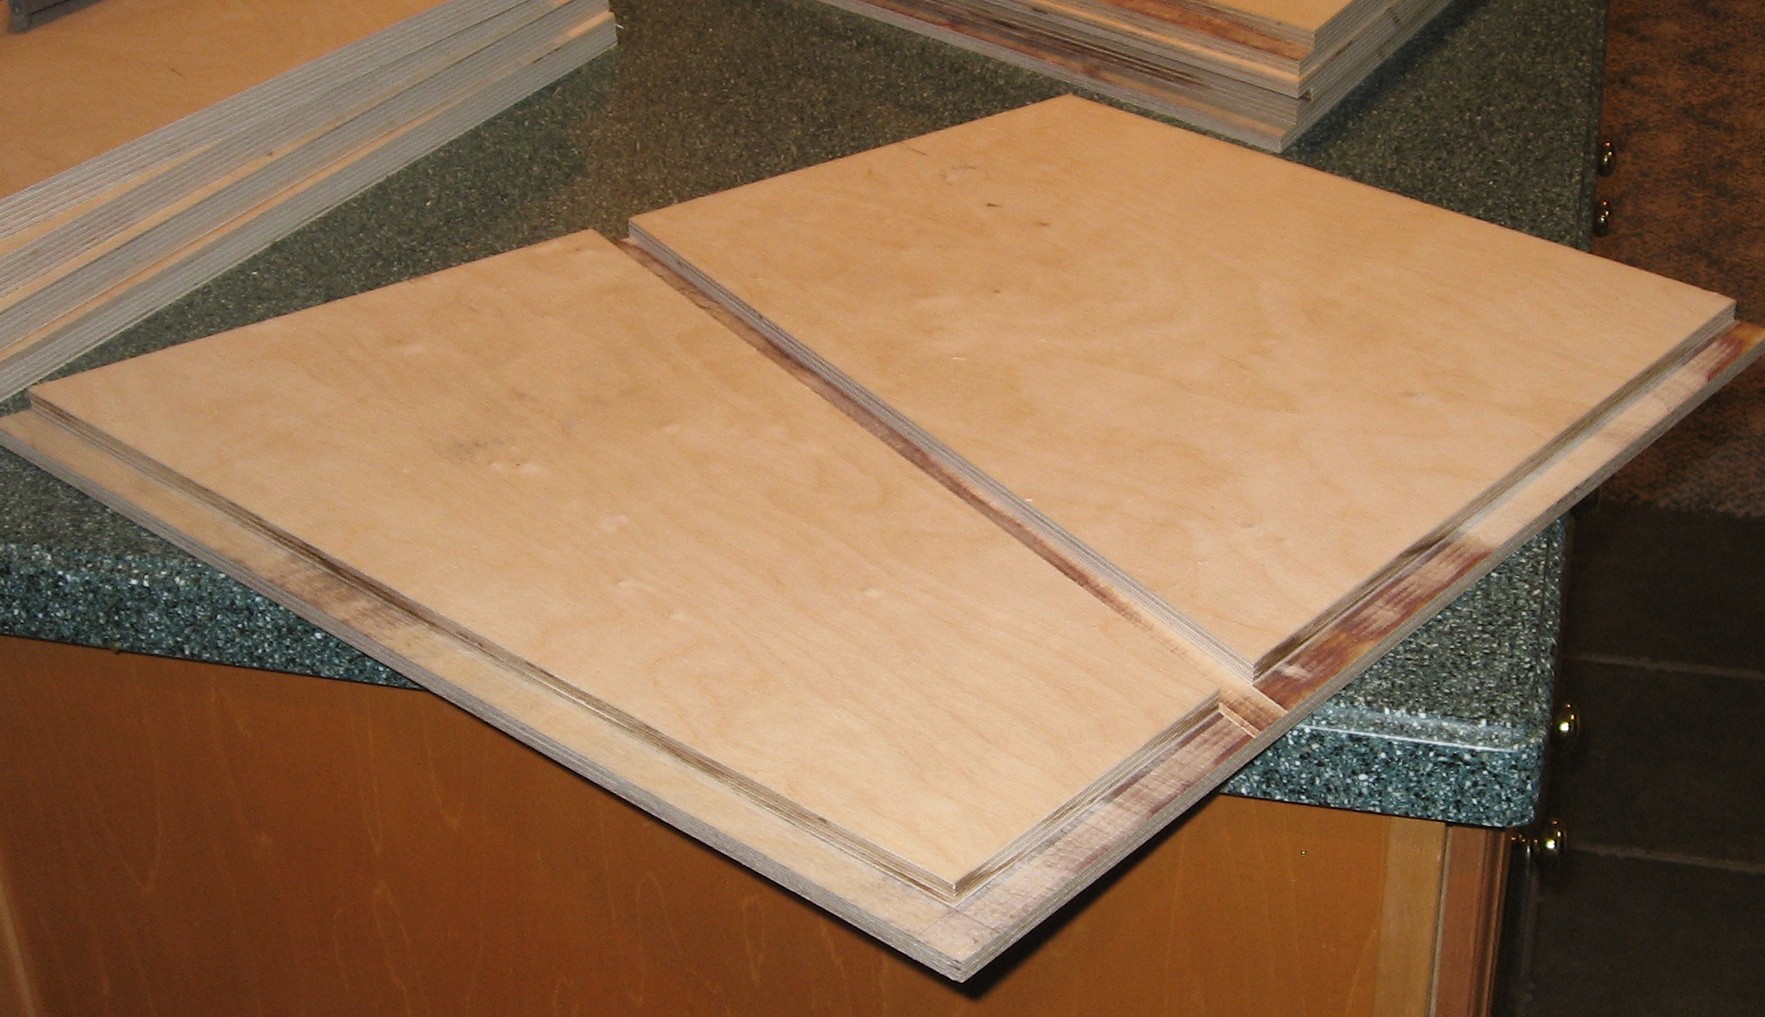
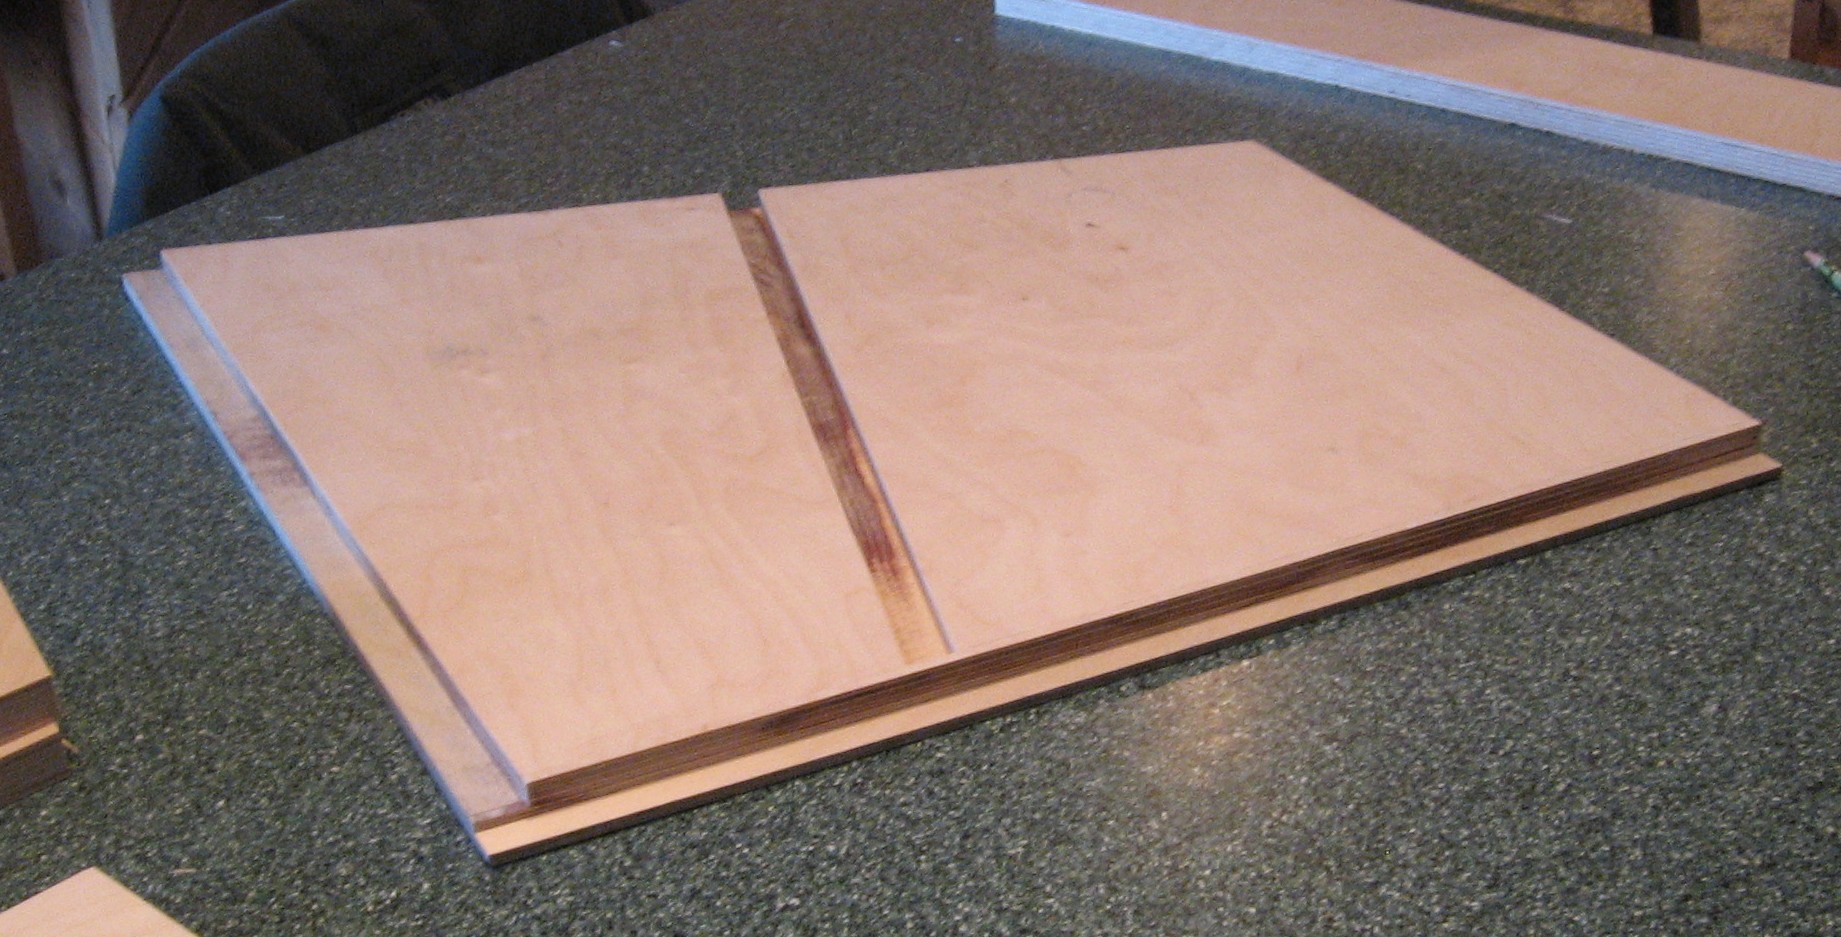
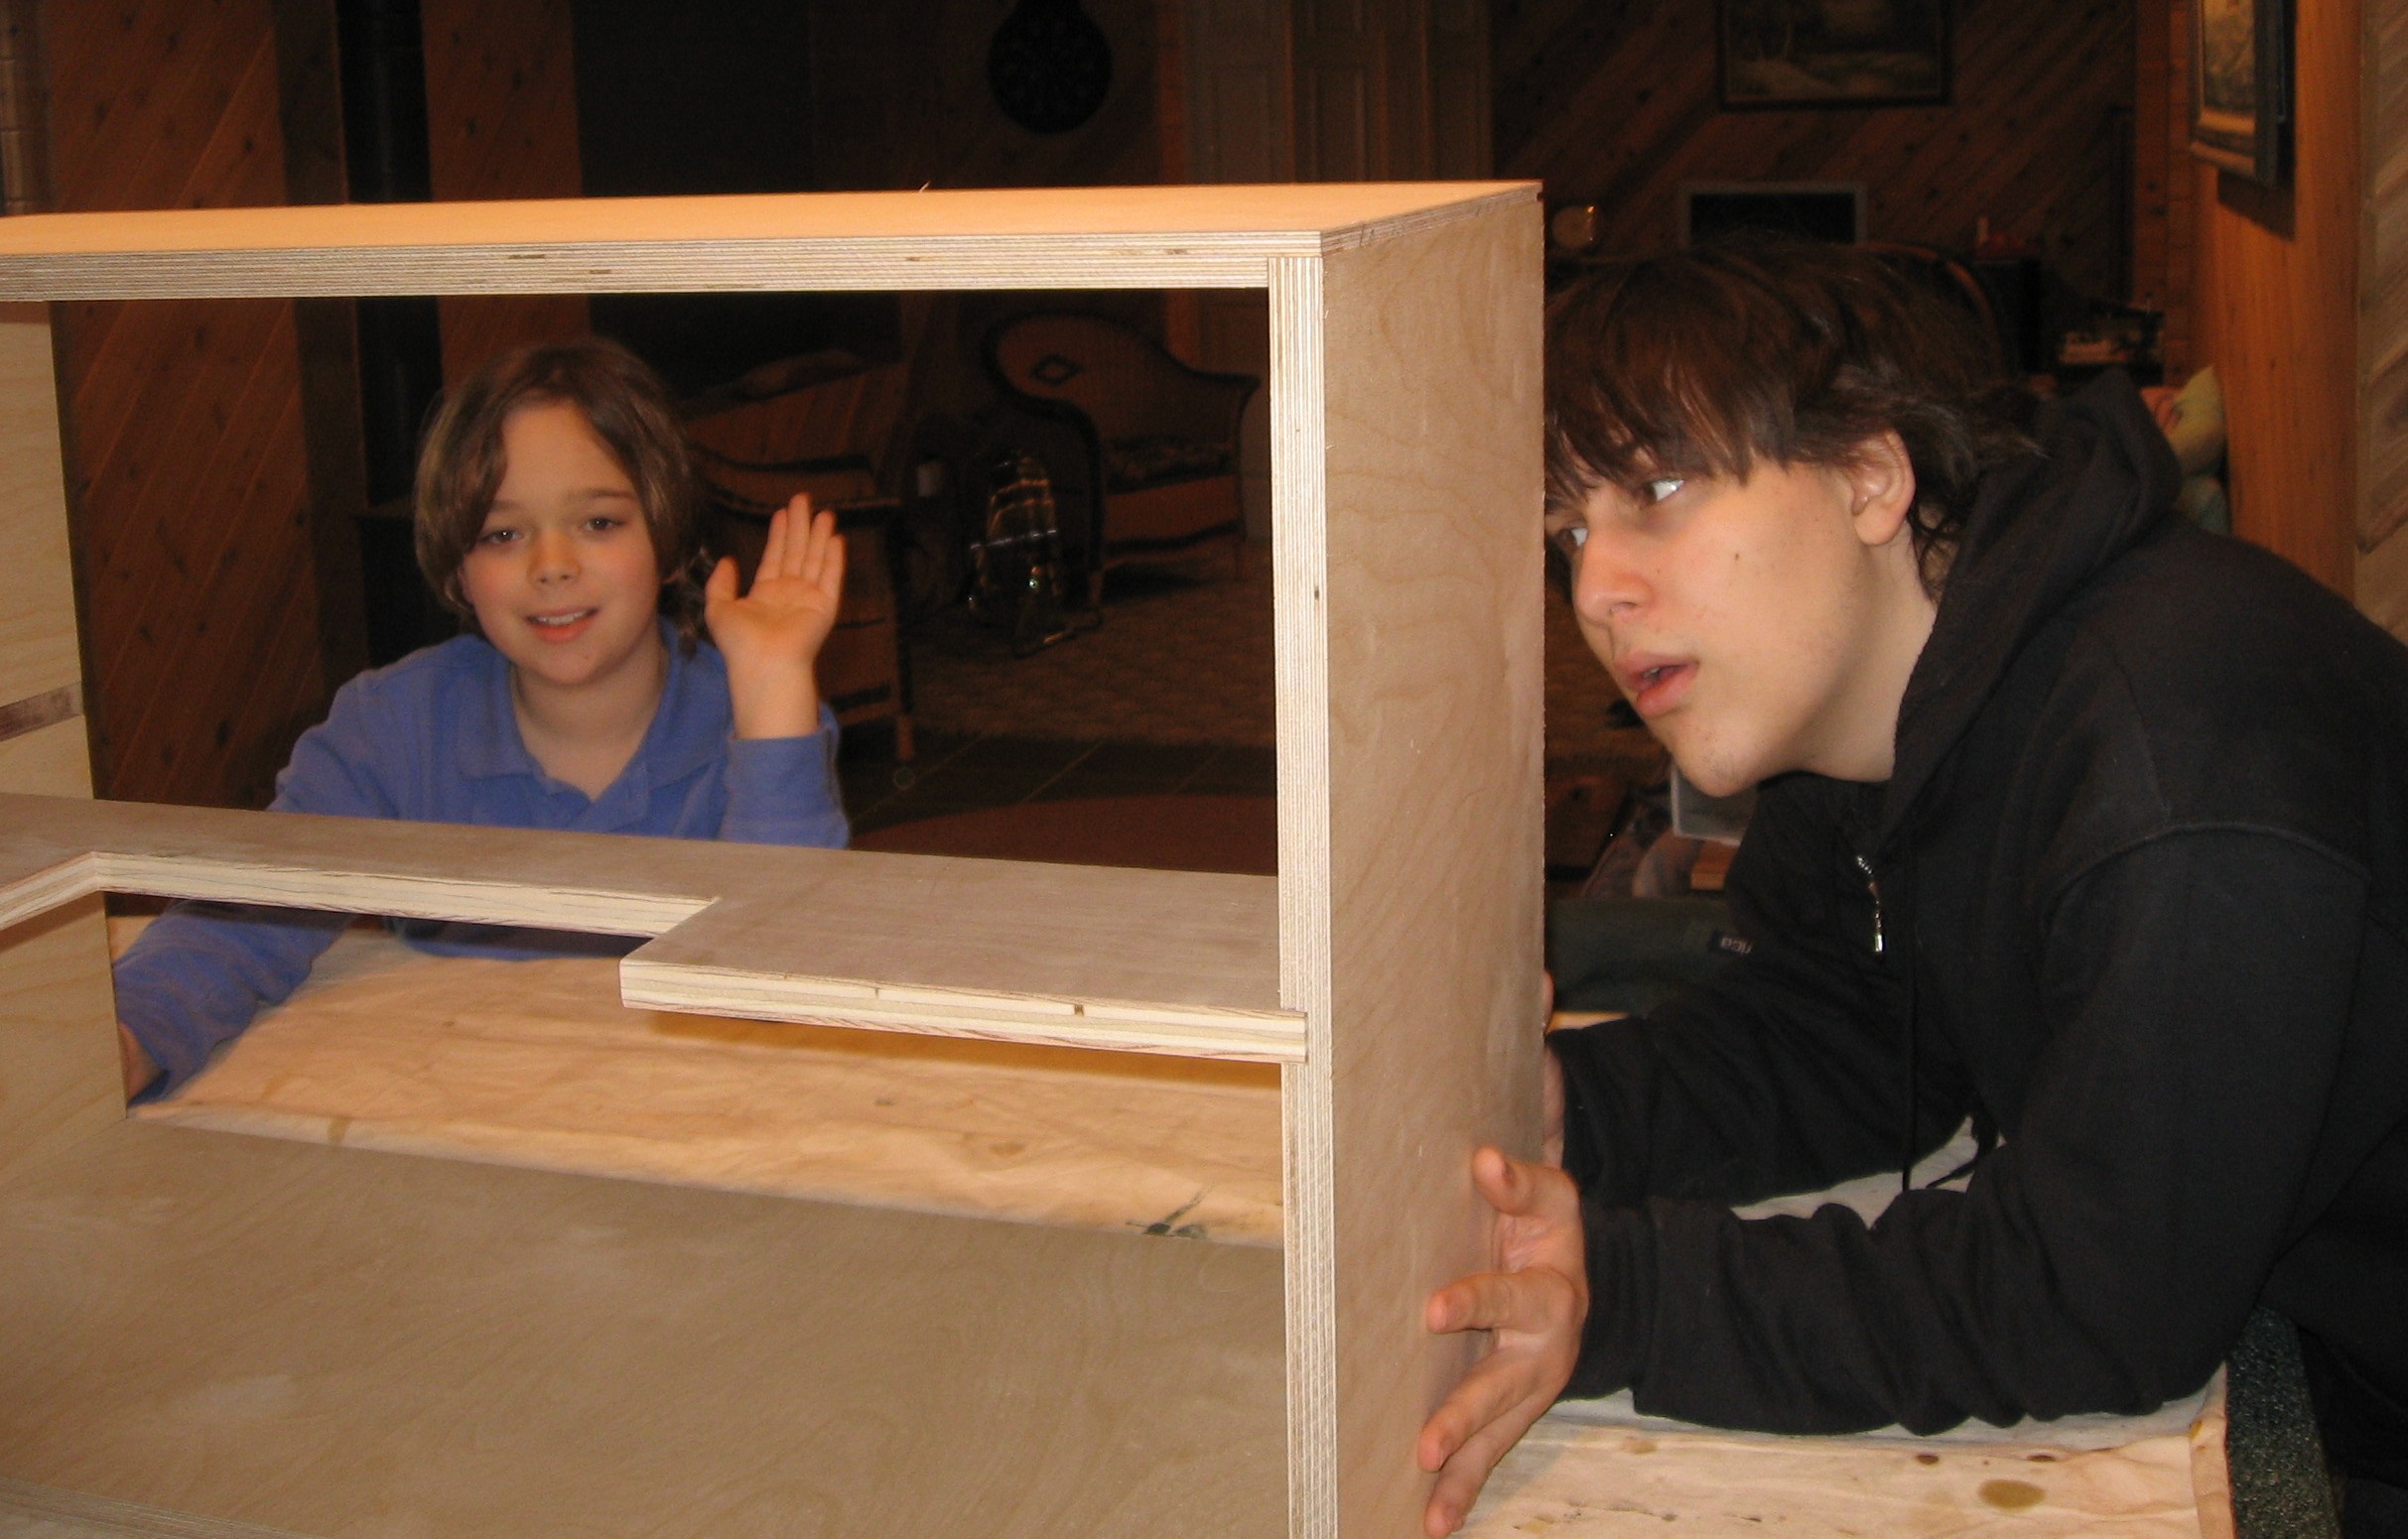
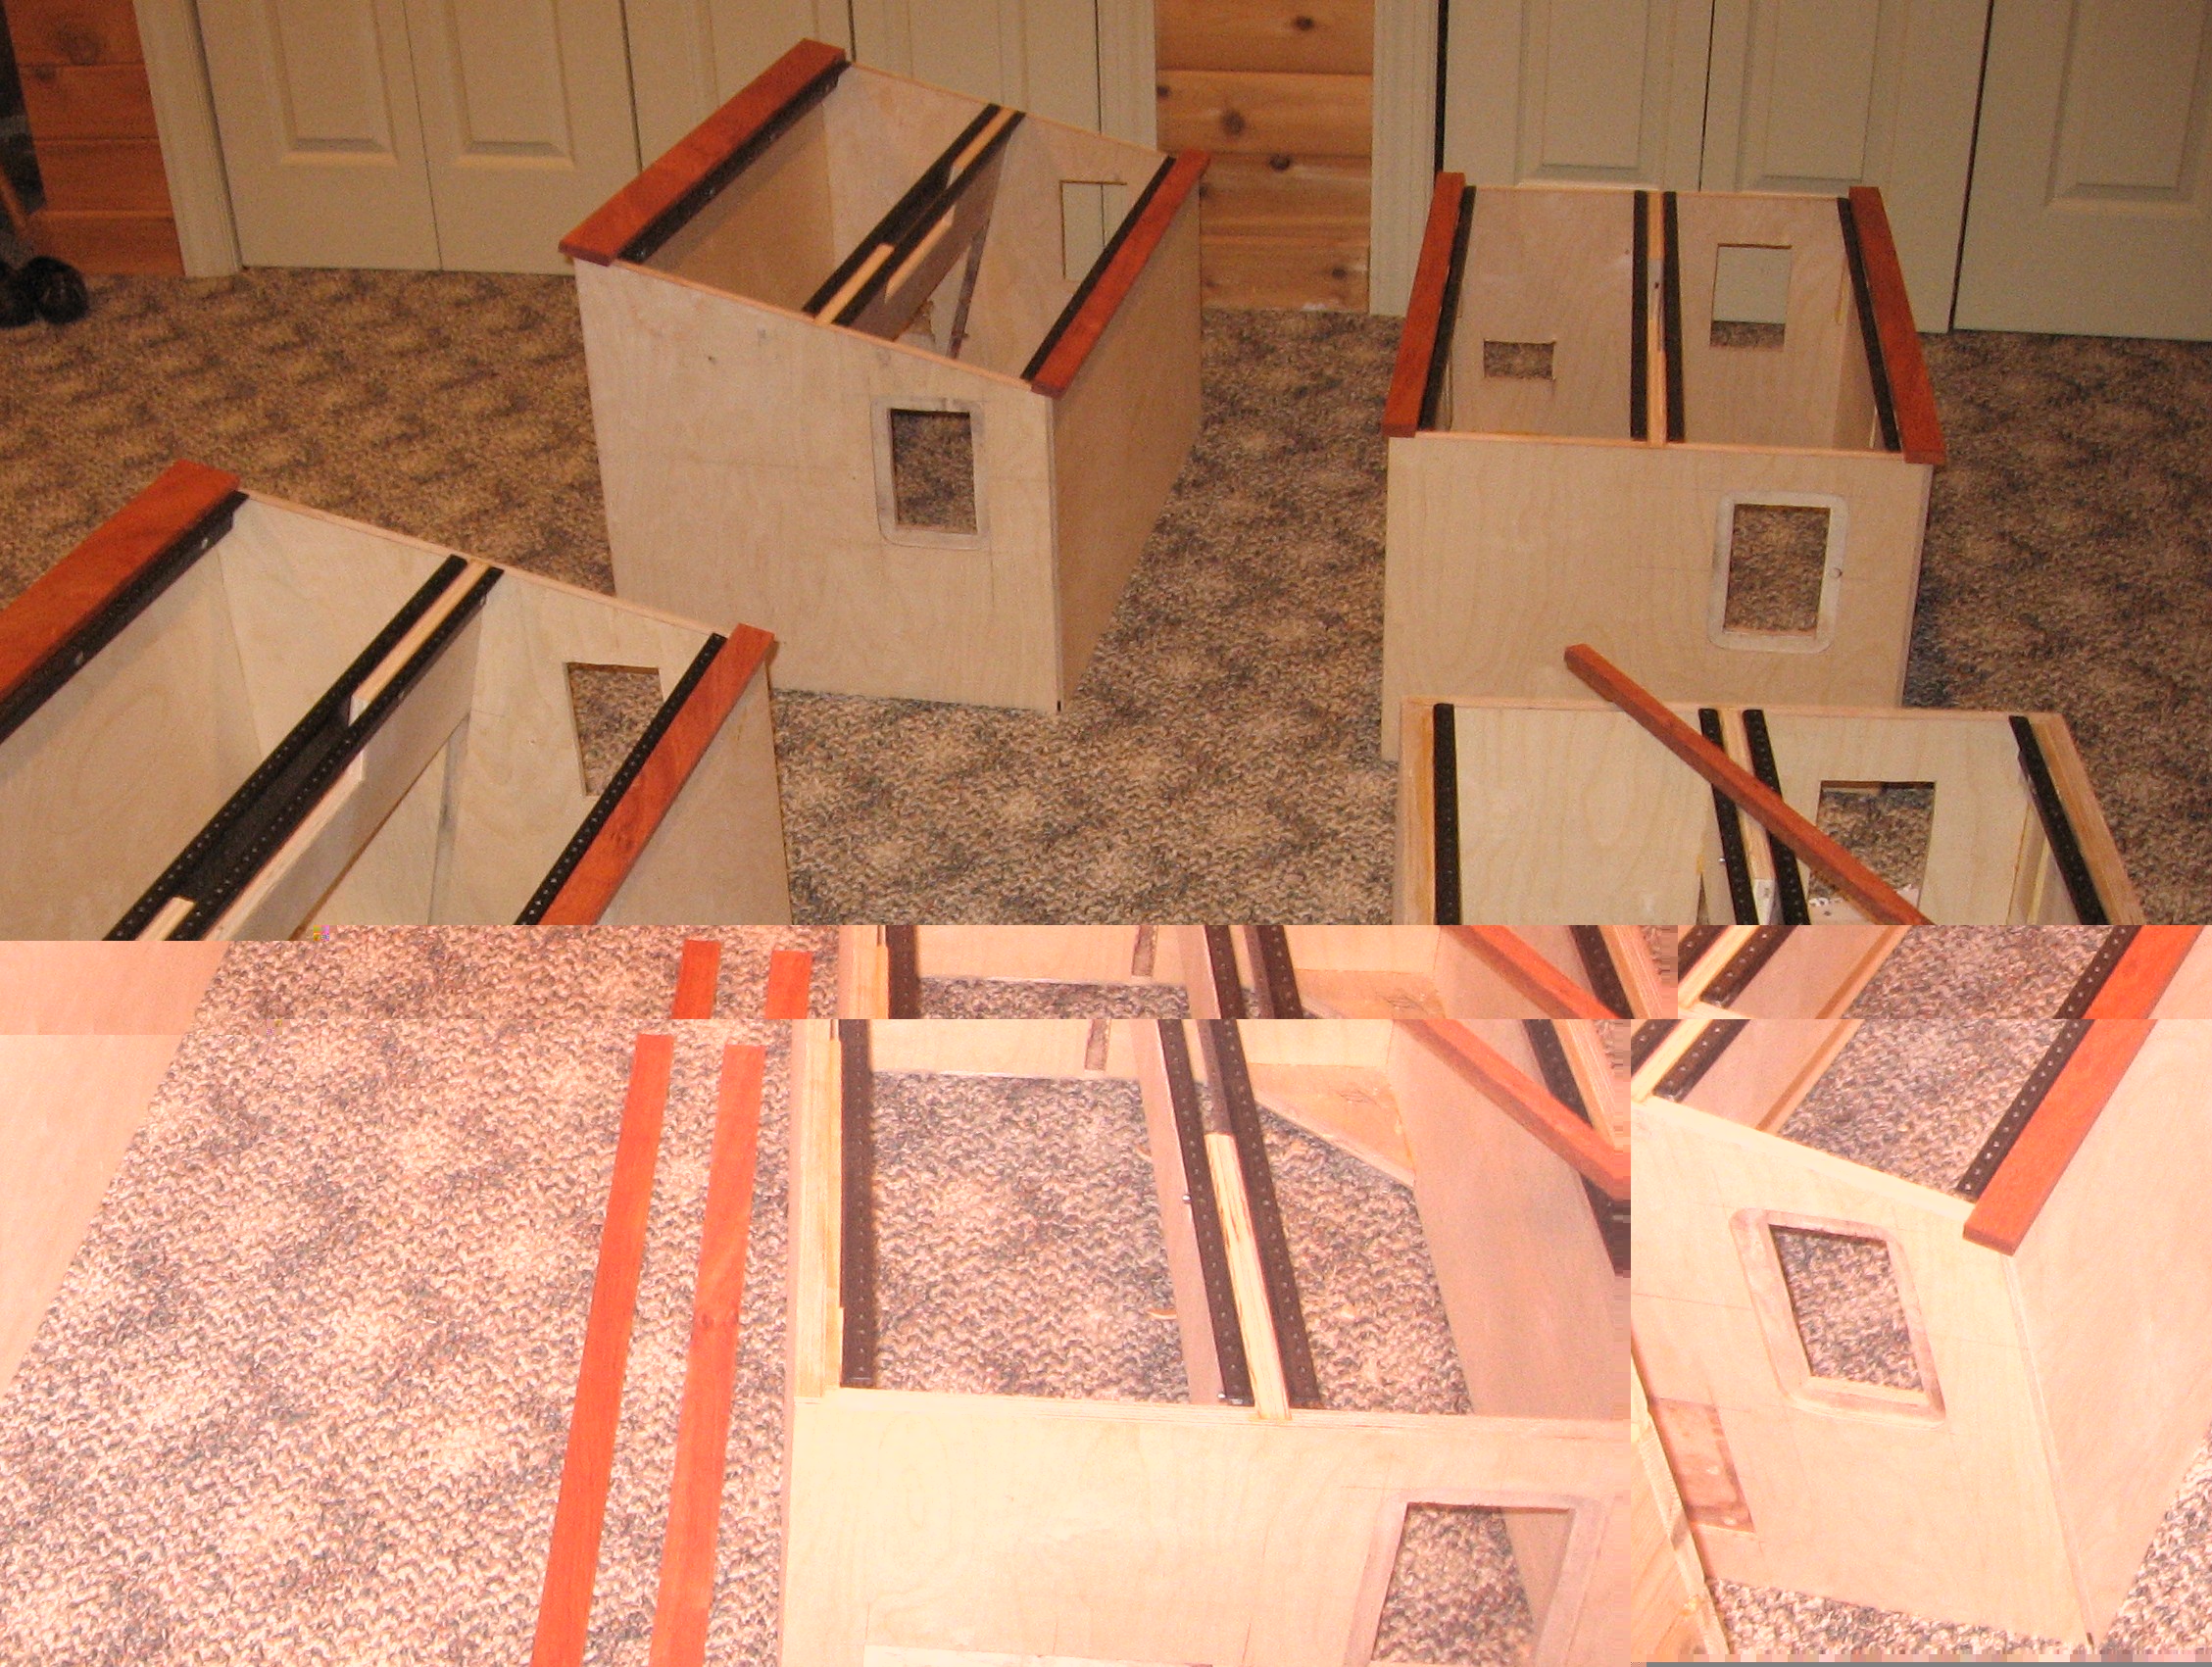
A Moment for Observation We set a couple modules on a side of the lower cabinets to see how they fit. The YU Fixed Filter fits fine - the depth of the cabinet at 15in is clearly overkill.
|
||
|
Assembly |
||
|
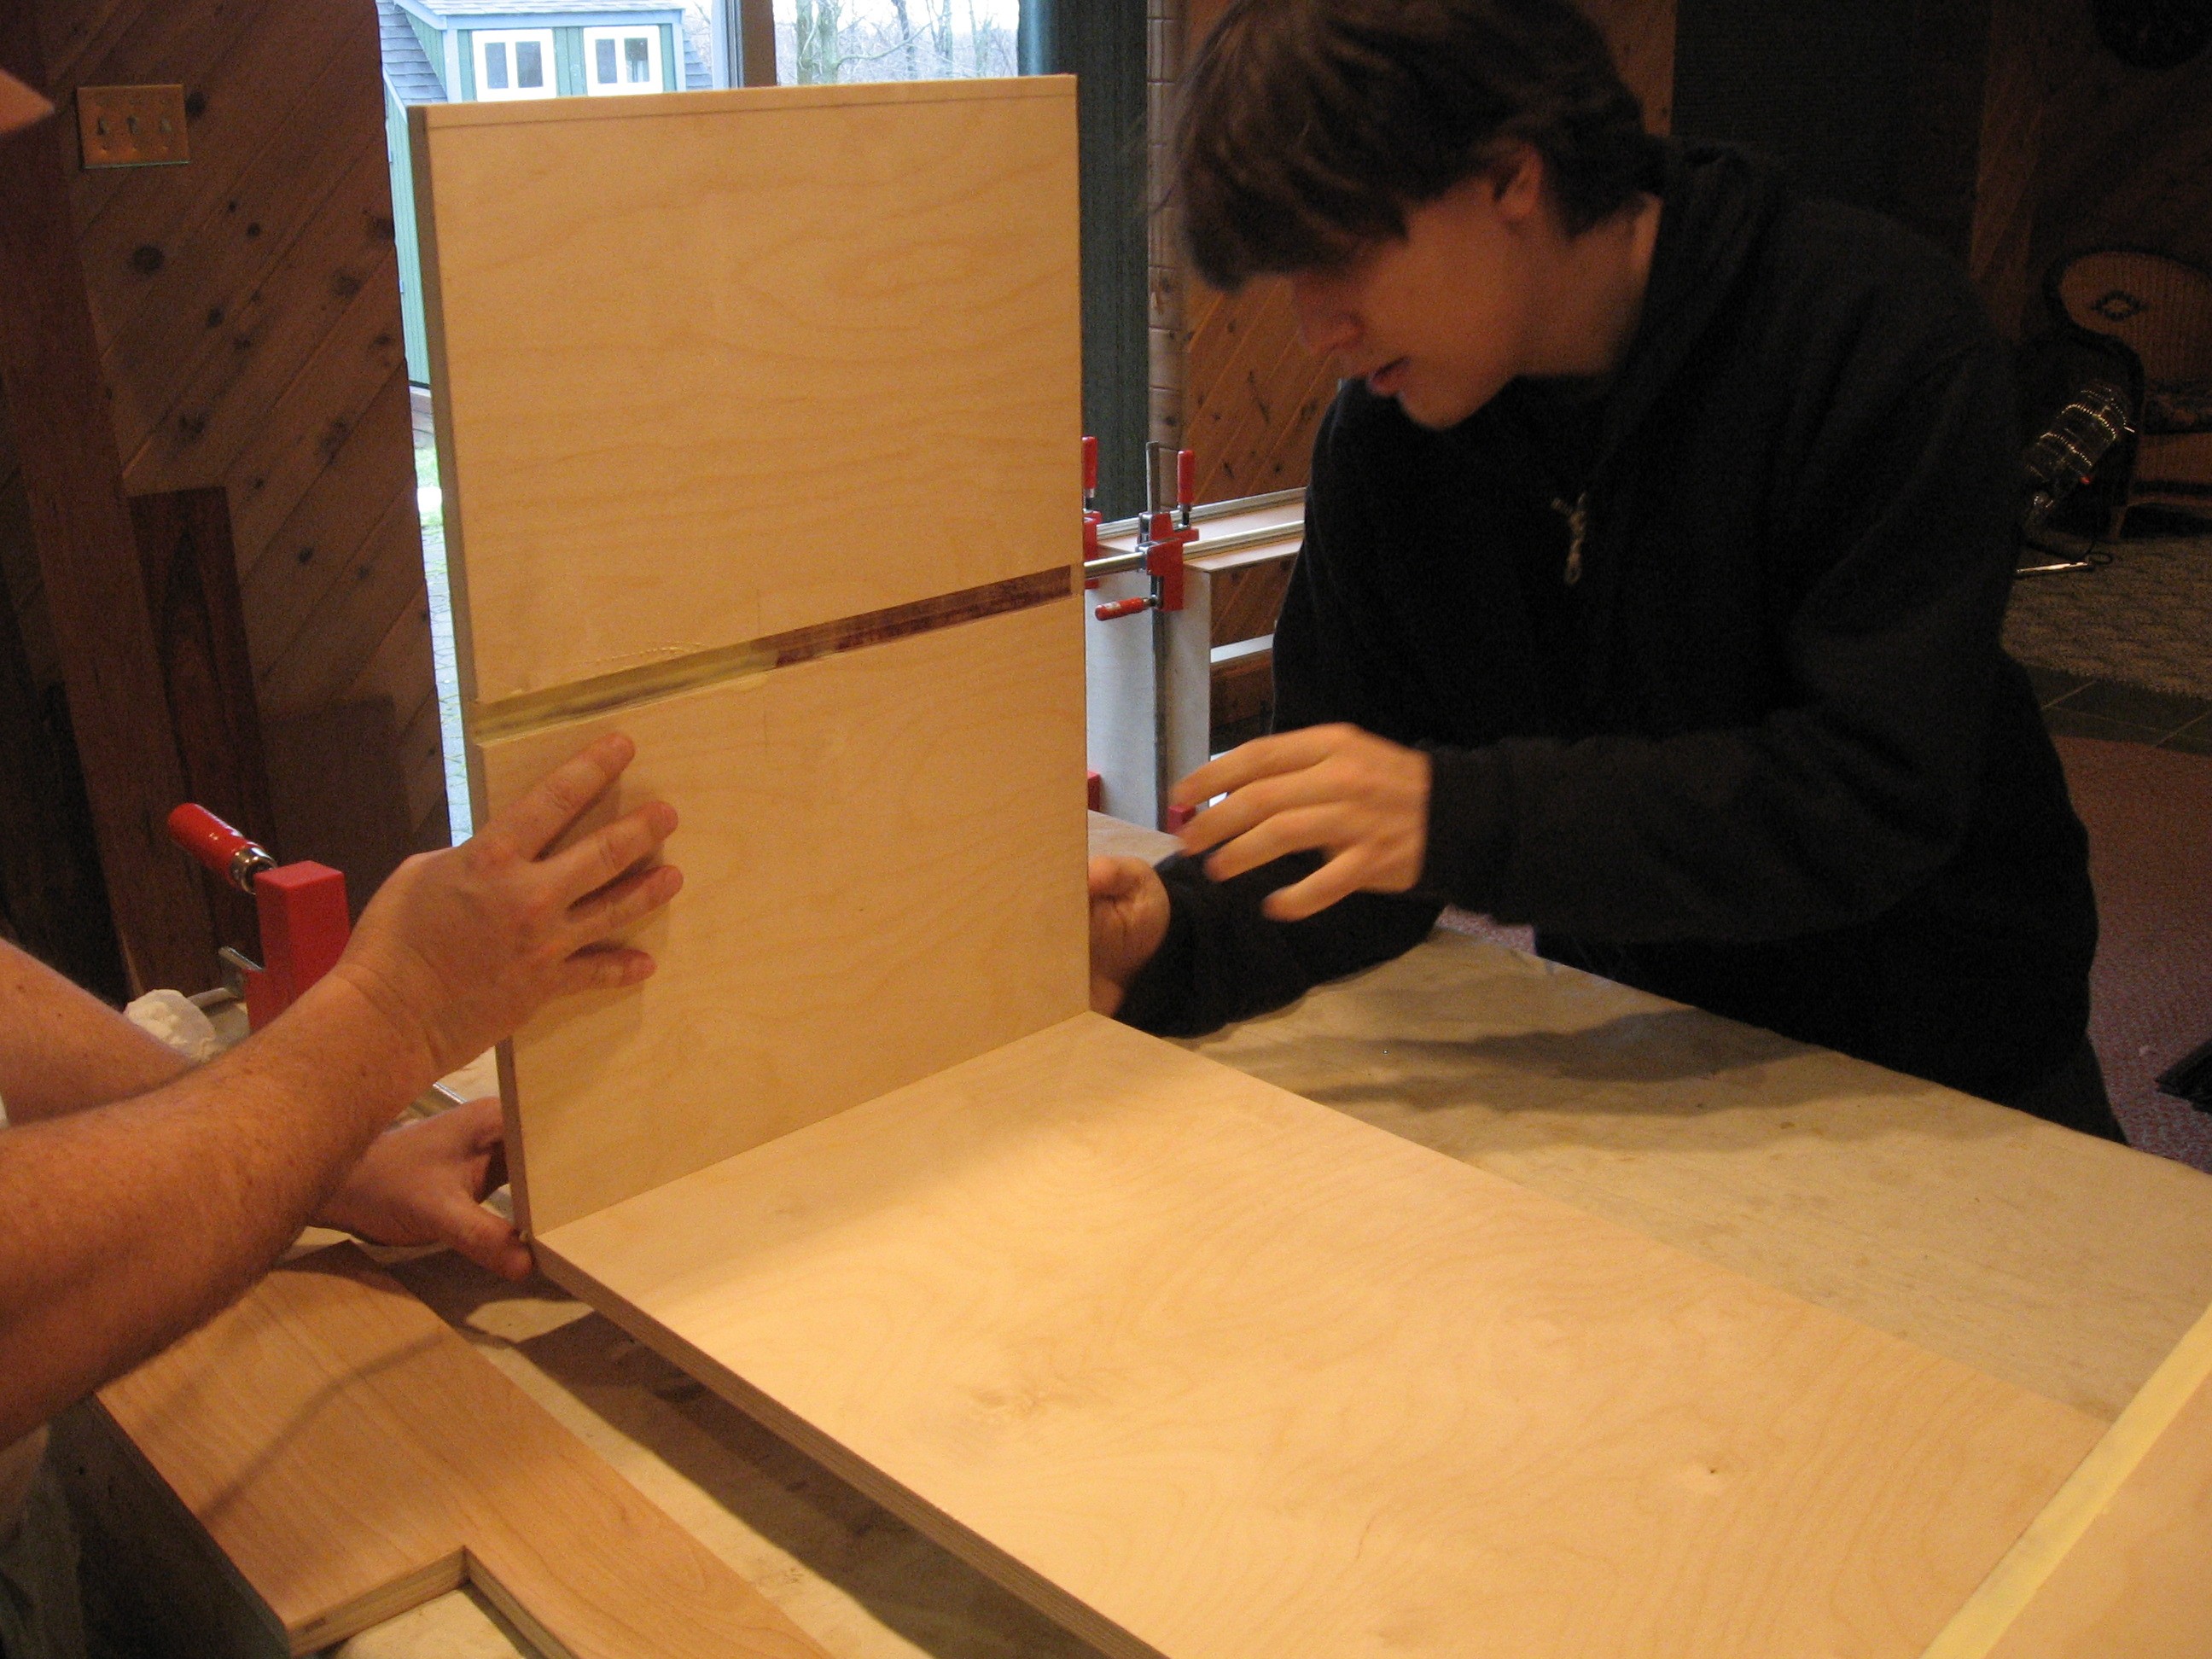
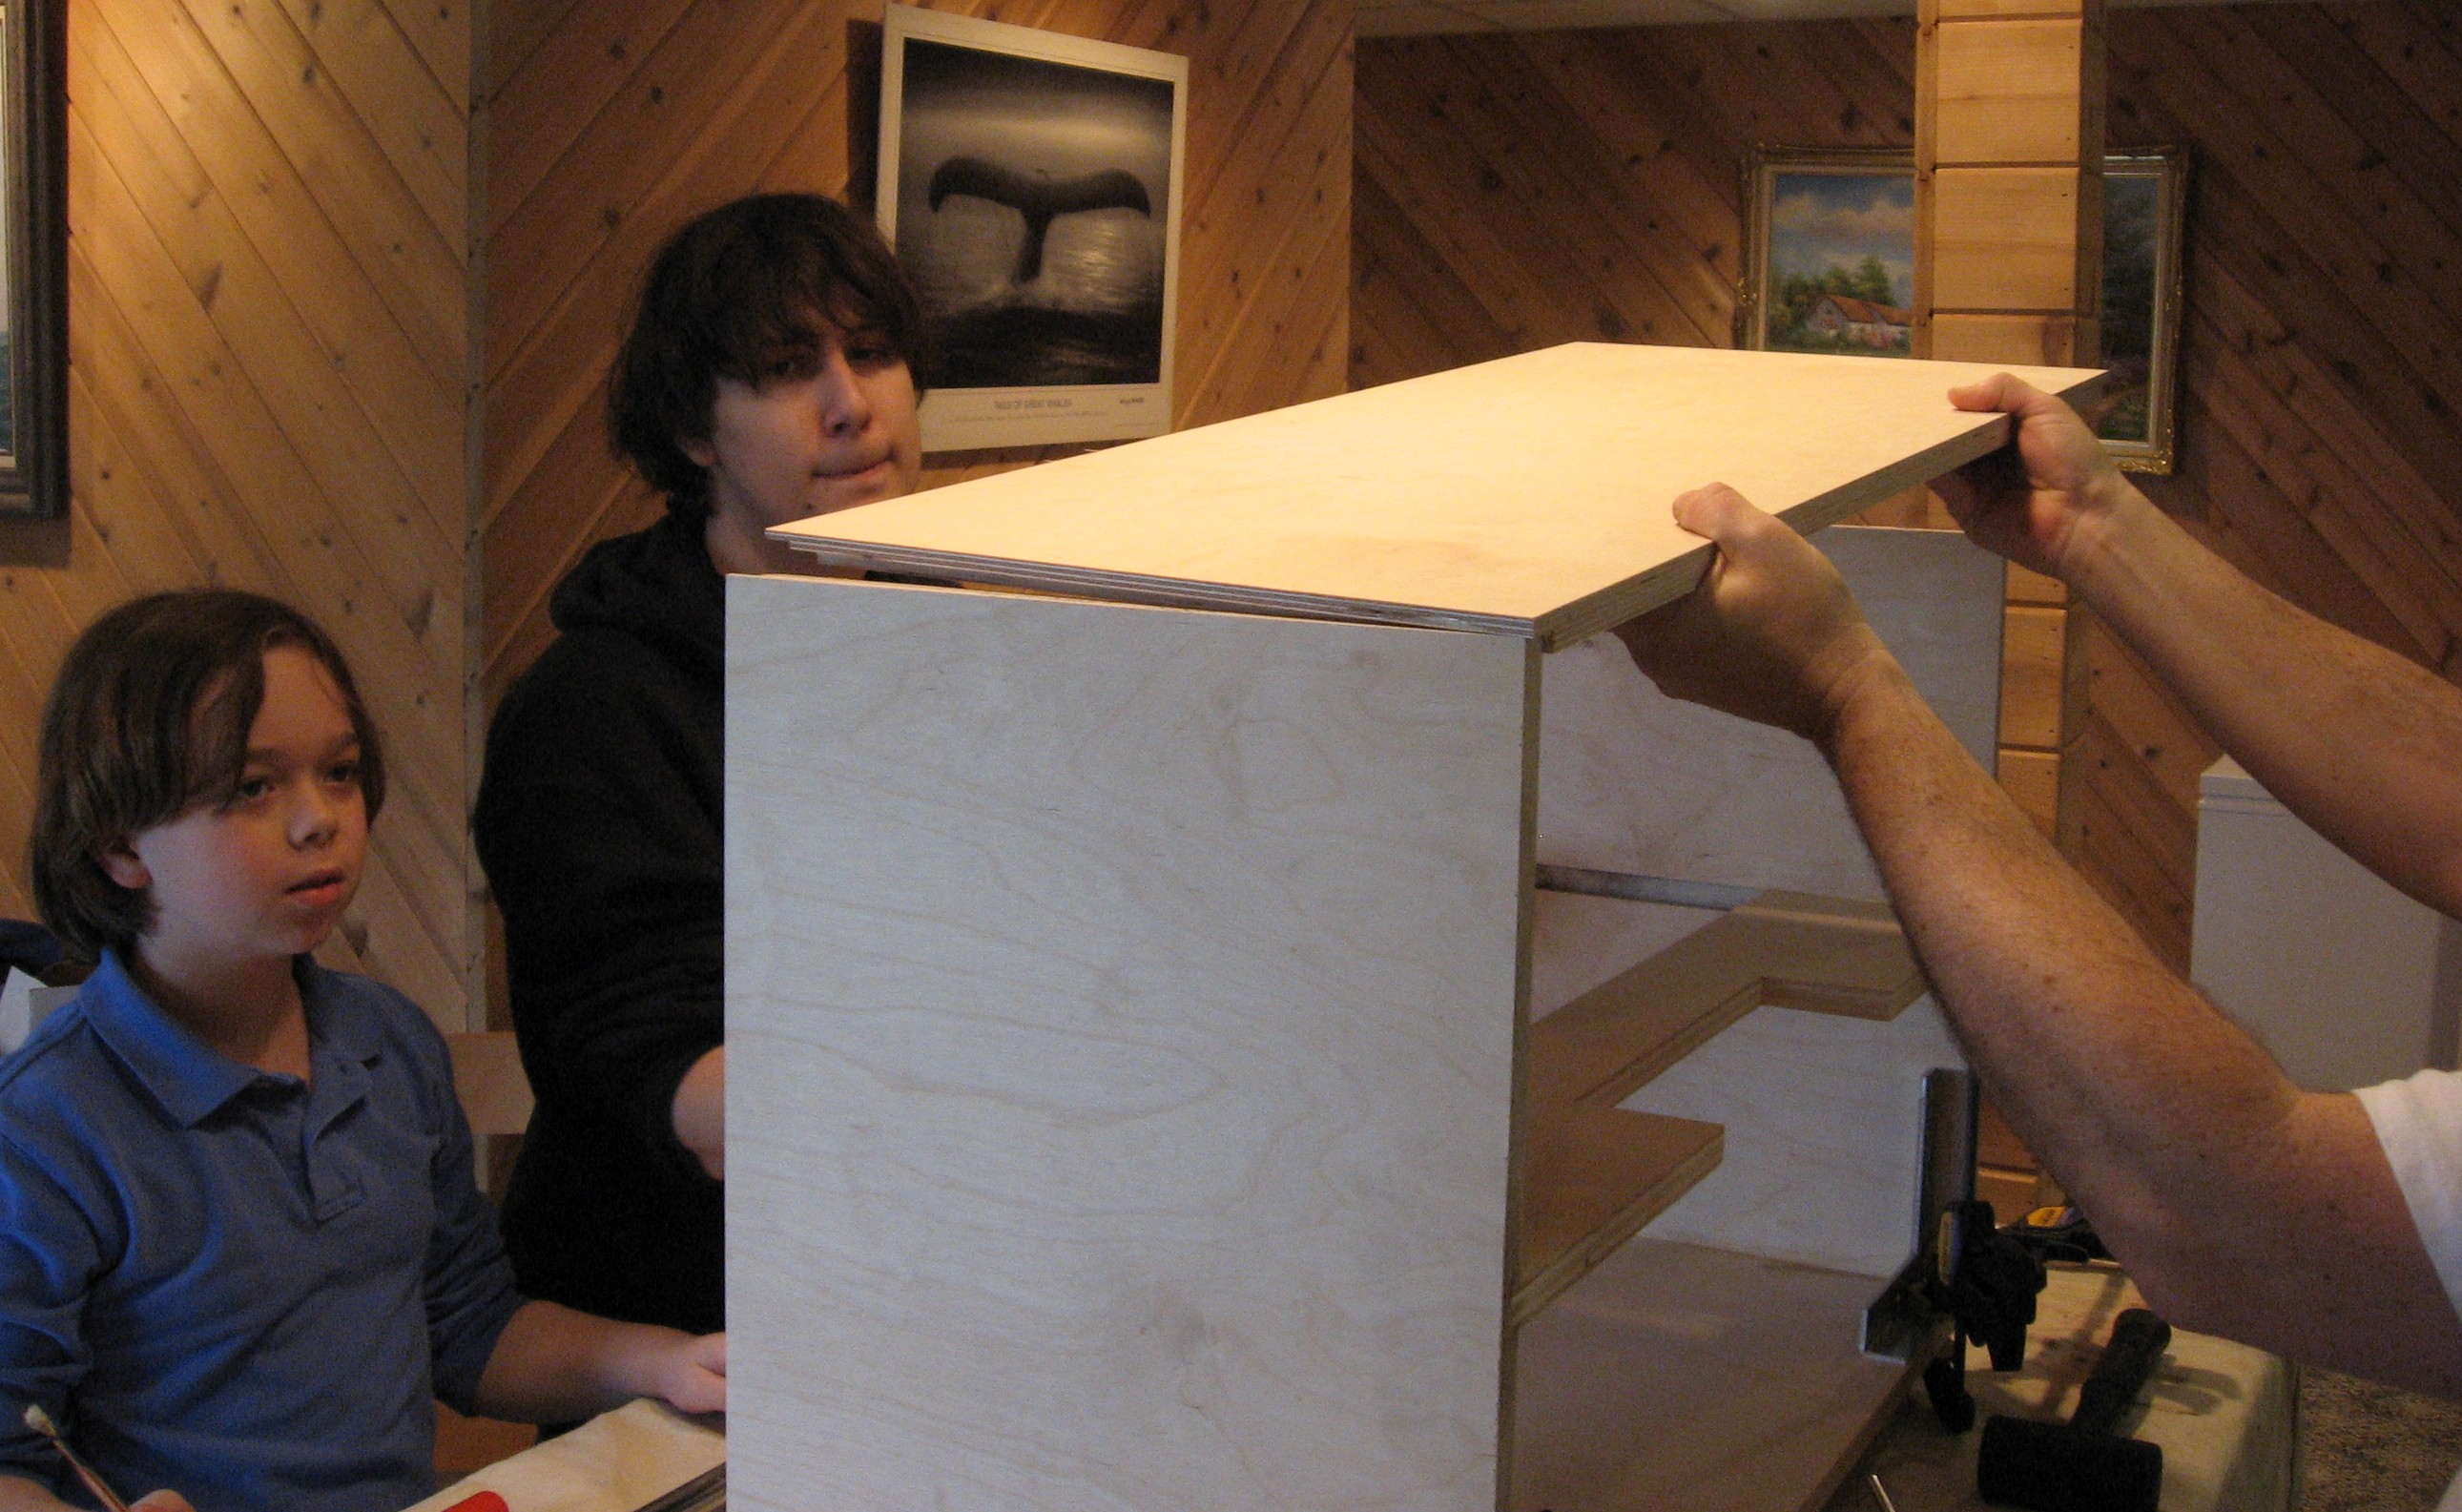
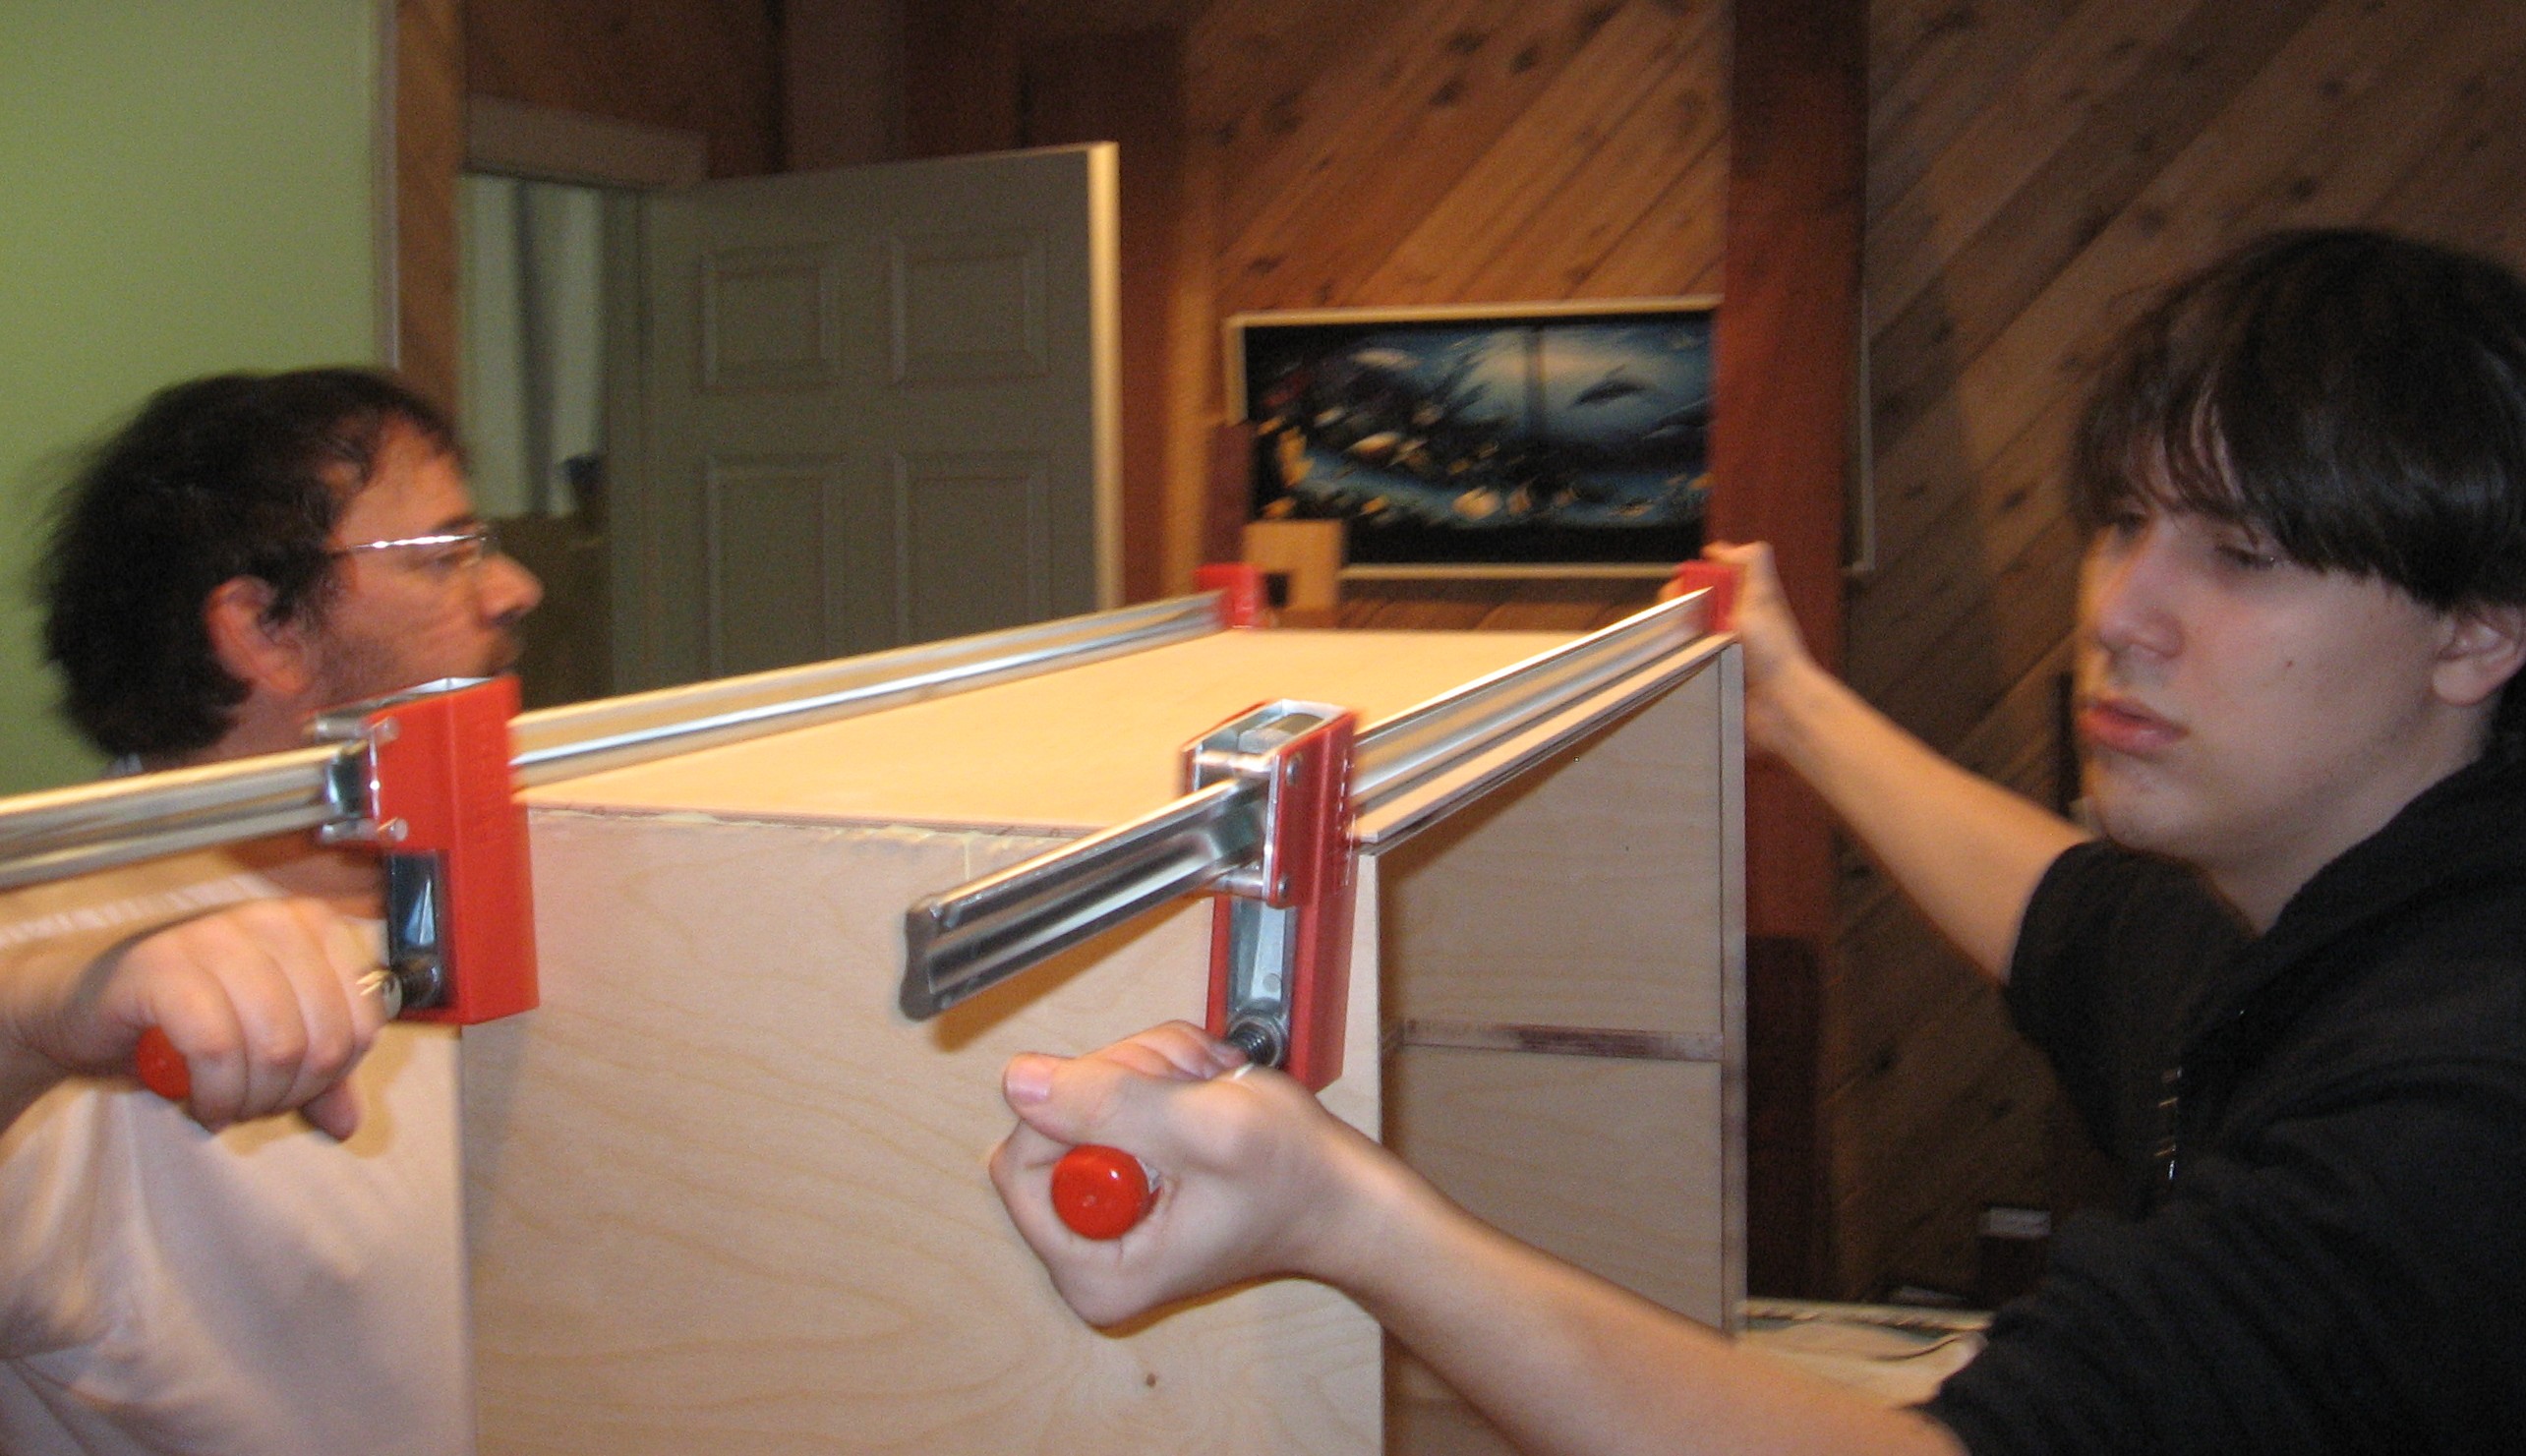
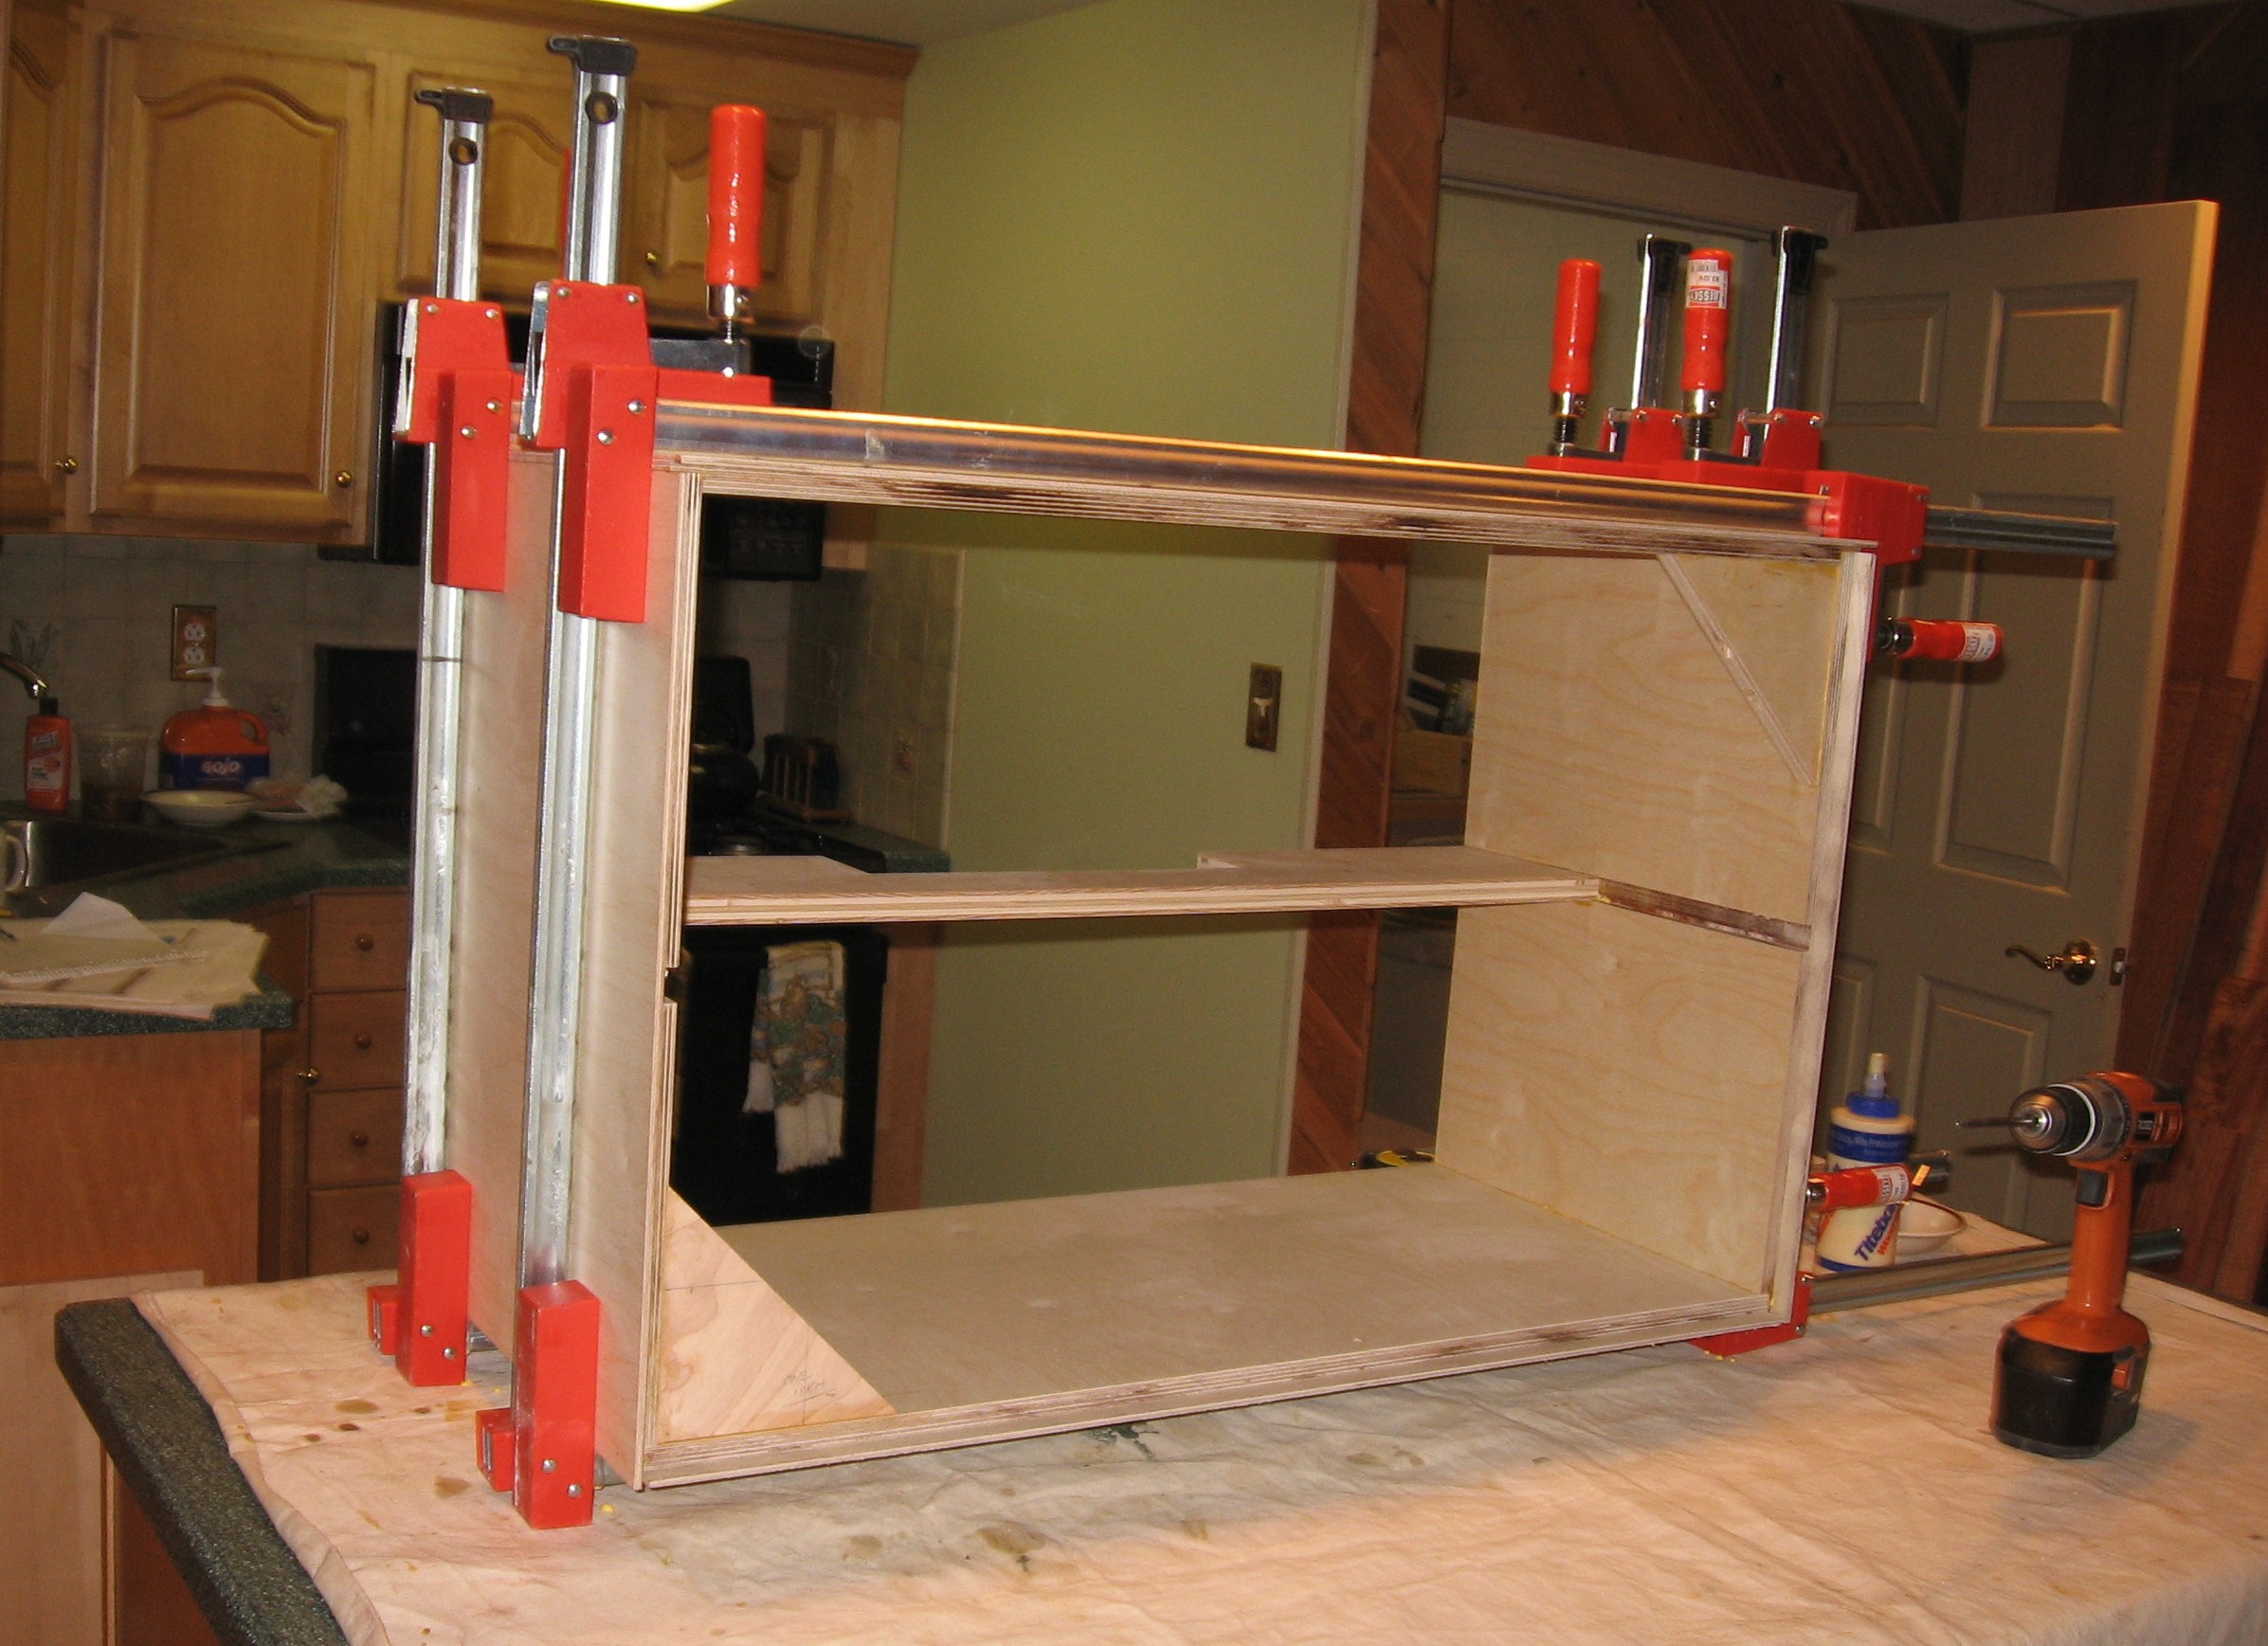
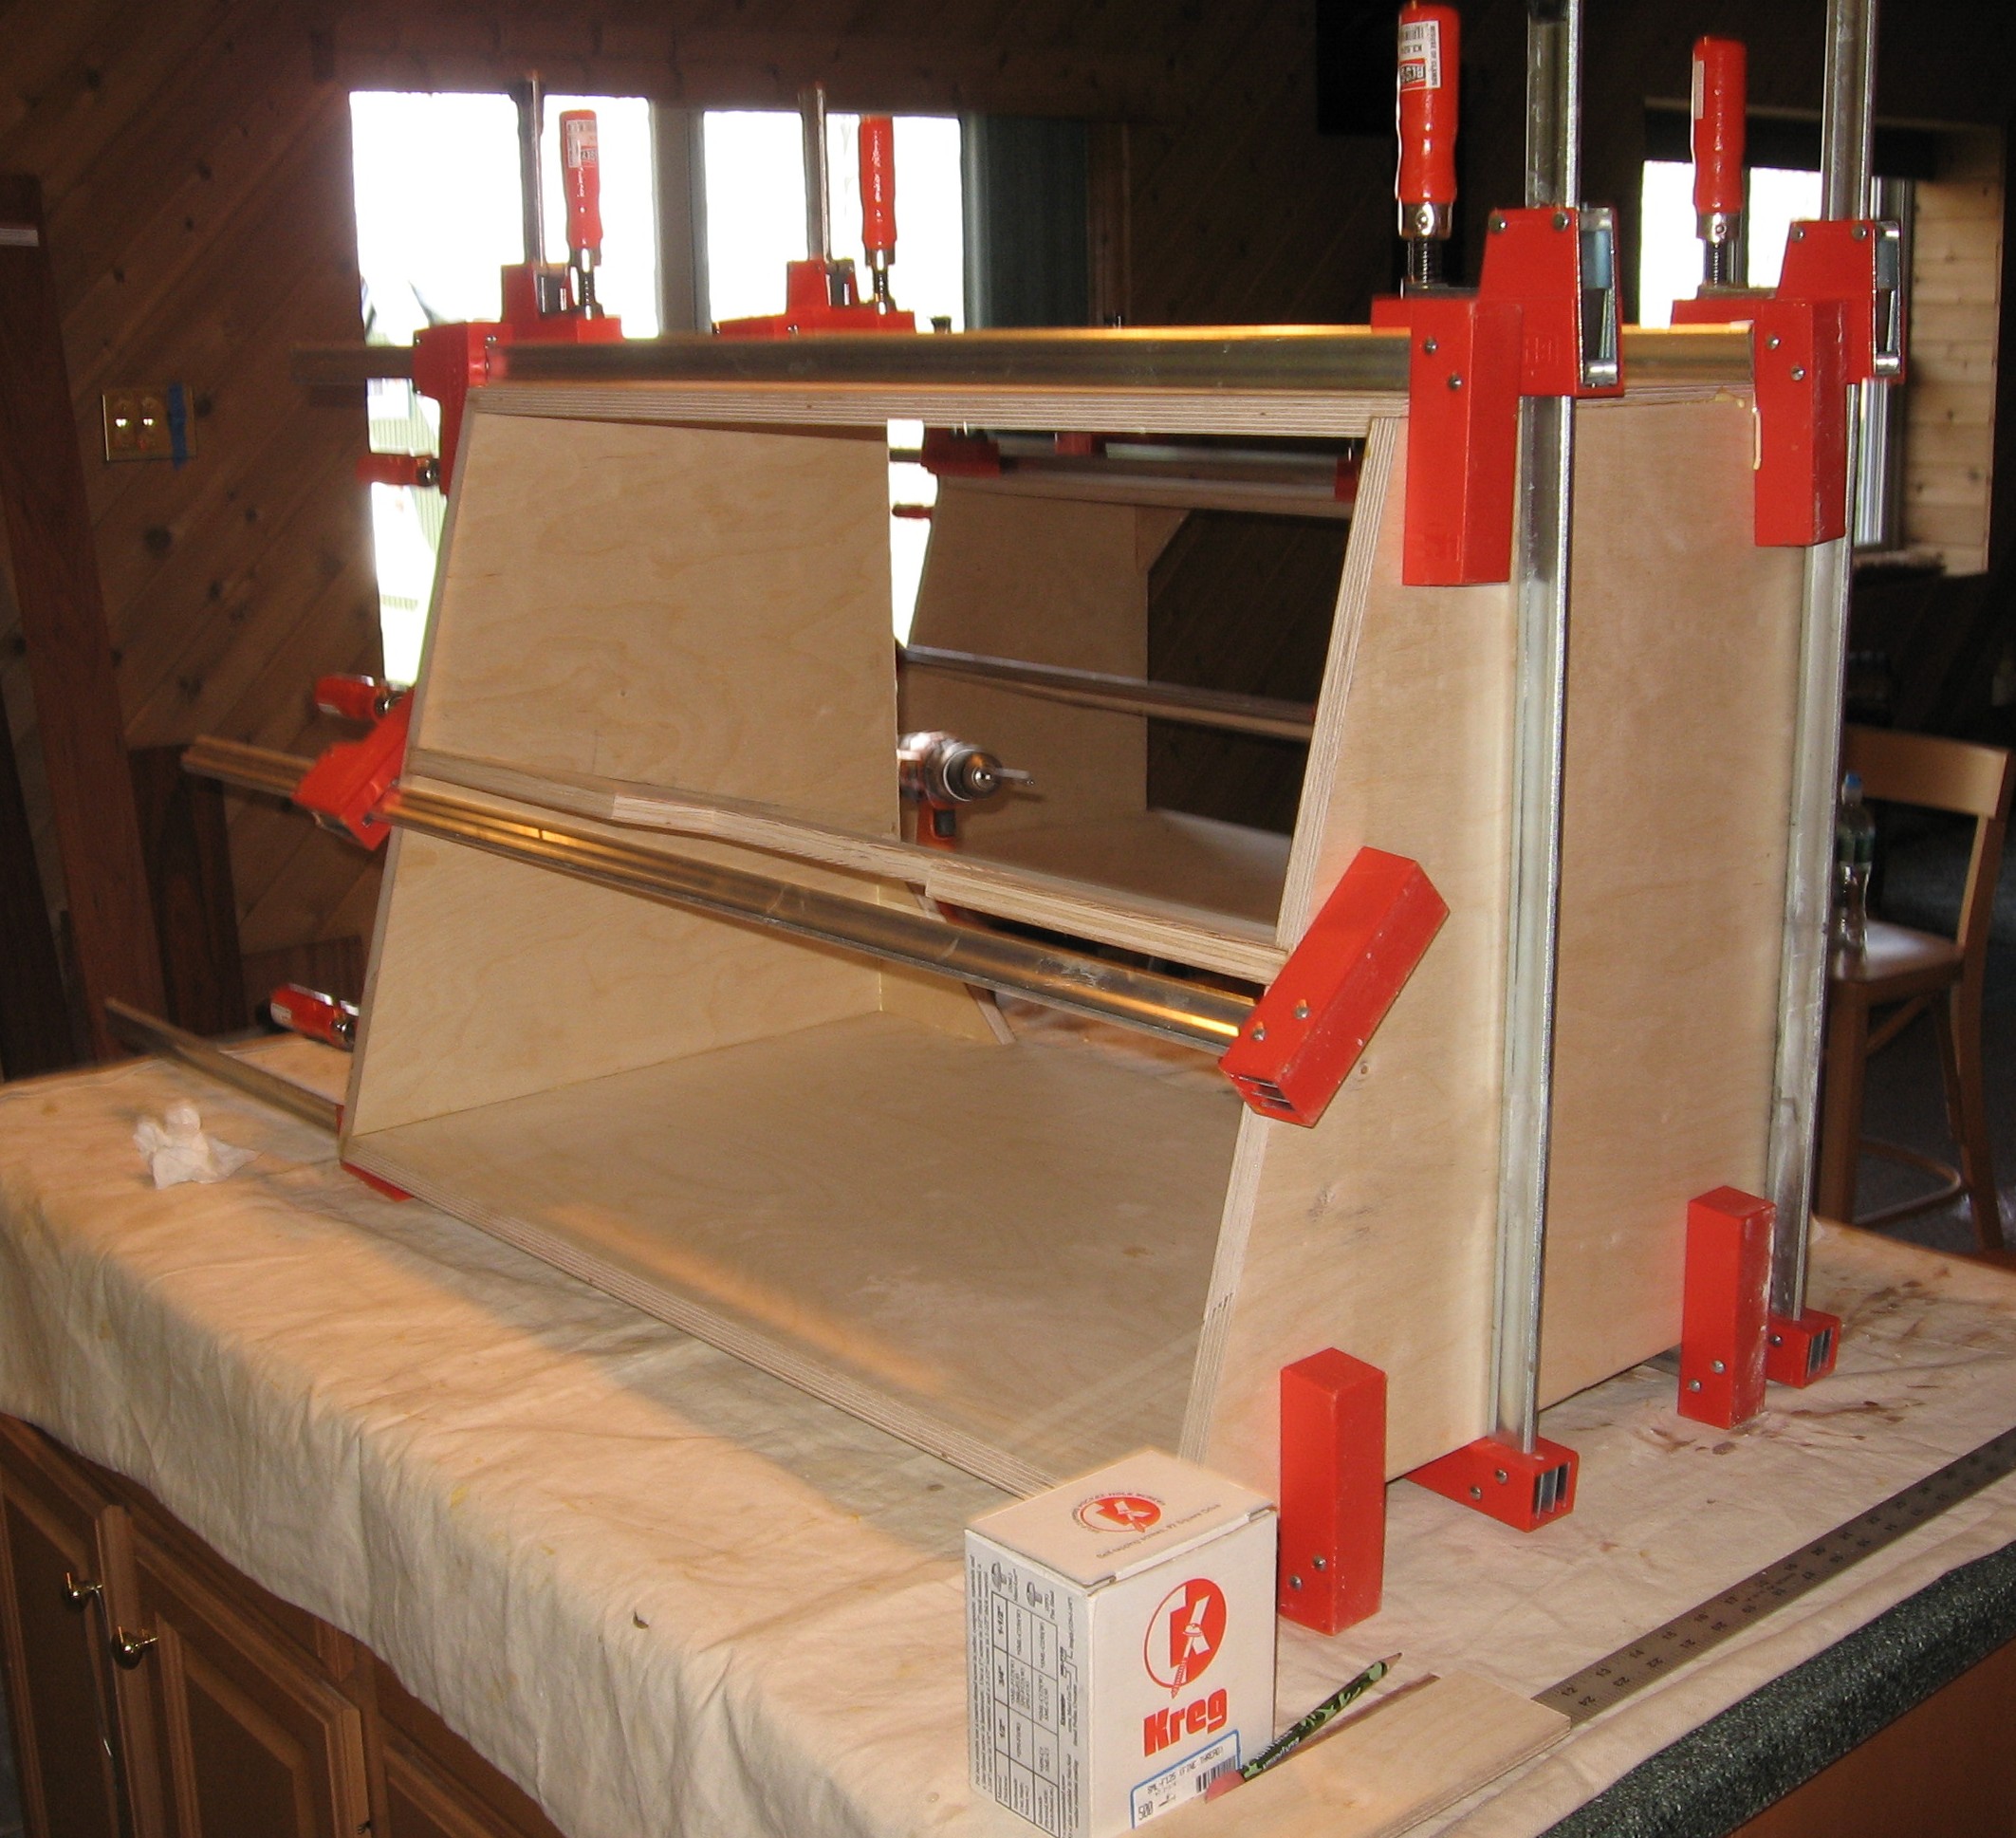
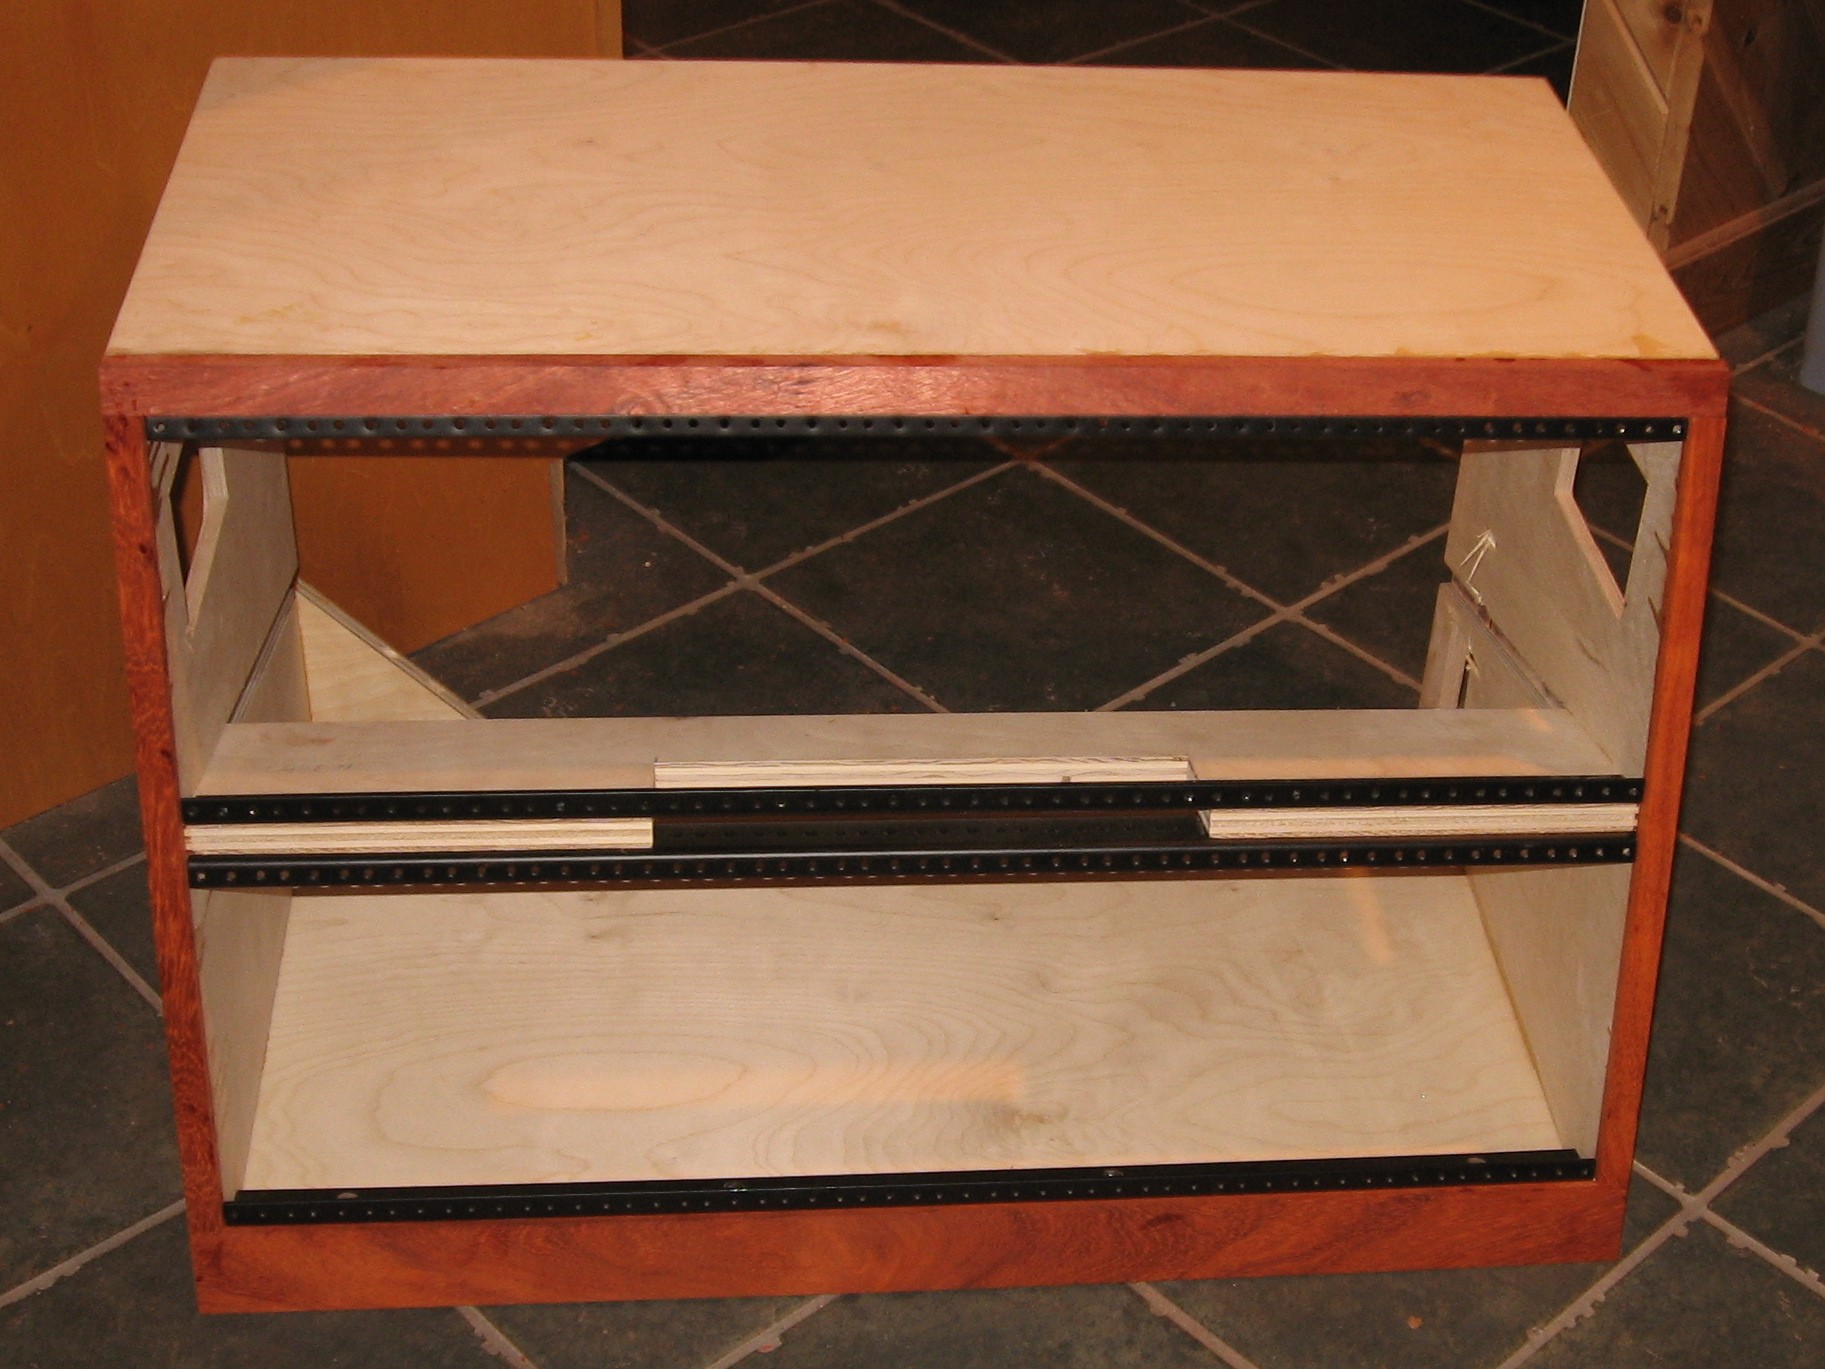
The Top Cases
|
||
|
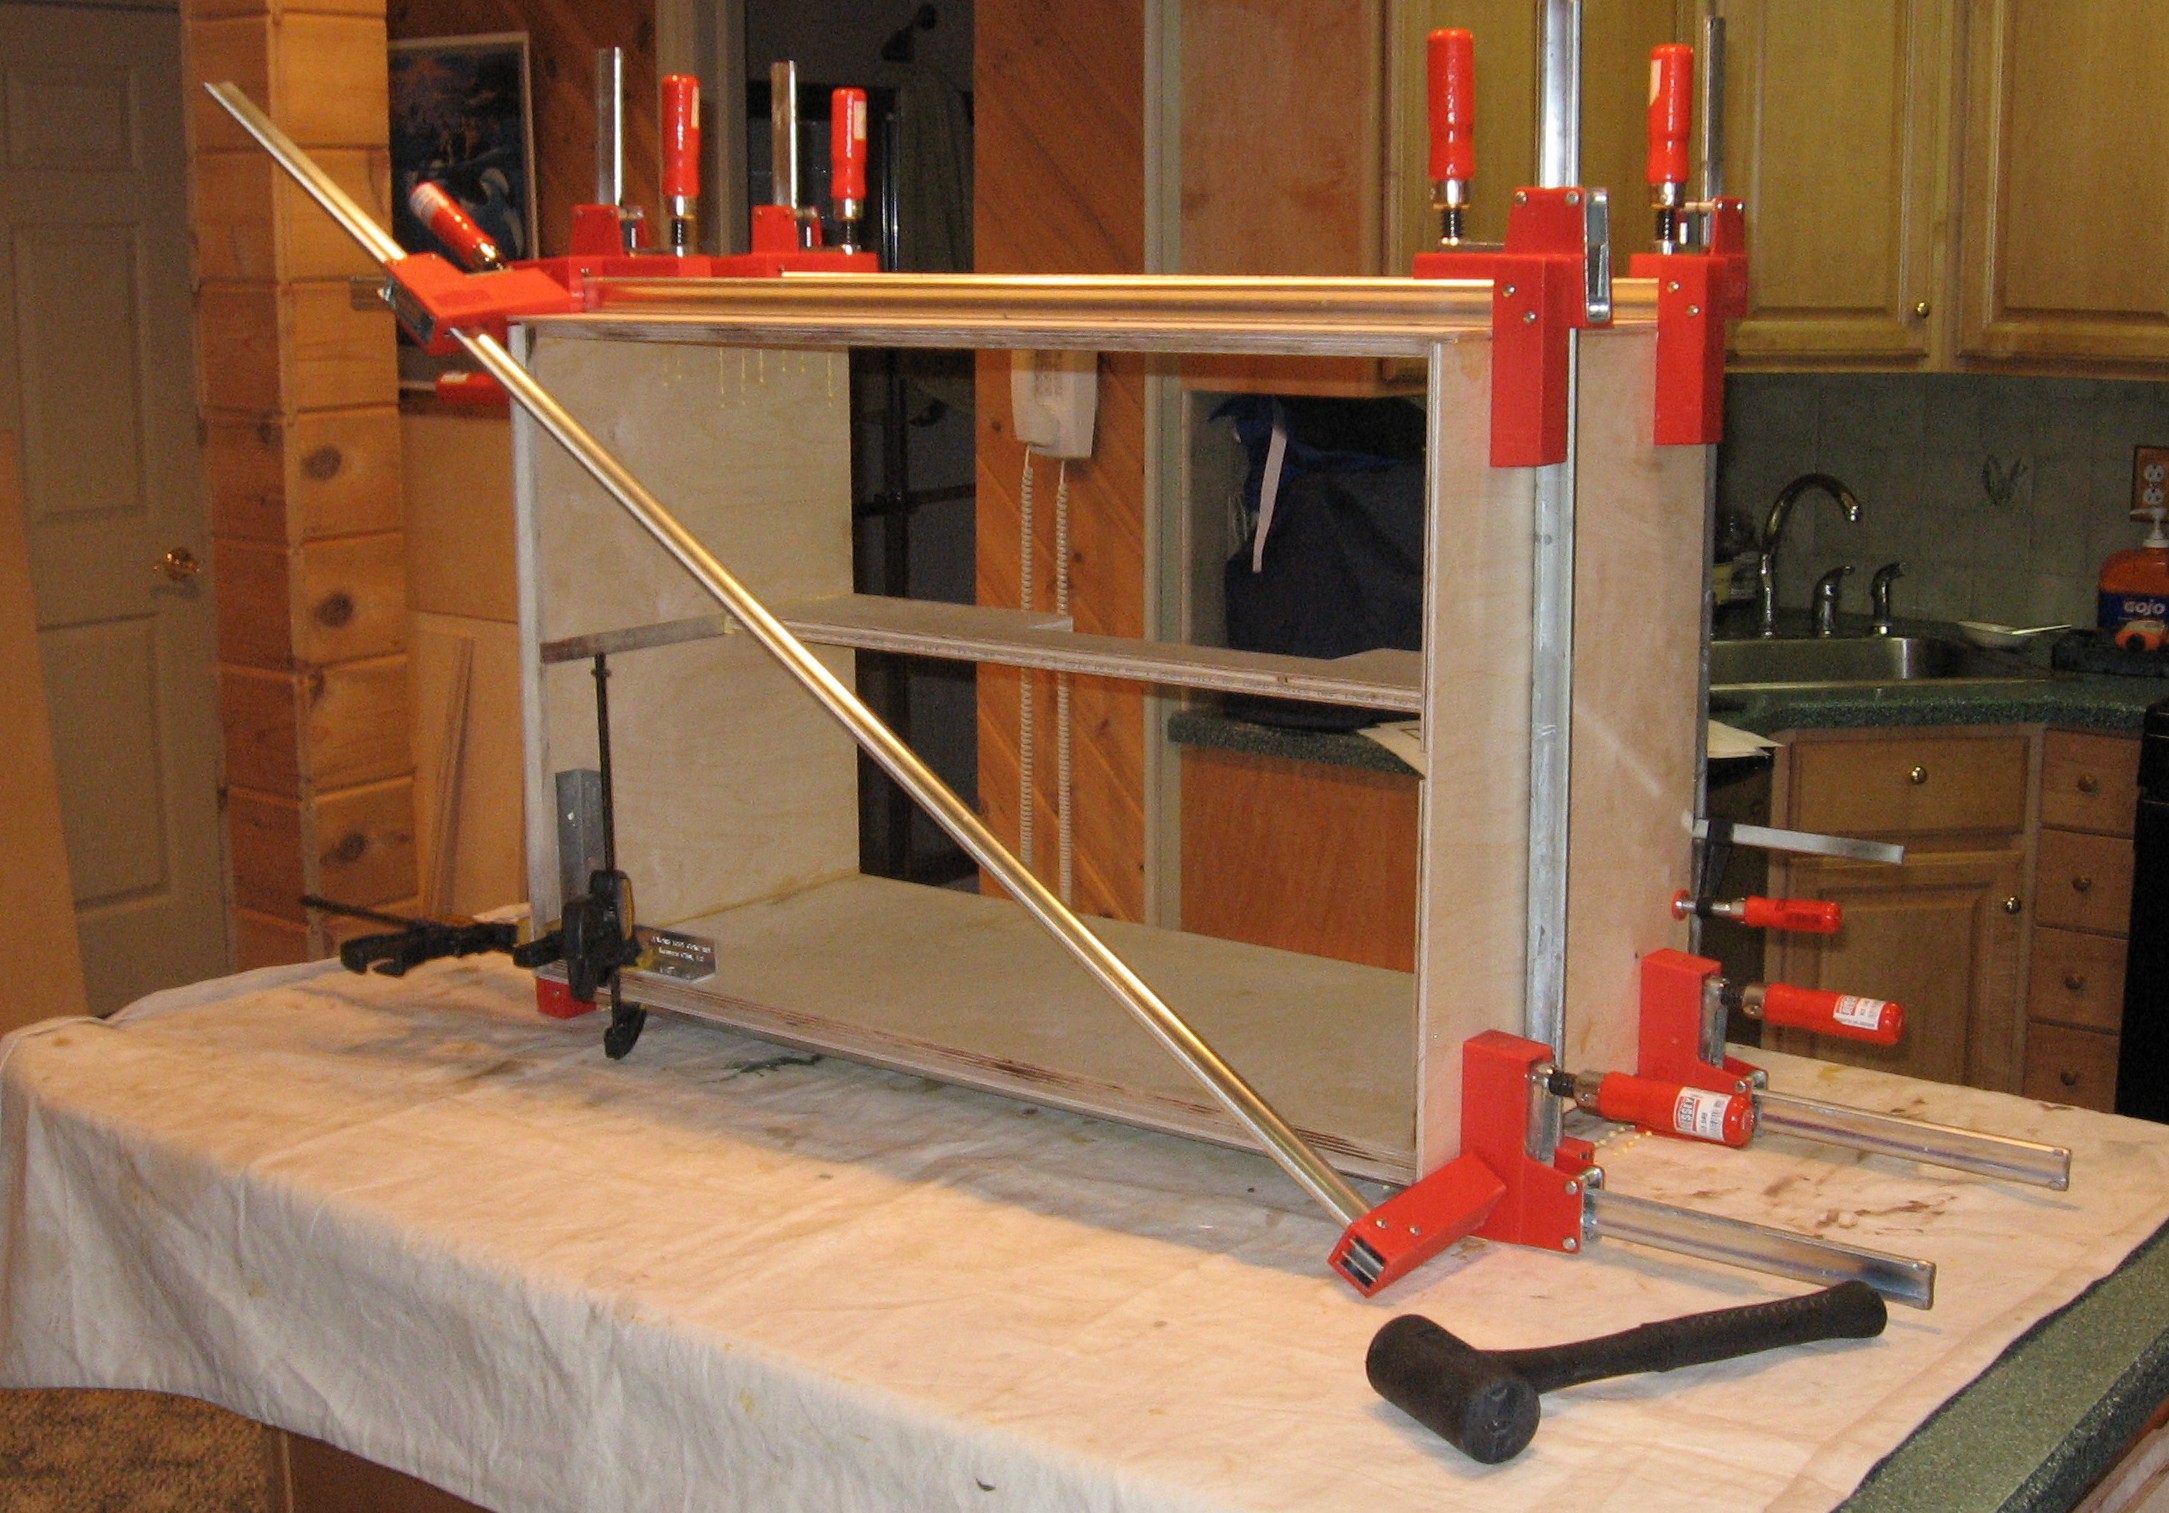
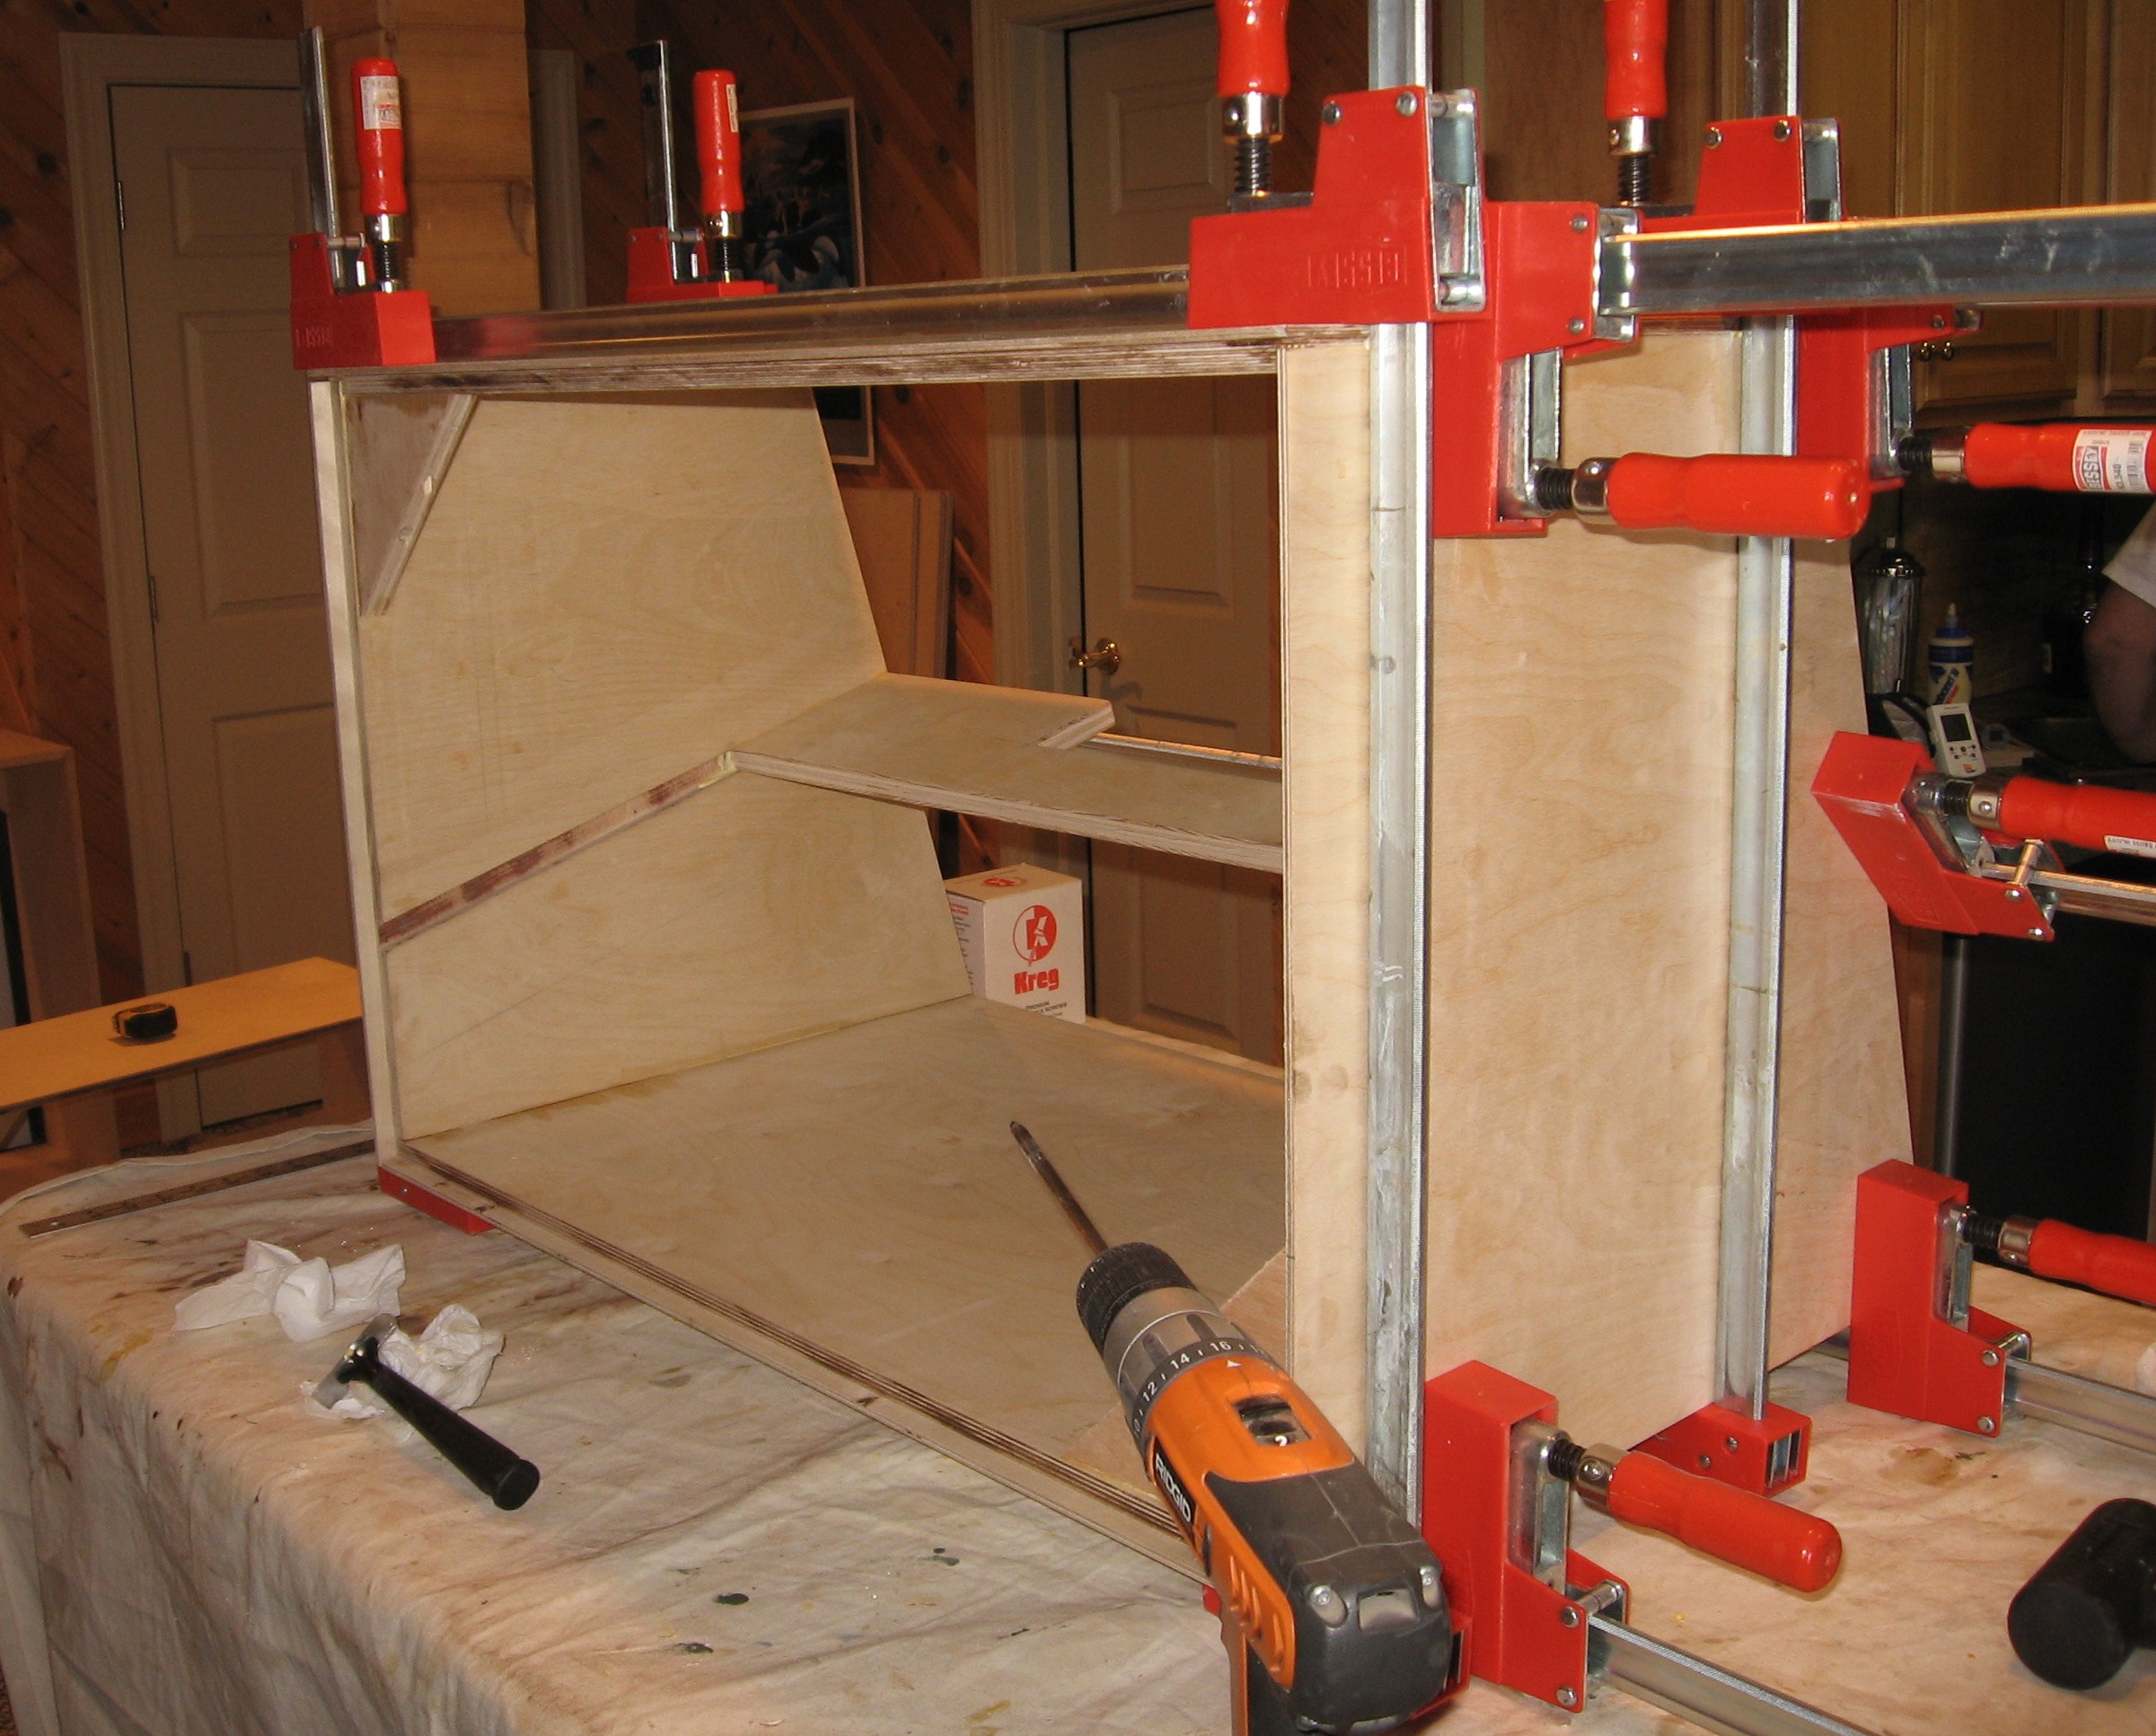
The Bottom Cases
|
||
|
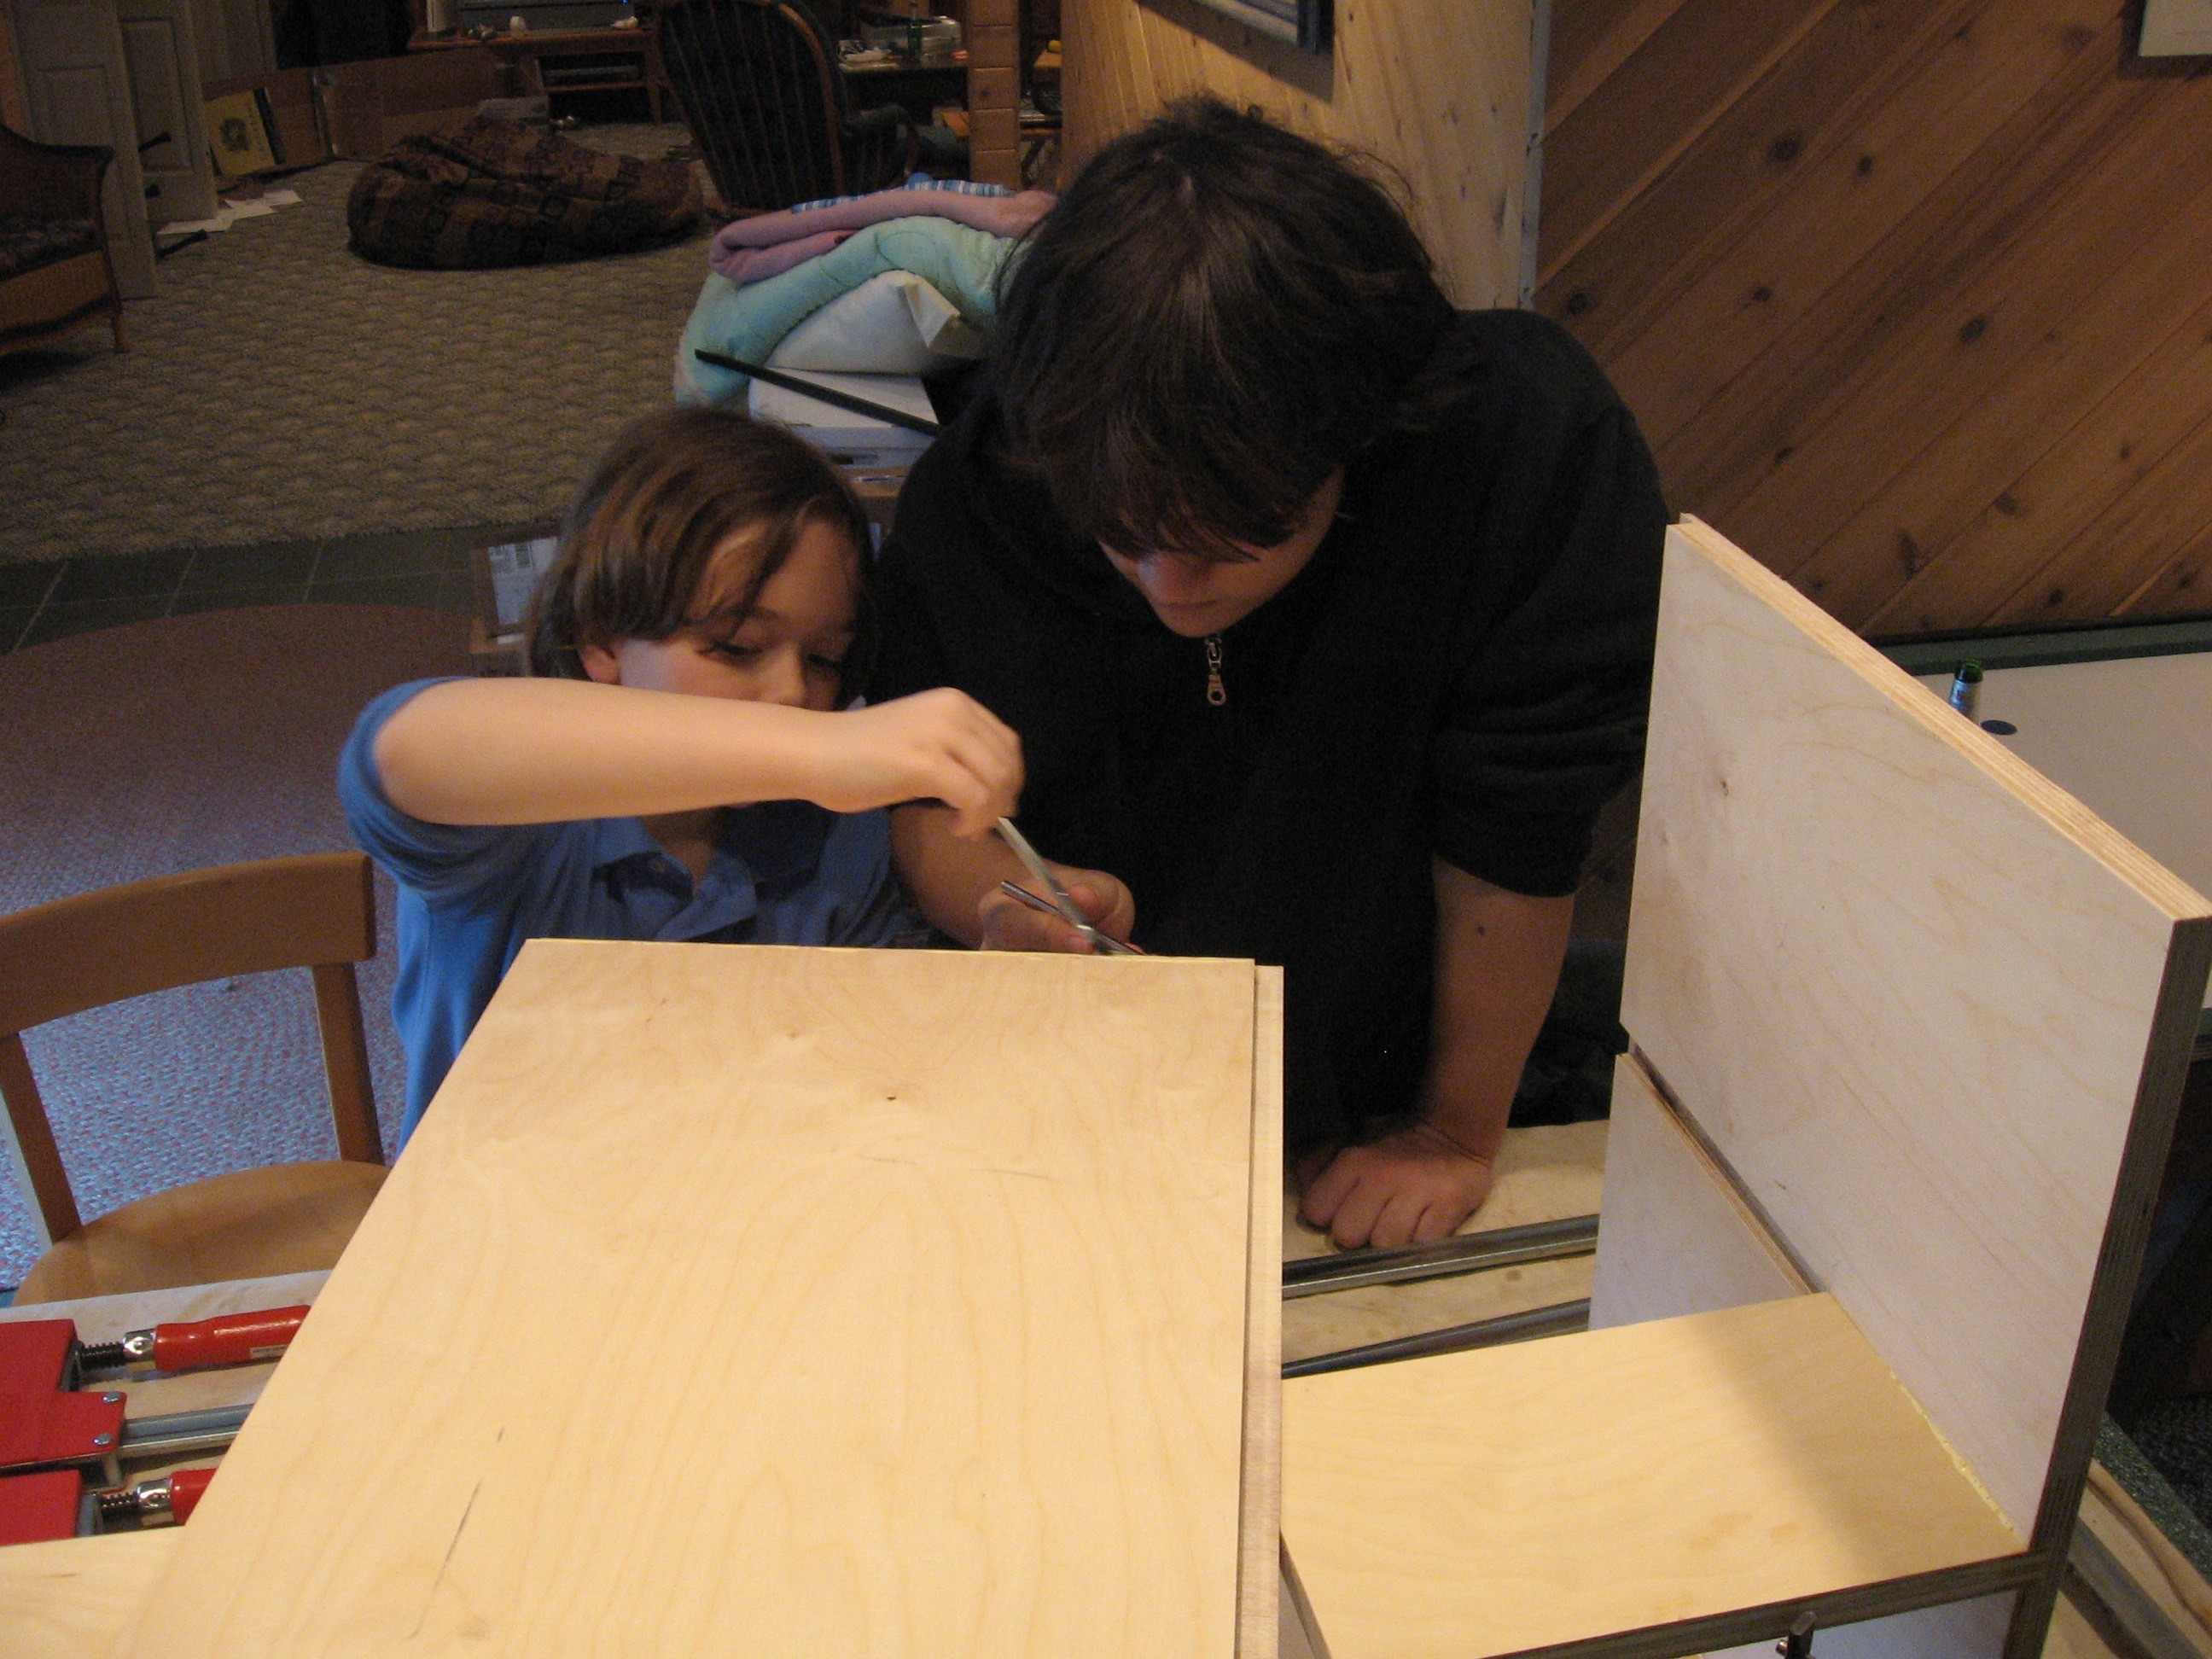
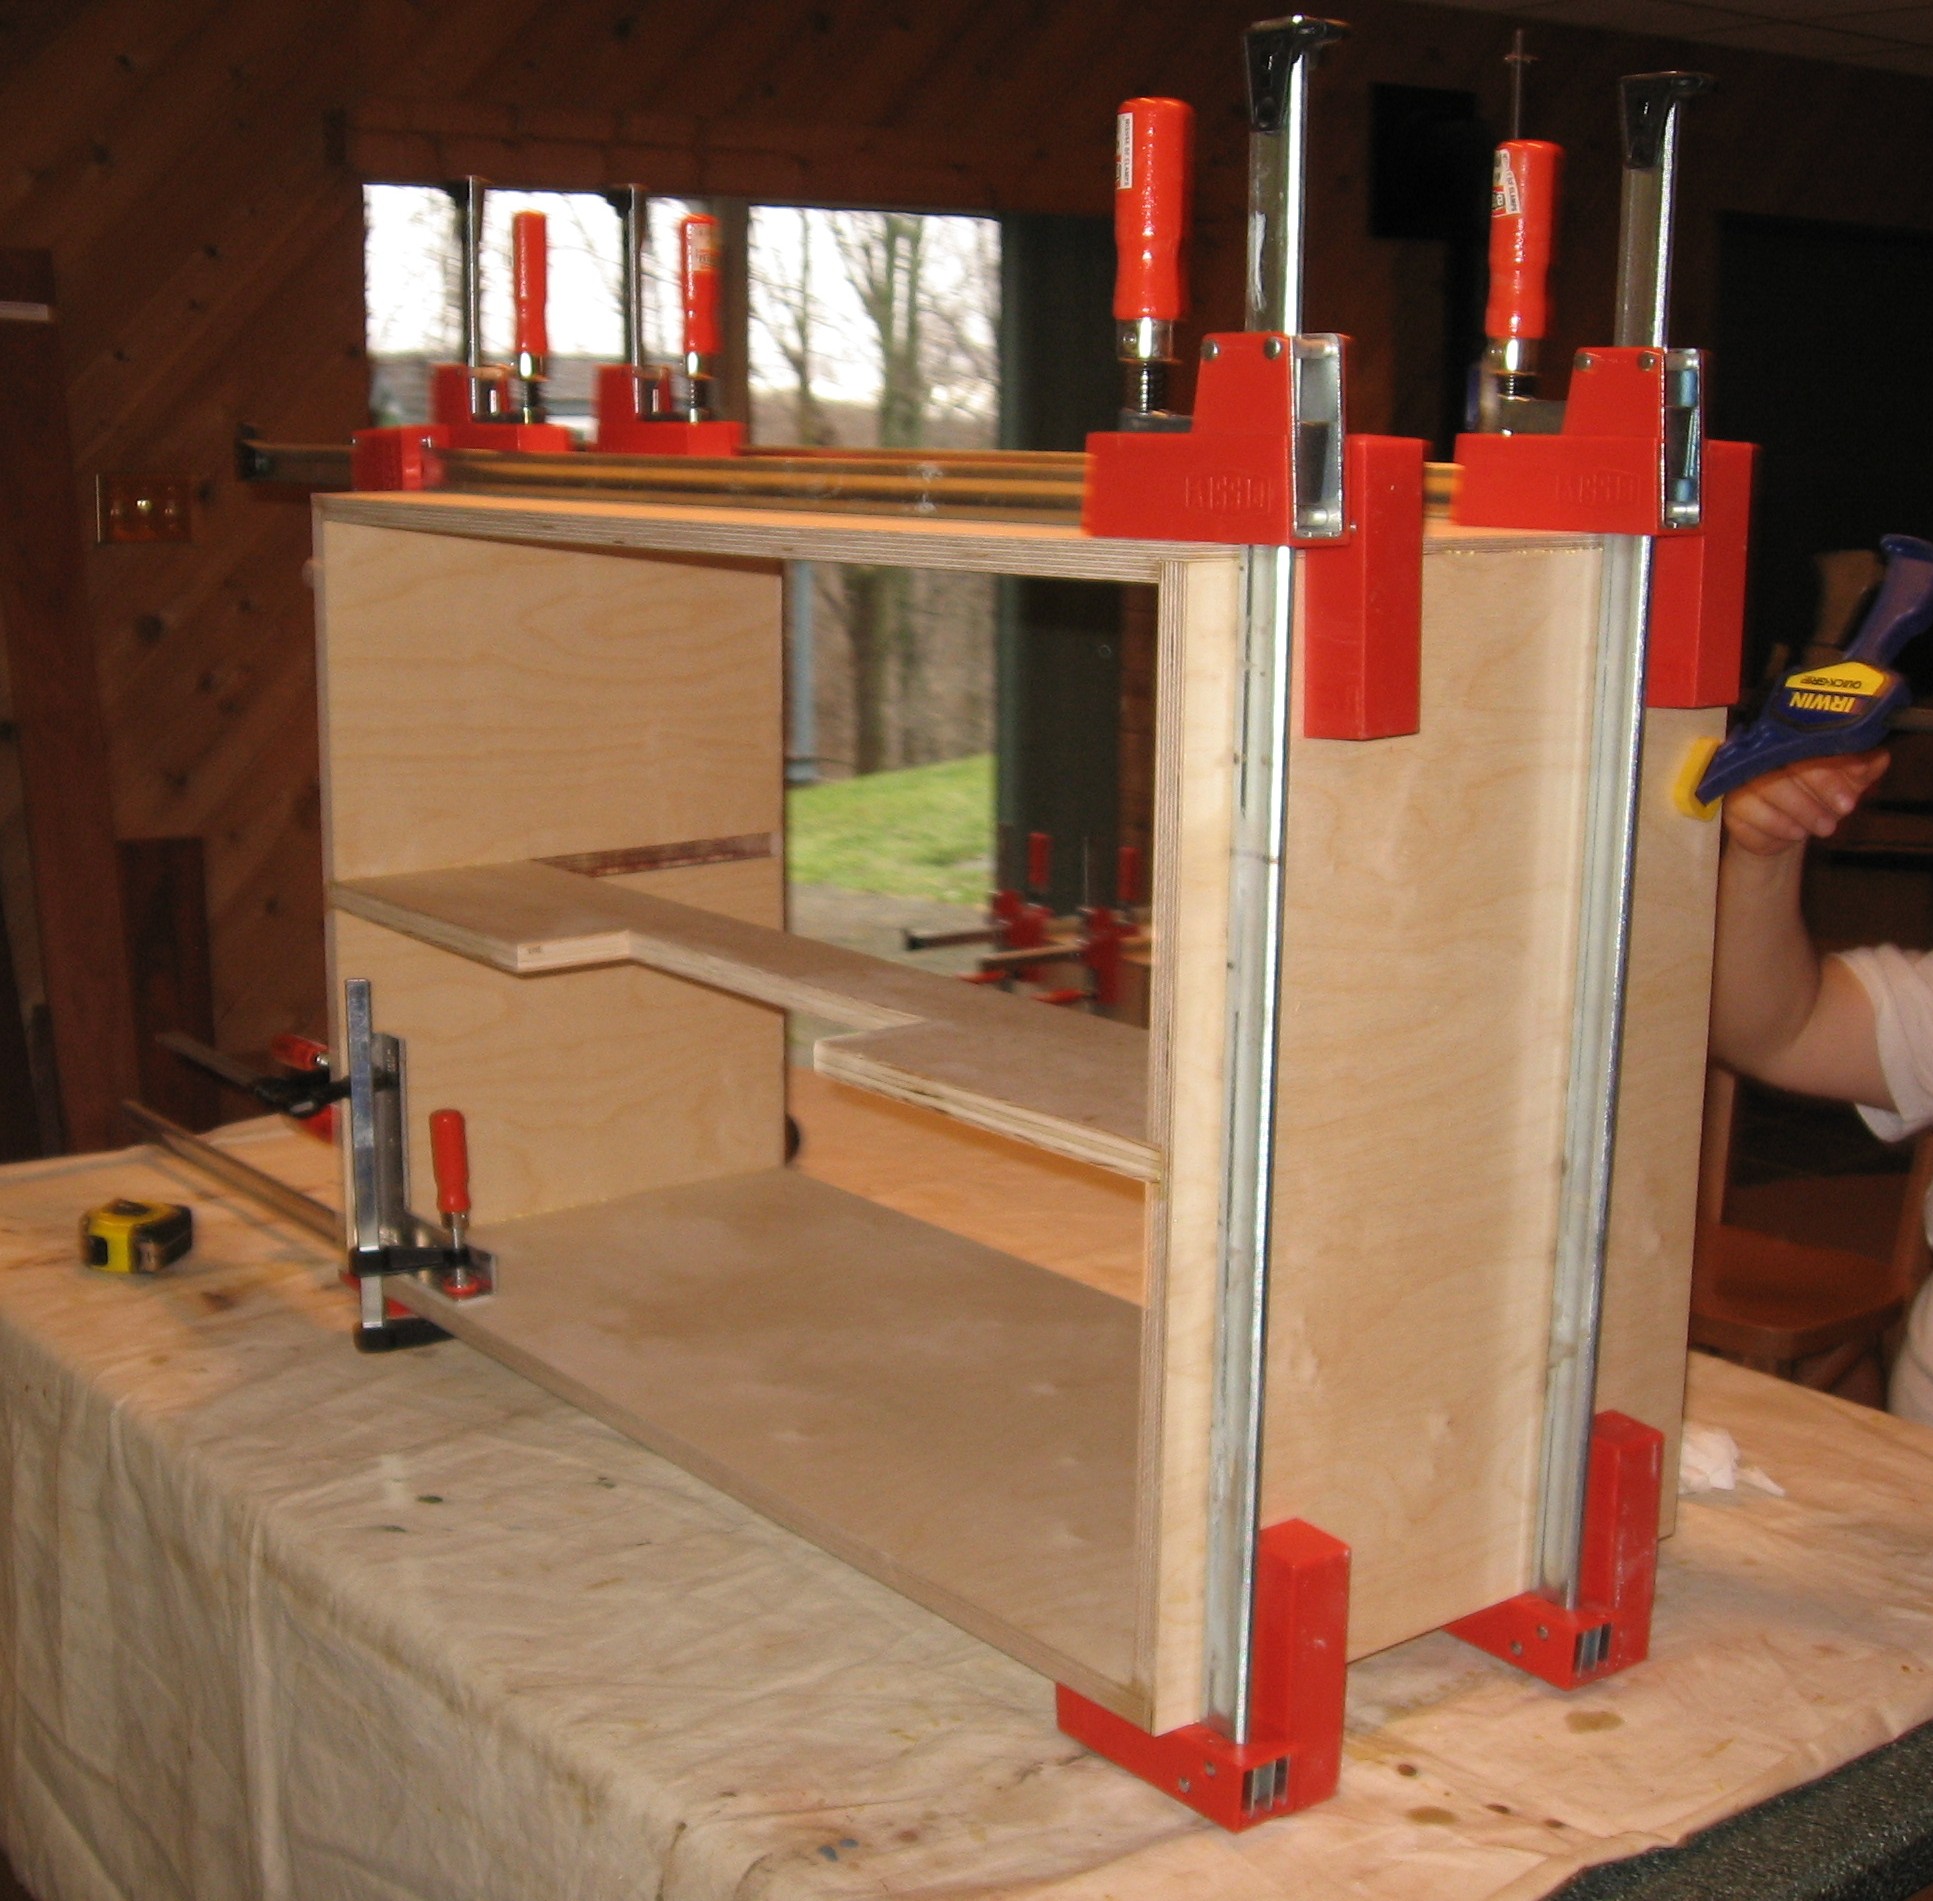
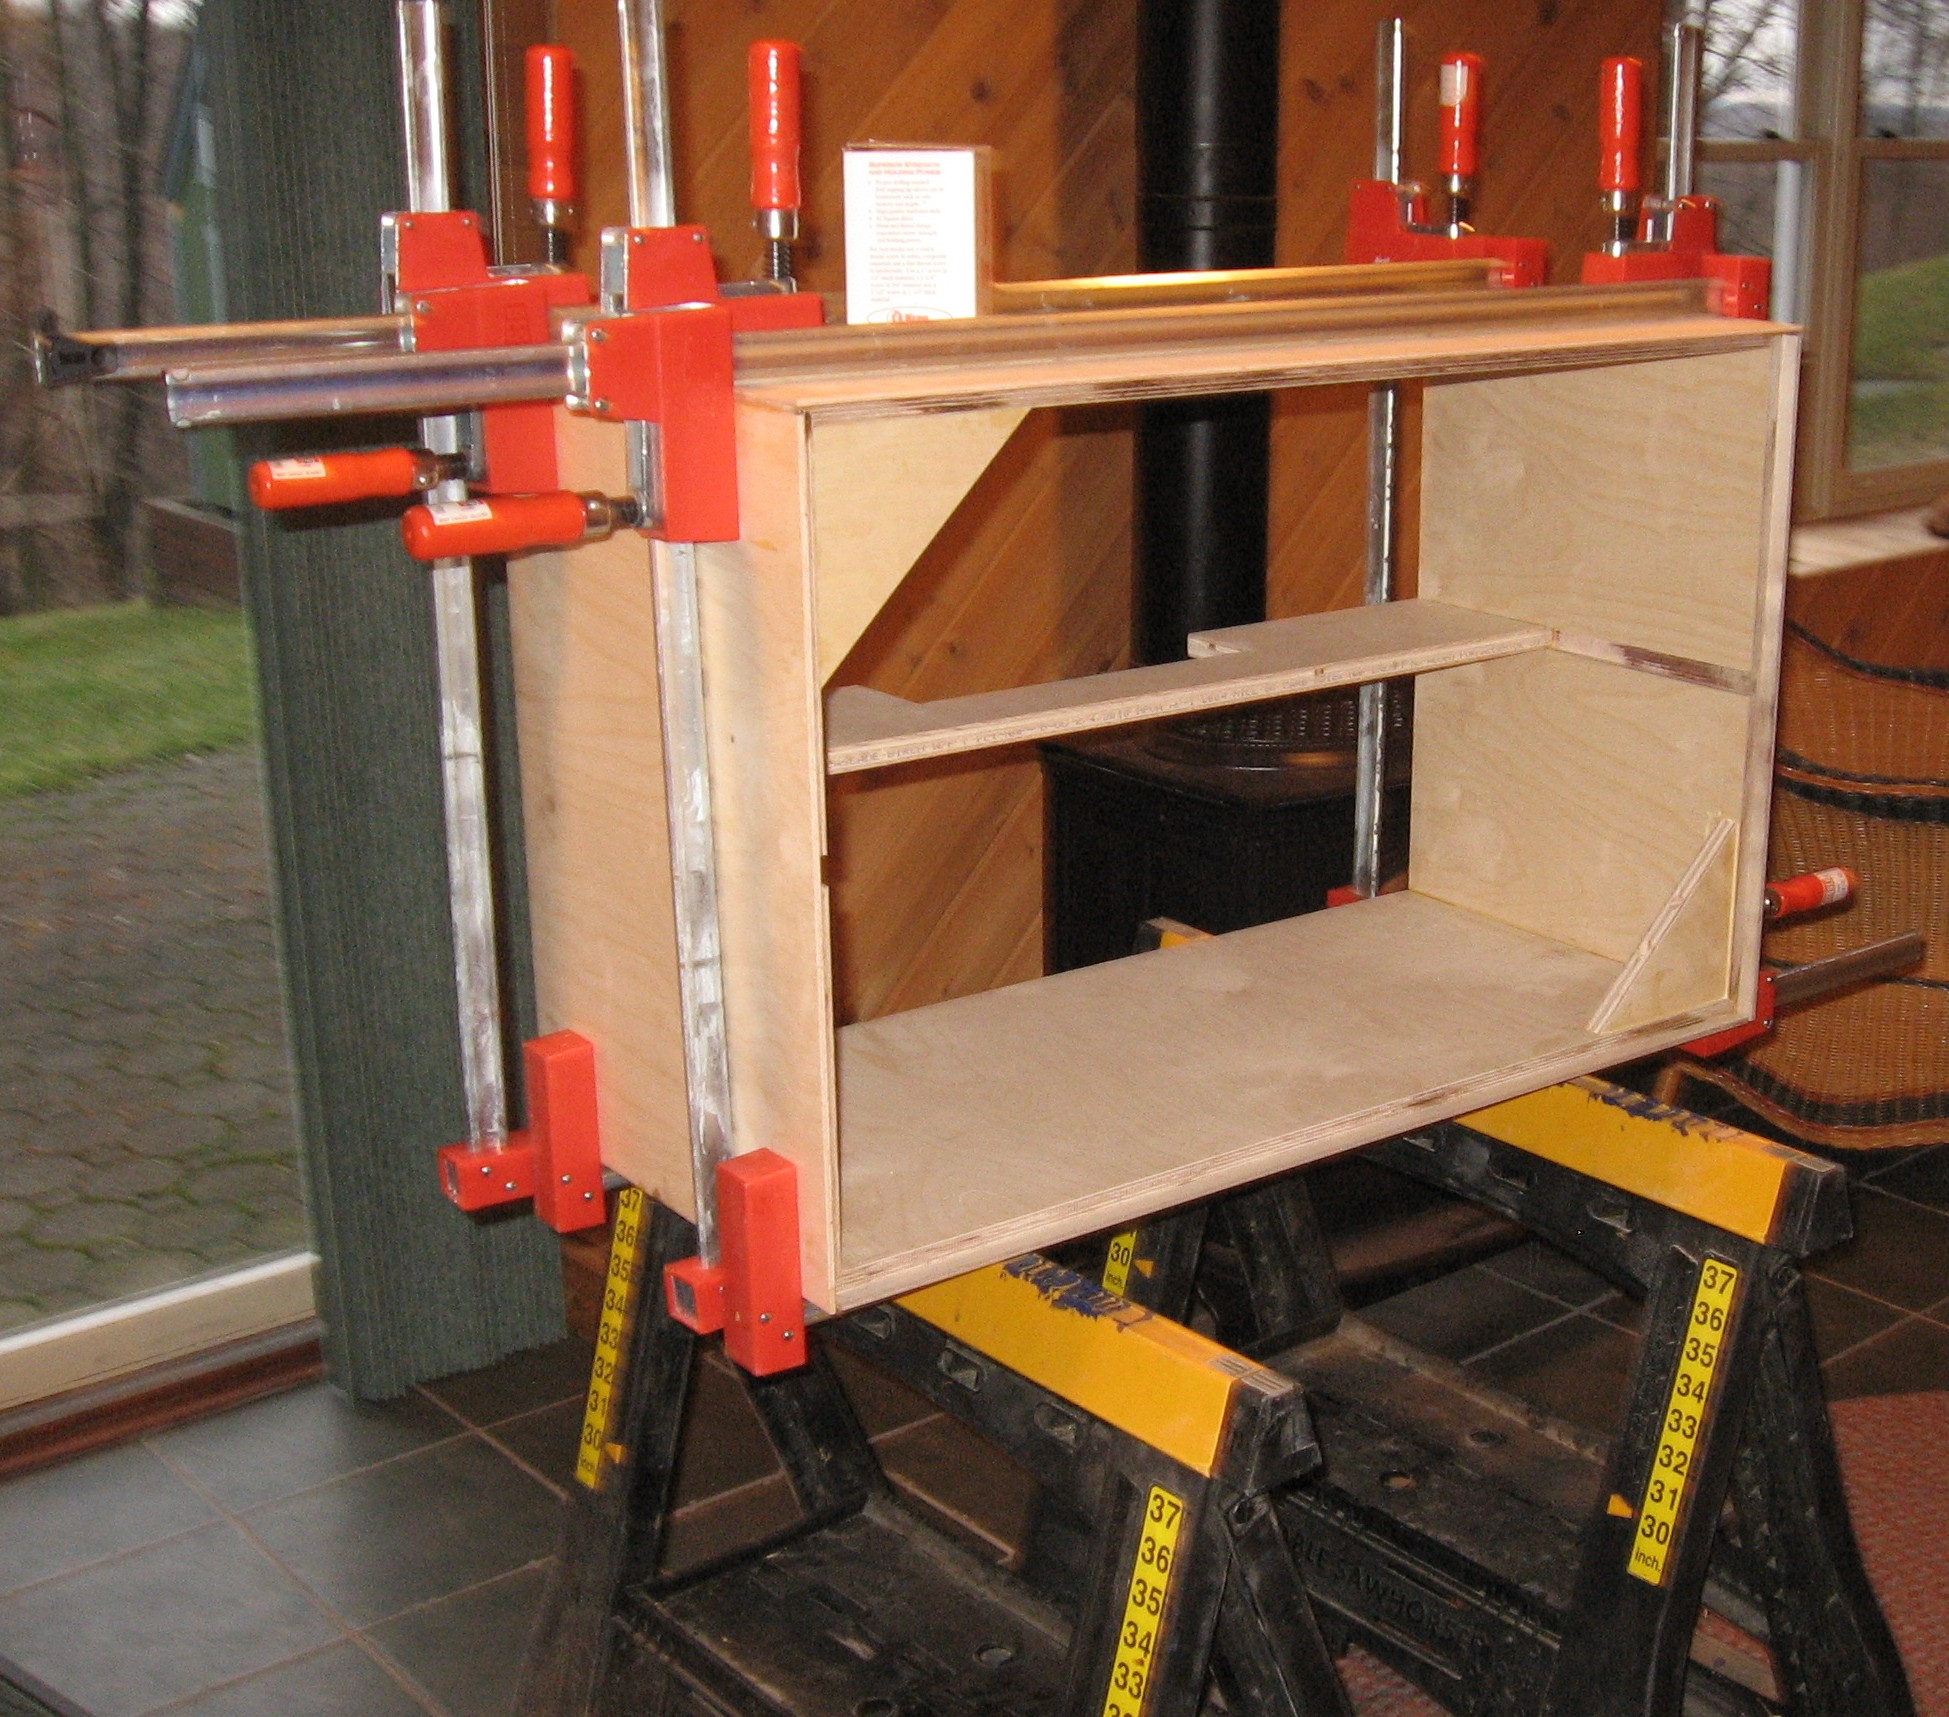
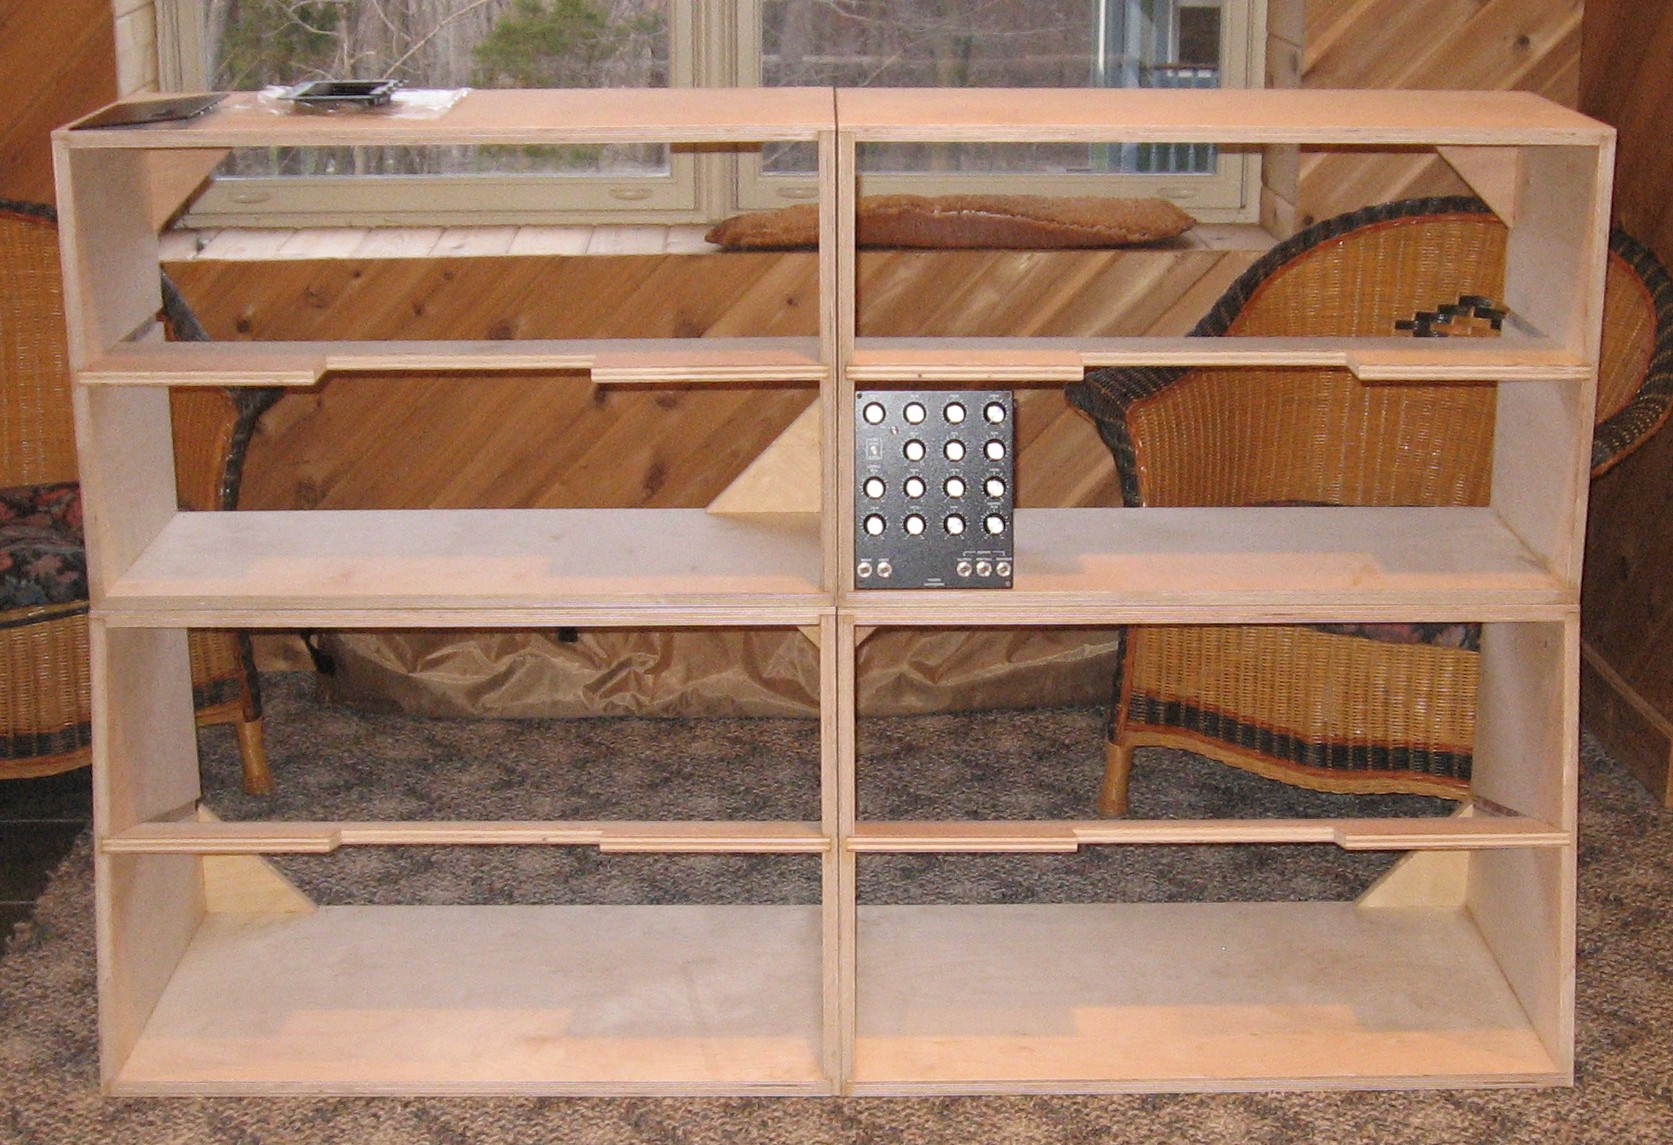
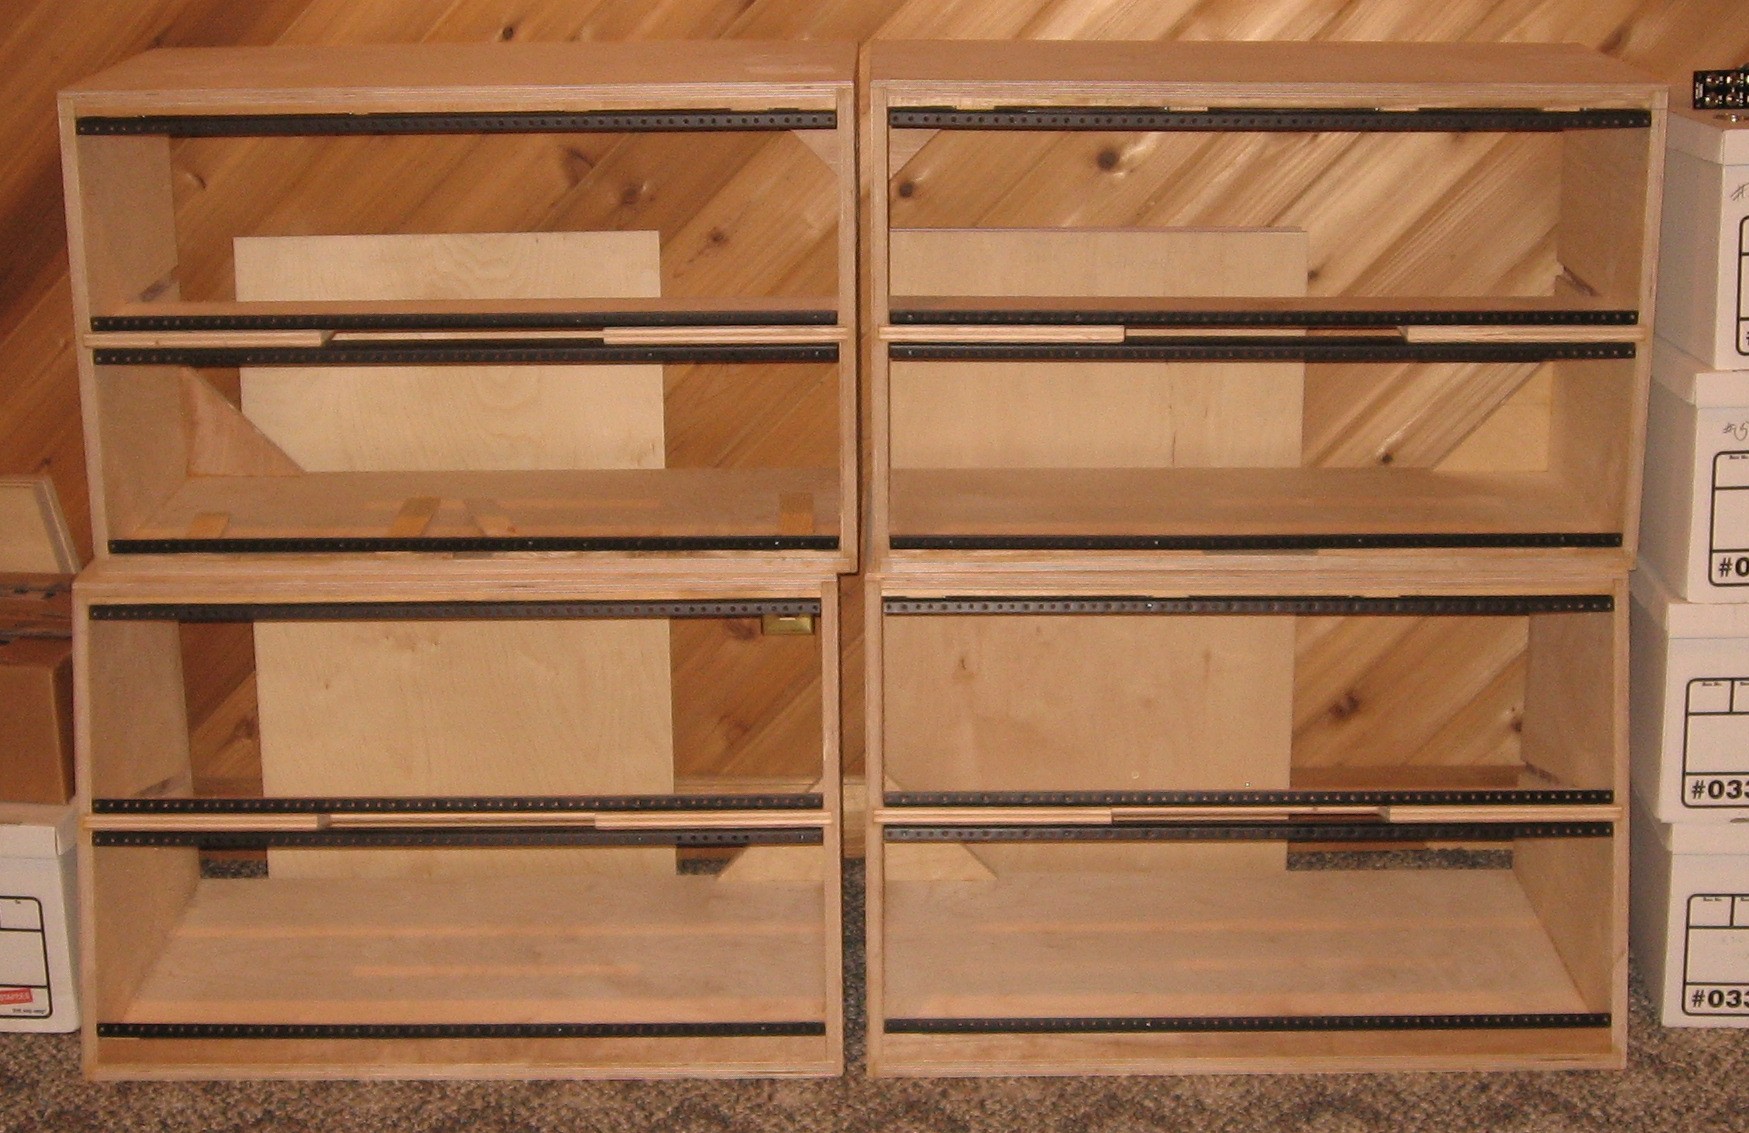
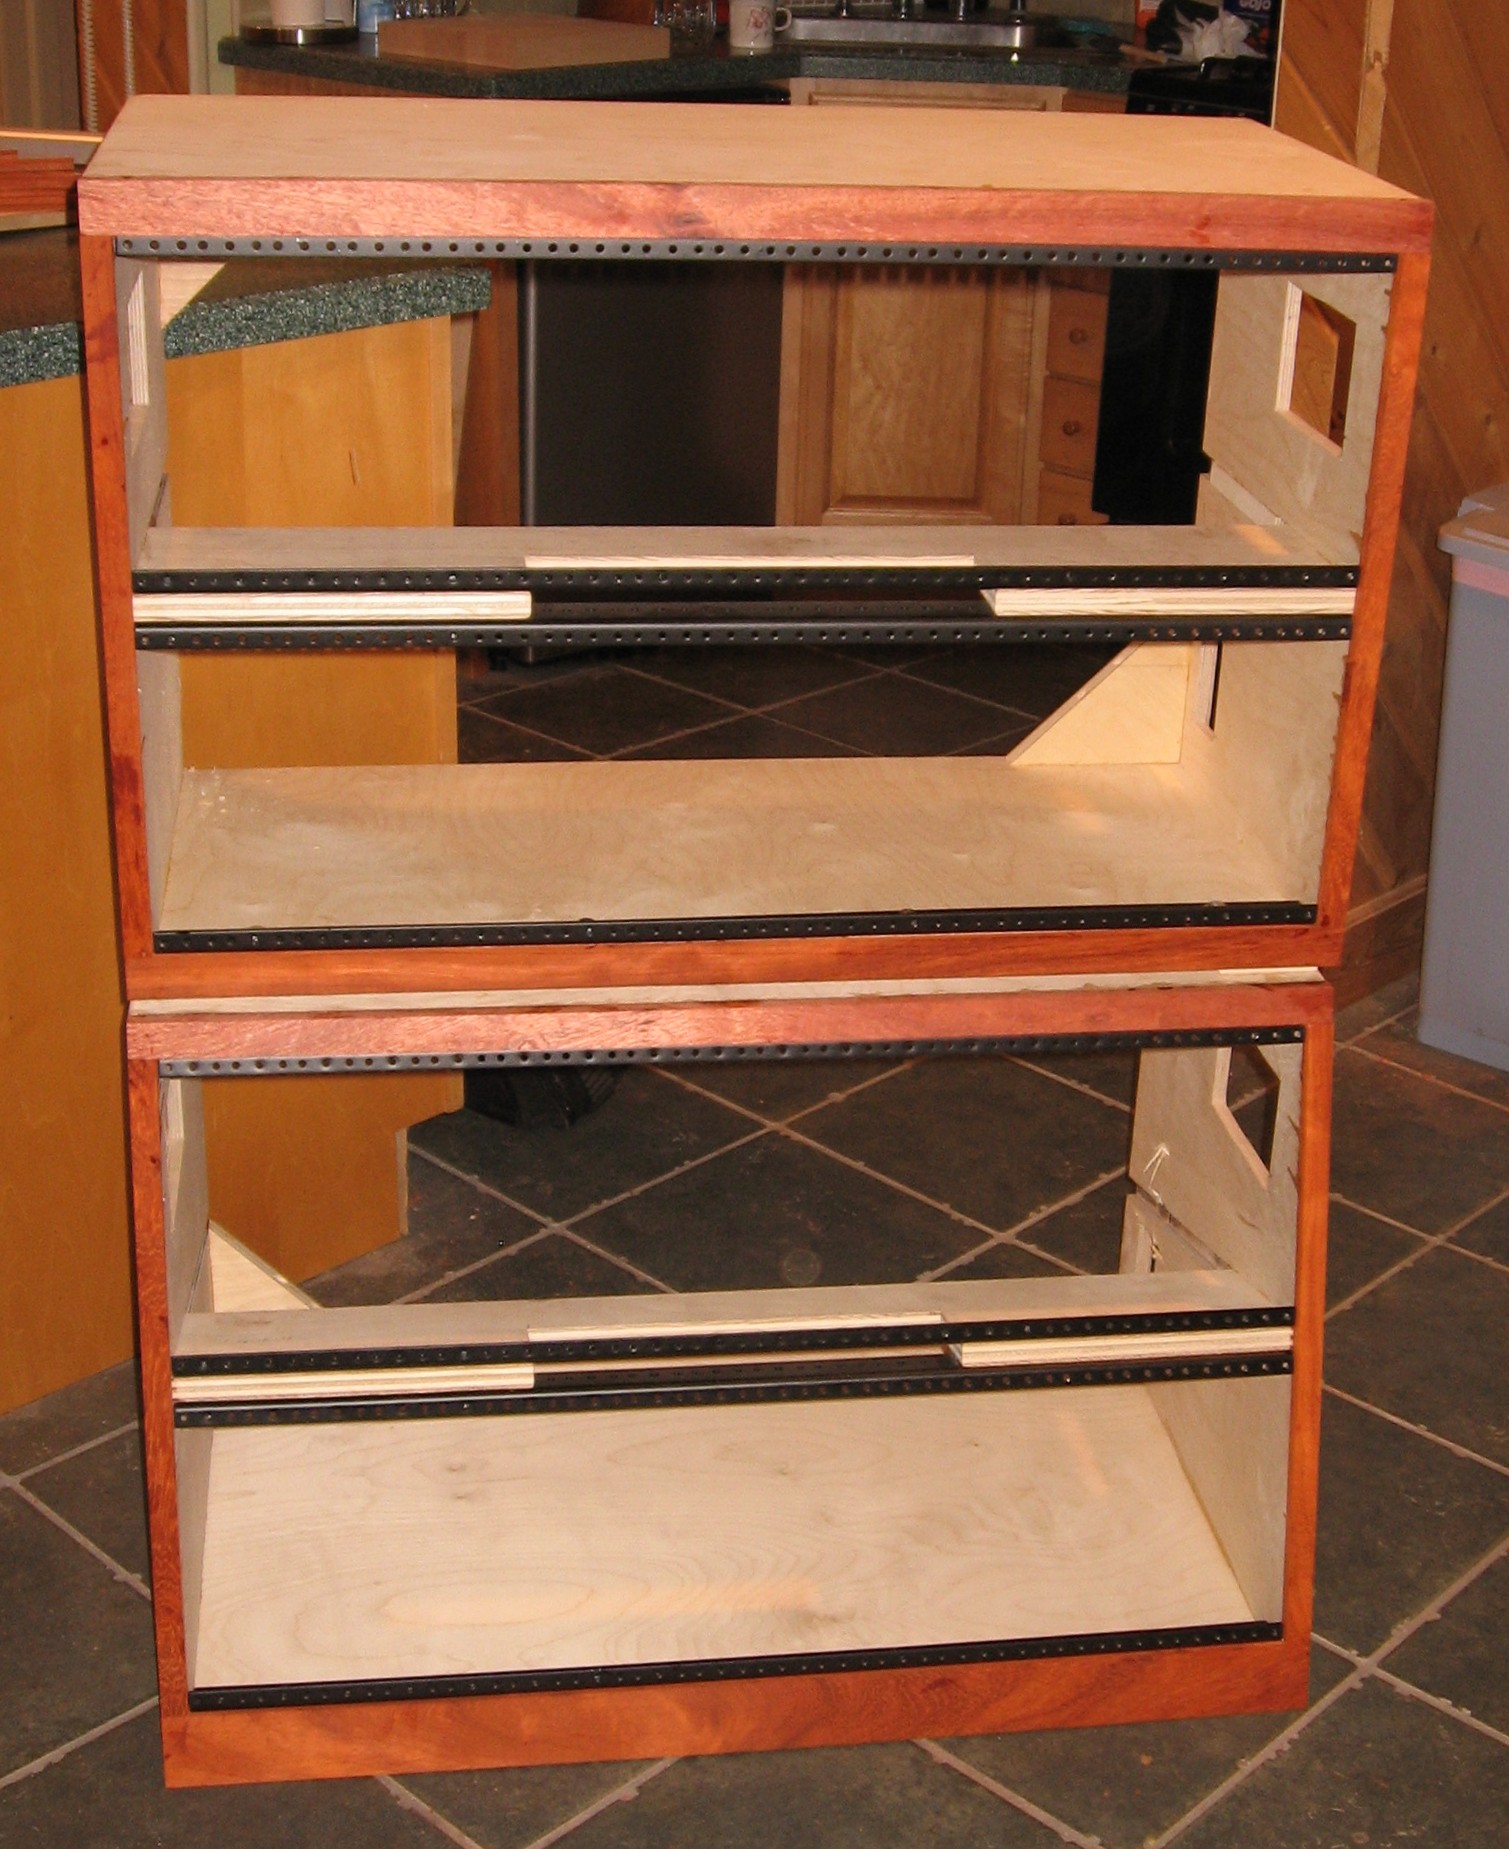
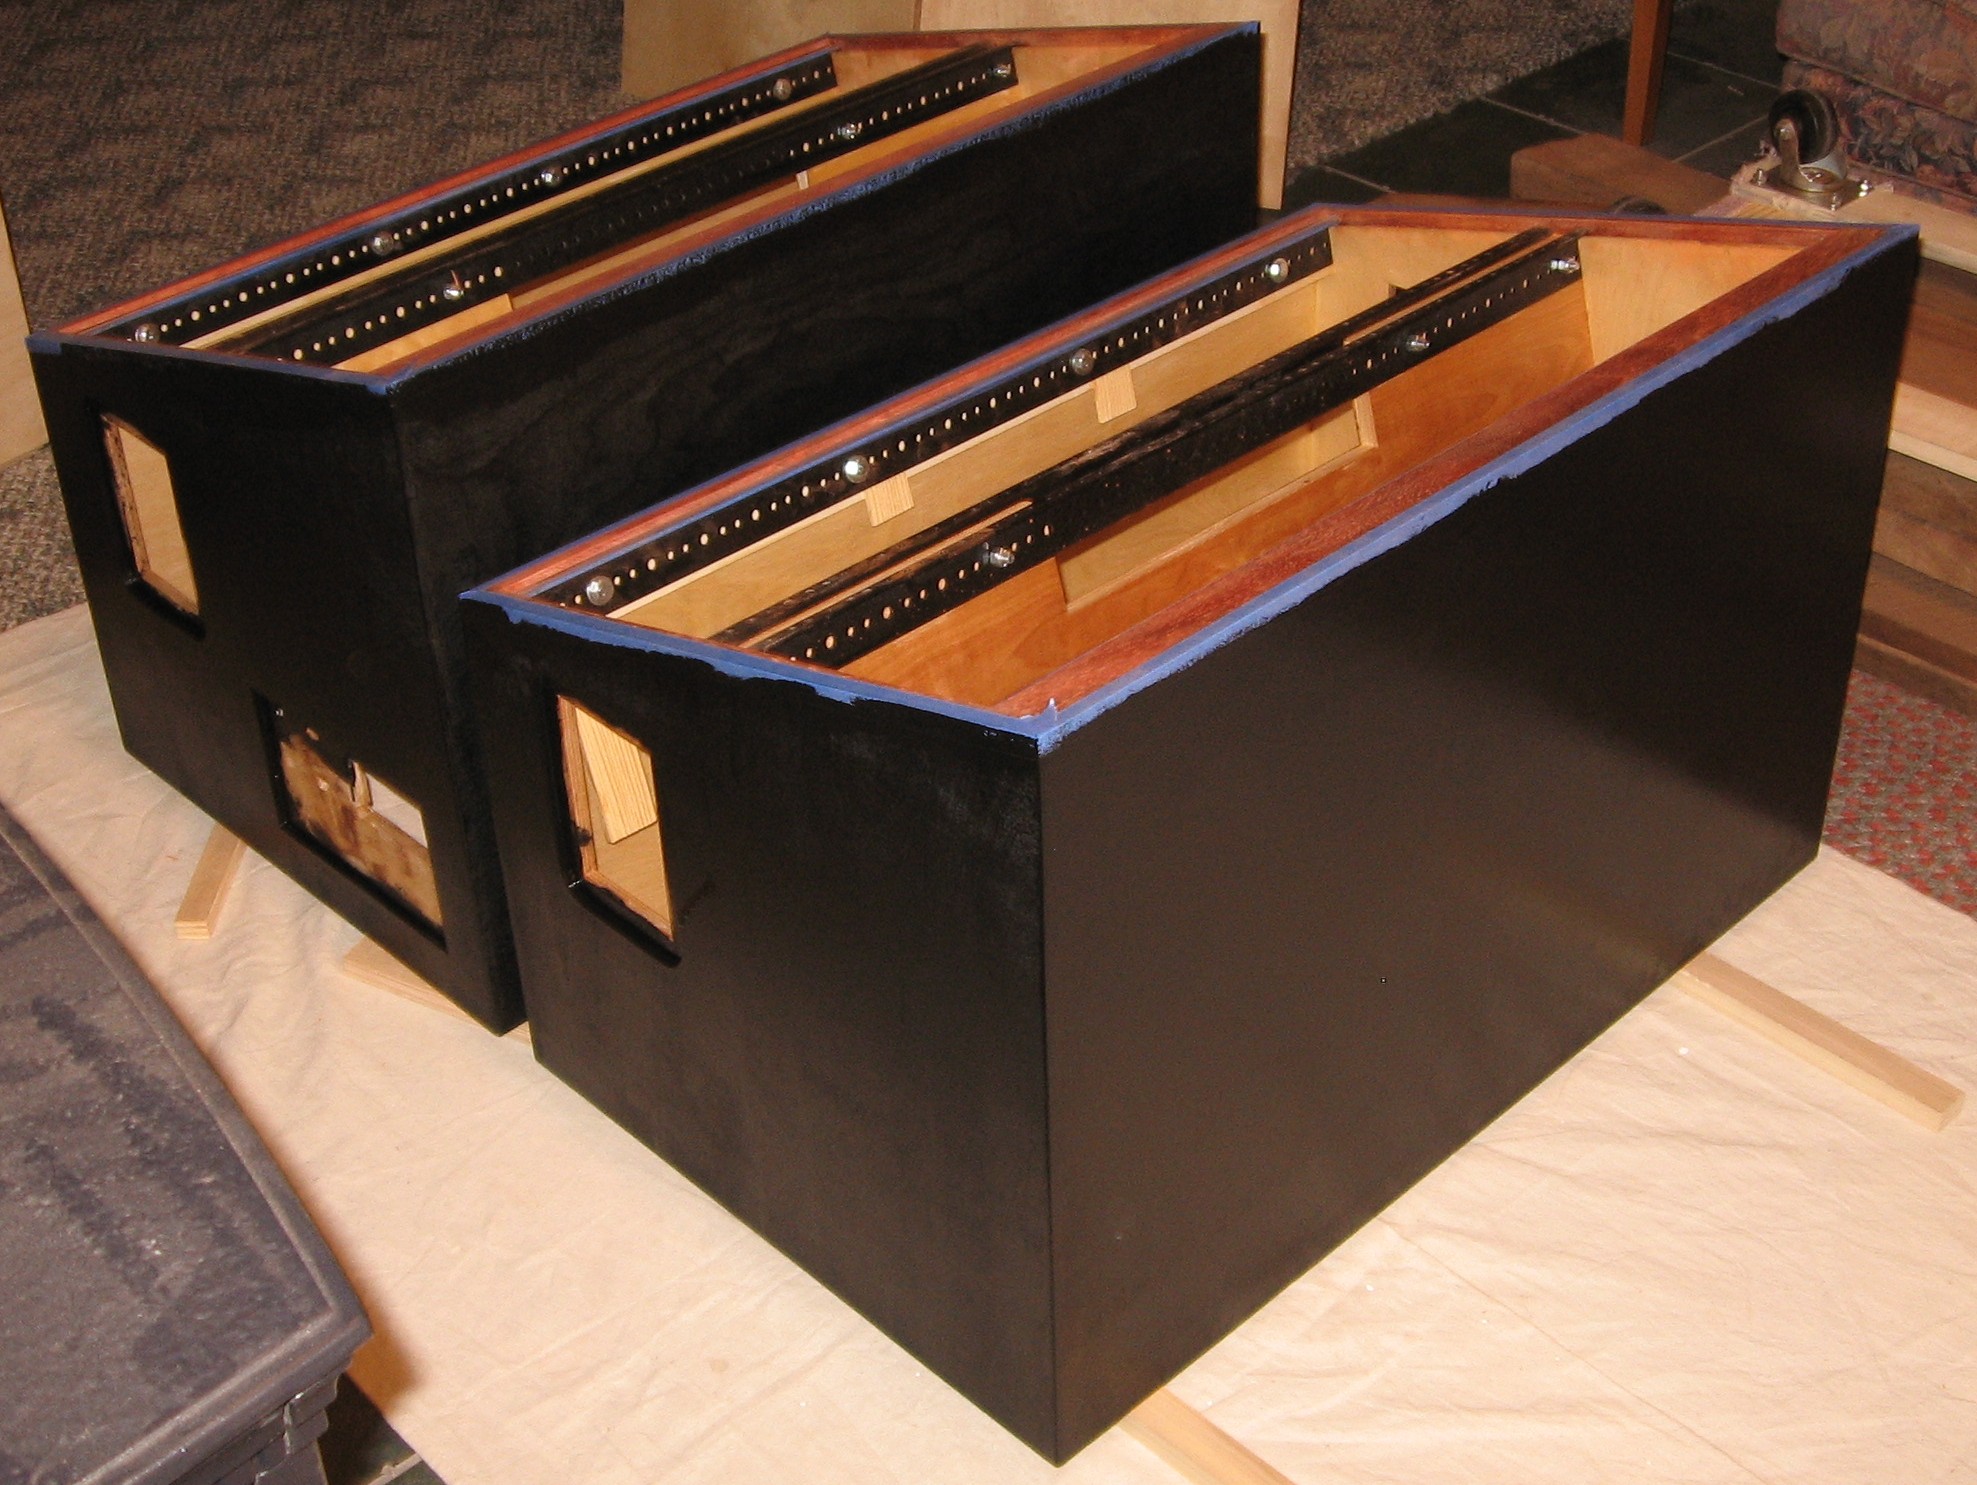
Carcasses Done
|
||
|
Shelf Brackets We attached the brackets to the shelf first, that way we could measure the spacing for the top and bottom brackets for wach case. The brackets were slightly curved and twisted, but bolting them together pulled them square and true.
|
||
|
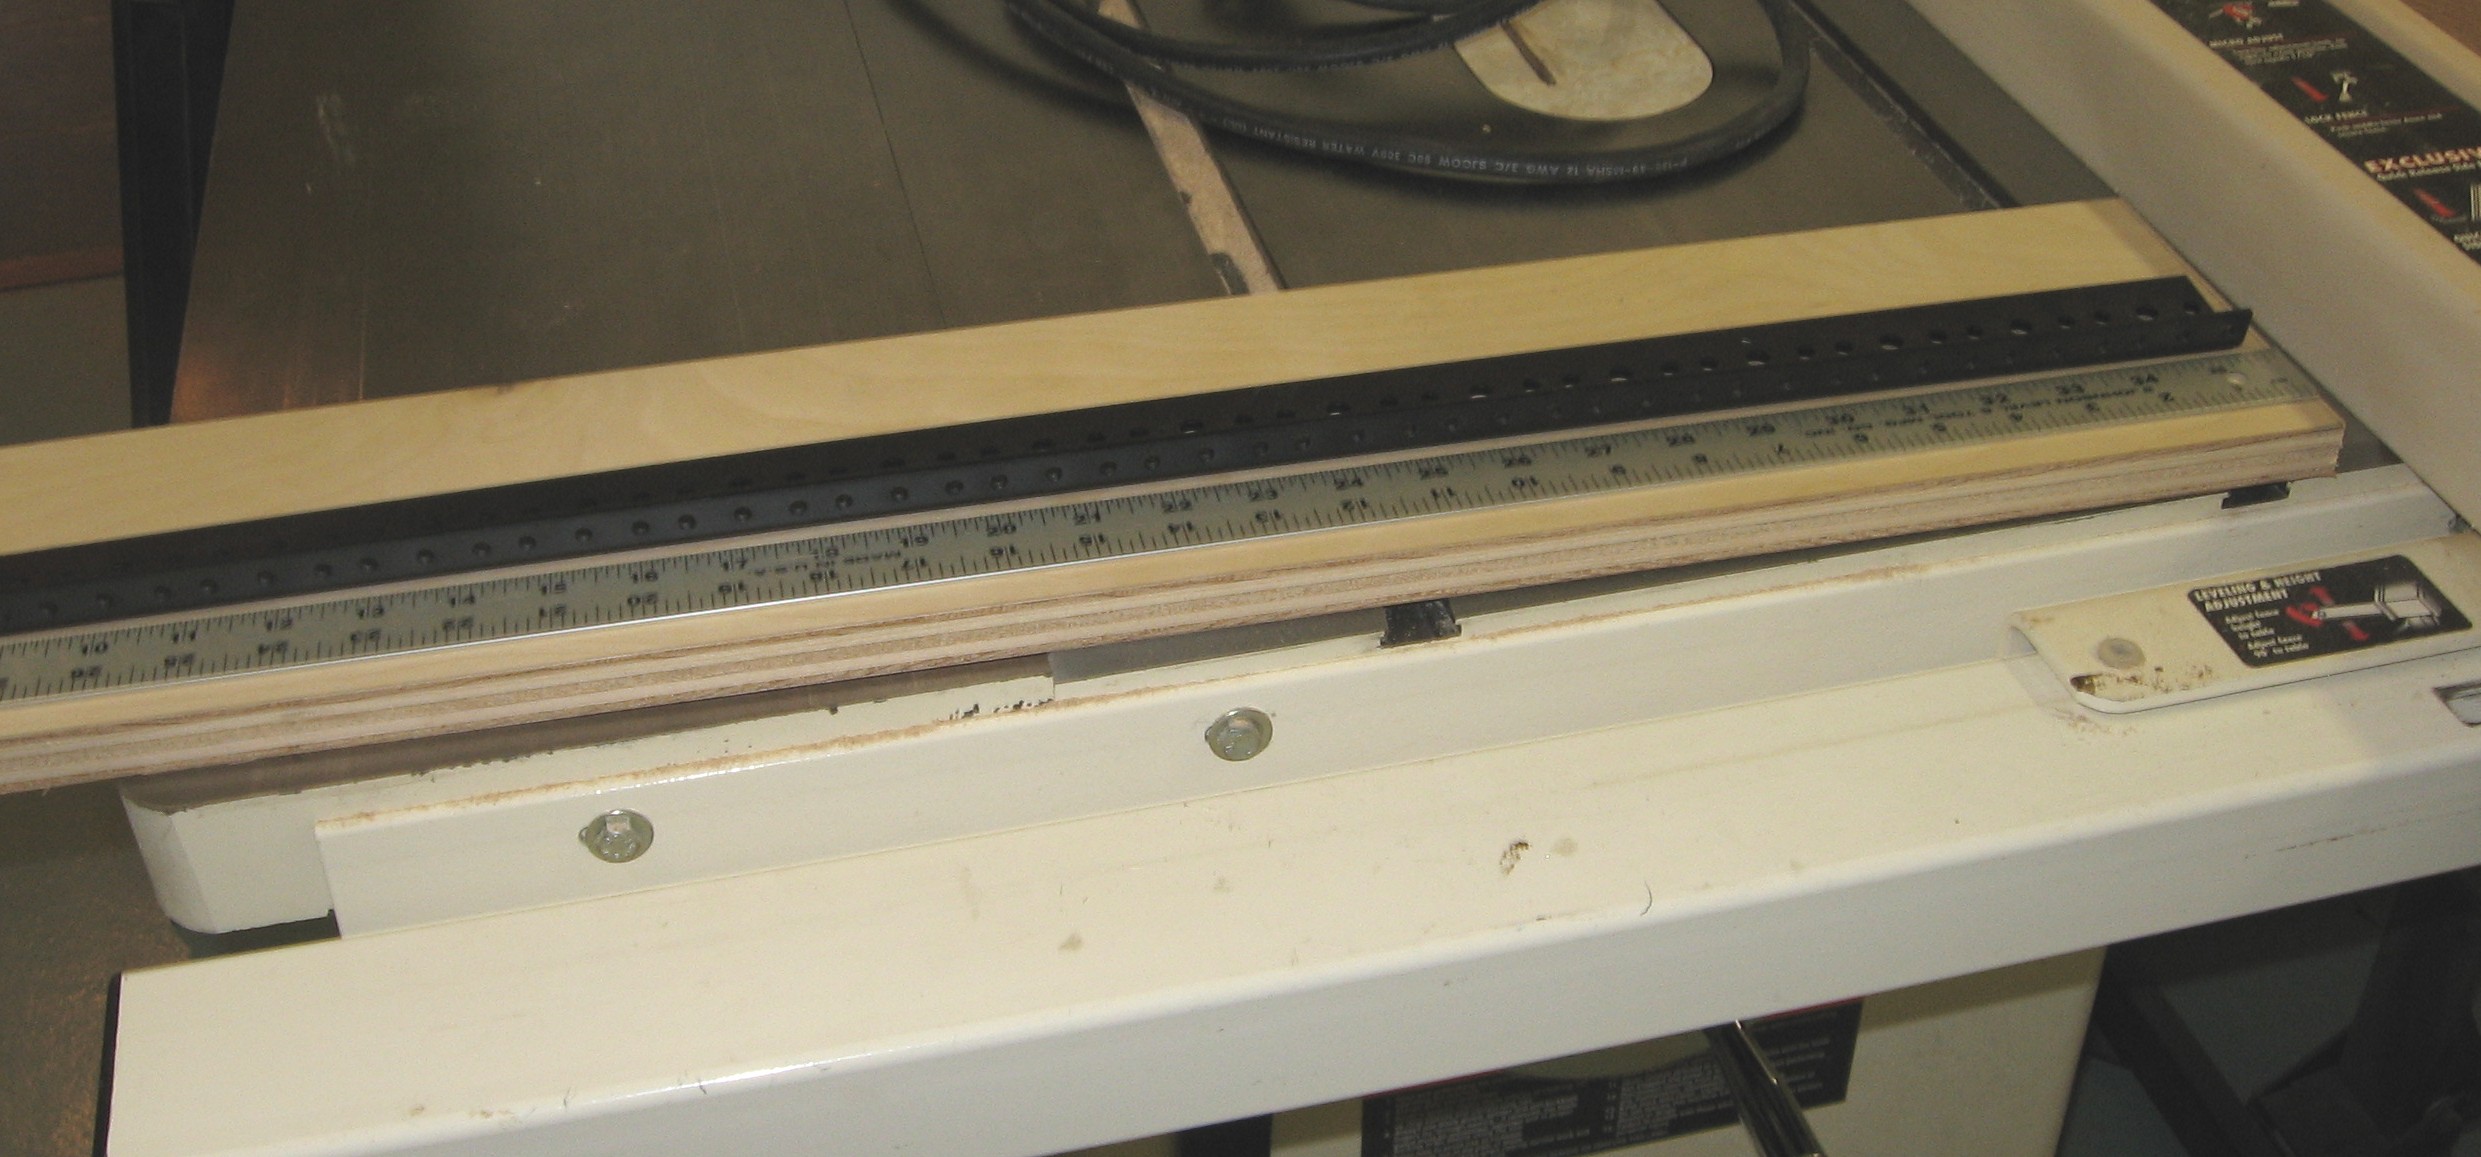
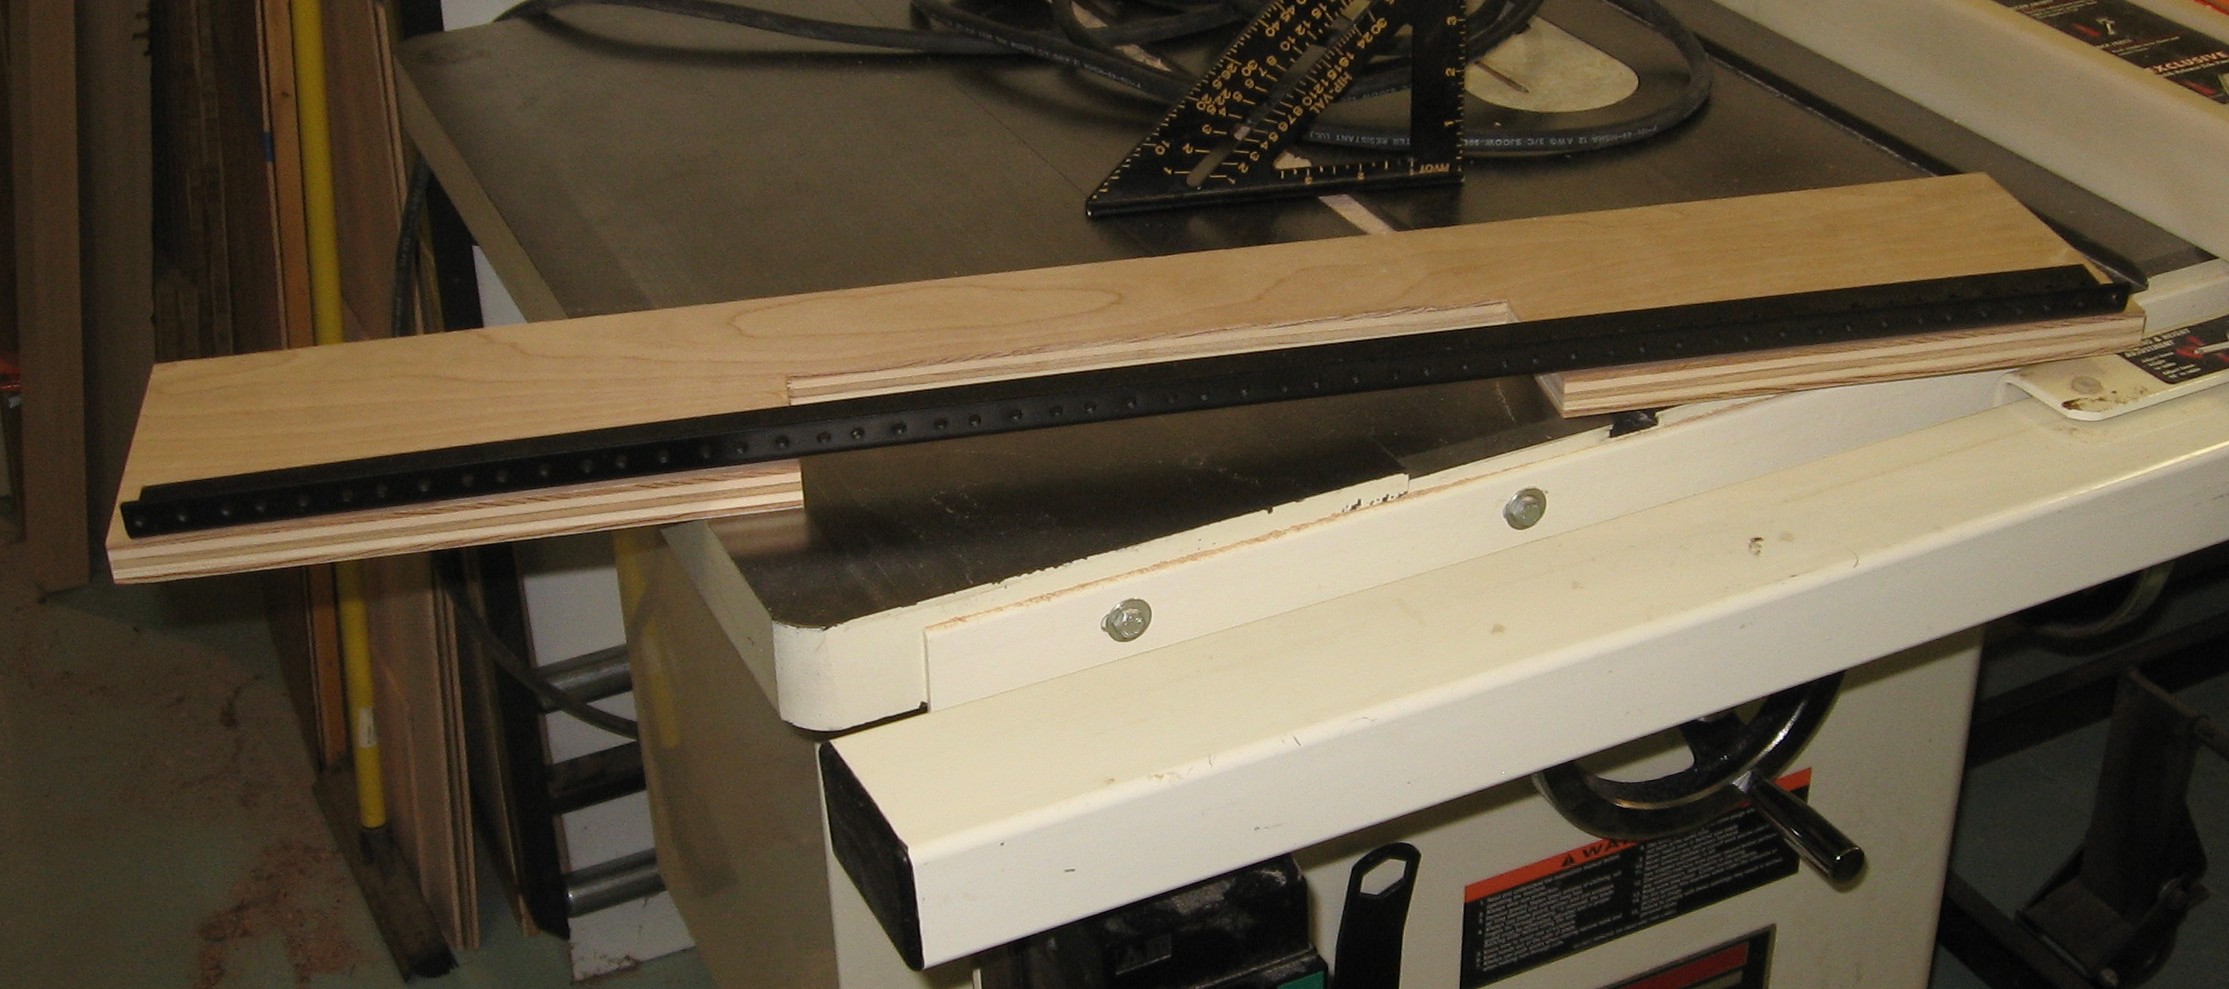
Bottom and Top Spacers The next step was to create the spacers to hold each case's top and bottom brackets at the correct distance from the brackets bolted to the shelves - so that the screw holes are 801/4in center to center. We tried creating stock for these sapcers using plywood - but it proved too flimsy. So we made hardwood stock for the spacers, running them through a jointer first, a planer, and then cutting the last edge on the table saw.
We used some 1U multiple modules to hold the bracket at the right distance.
For the bottom case, the spacers have to include a 15 degree slope. So we ripped the stock with the table saw set to 15 degrees.
Then, using the bracket held by the multiples, we fitted the spacers to the specific quadrant.
|
||
|
|
||
|
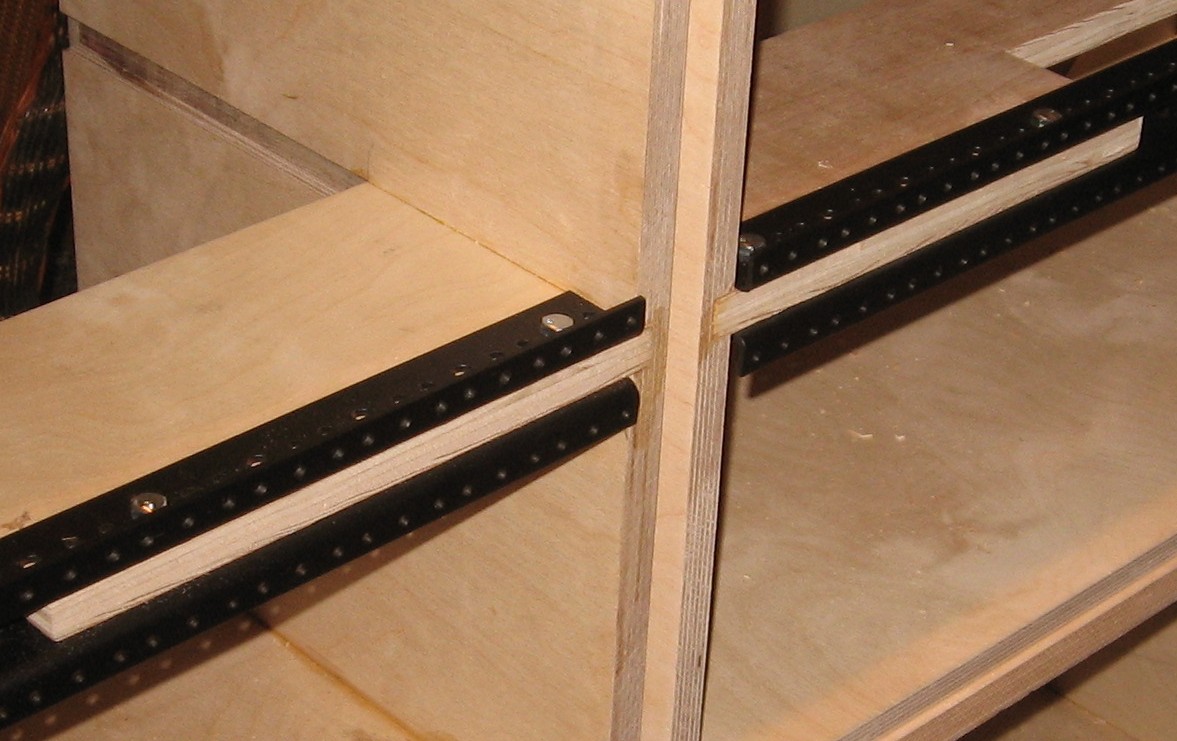
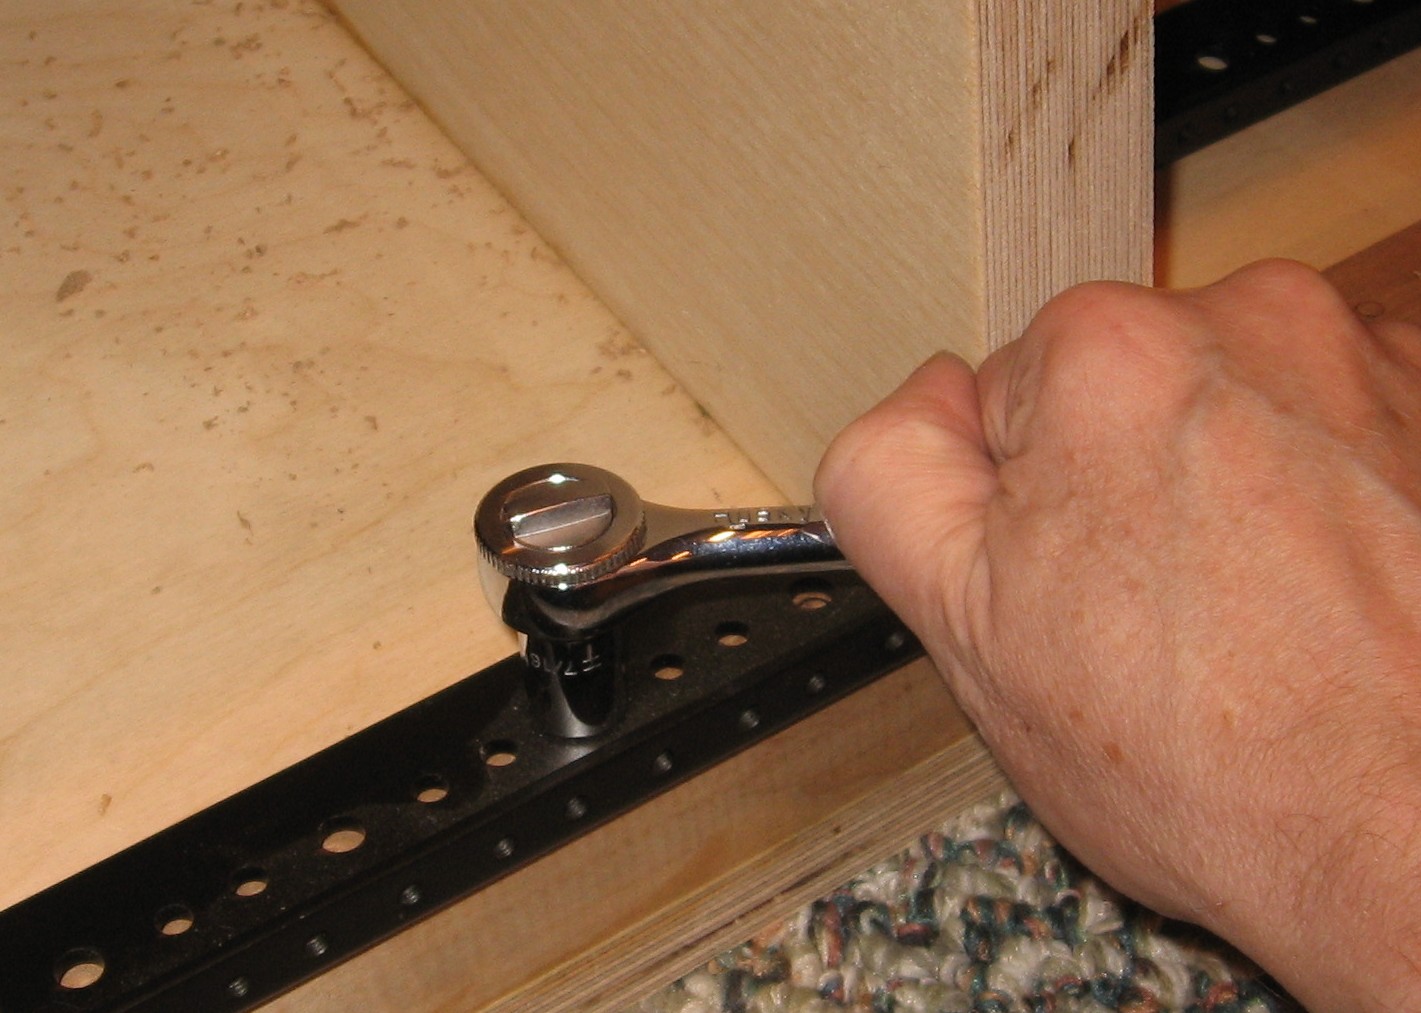
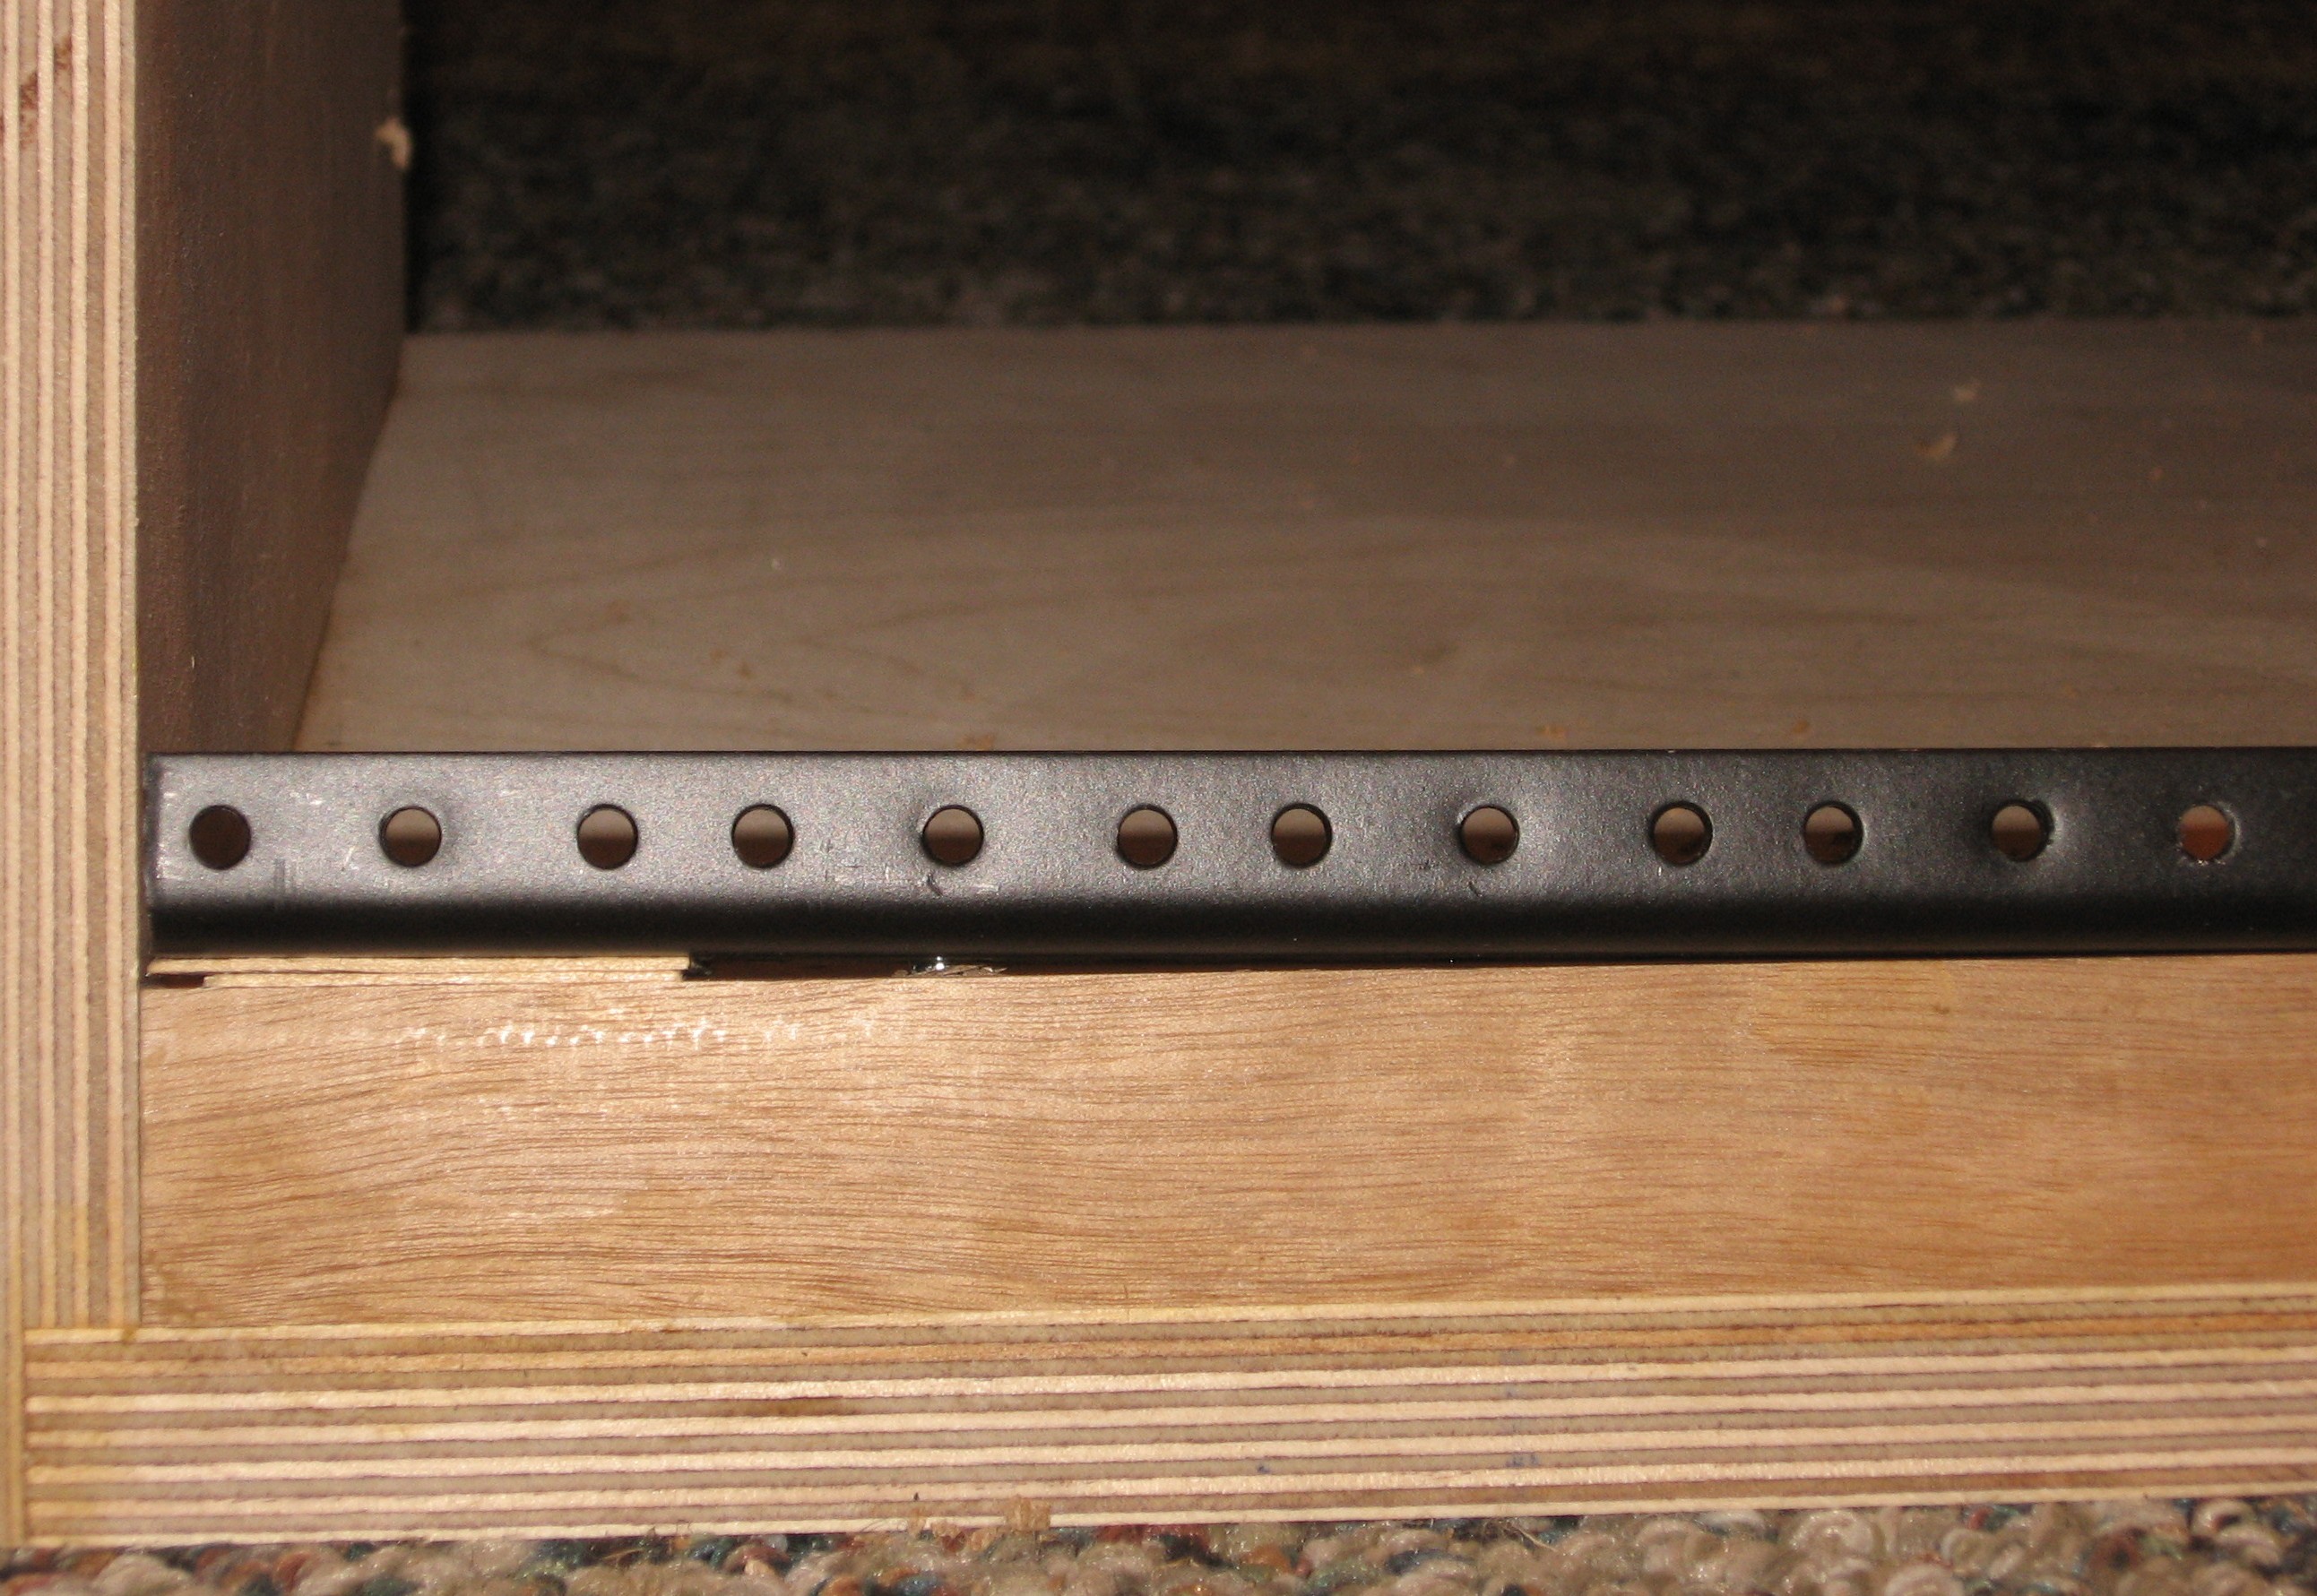
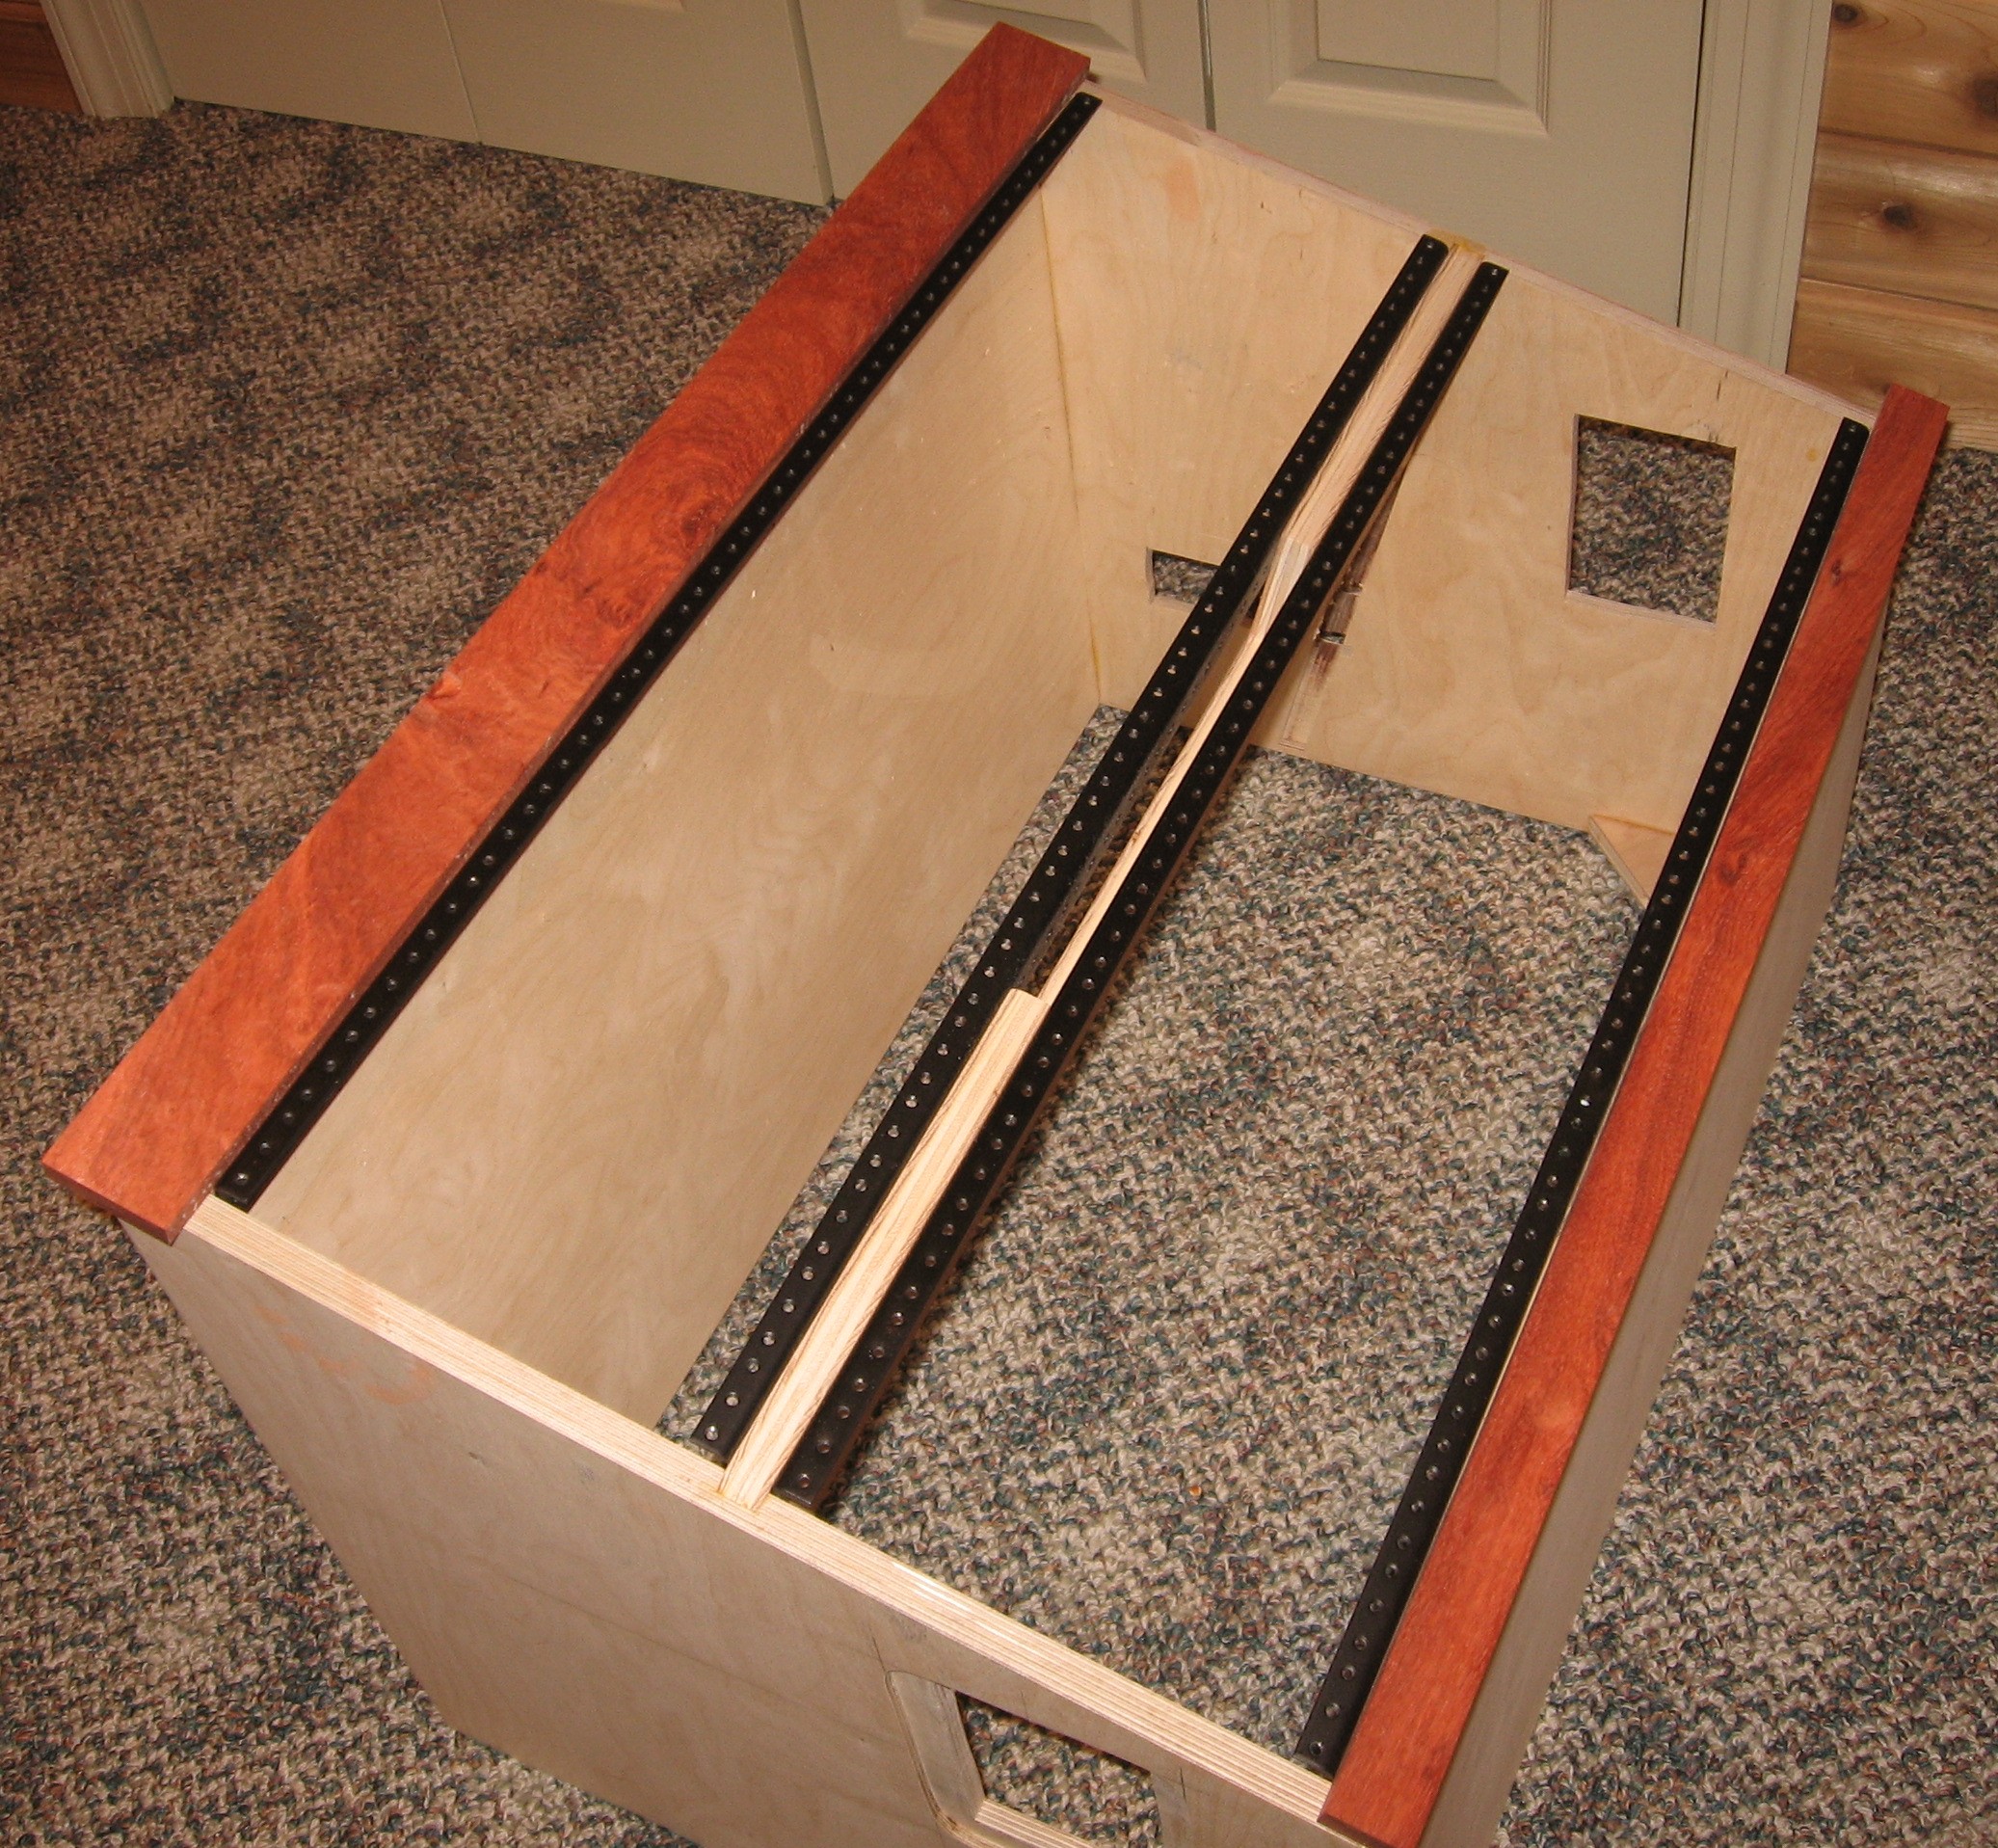
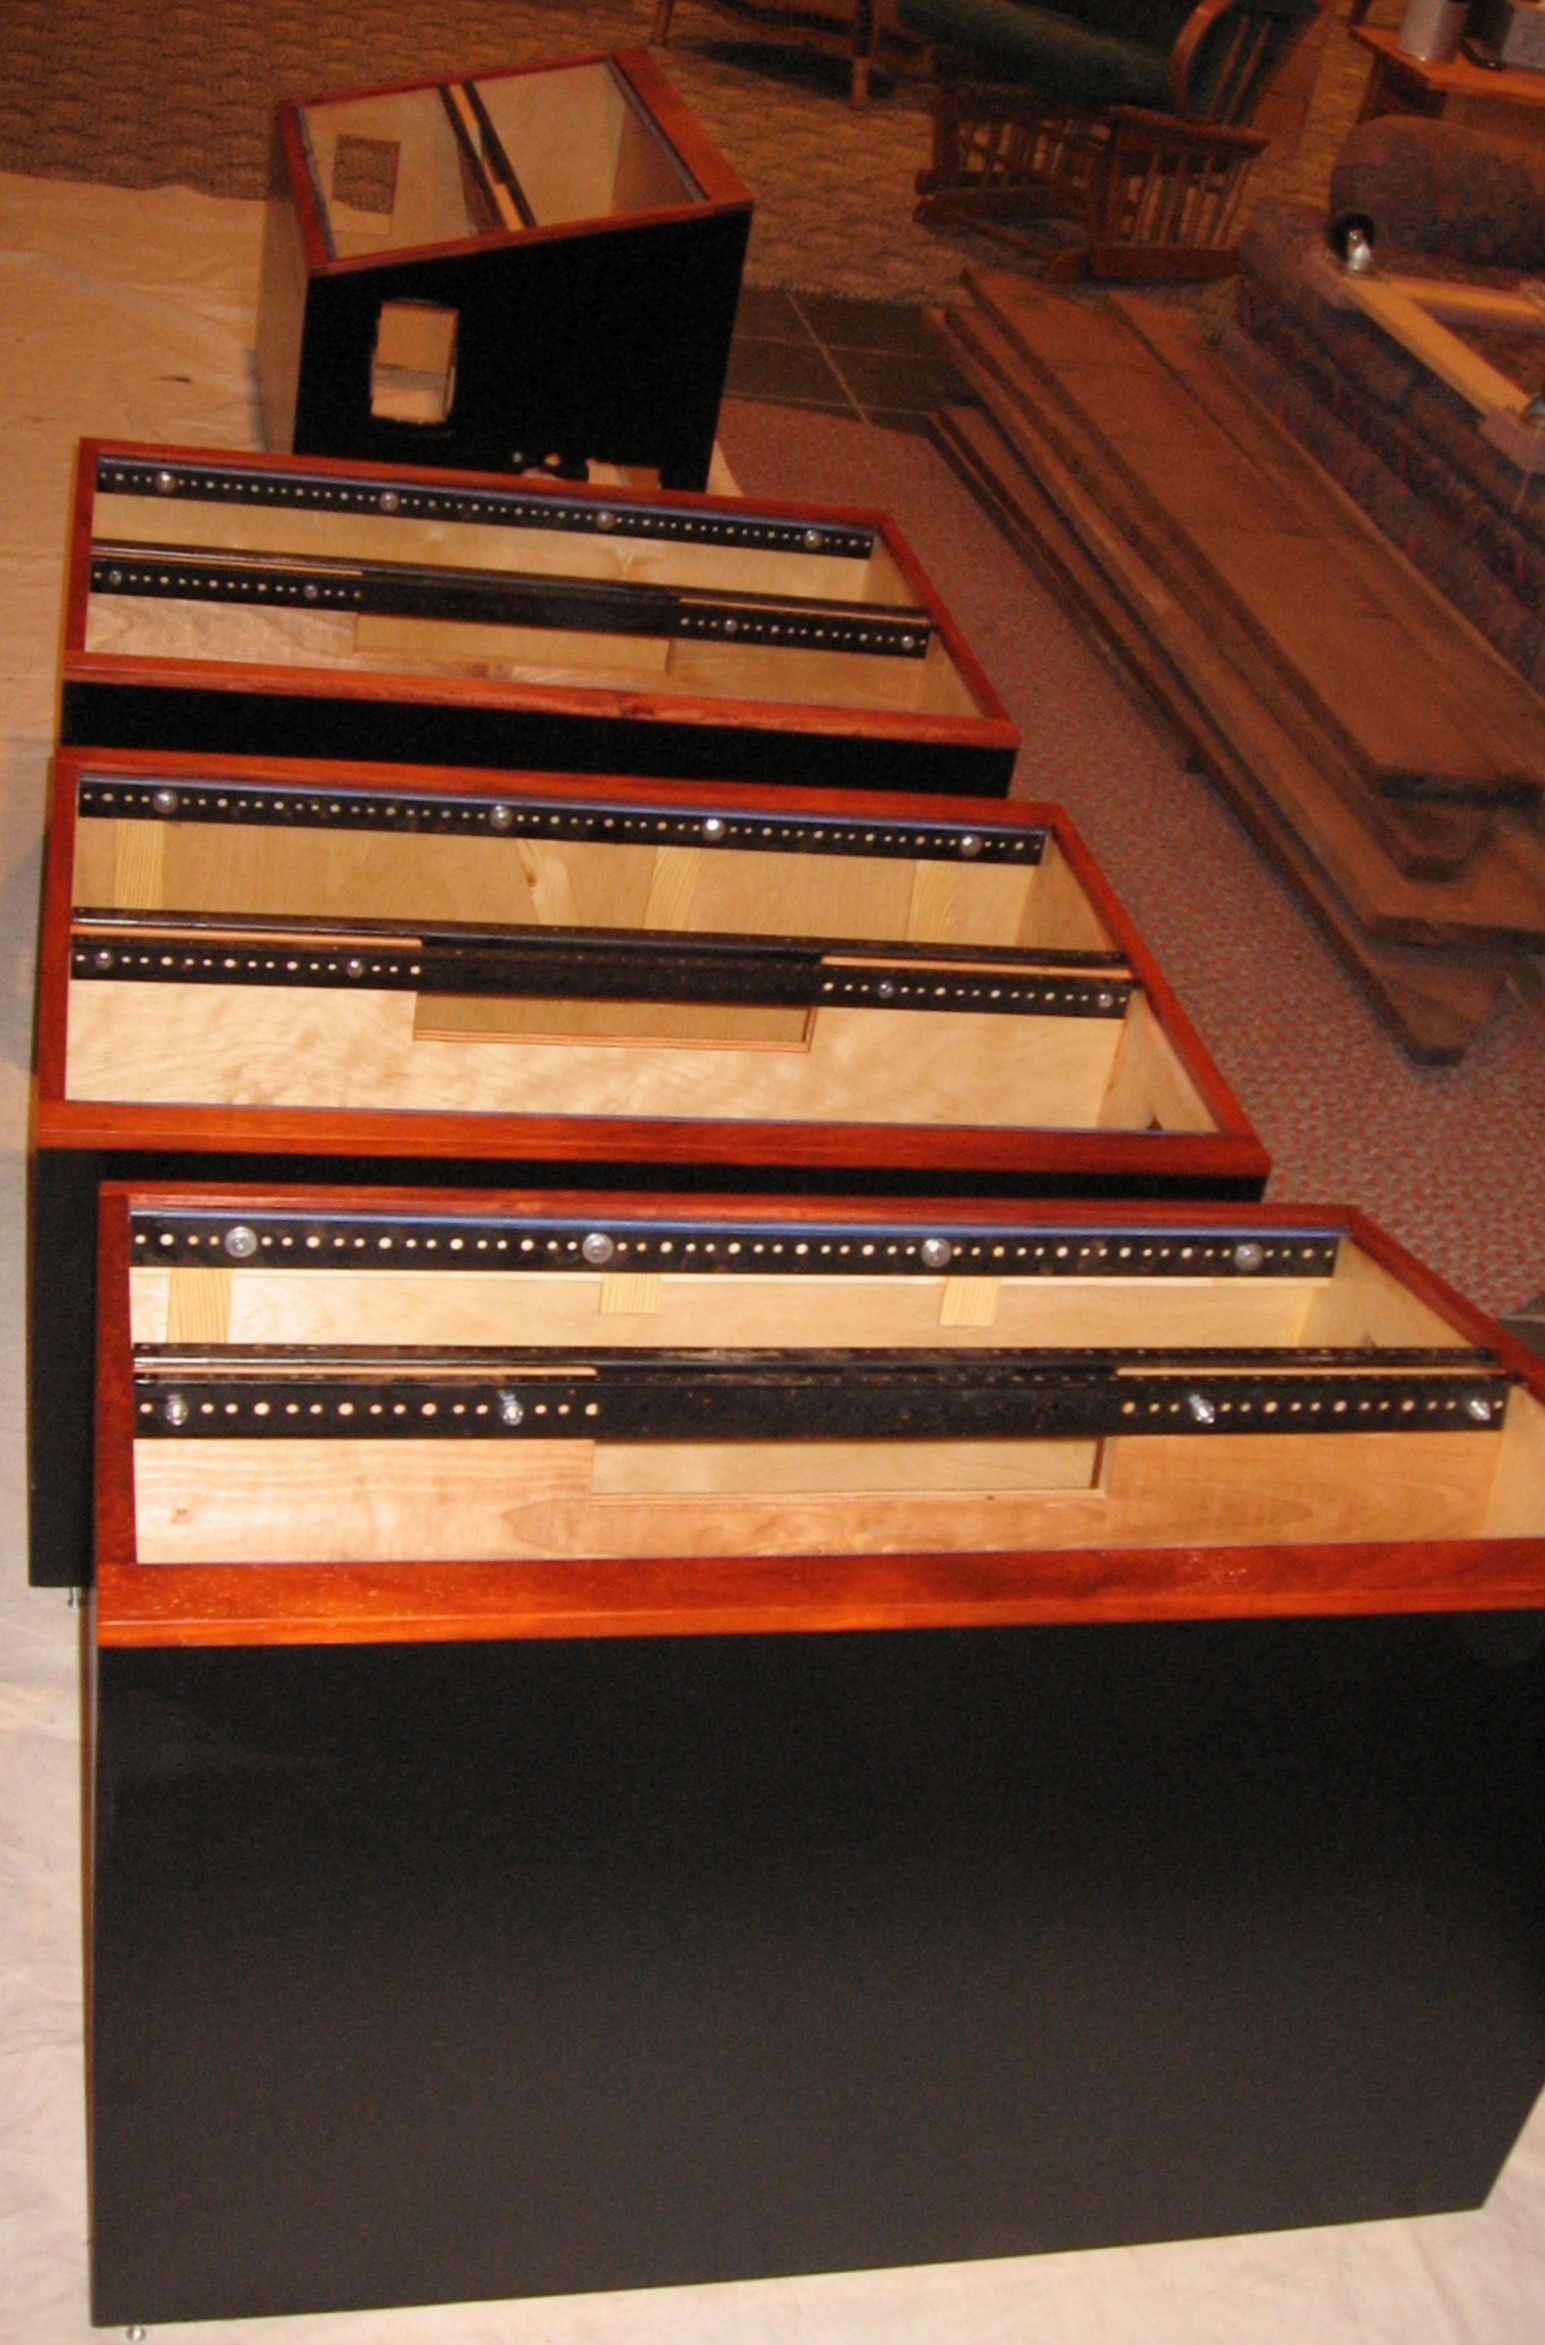
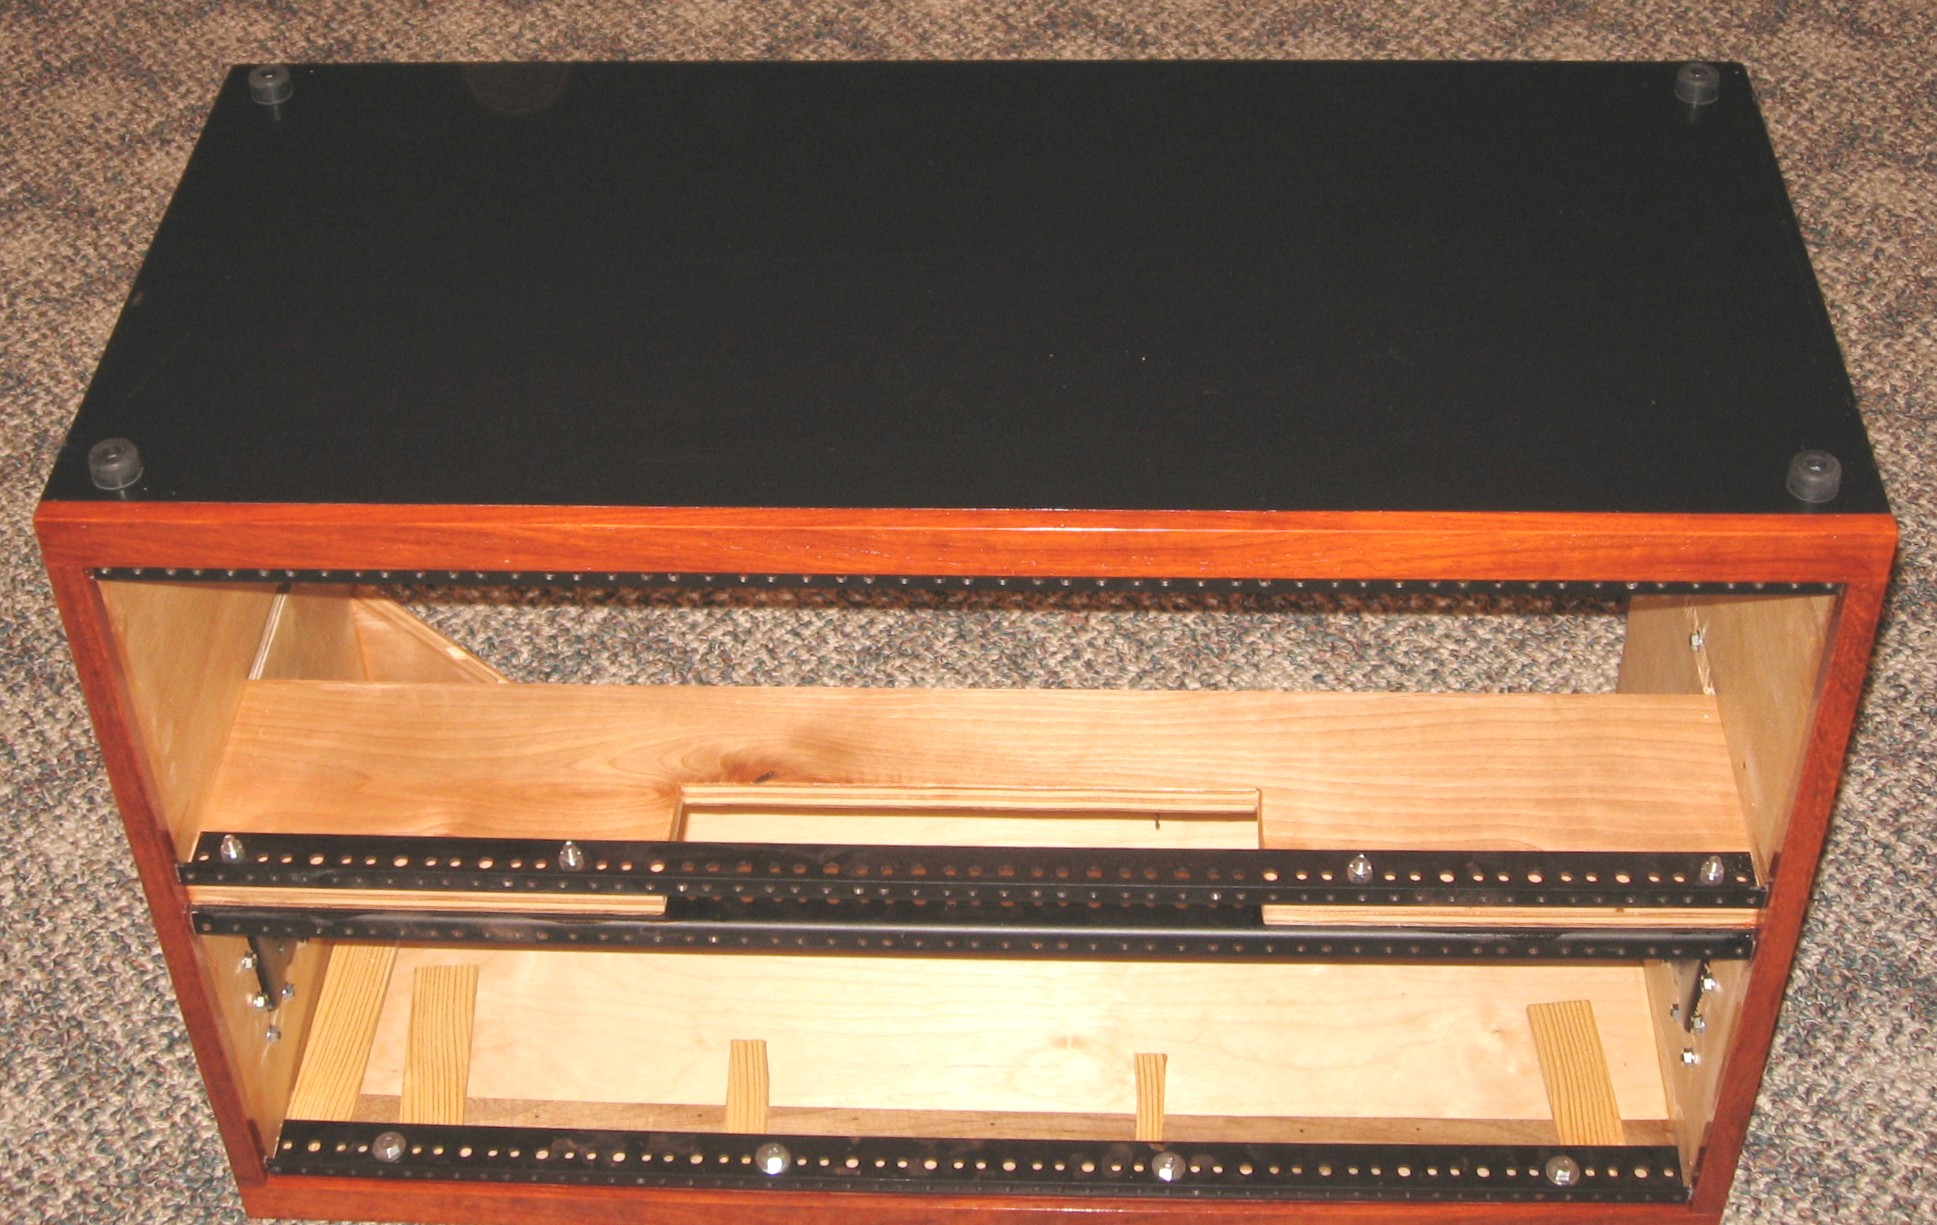
Bottom and Top Rails We needed to set the brads a bit and then we bolted on the rails, top and bottom - adjusting and shimming them as required for a perfect fit.
Some of the rails needed big shims that really stuck out. After installation, we trimmed them down.
|
||
|
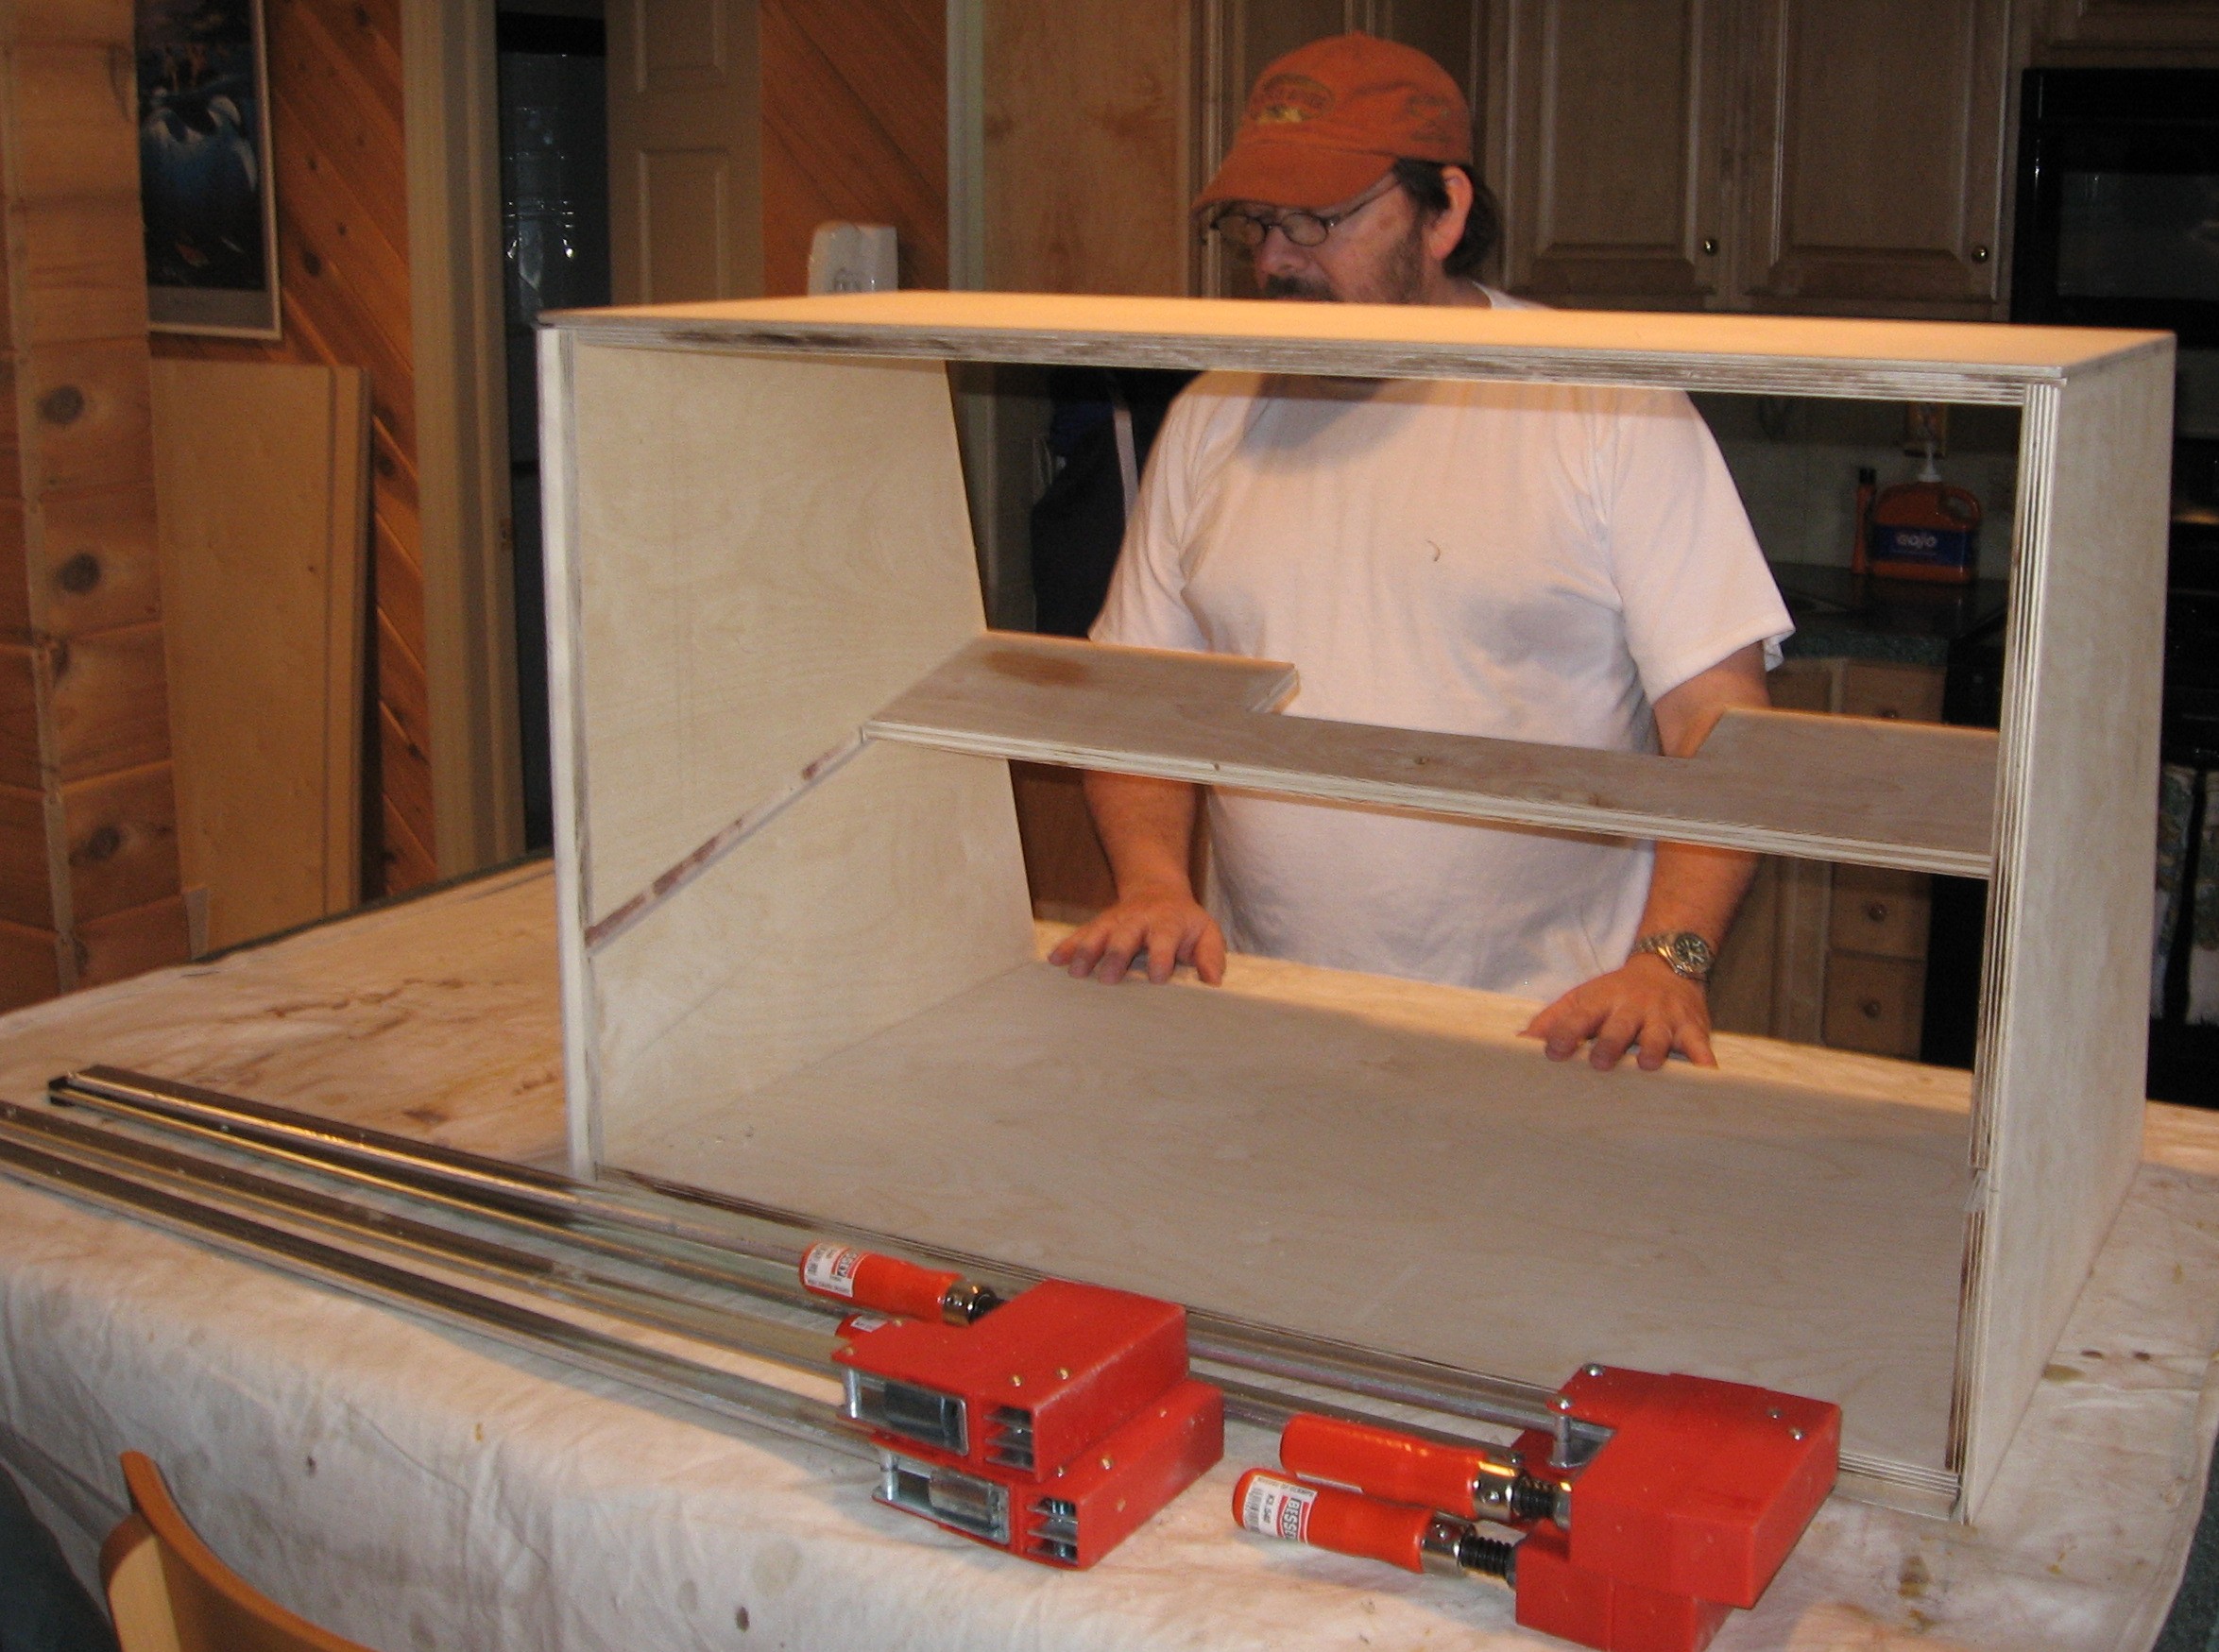
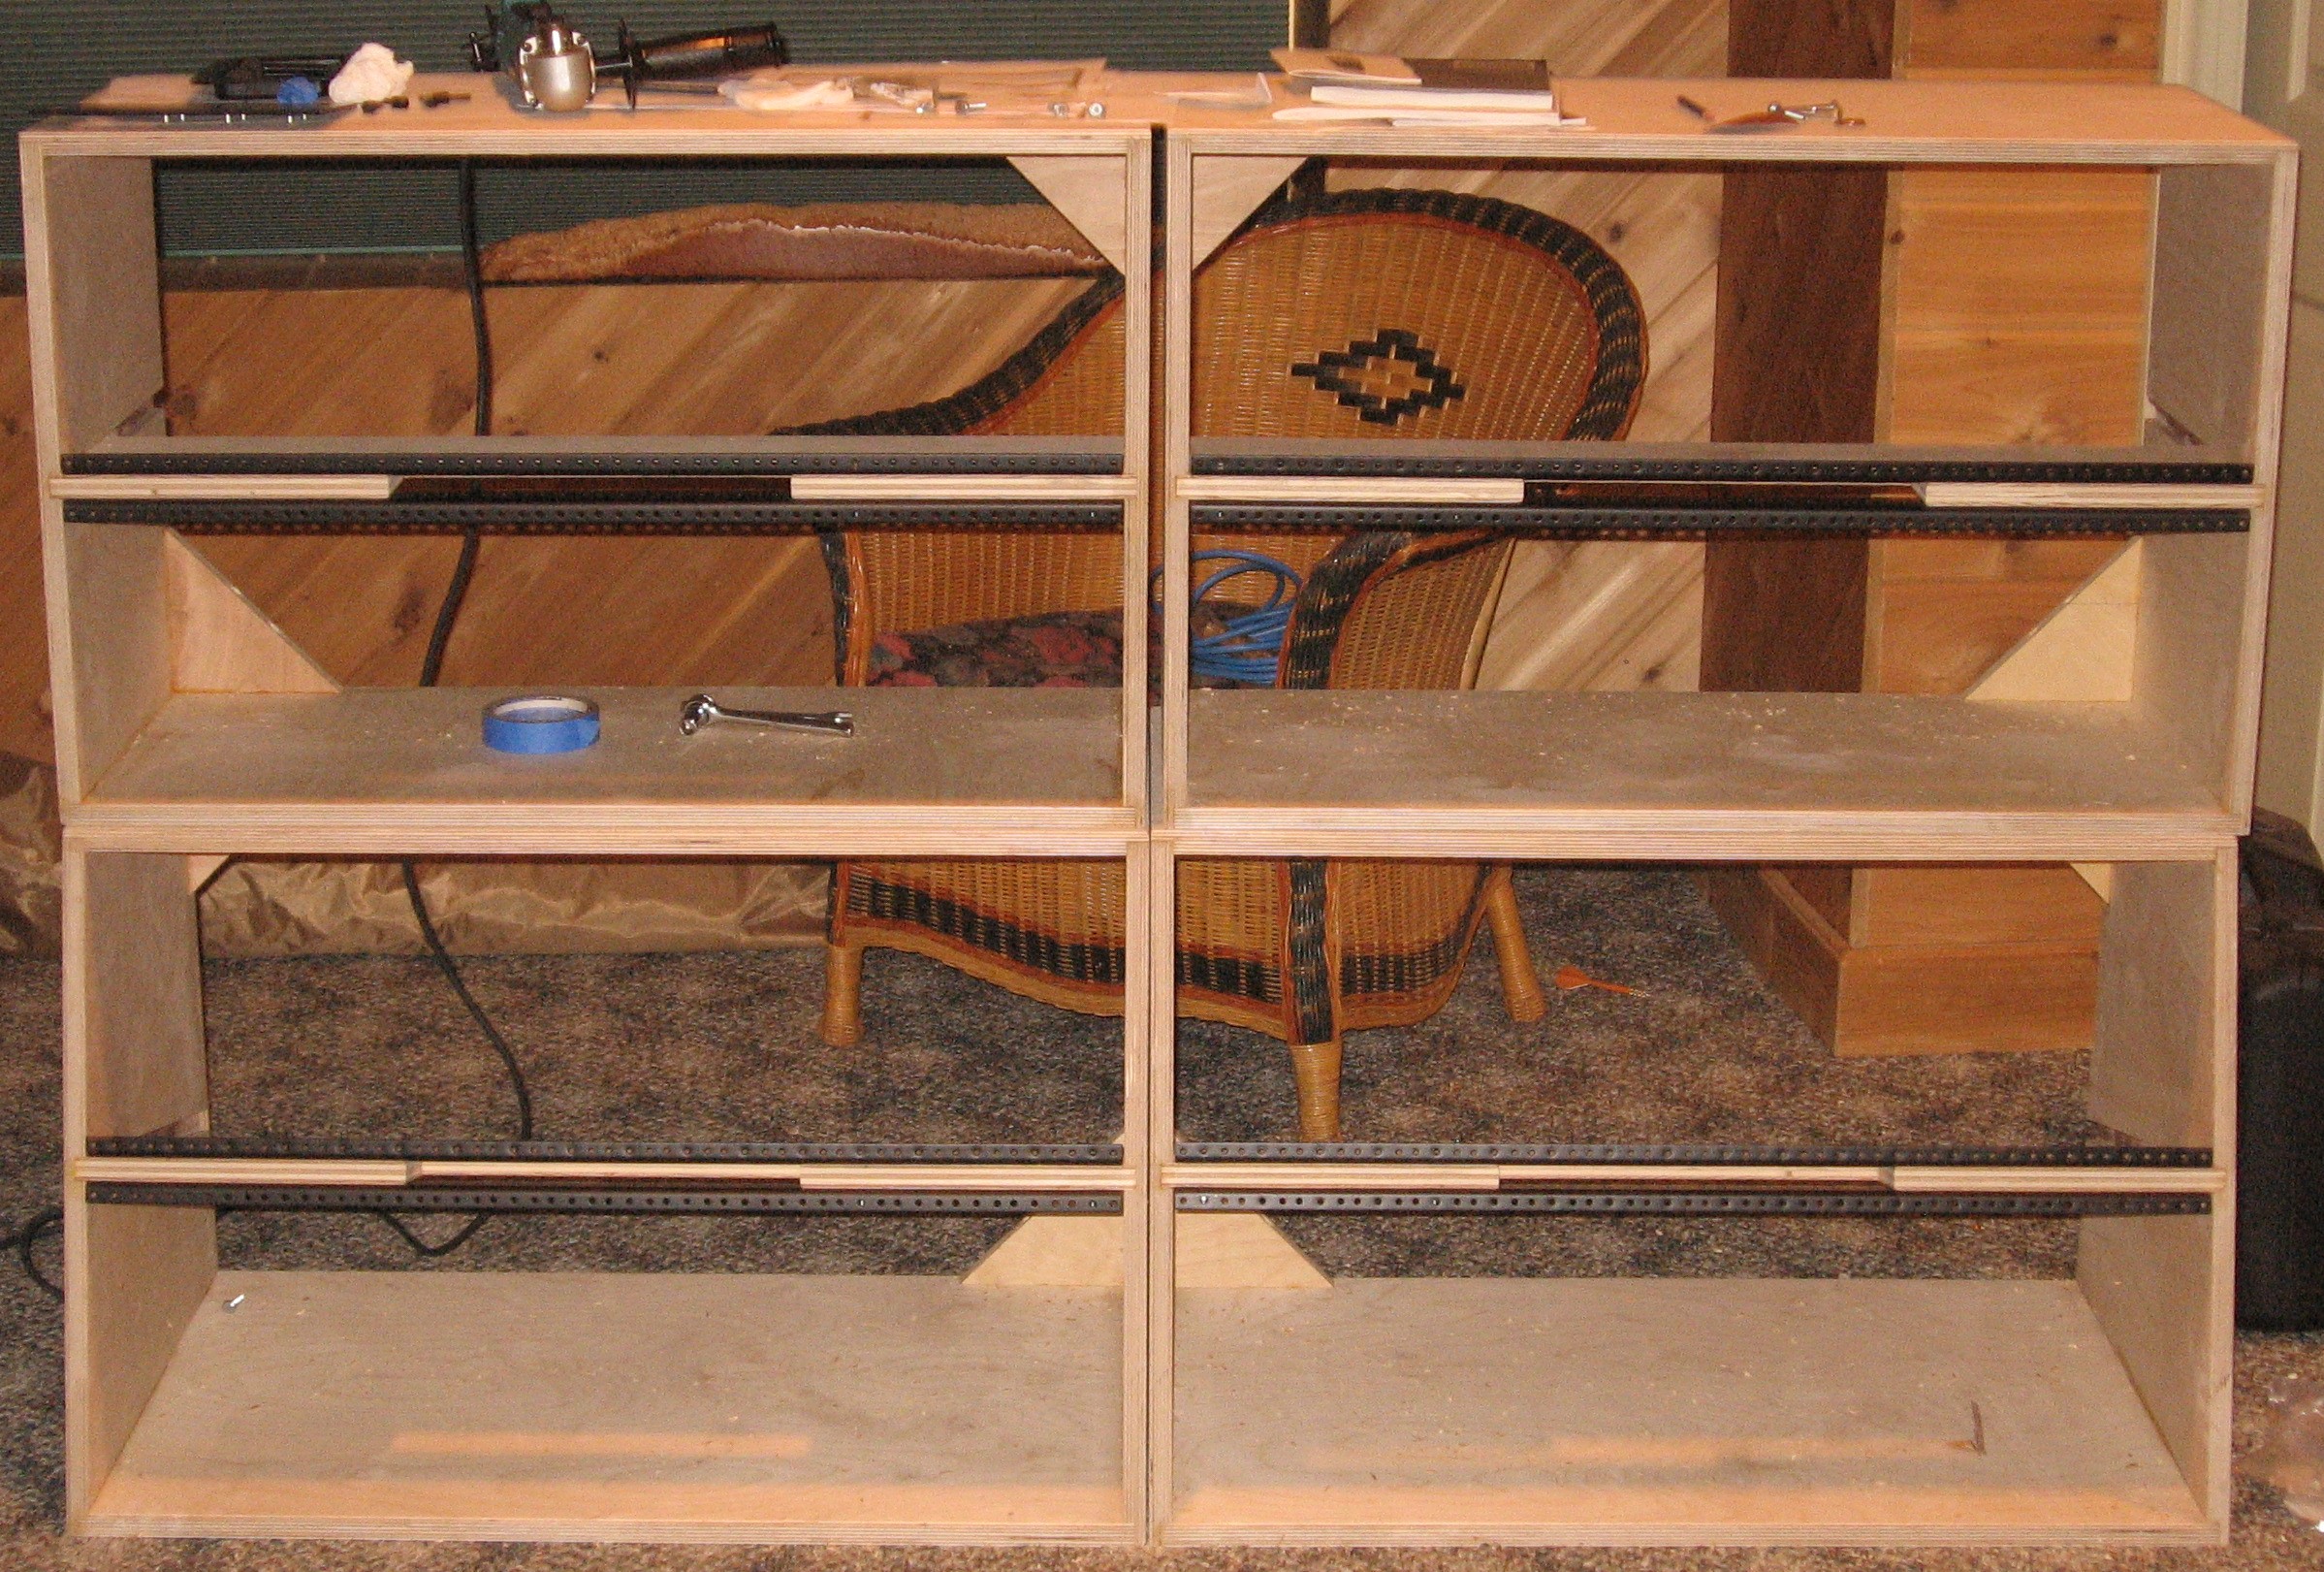
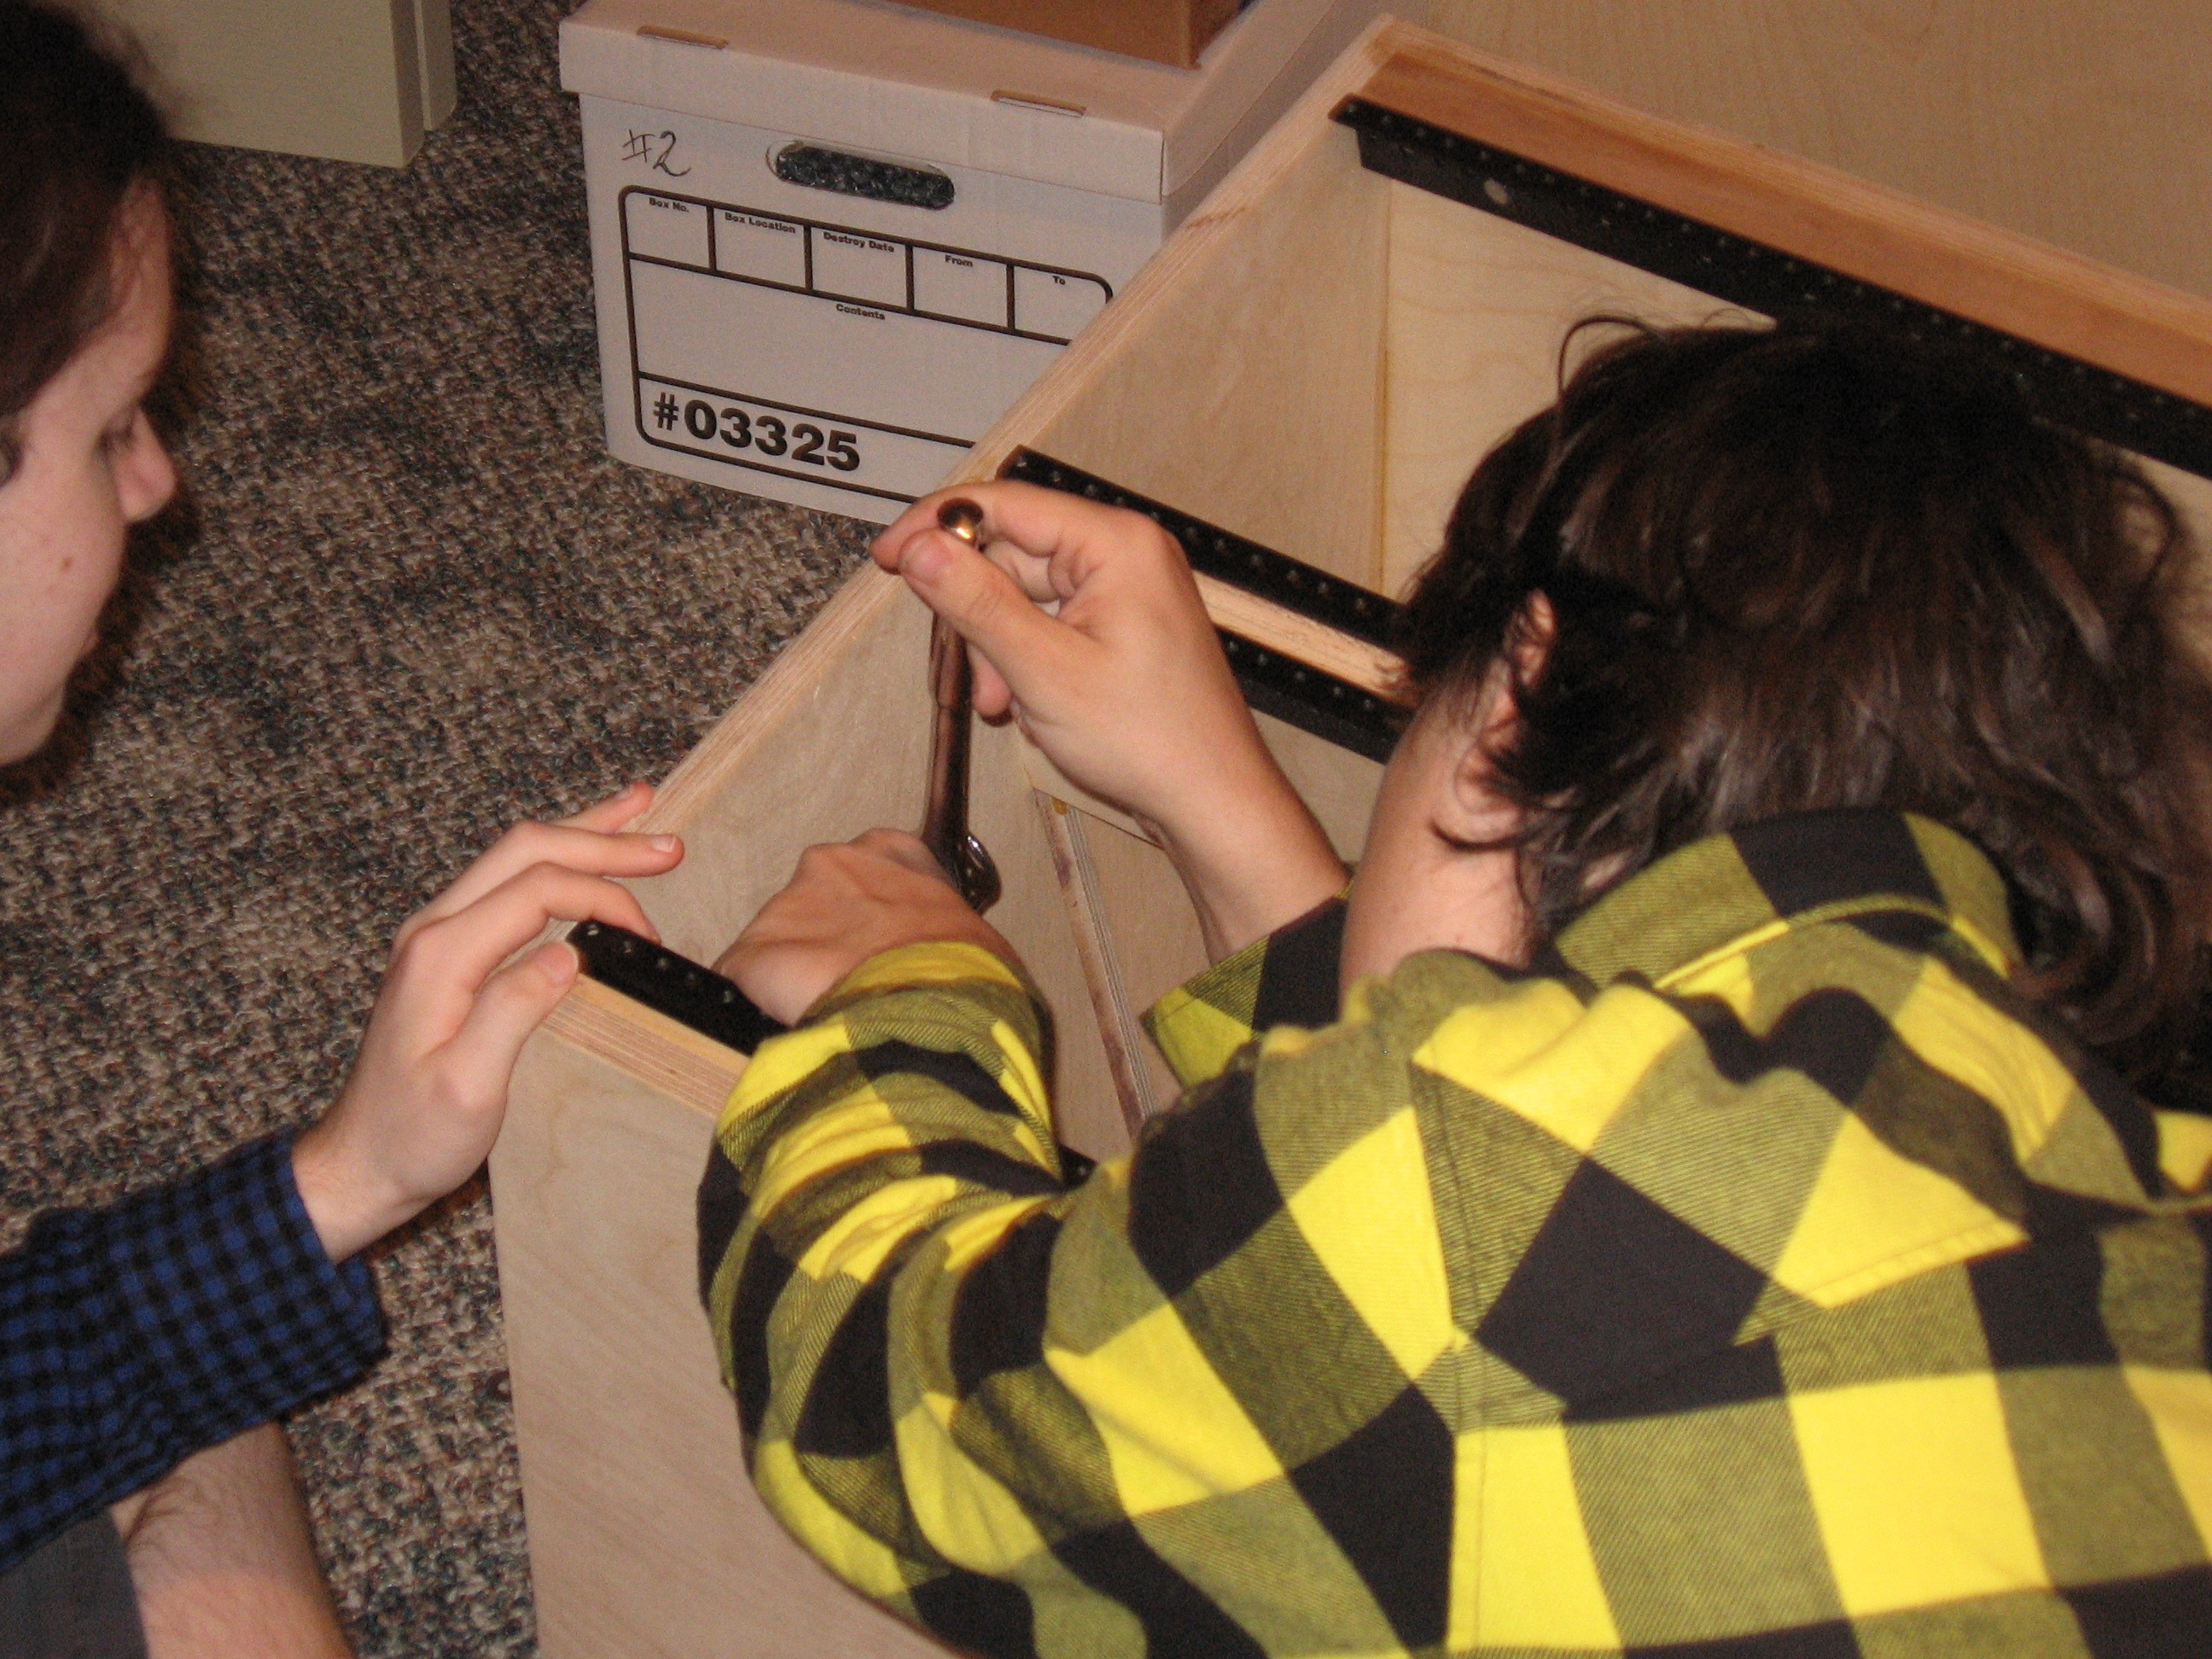
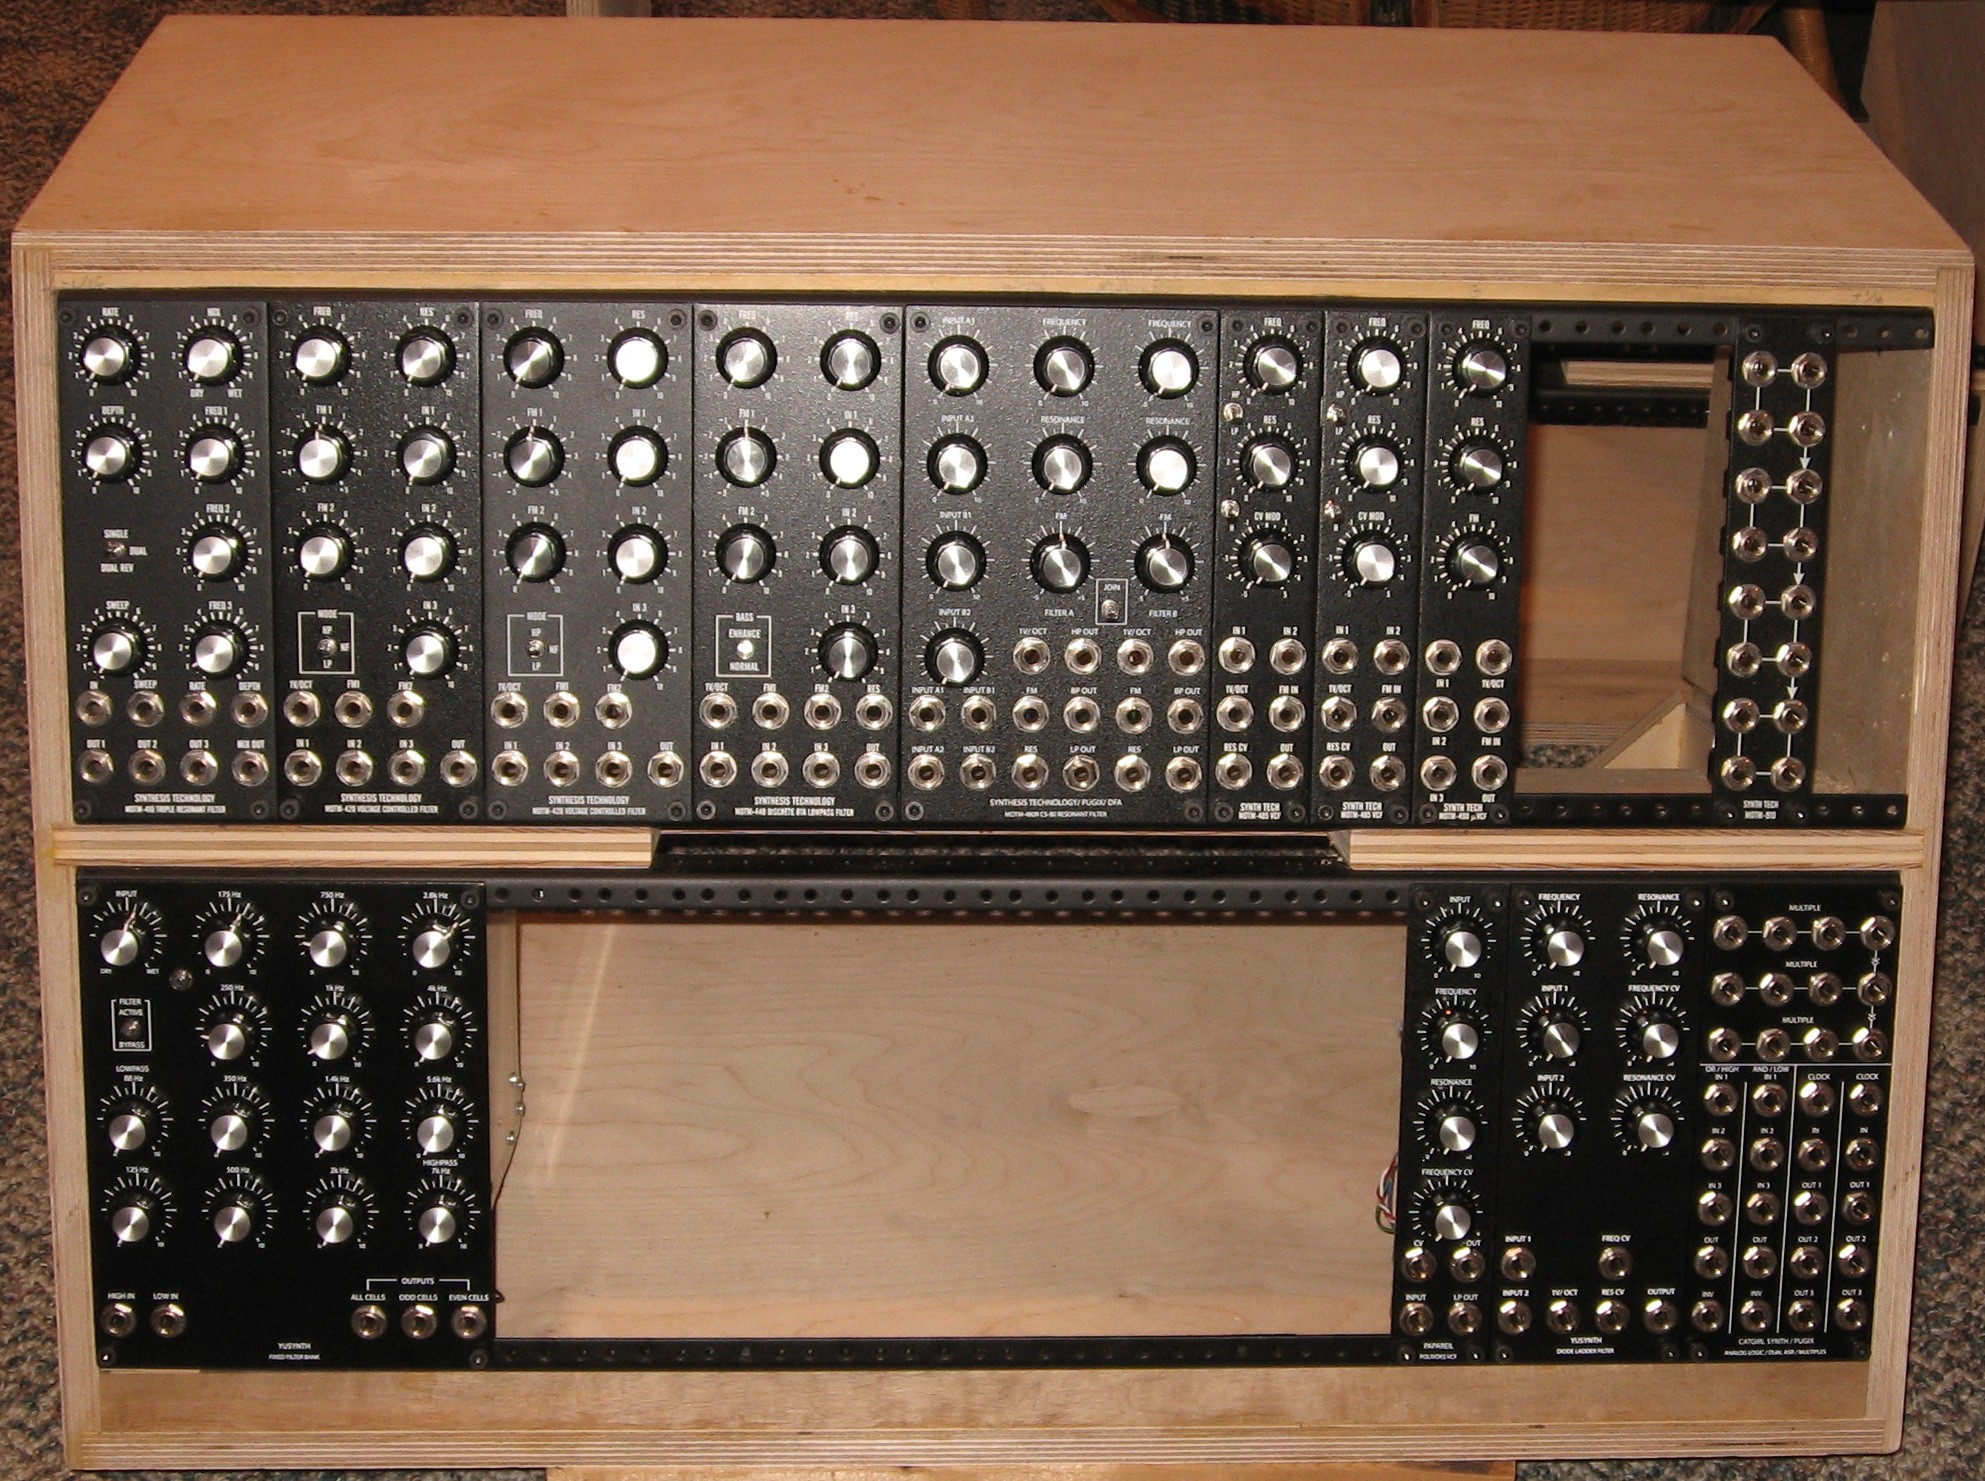
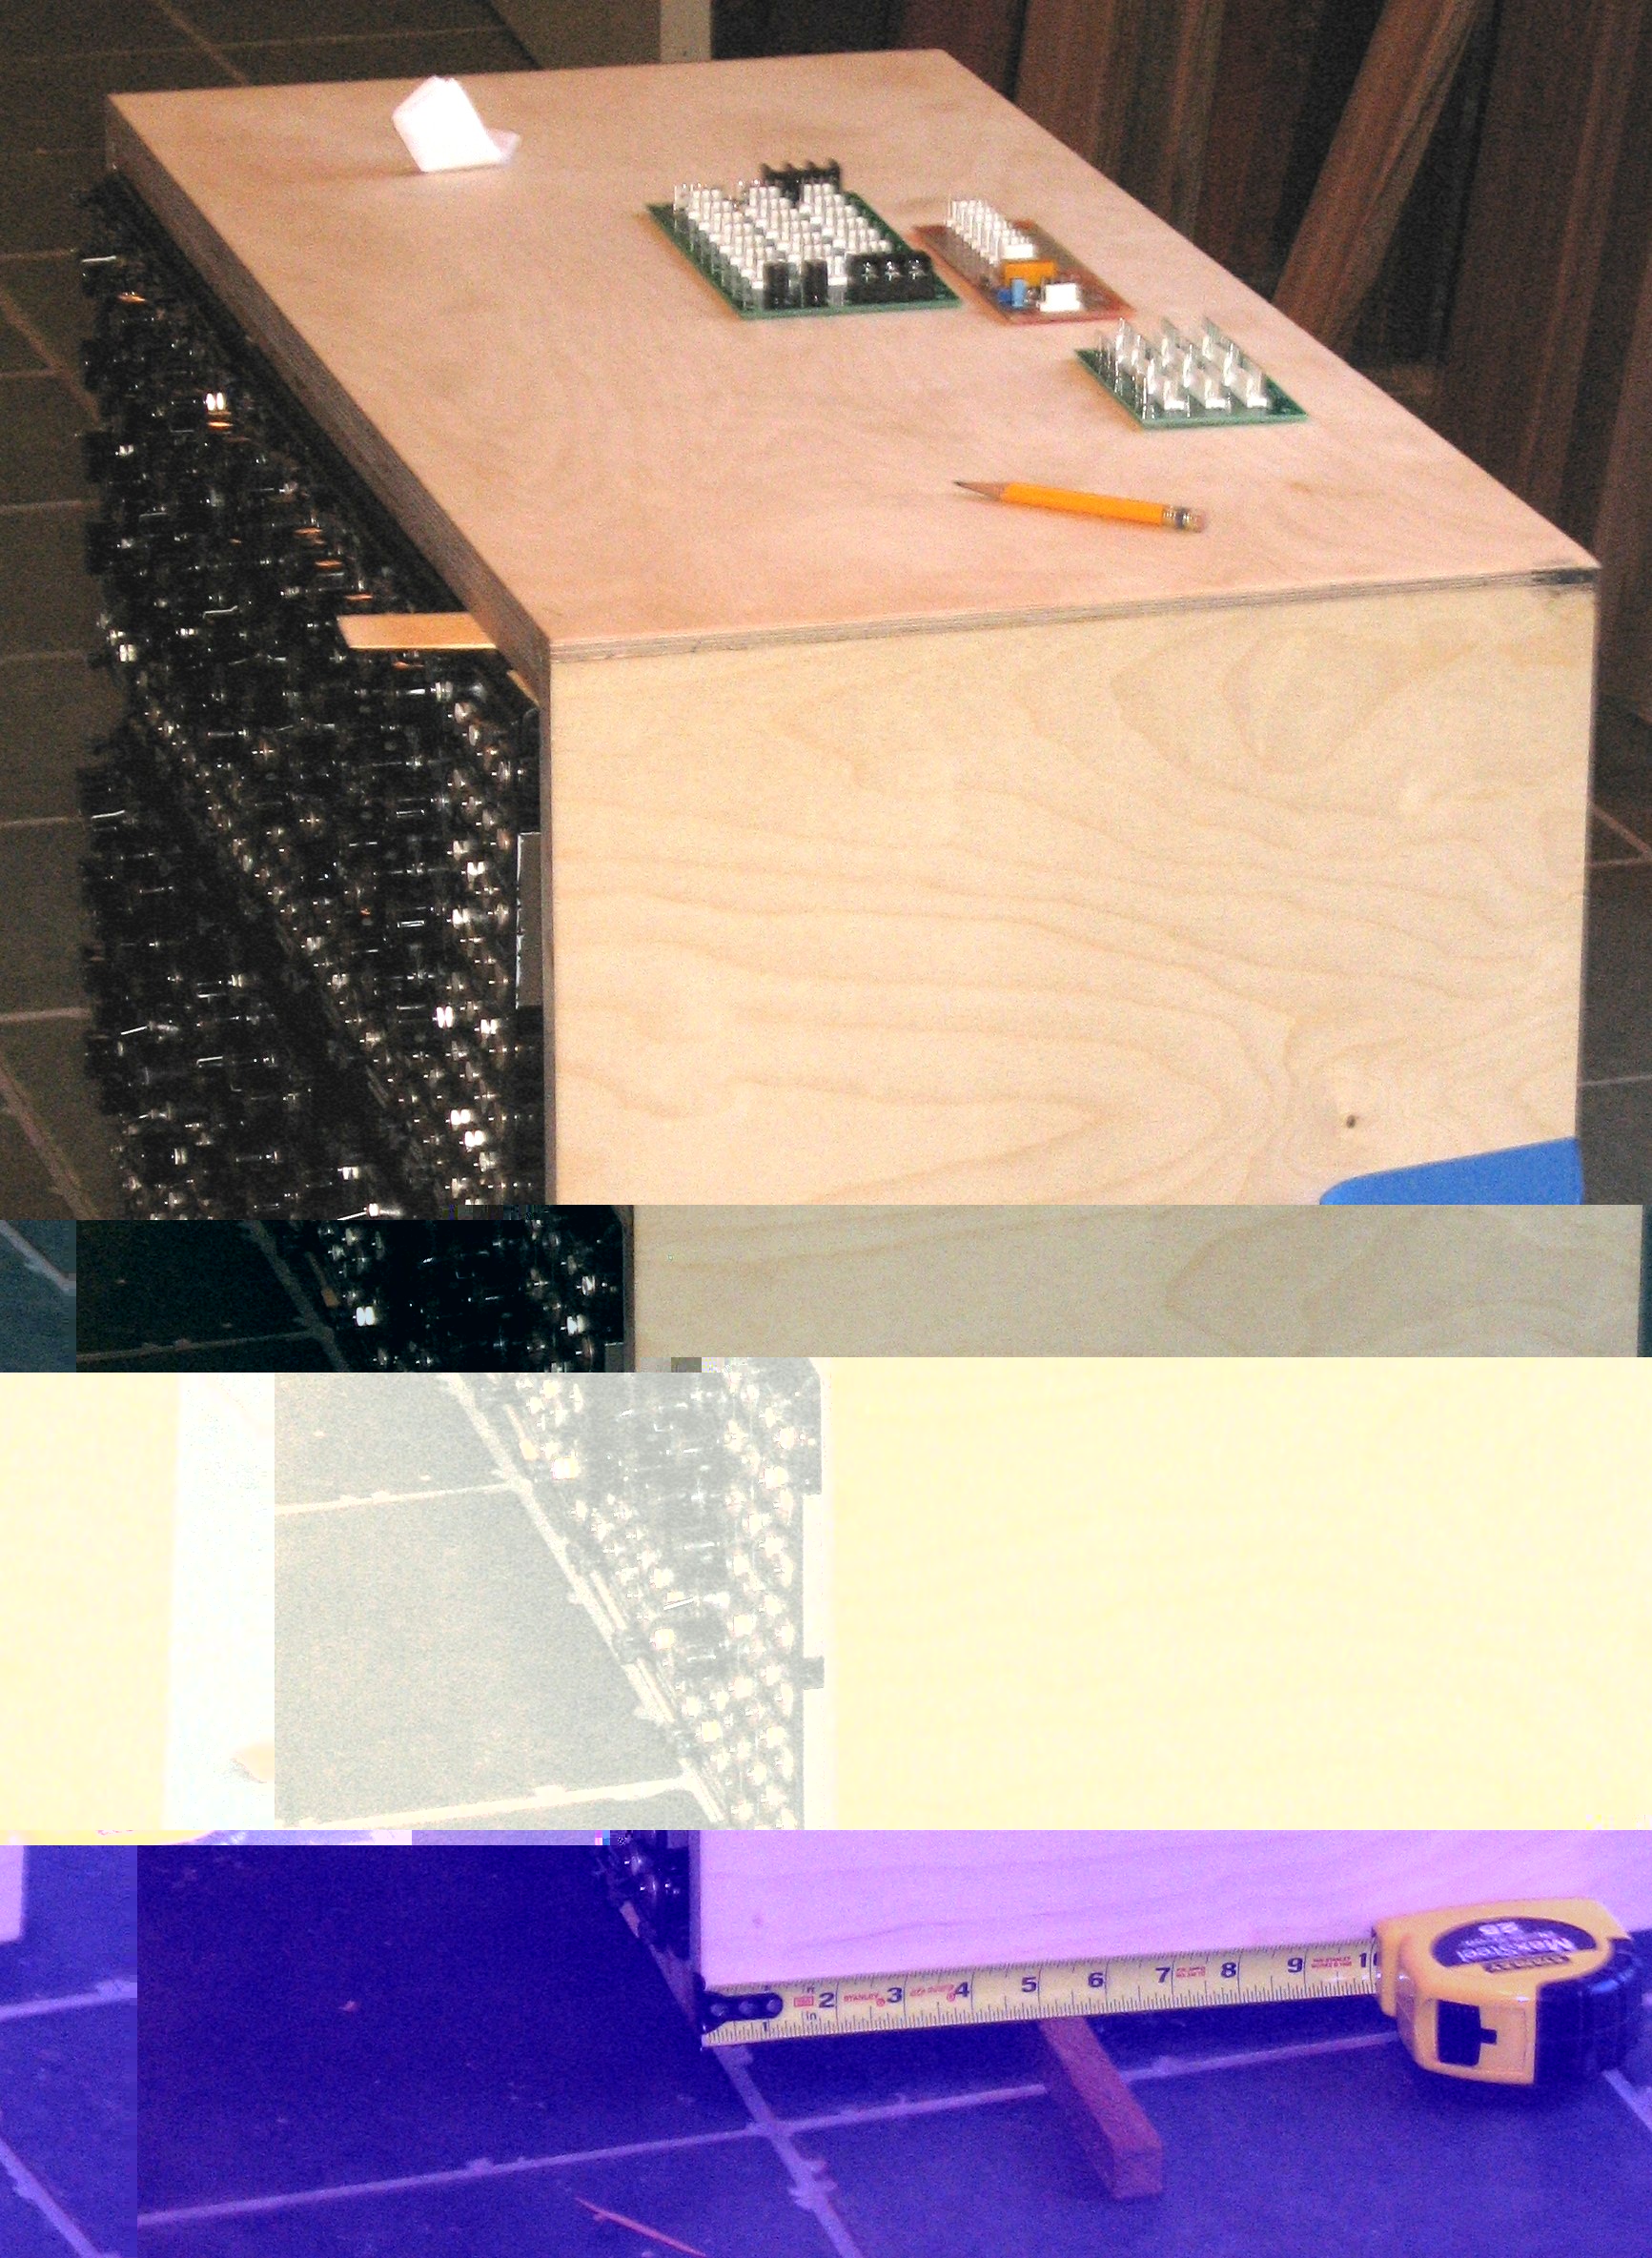
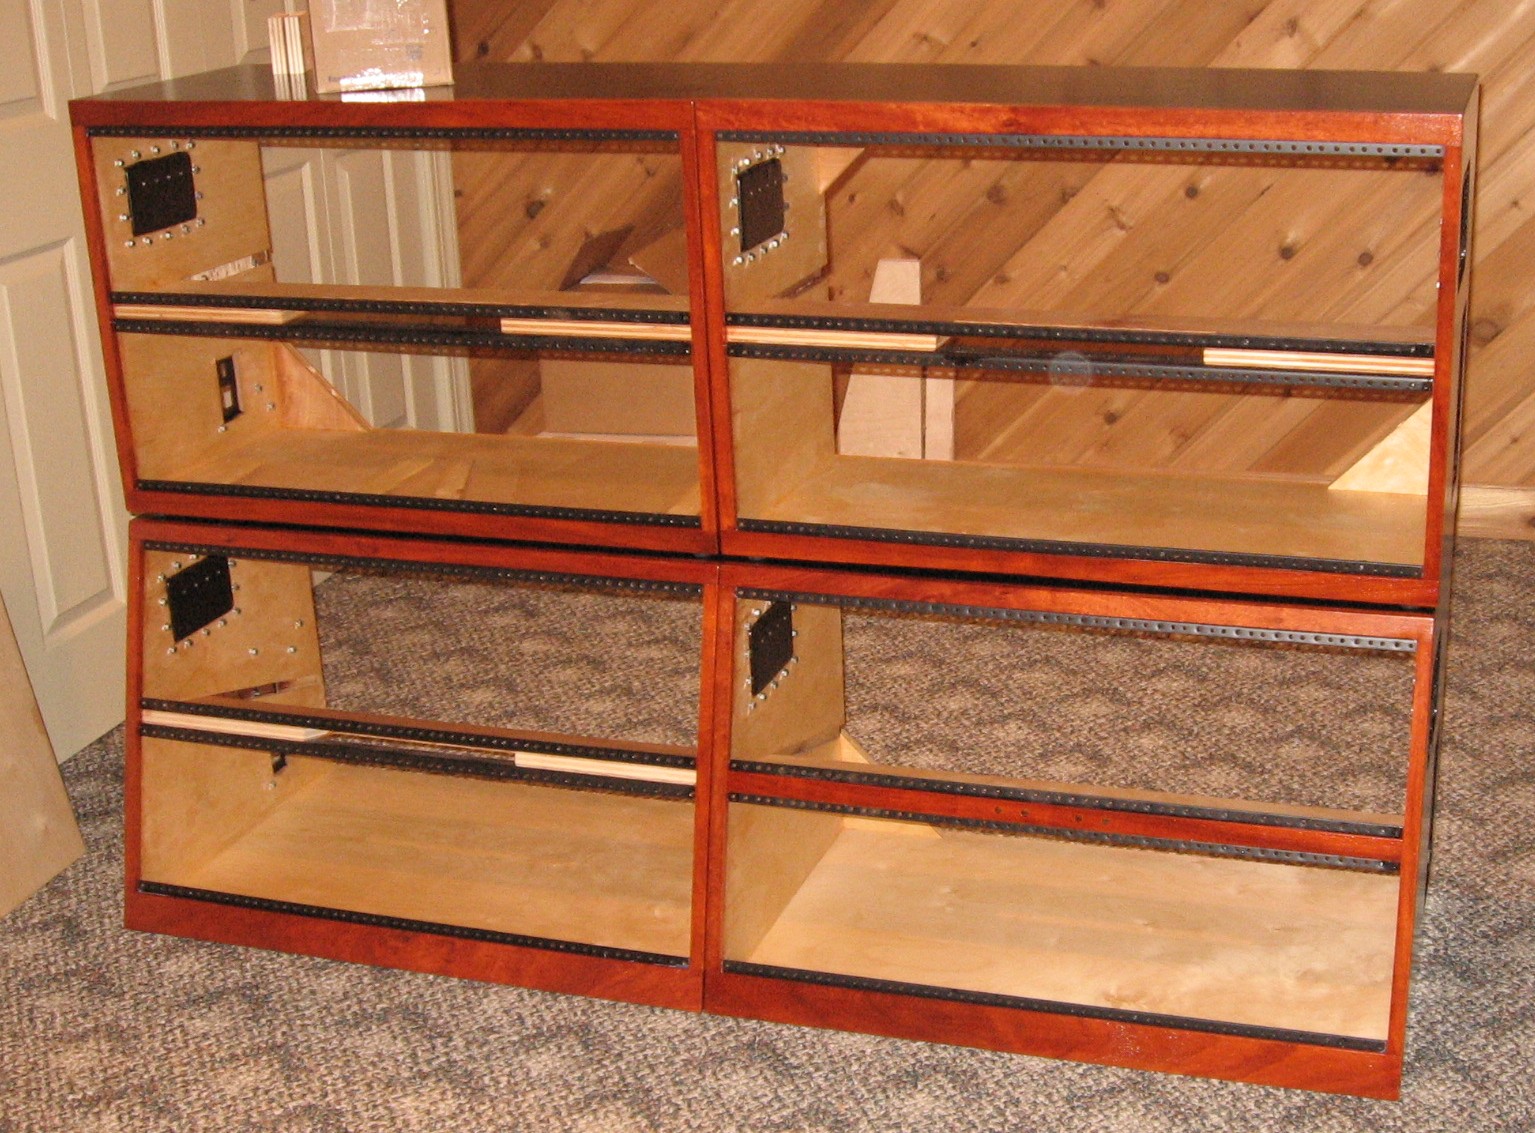
Finding the Balance point - Loading the Cases The next step was to load a top case and a bottom case so we could determine the balance point for the handles - we want to place them on the sides in a place where the case will hang easily when we pick the case up. Just for fun, we loaded the filters into one of the bottom cabinets to get a feeling for what the bottom left case will look like:
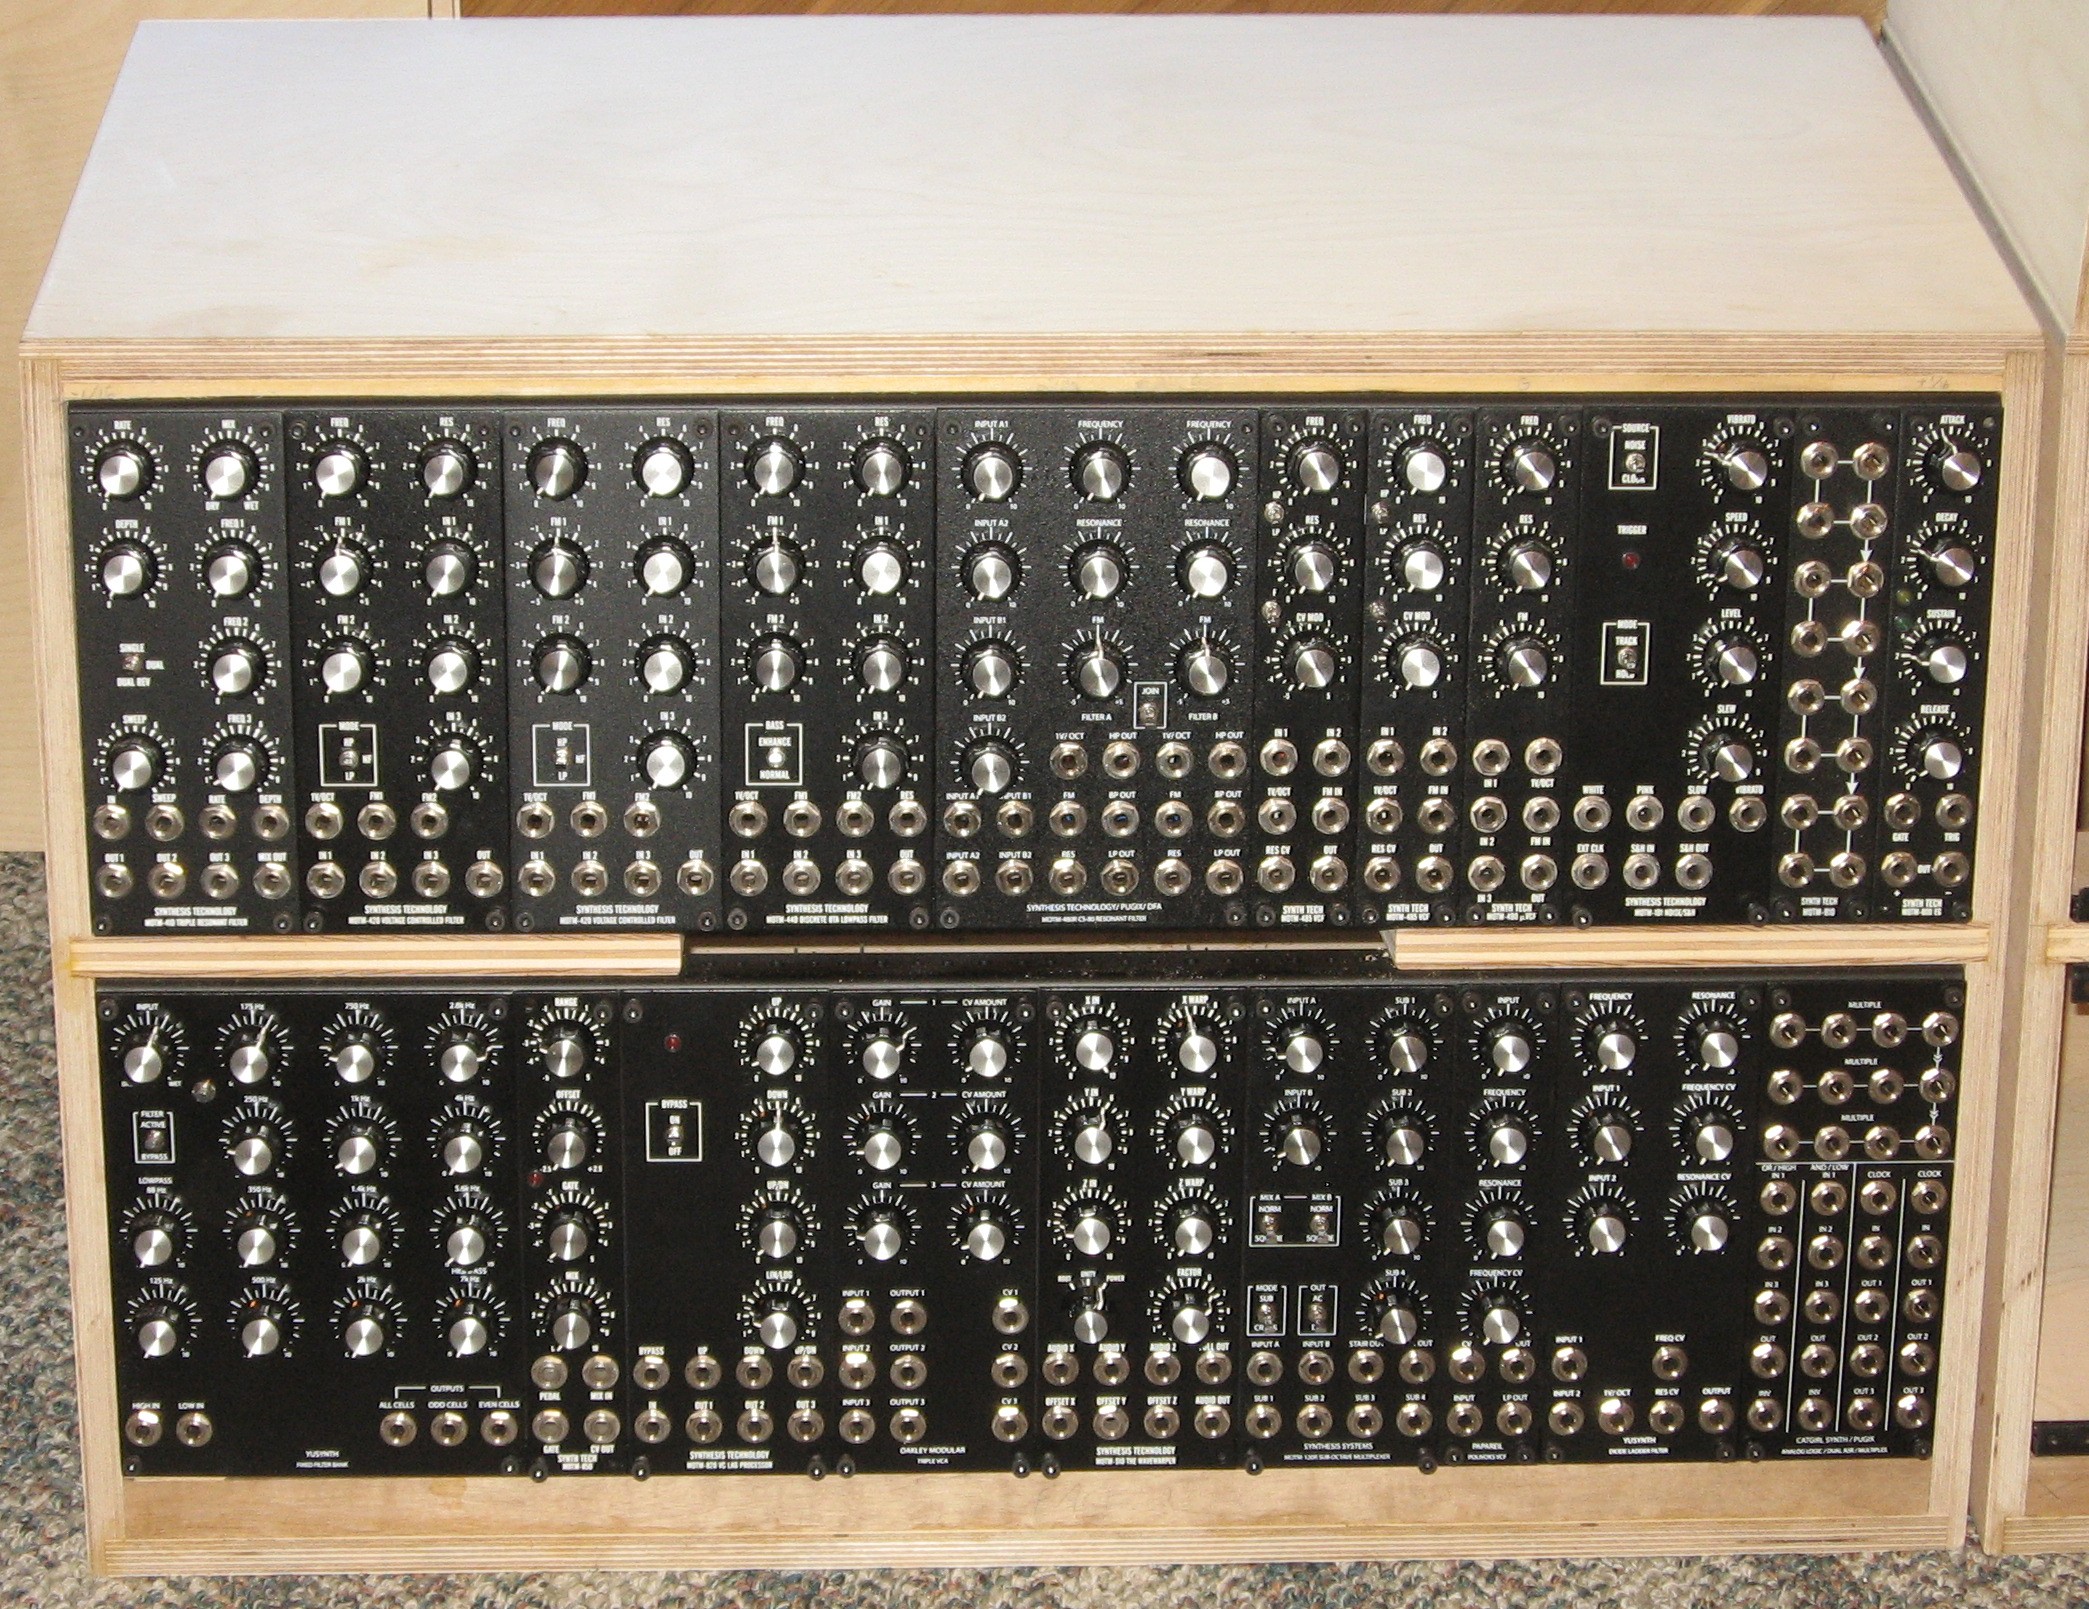
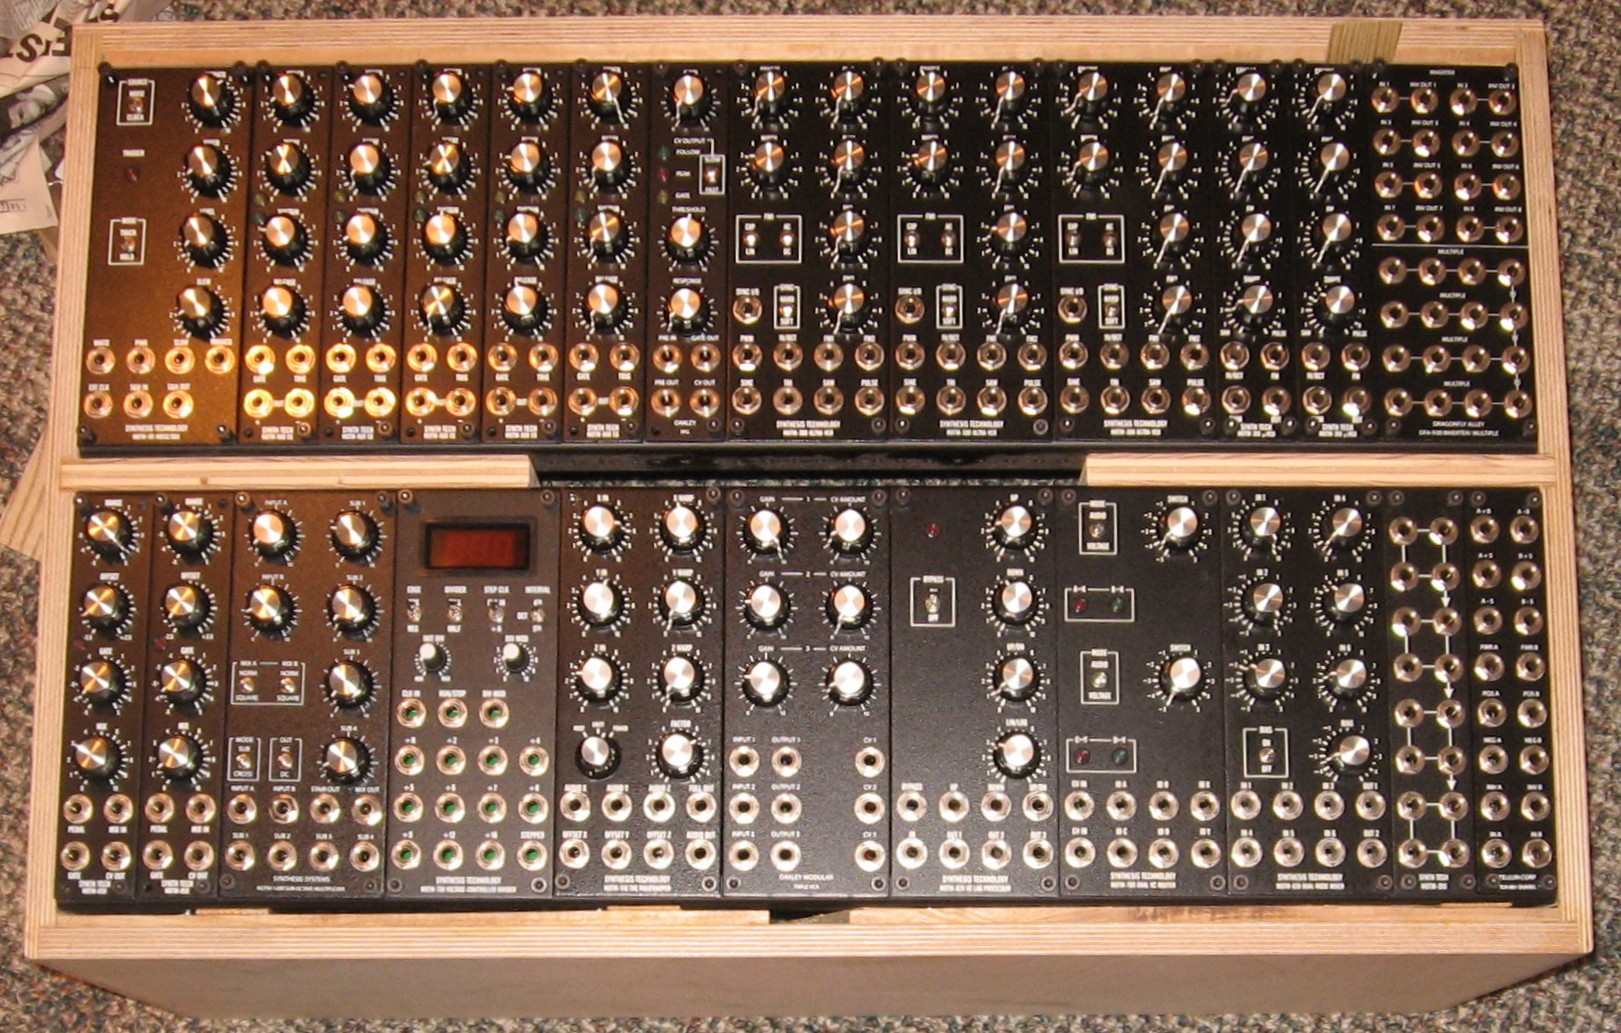
But our experiment needed a fully loaded case so we added modules until the bottom case was entirely loaded
And we loaded up a top case too
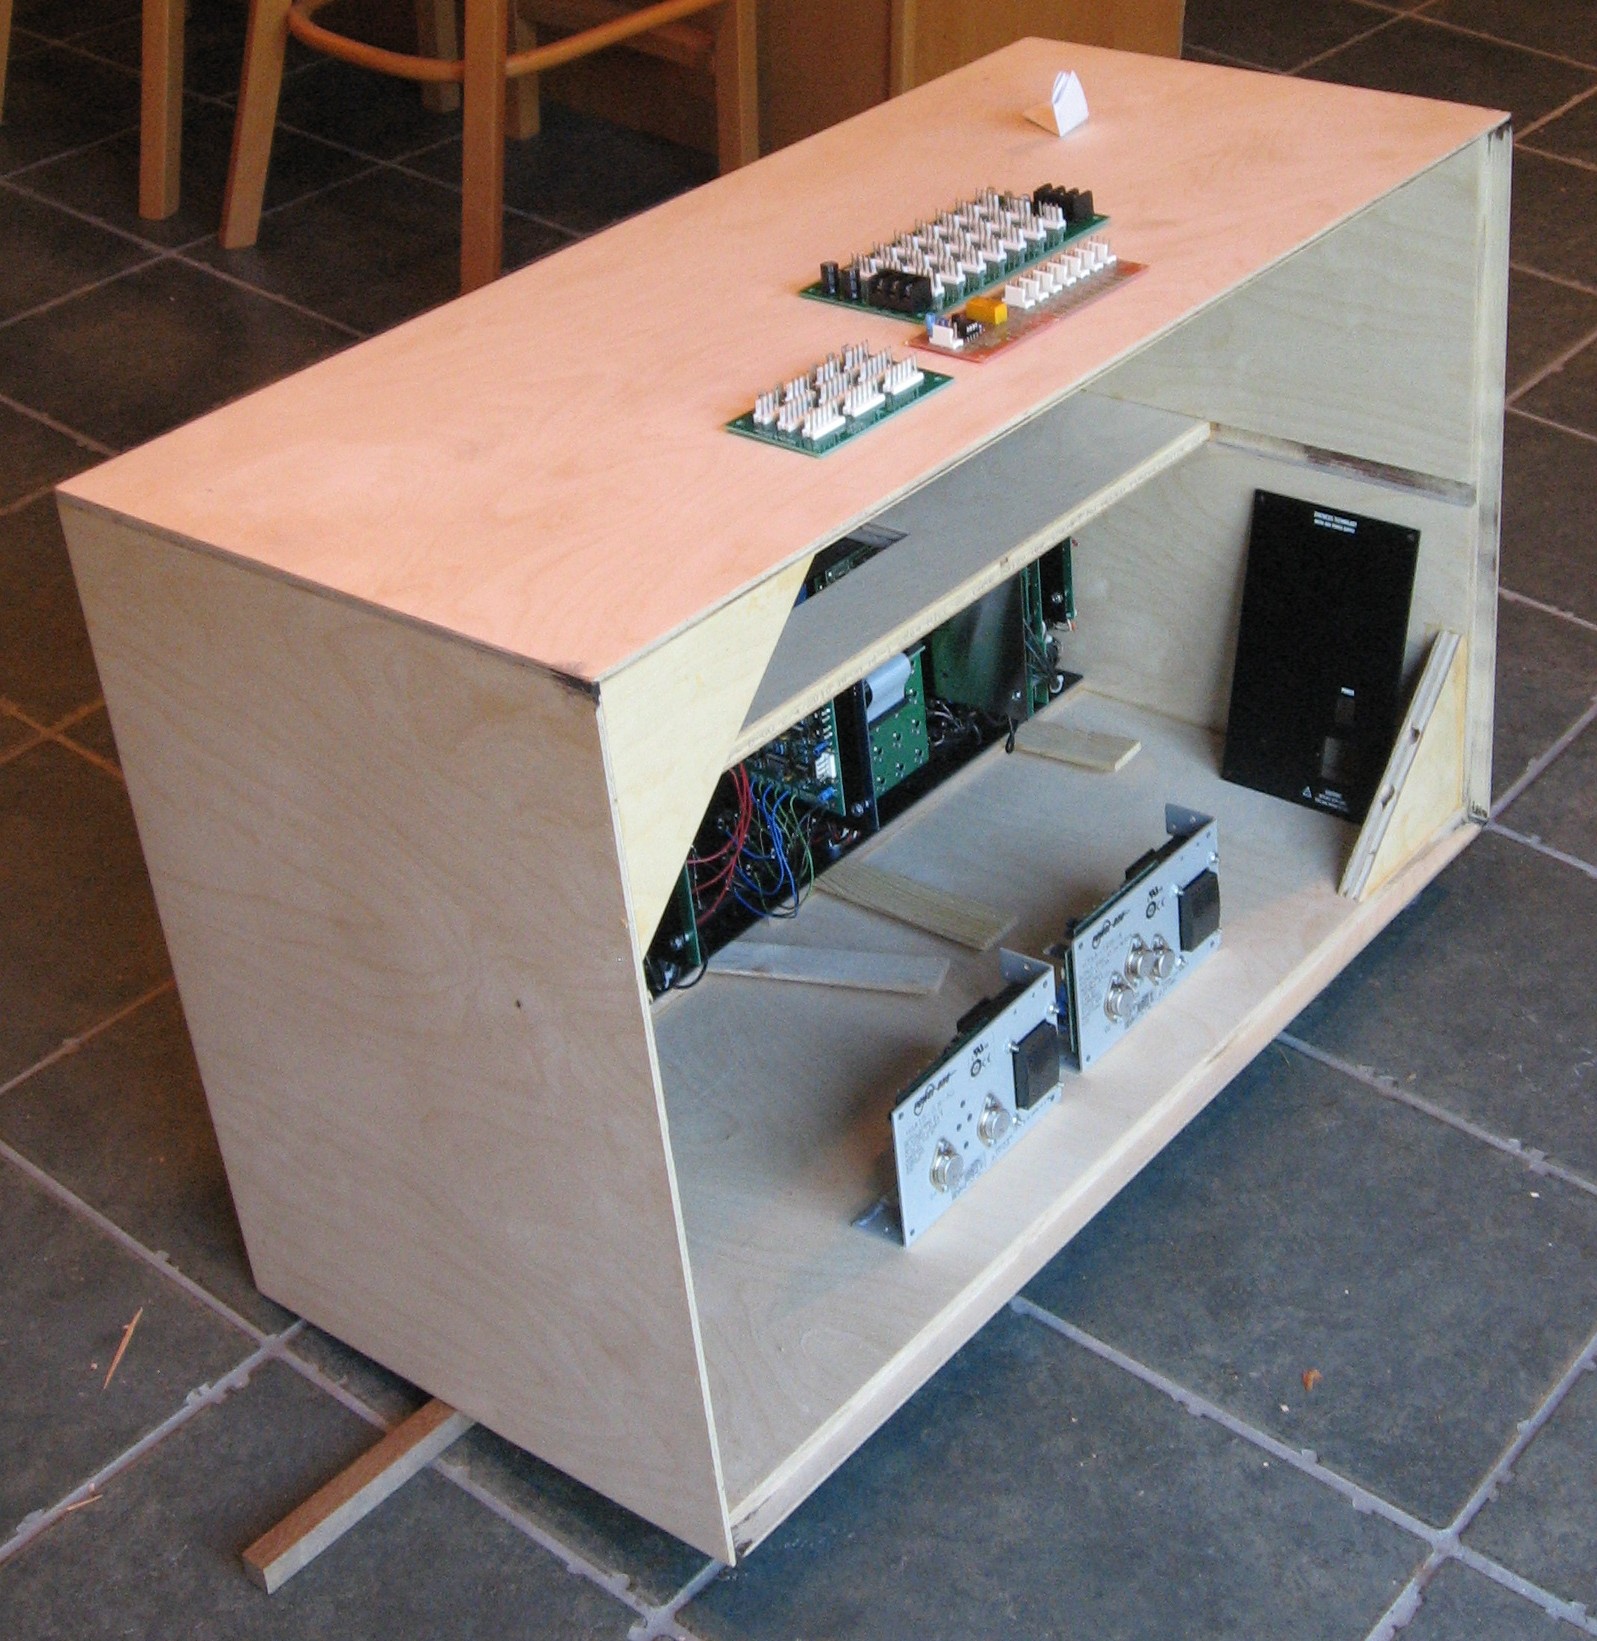
We put the power supply stuff in approximate place - and taped a back on the cases...
|
||
|
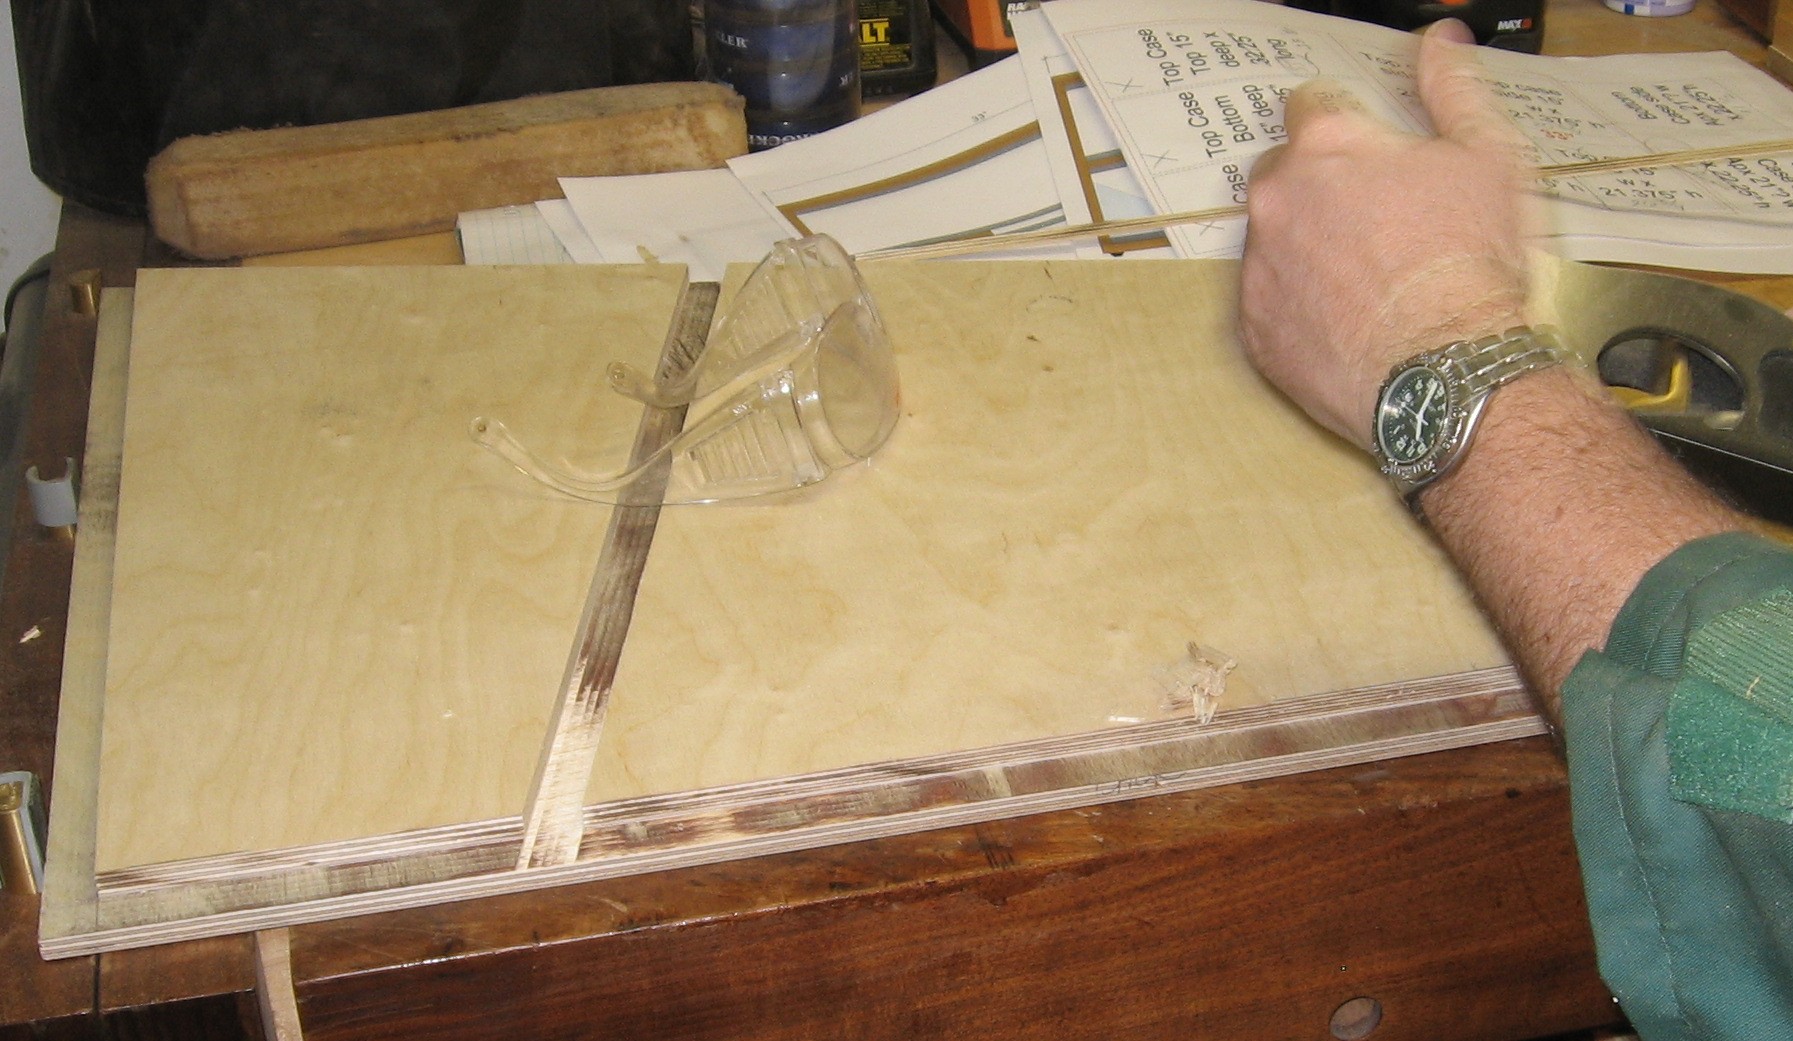
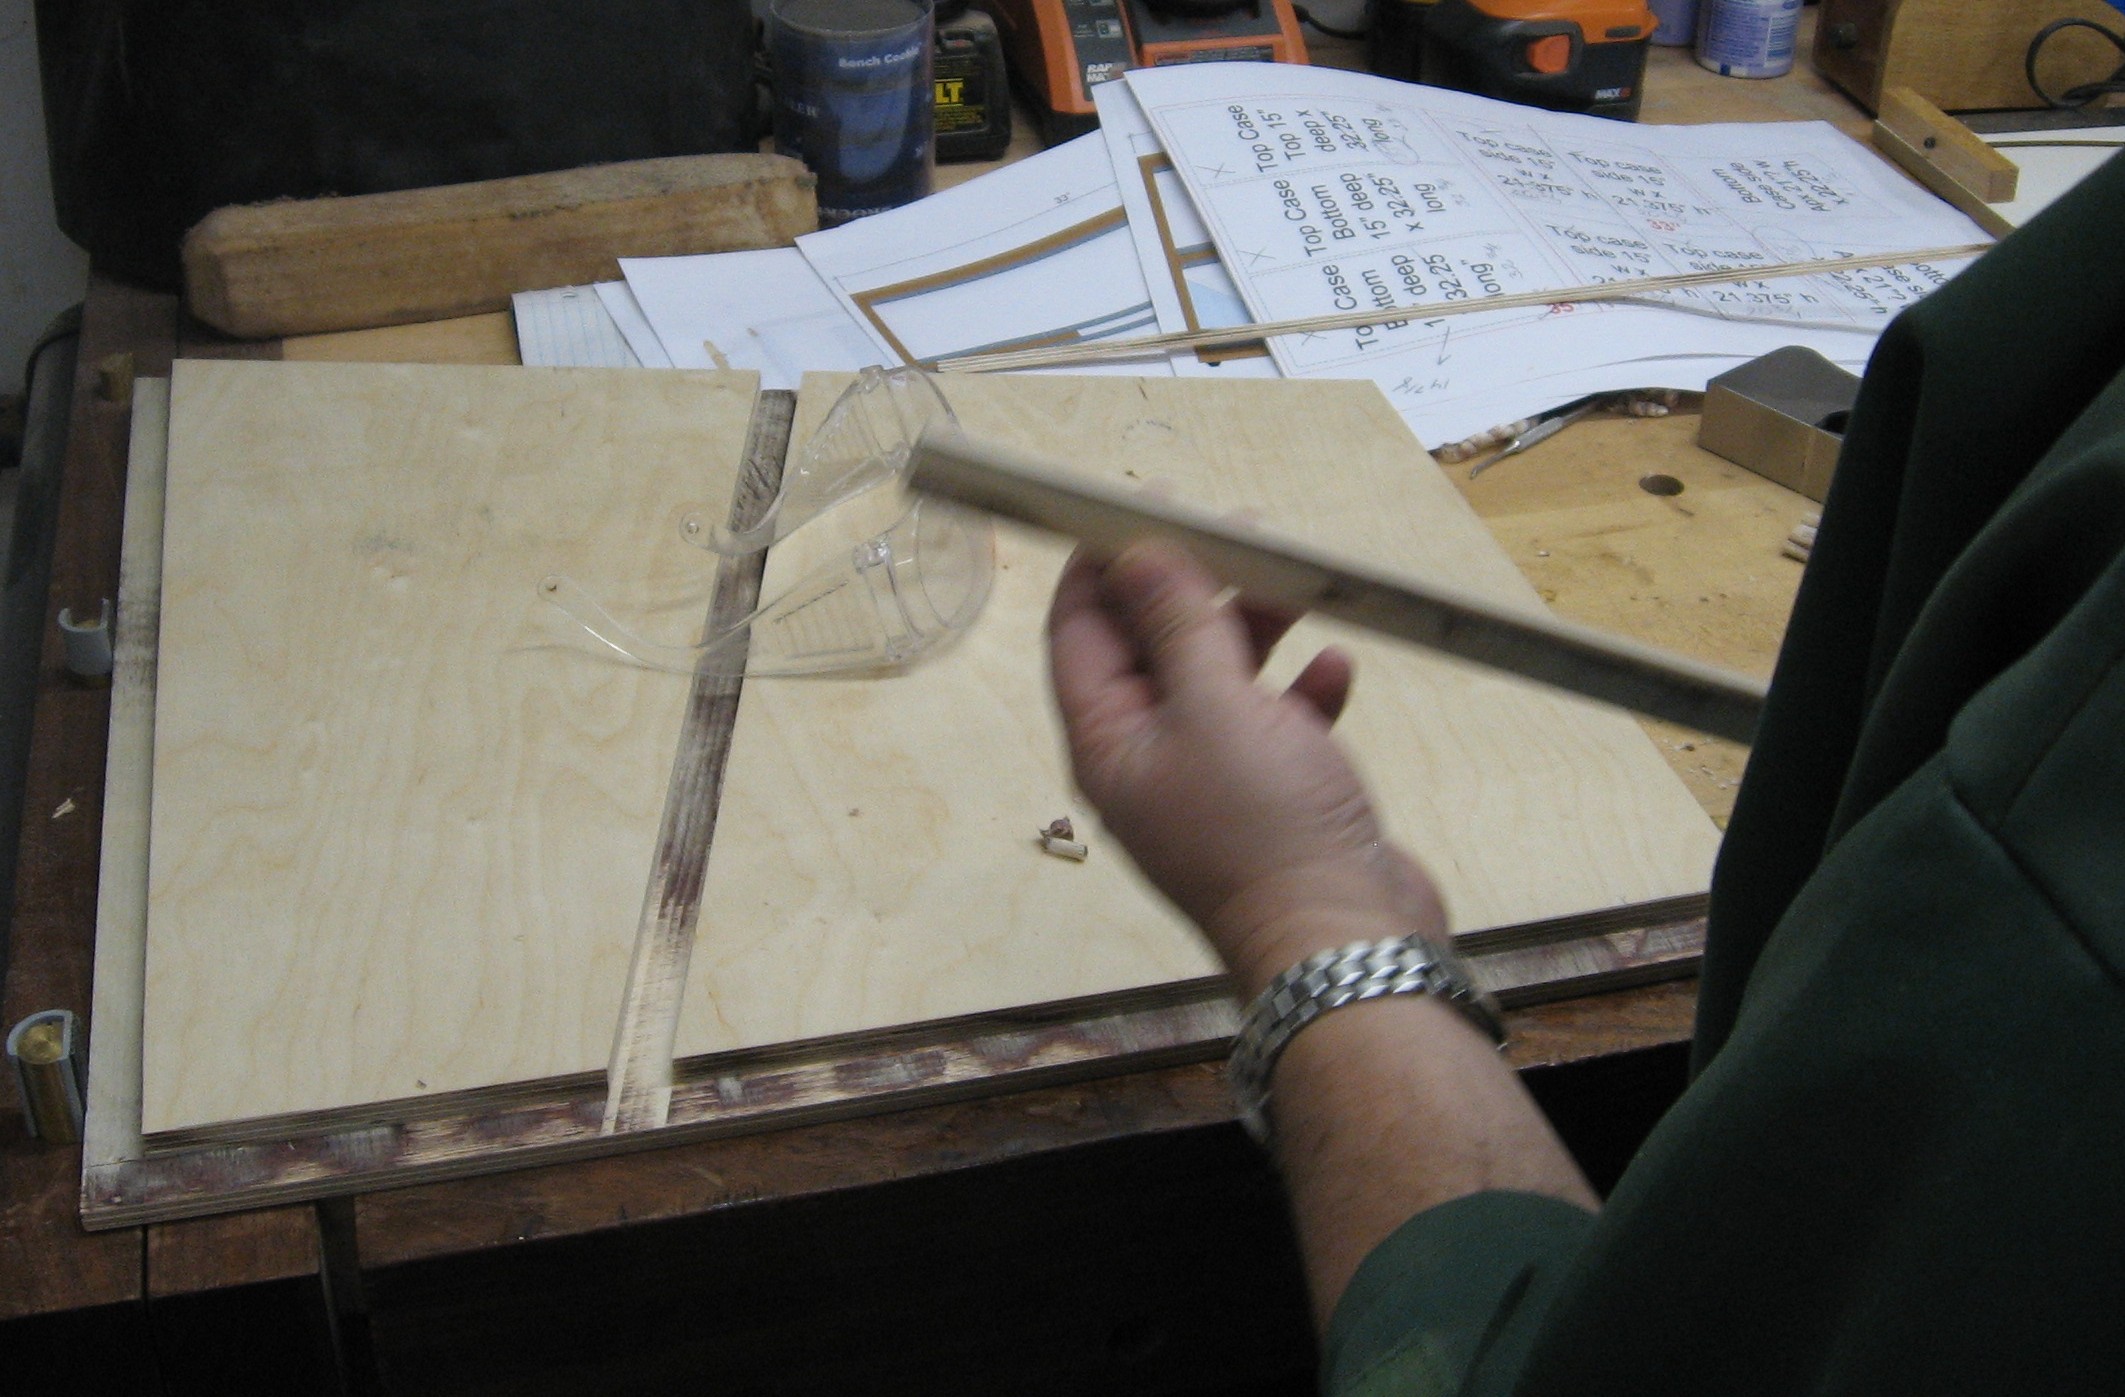
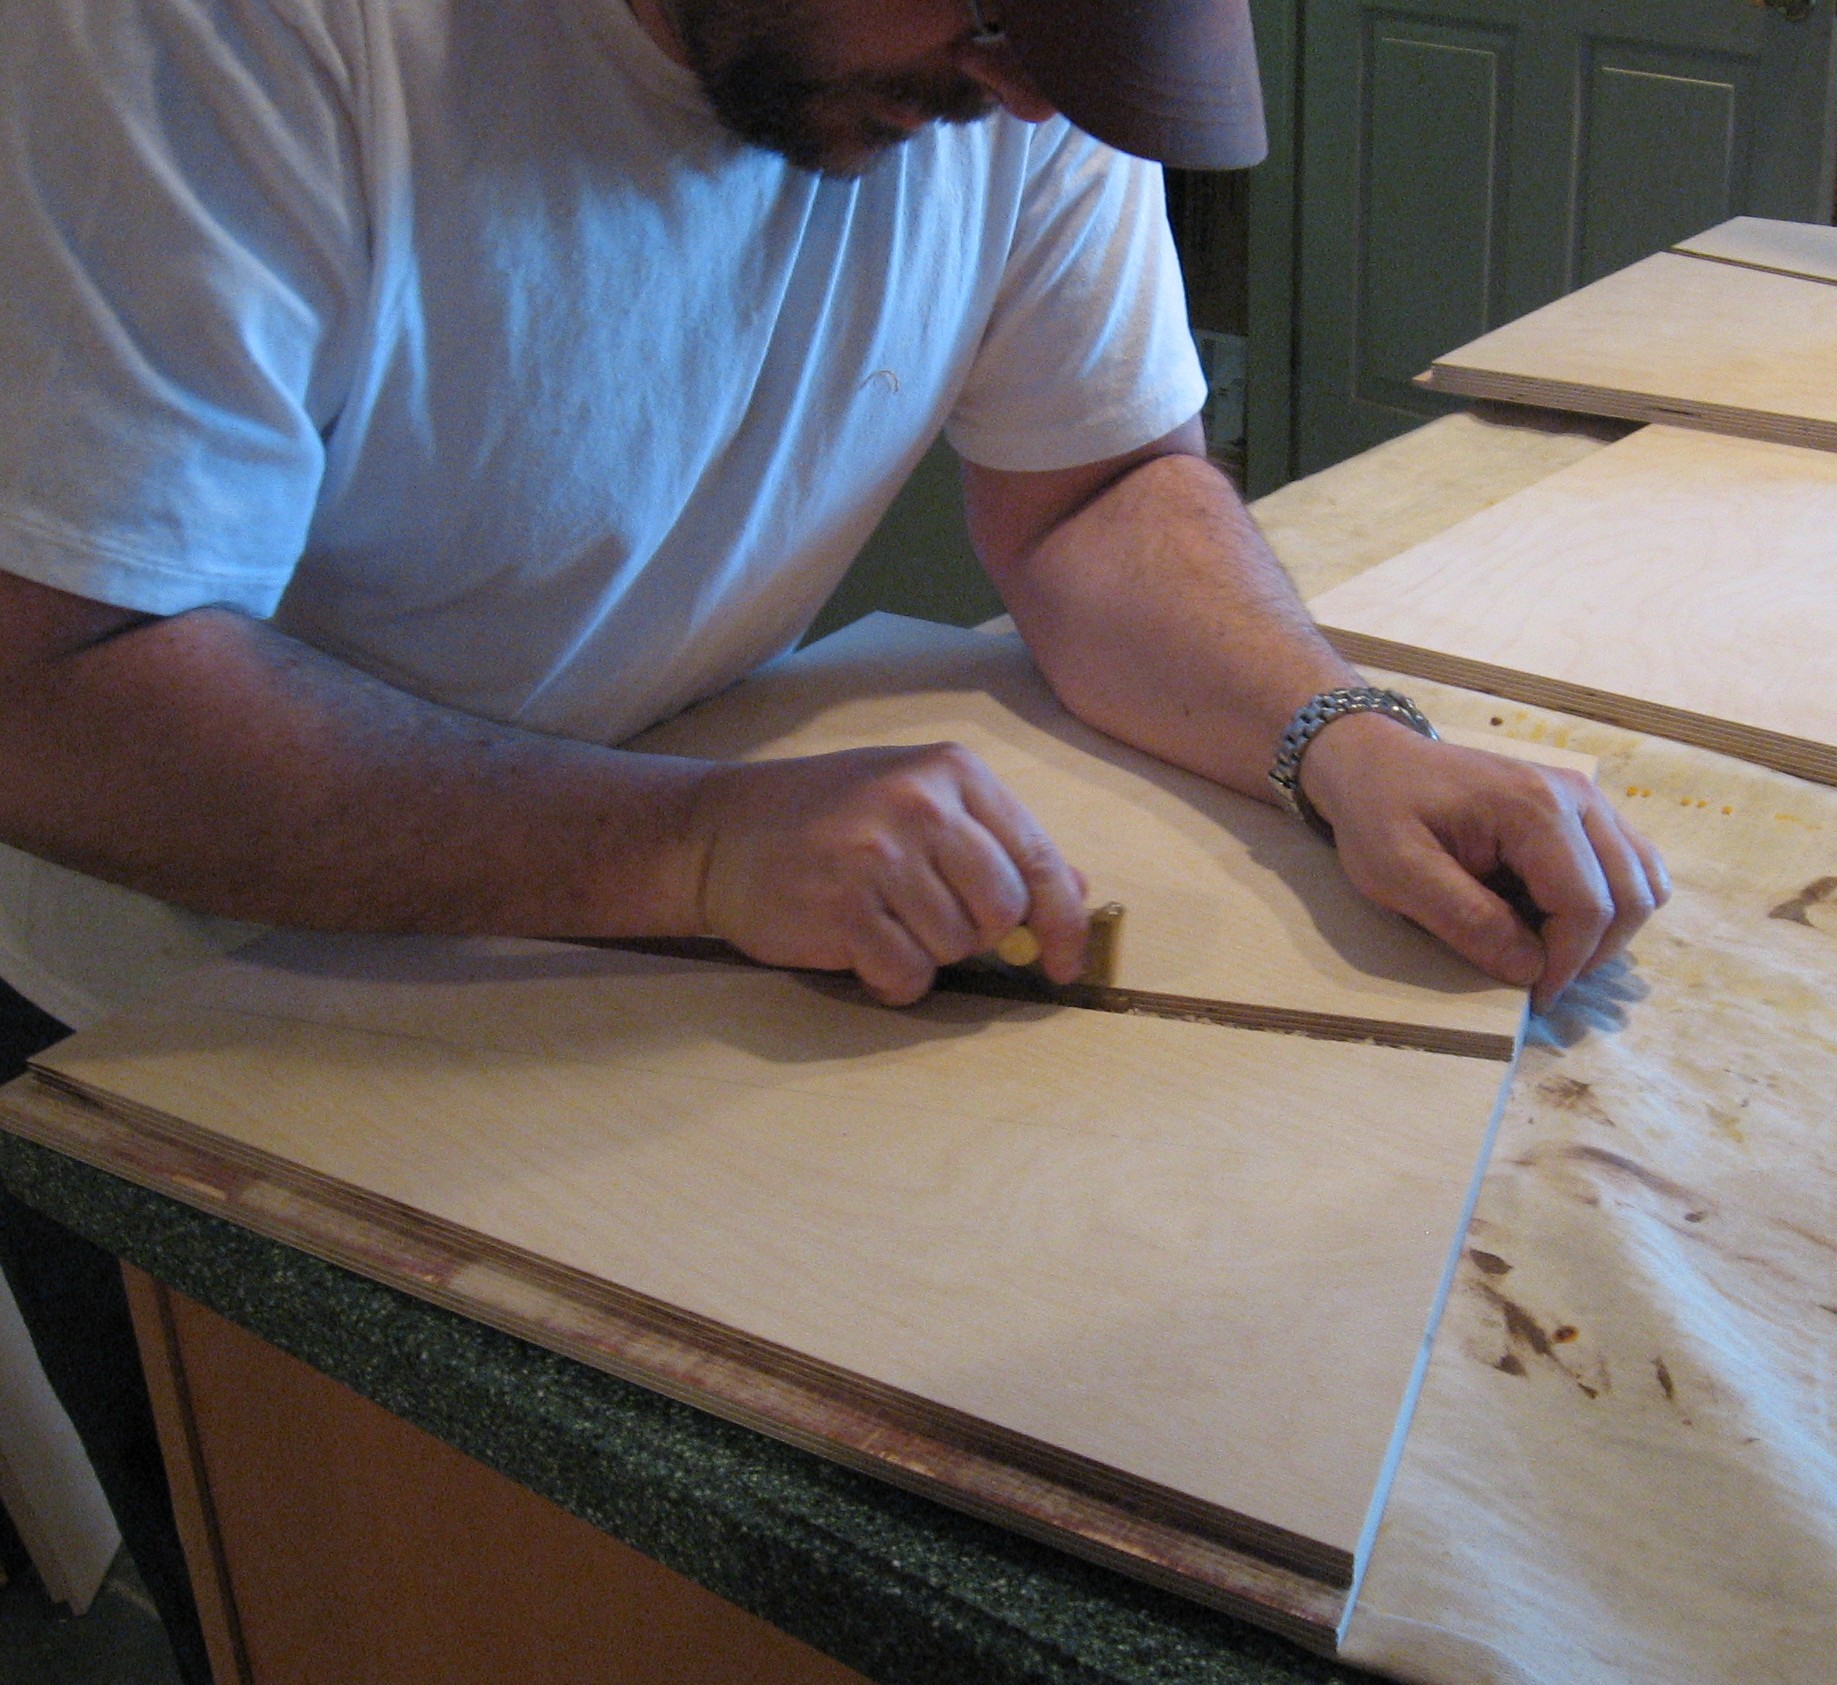
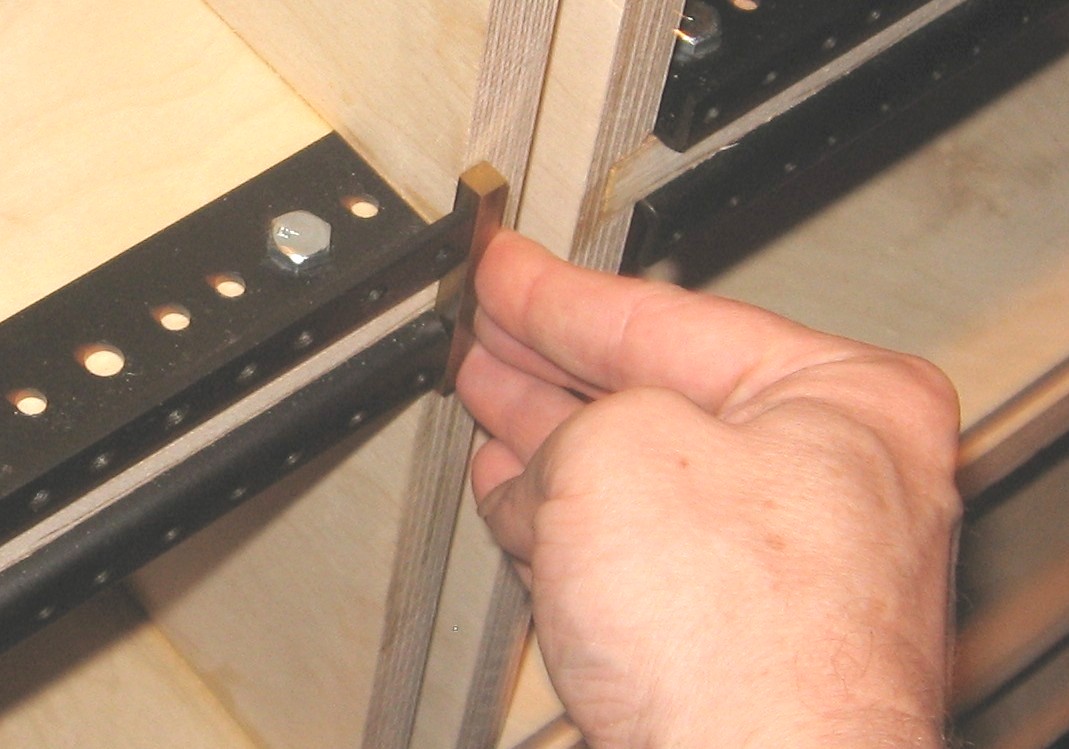
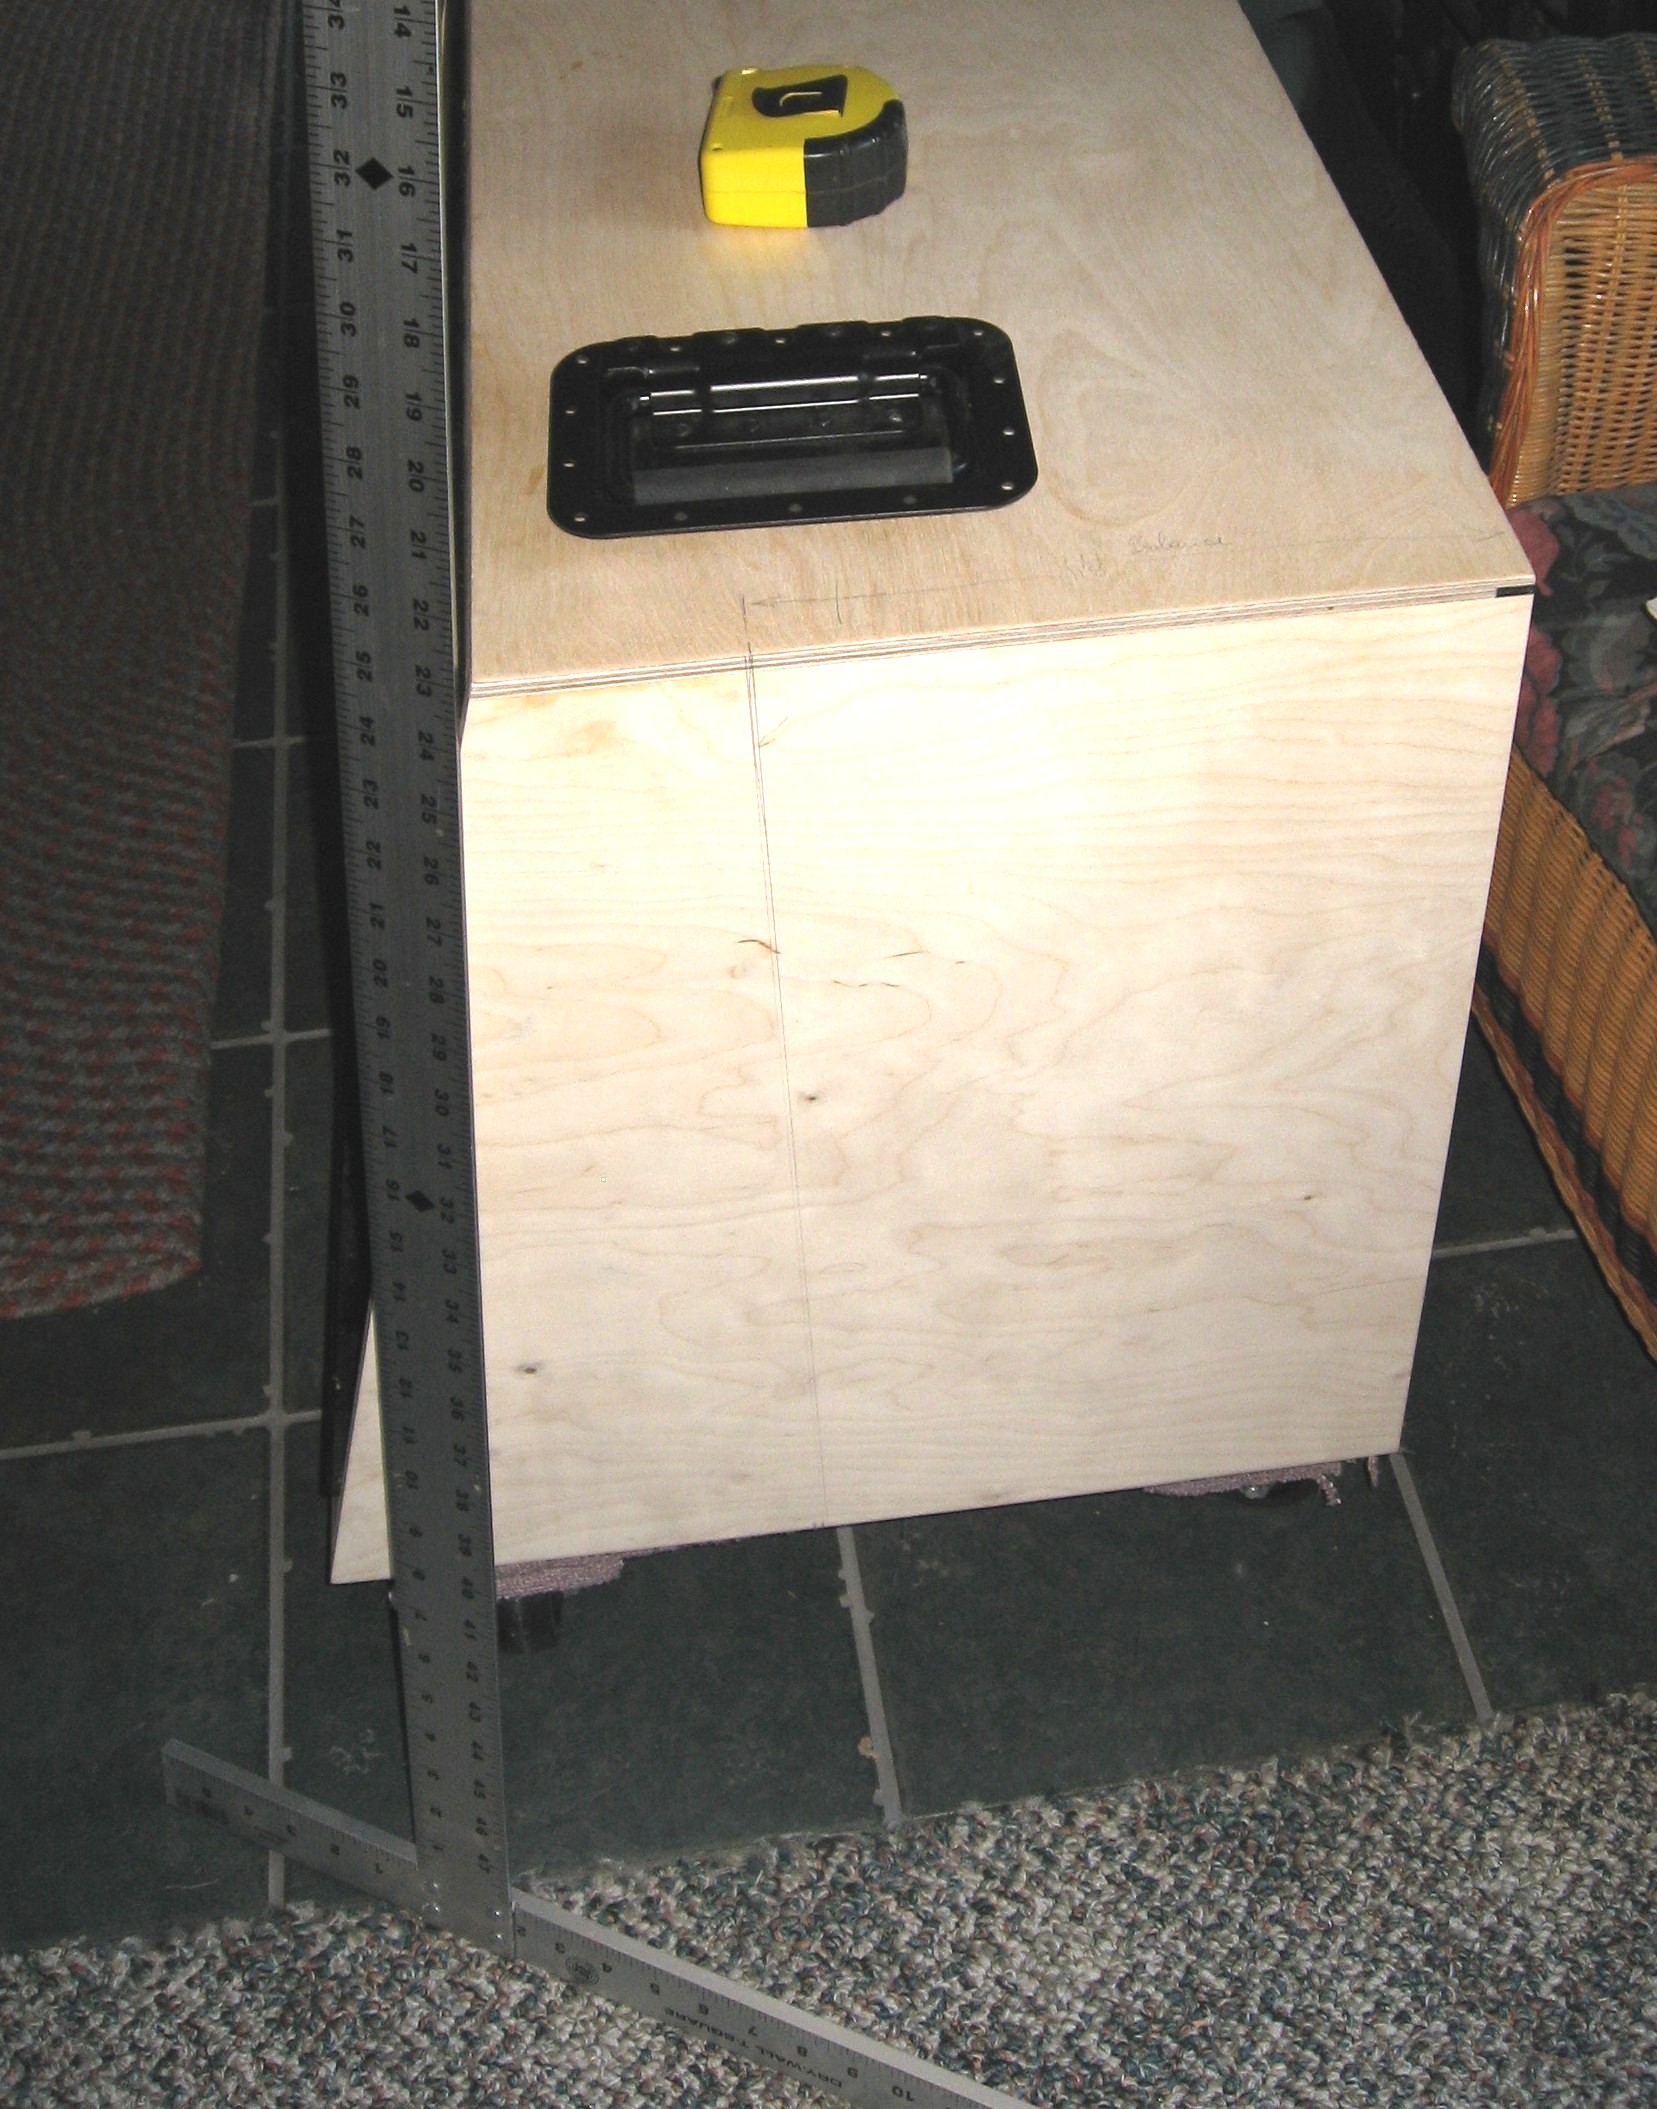
Finding the balance point Using a 1/2" x 1/2" by 36" long piece of wood as a fulcrum, we balanced the top and bottom cases and measured the balance point
We drew a vertical line at the balance point
The balance points turned out to be, for the bottom cabinets, 11-1/8in from the back - and for the top cabinets. 9-1/4in from the back. |
||
|
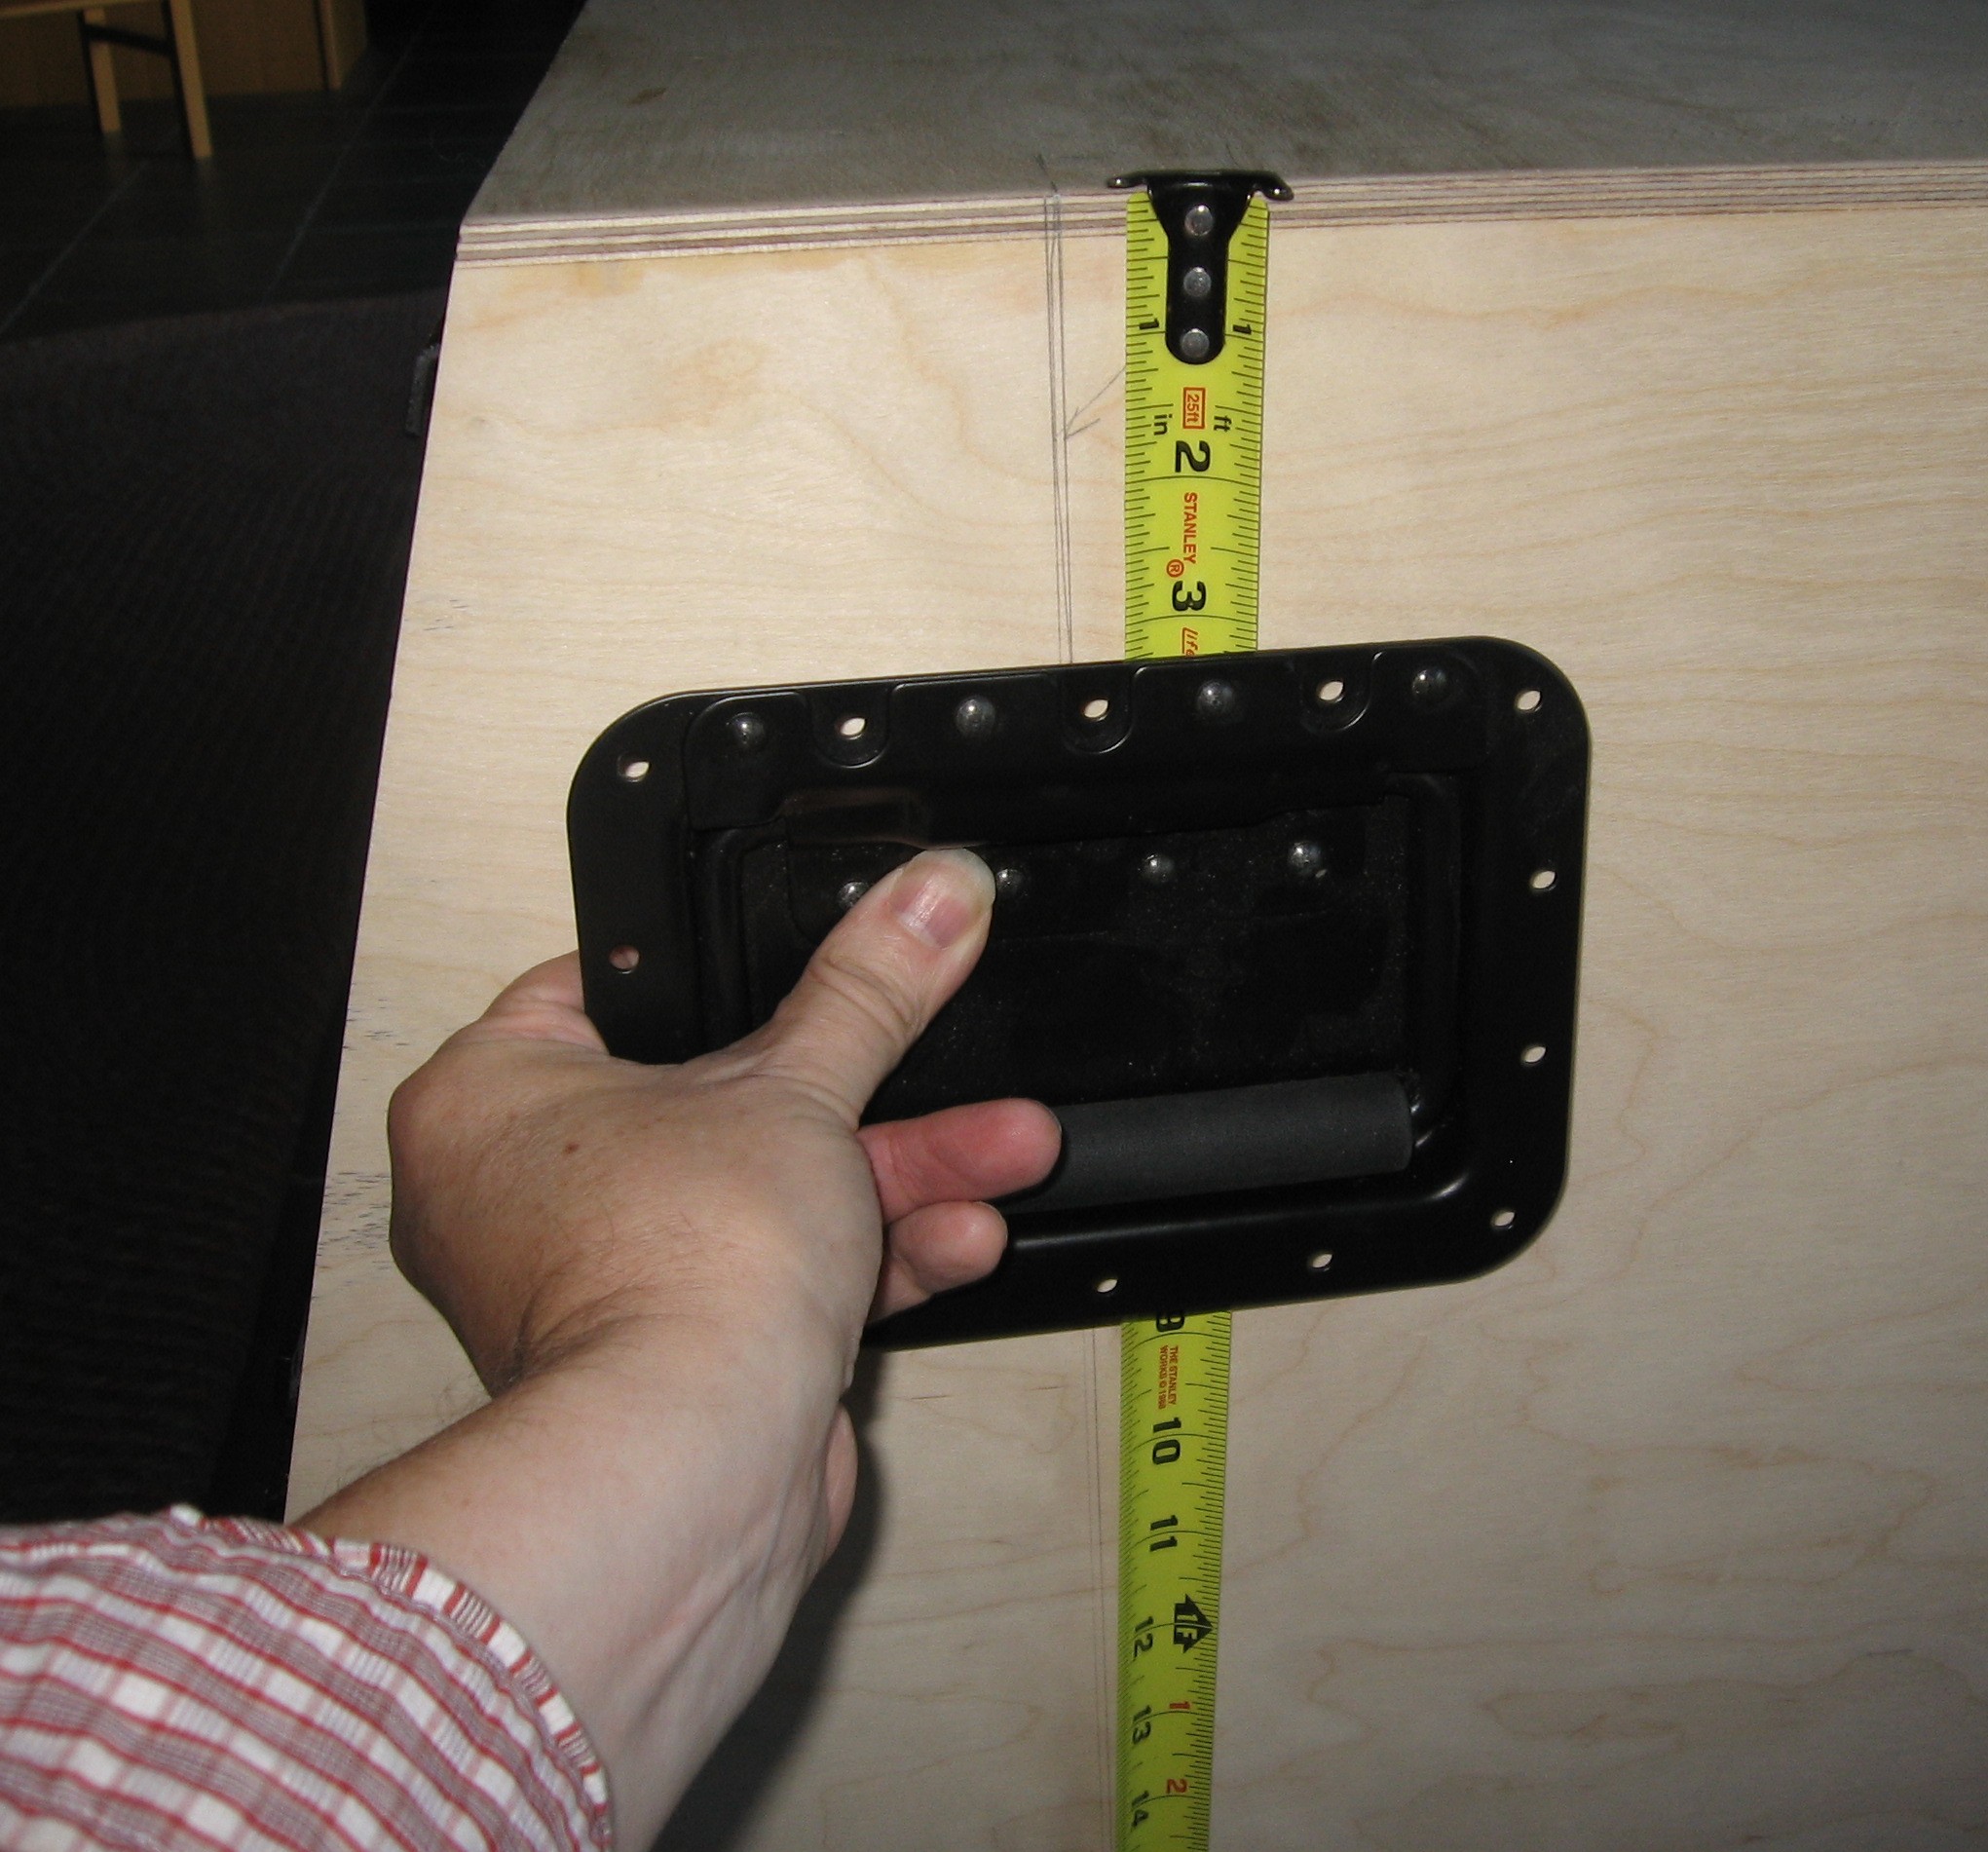
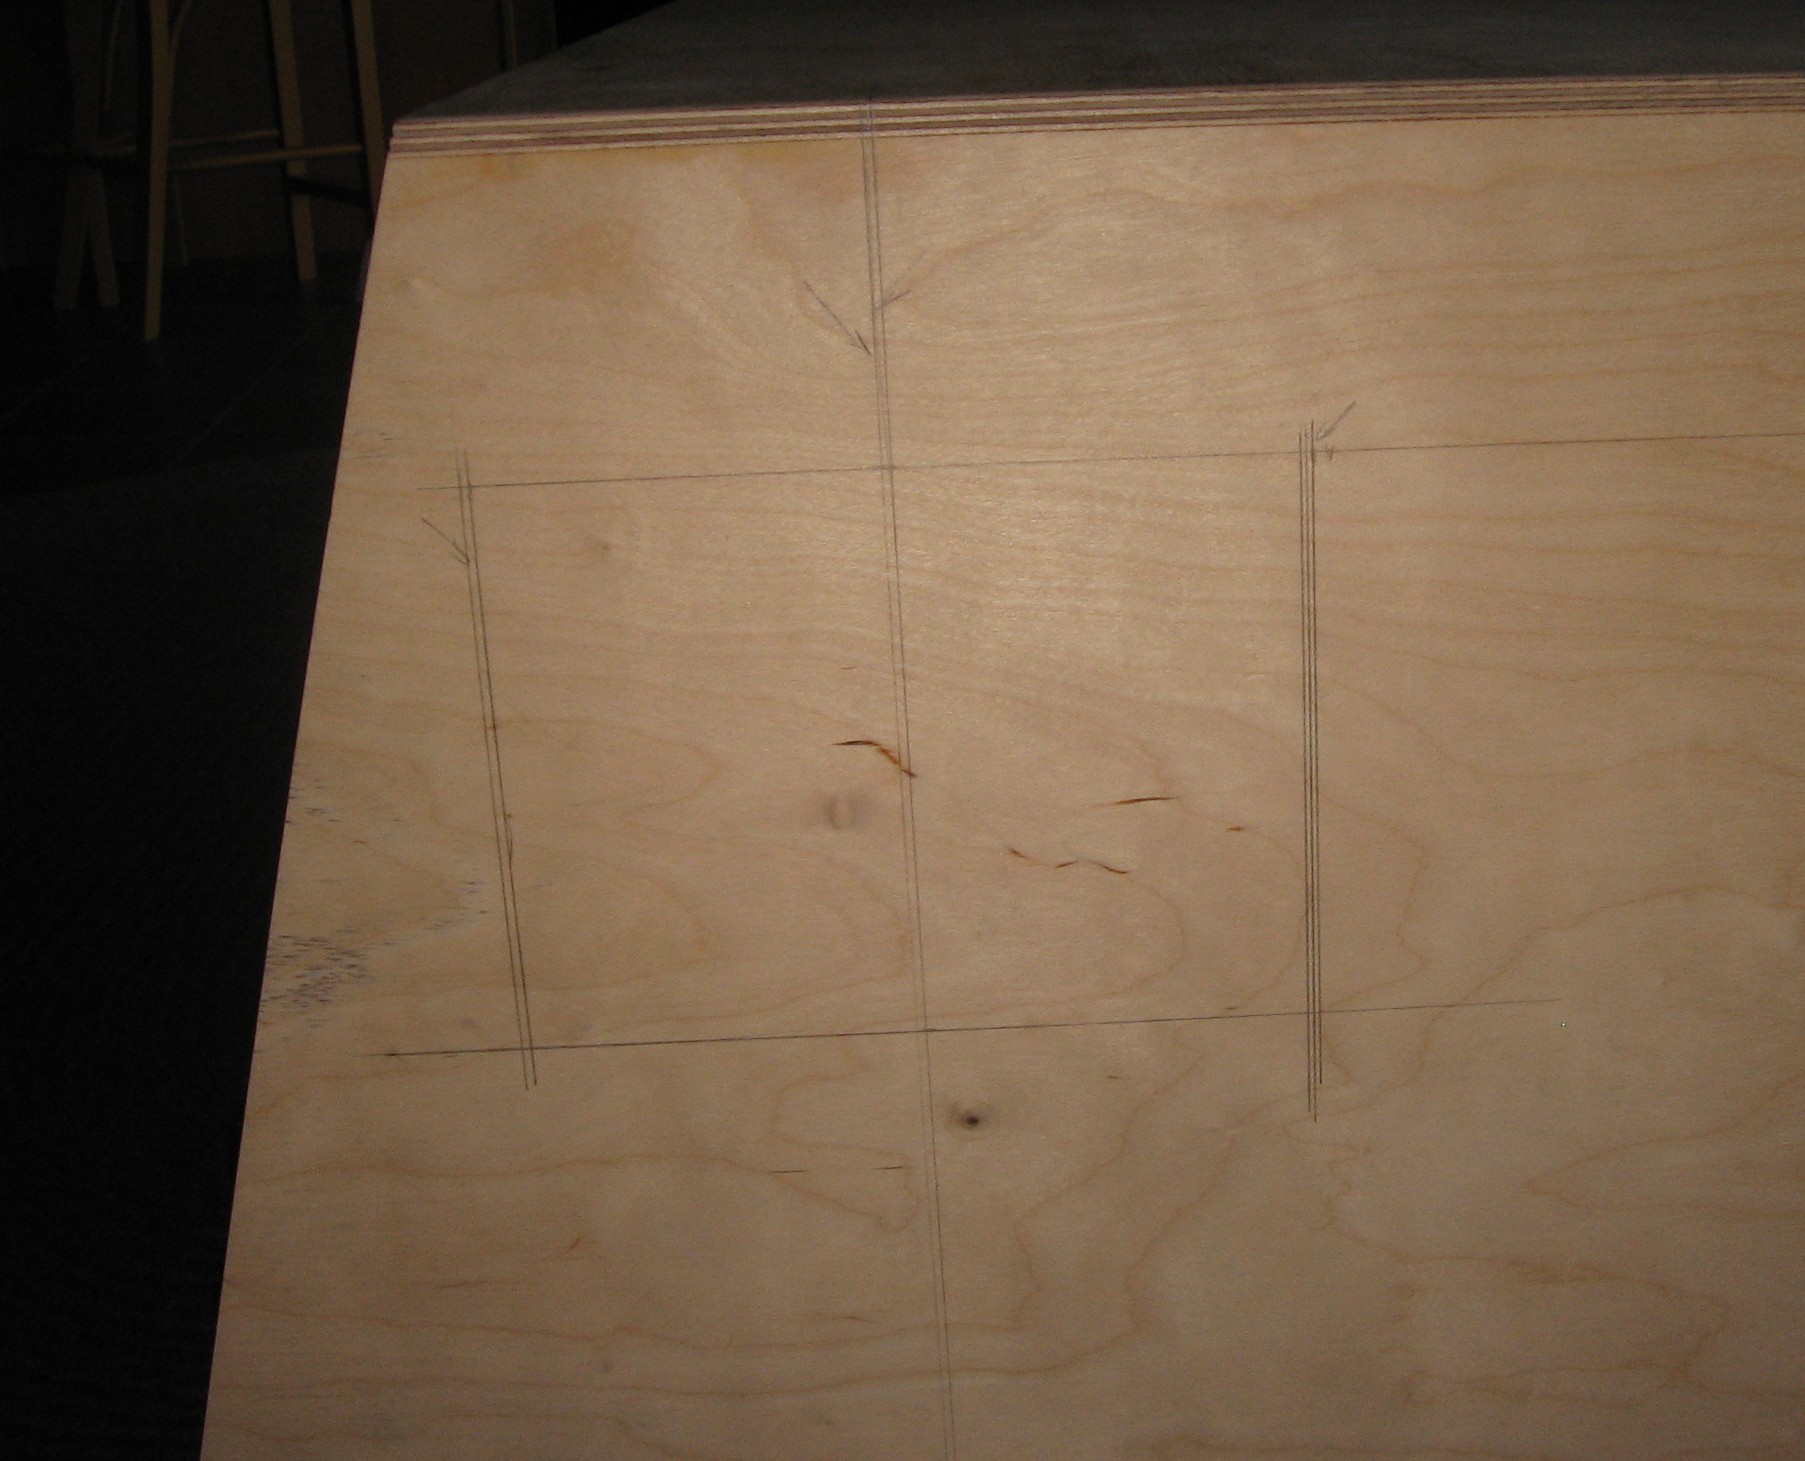
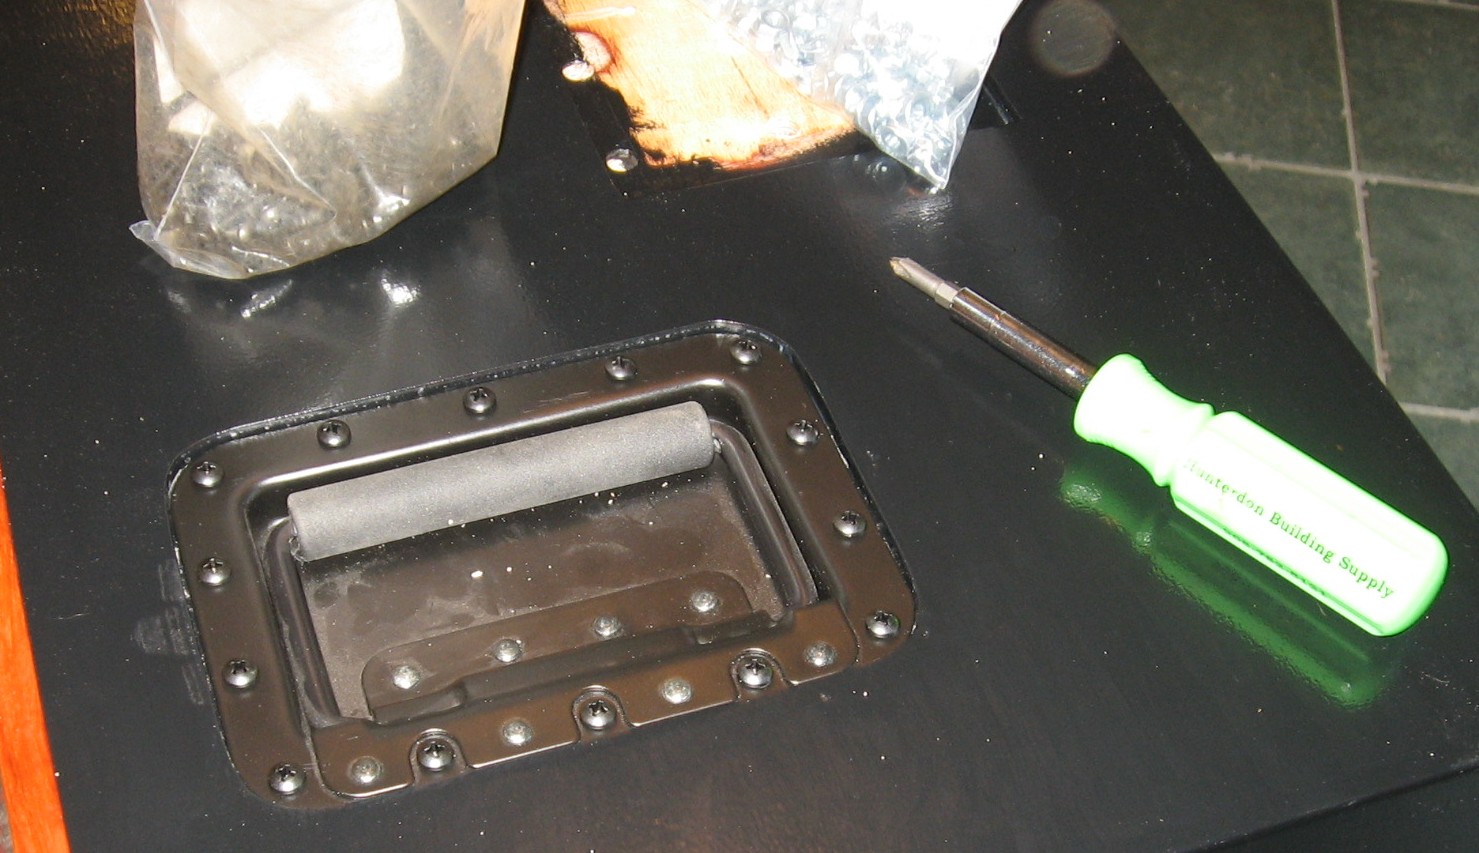
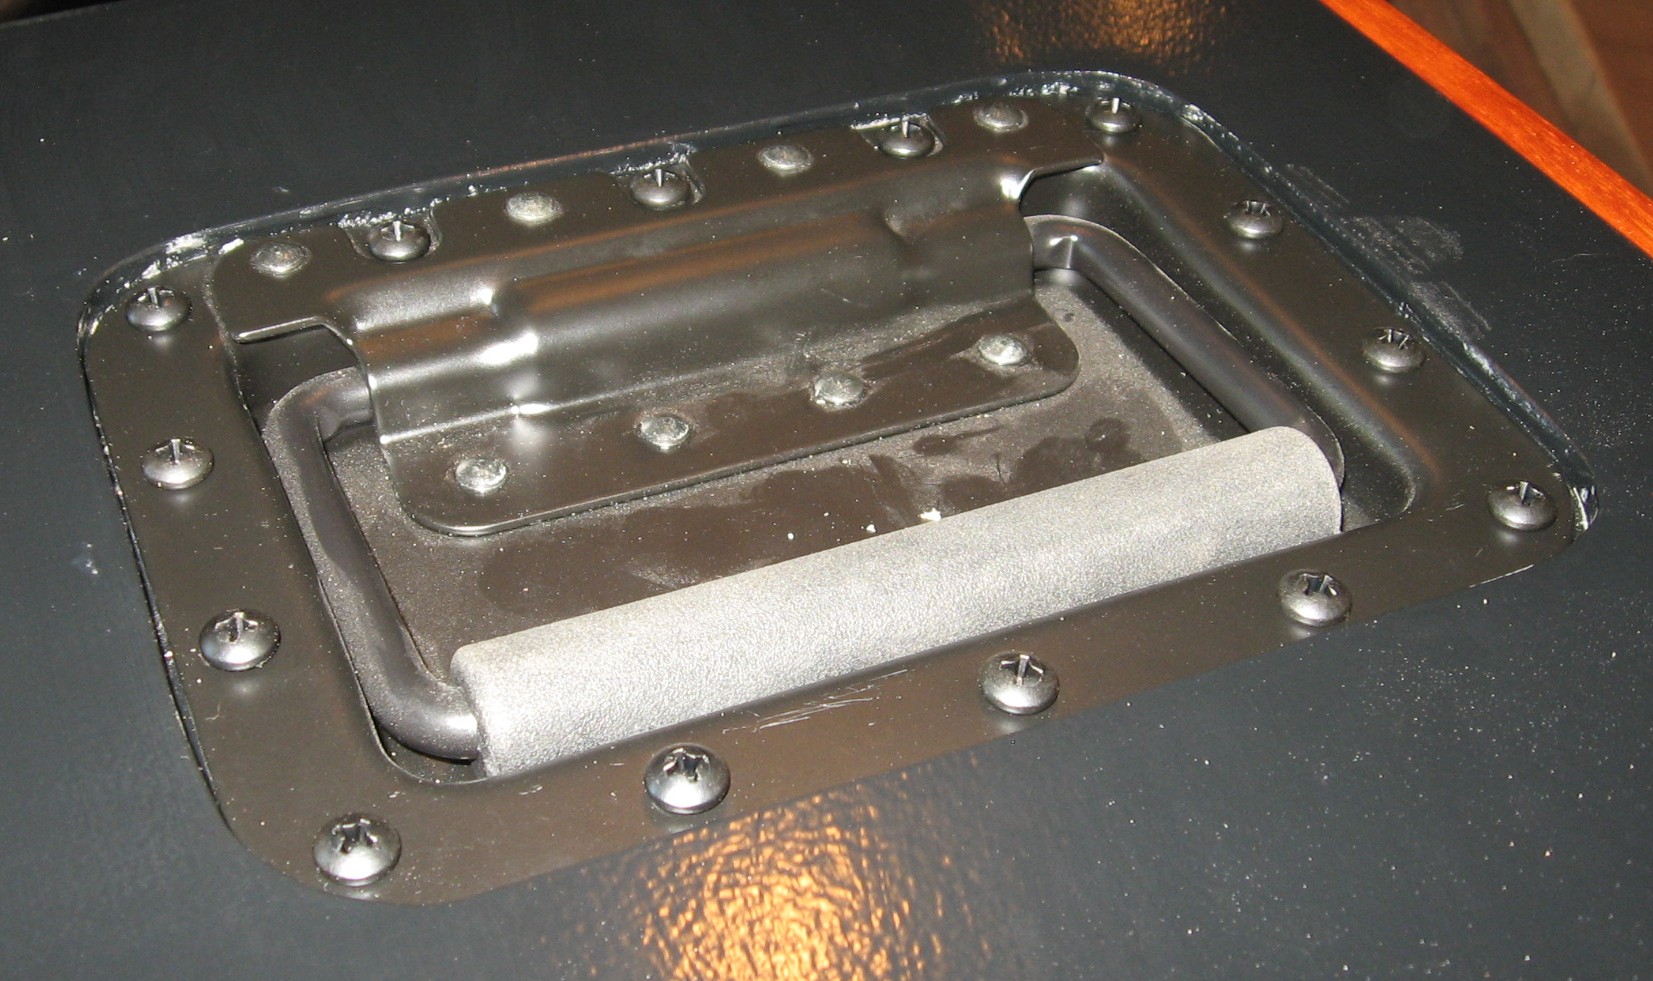
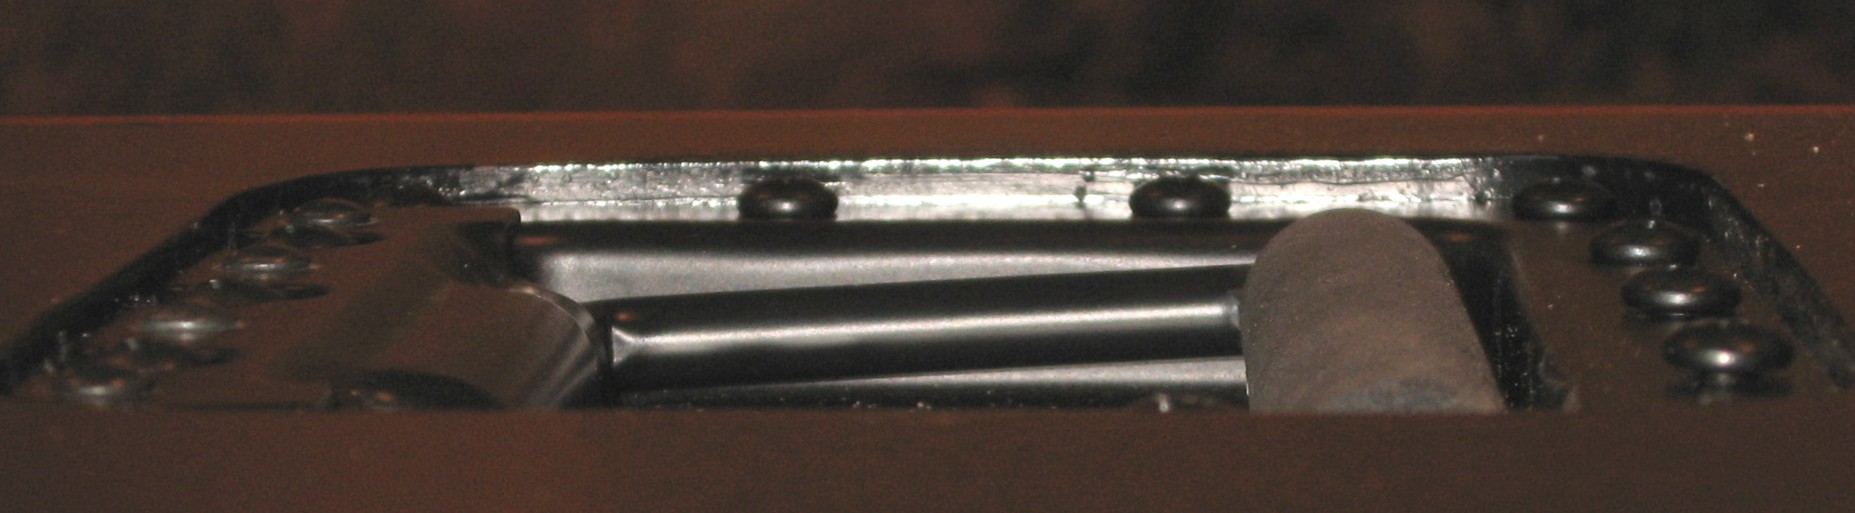
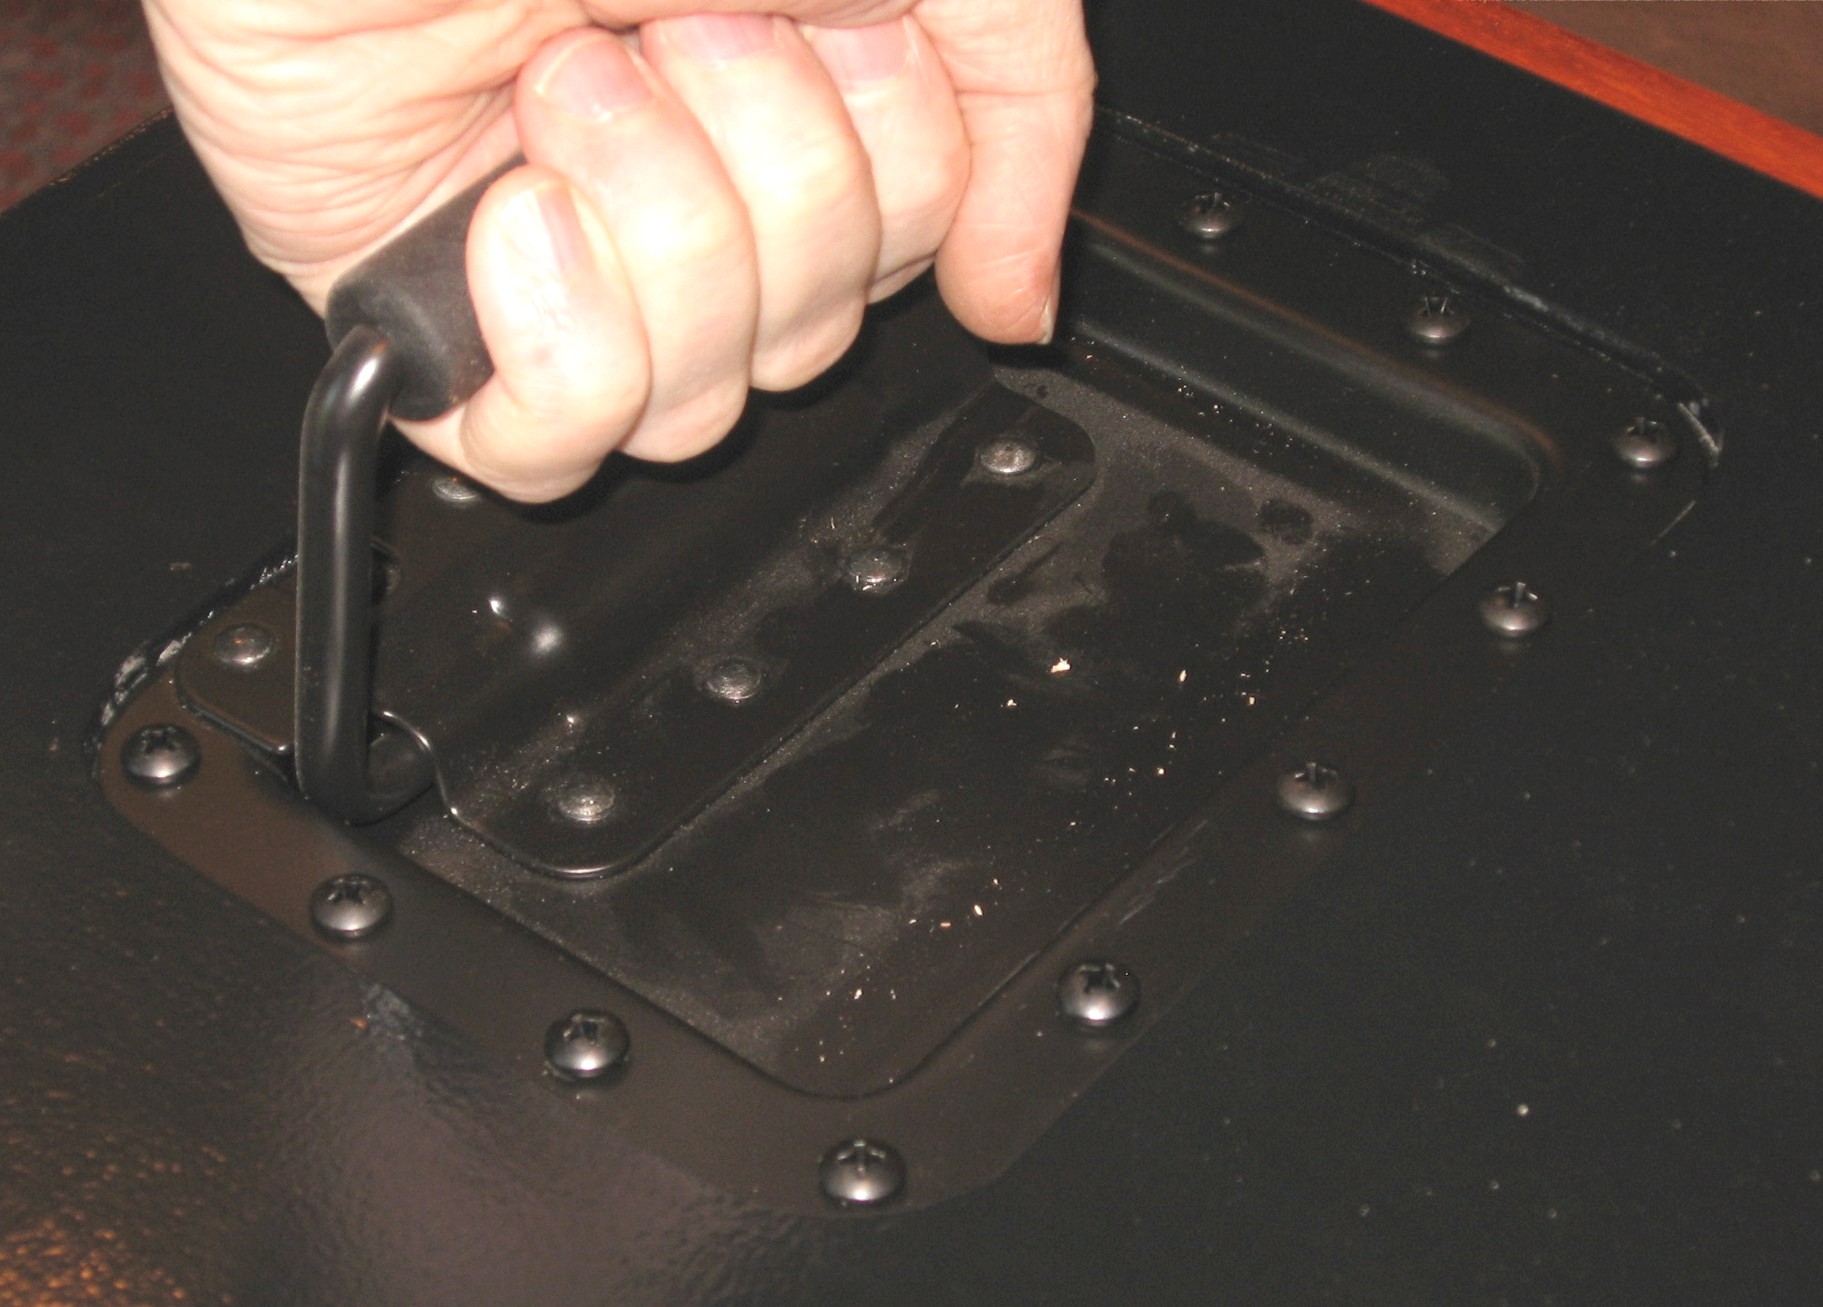
Placing the handles To fit the handles on the bottom cabinets, they had to be low enough to avoid the front slant. You know what - the 15in depth payed off here - it provided enough distance and therefore leverage behind the balance point so that the handle will fit nicely on the bottom cabinets at 3in below the top surface. That 3in position looked just right for a pretty good vertical place to put those handles. Sometimes you win.
So that determined the placement of the handles on all the cabinets - centered on the balance point and 3in from the top.
|
||
|
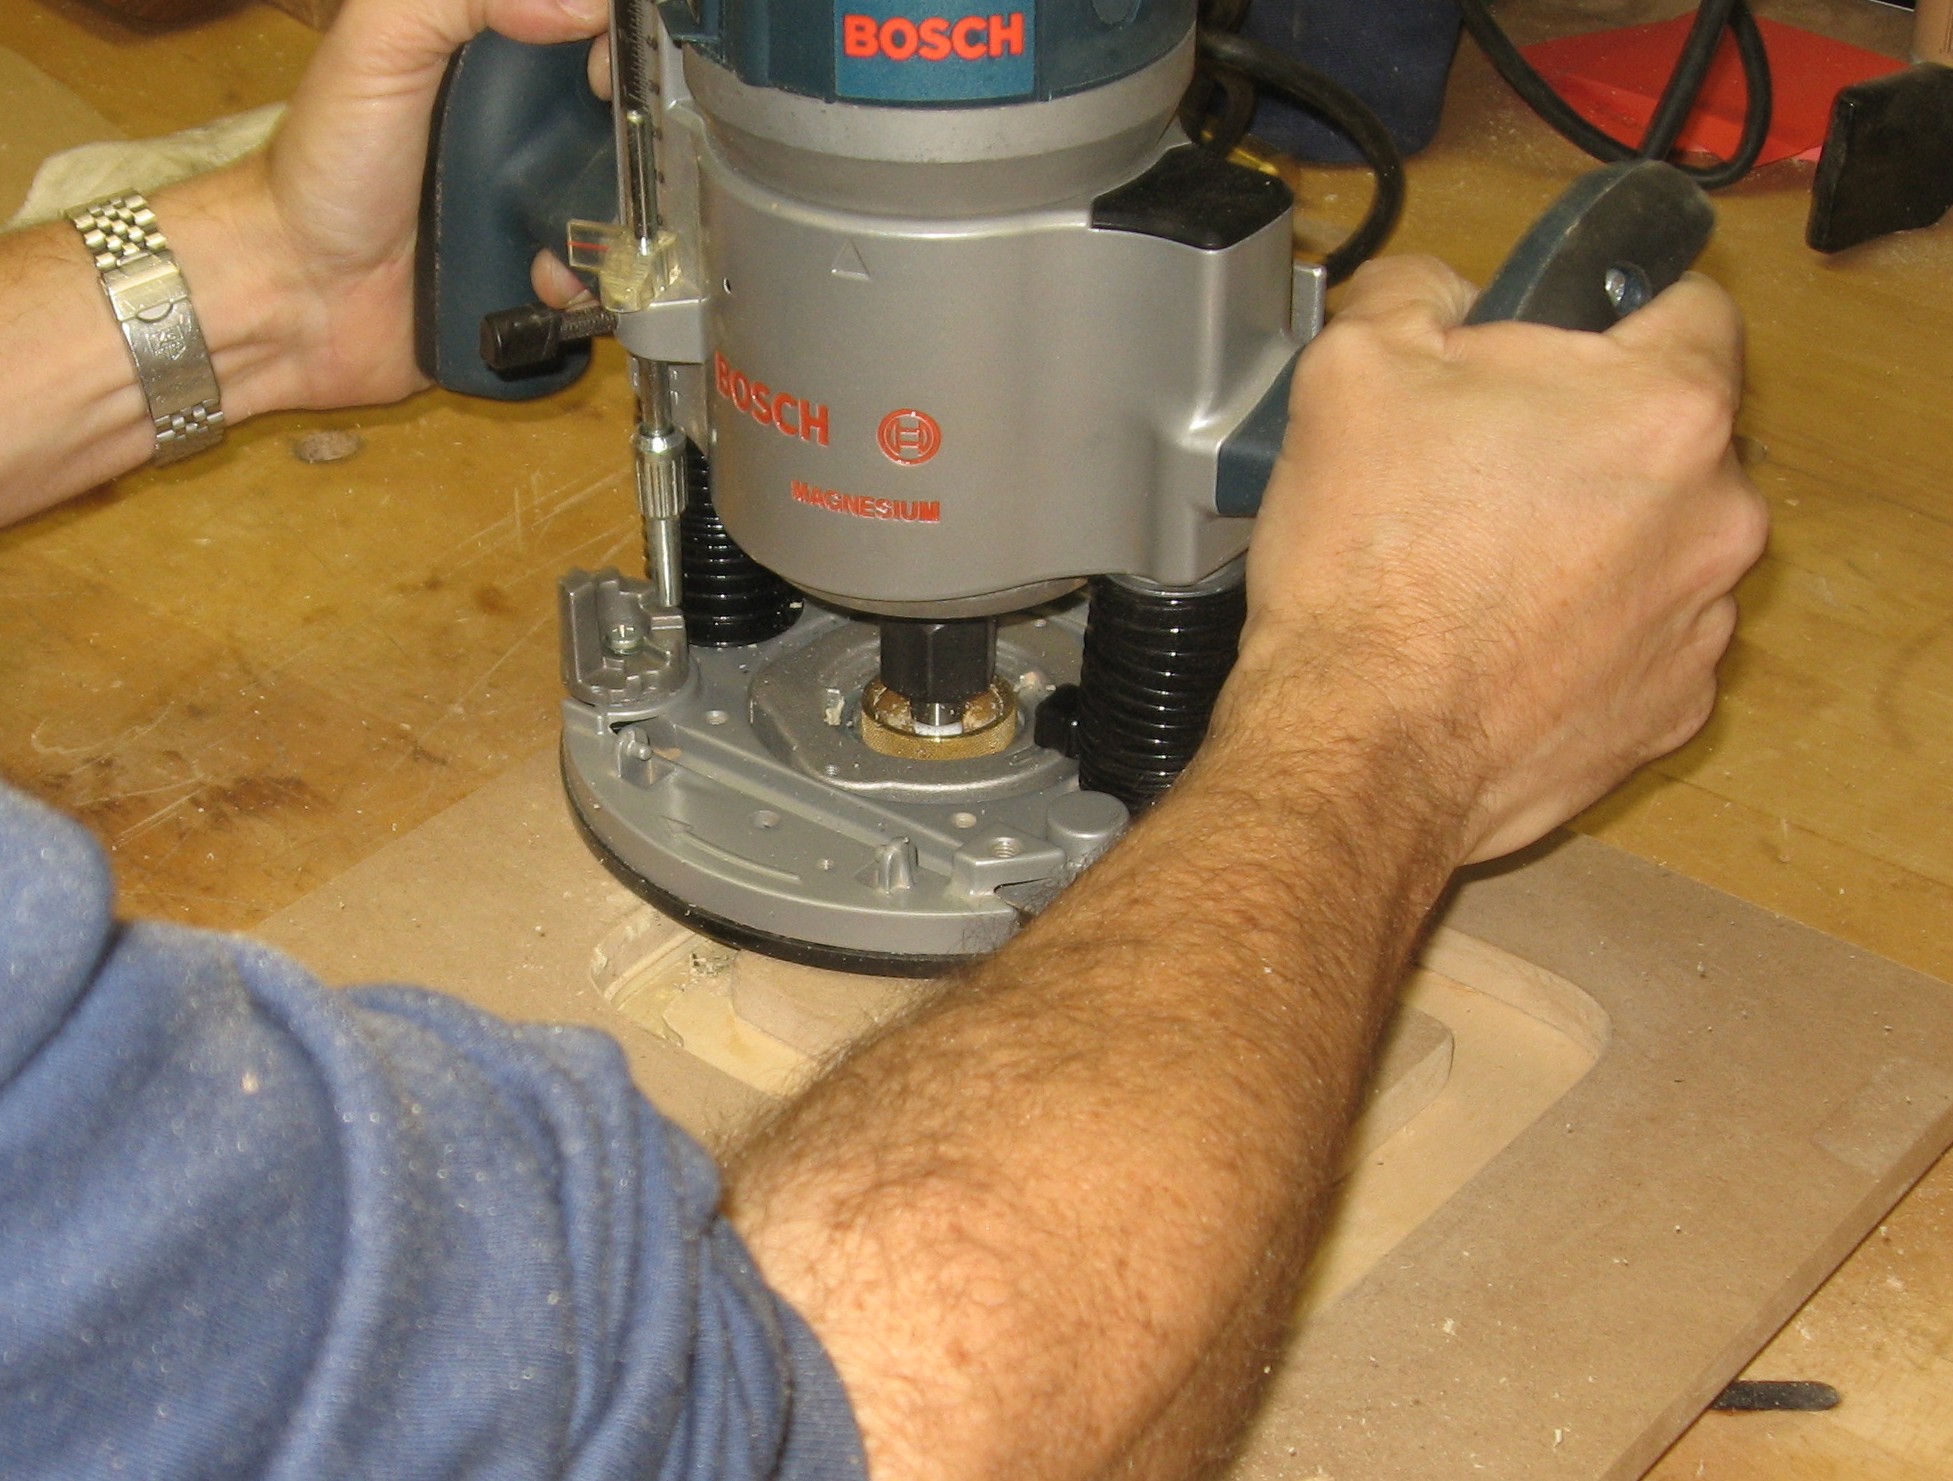
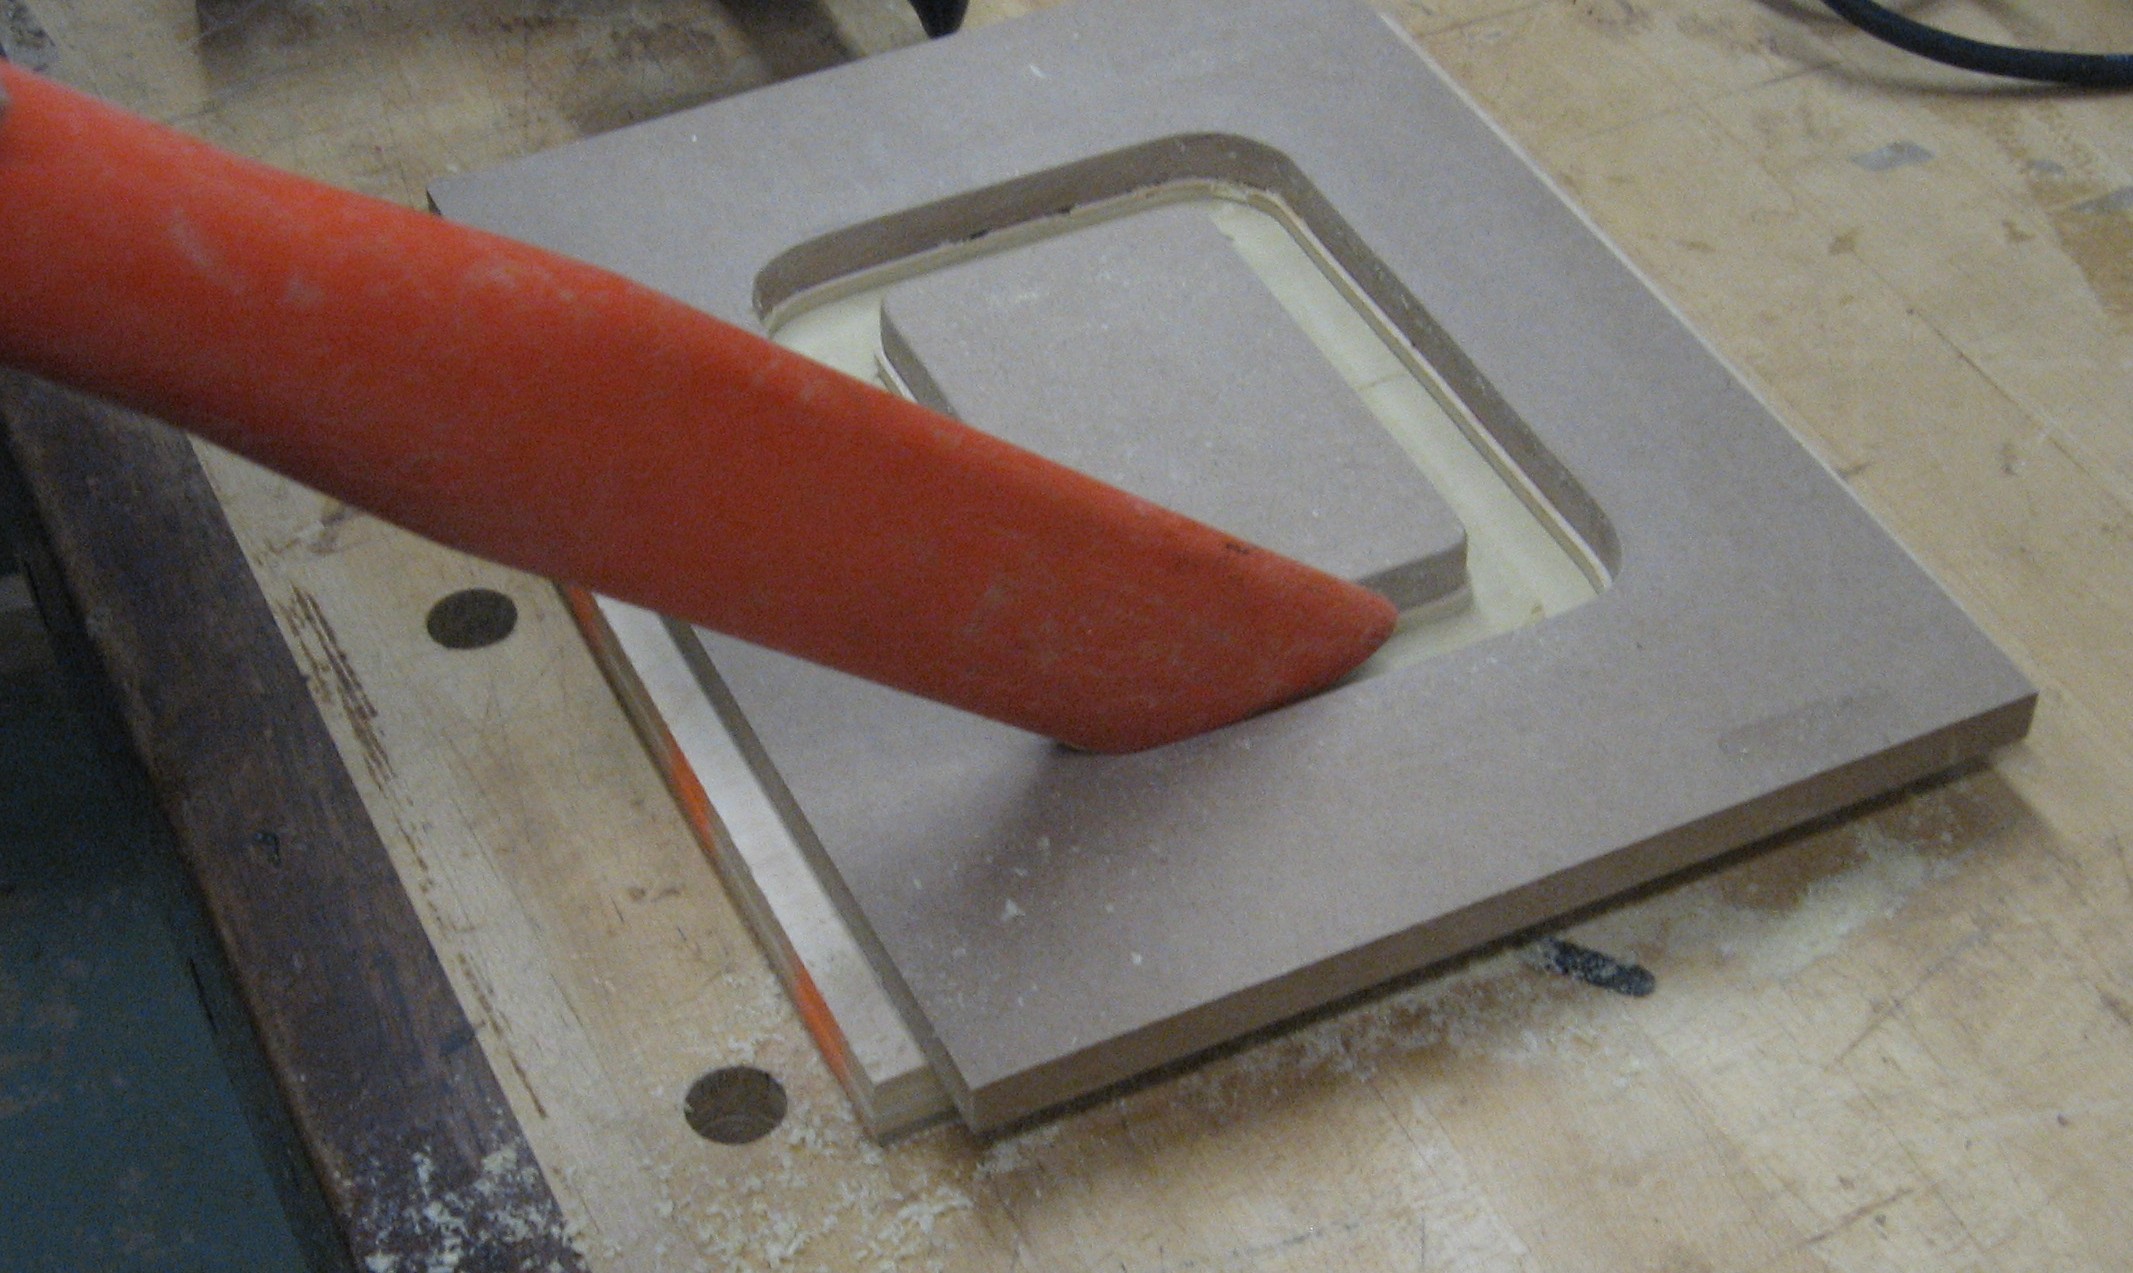
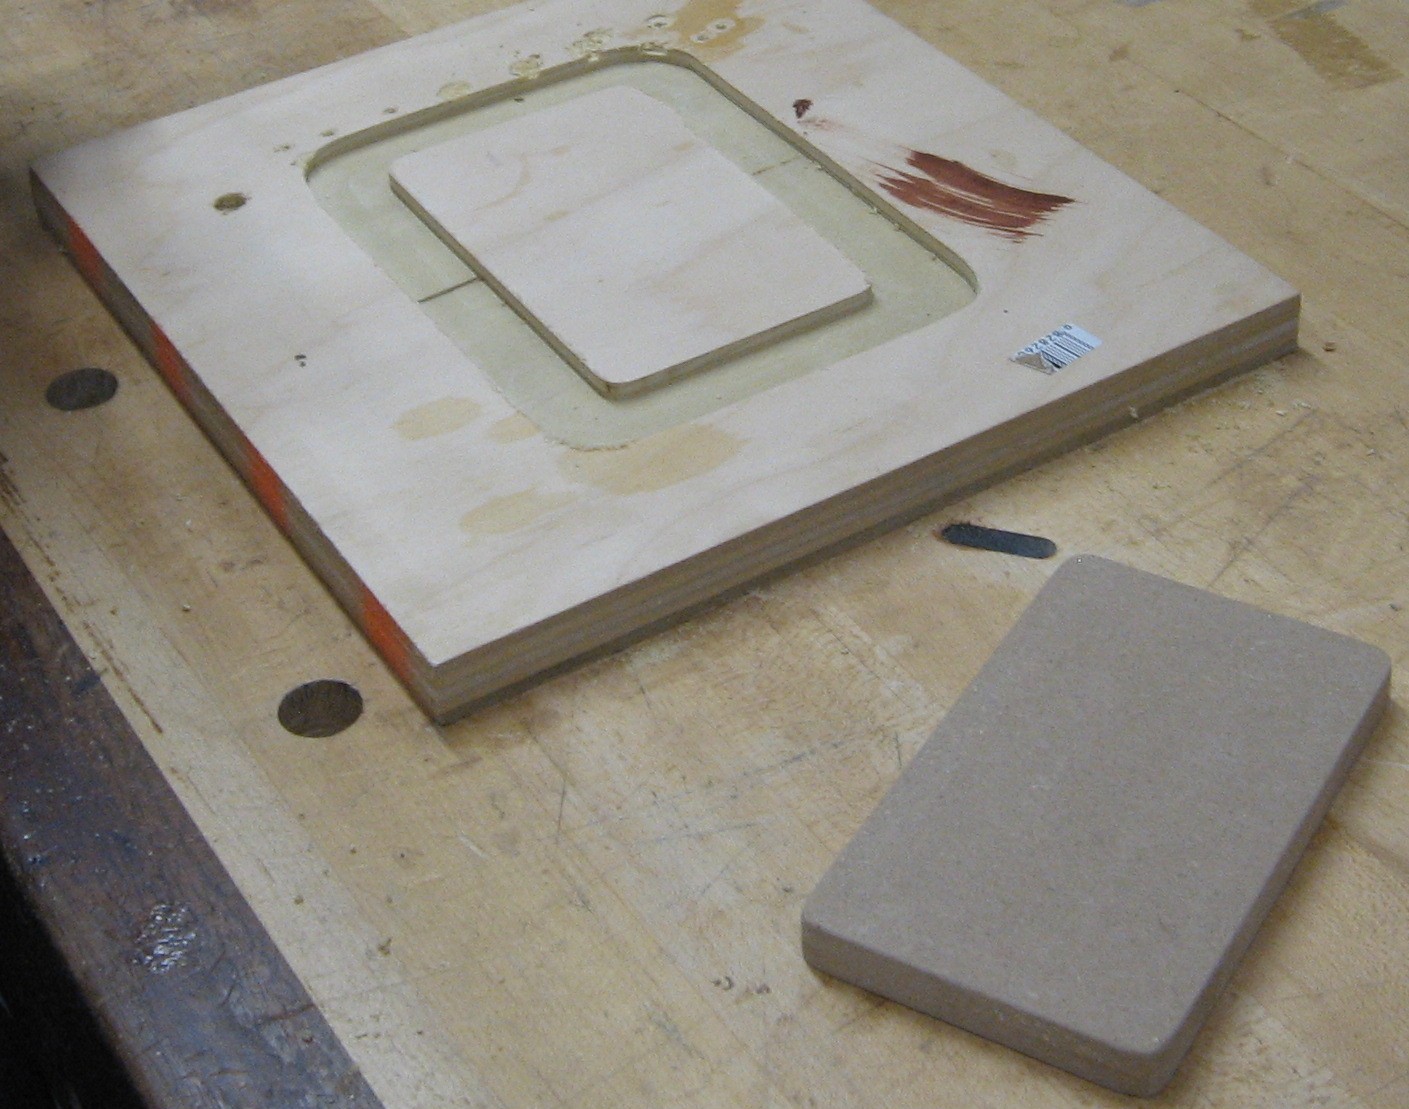
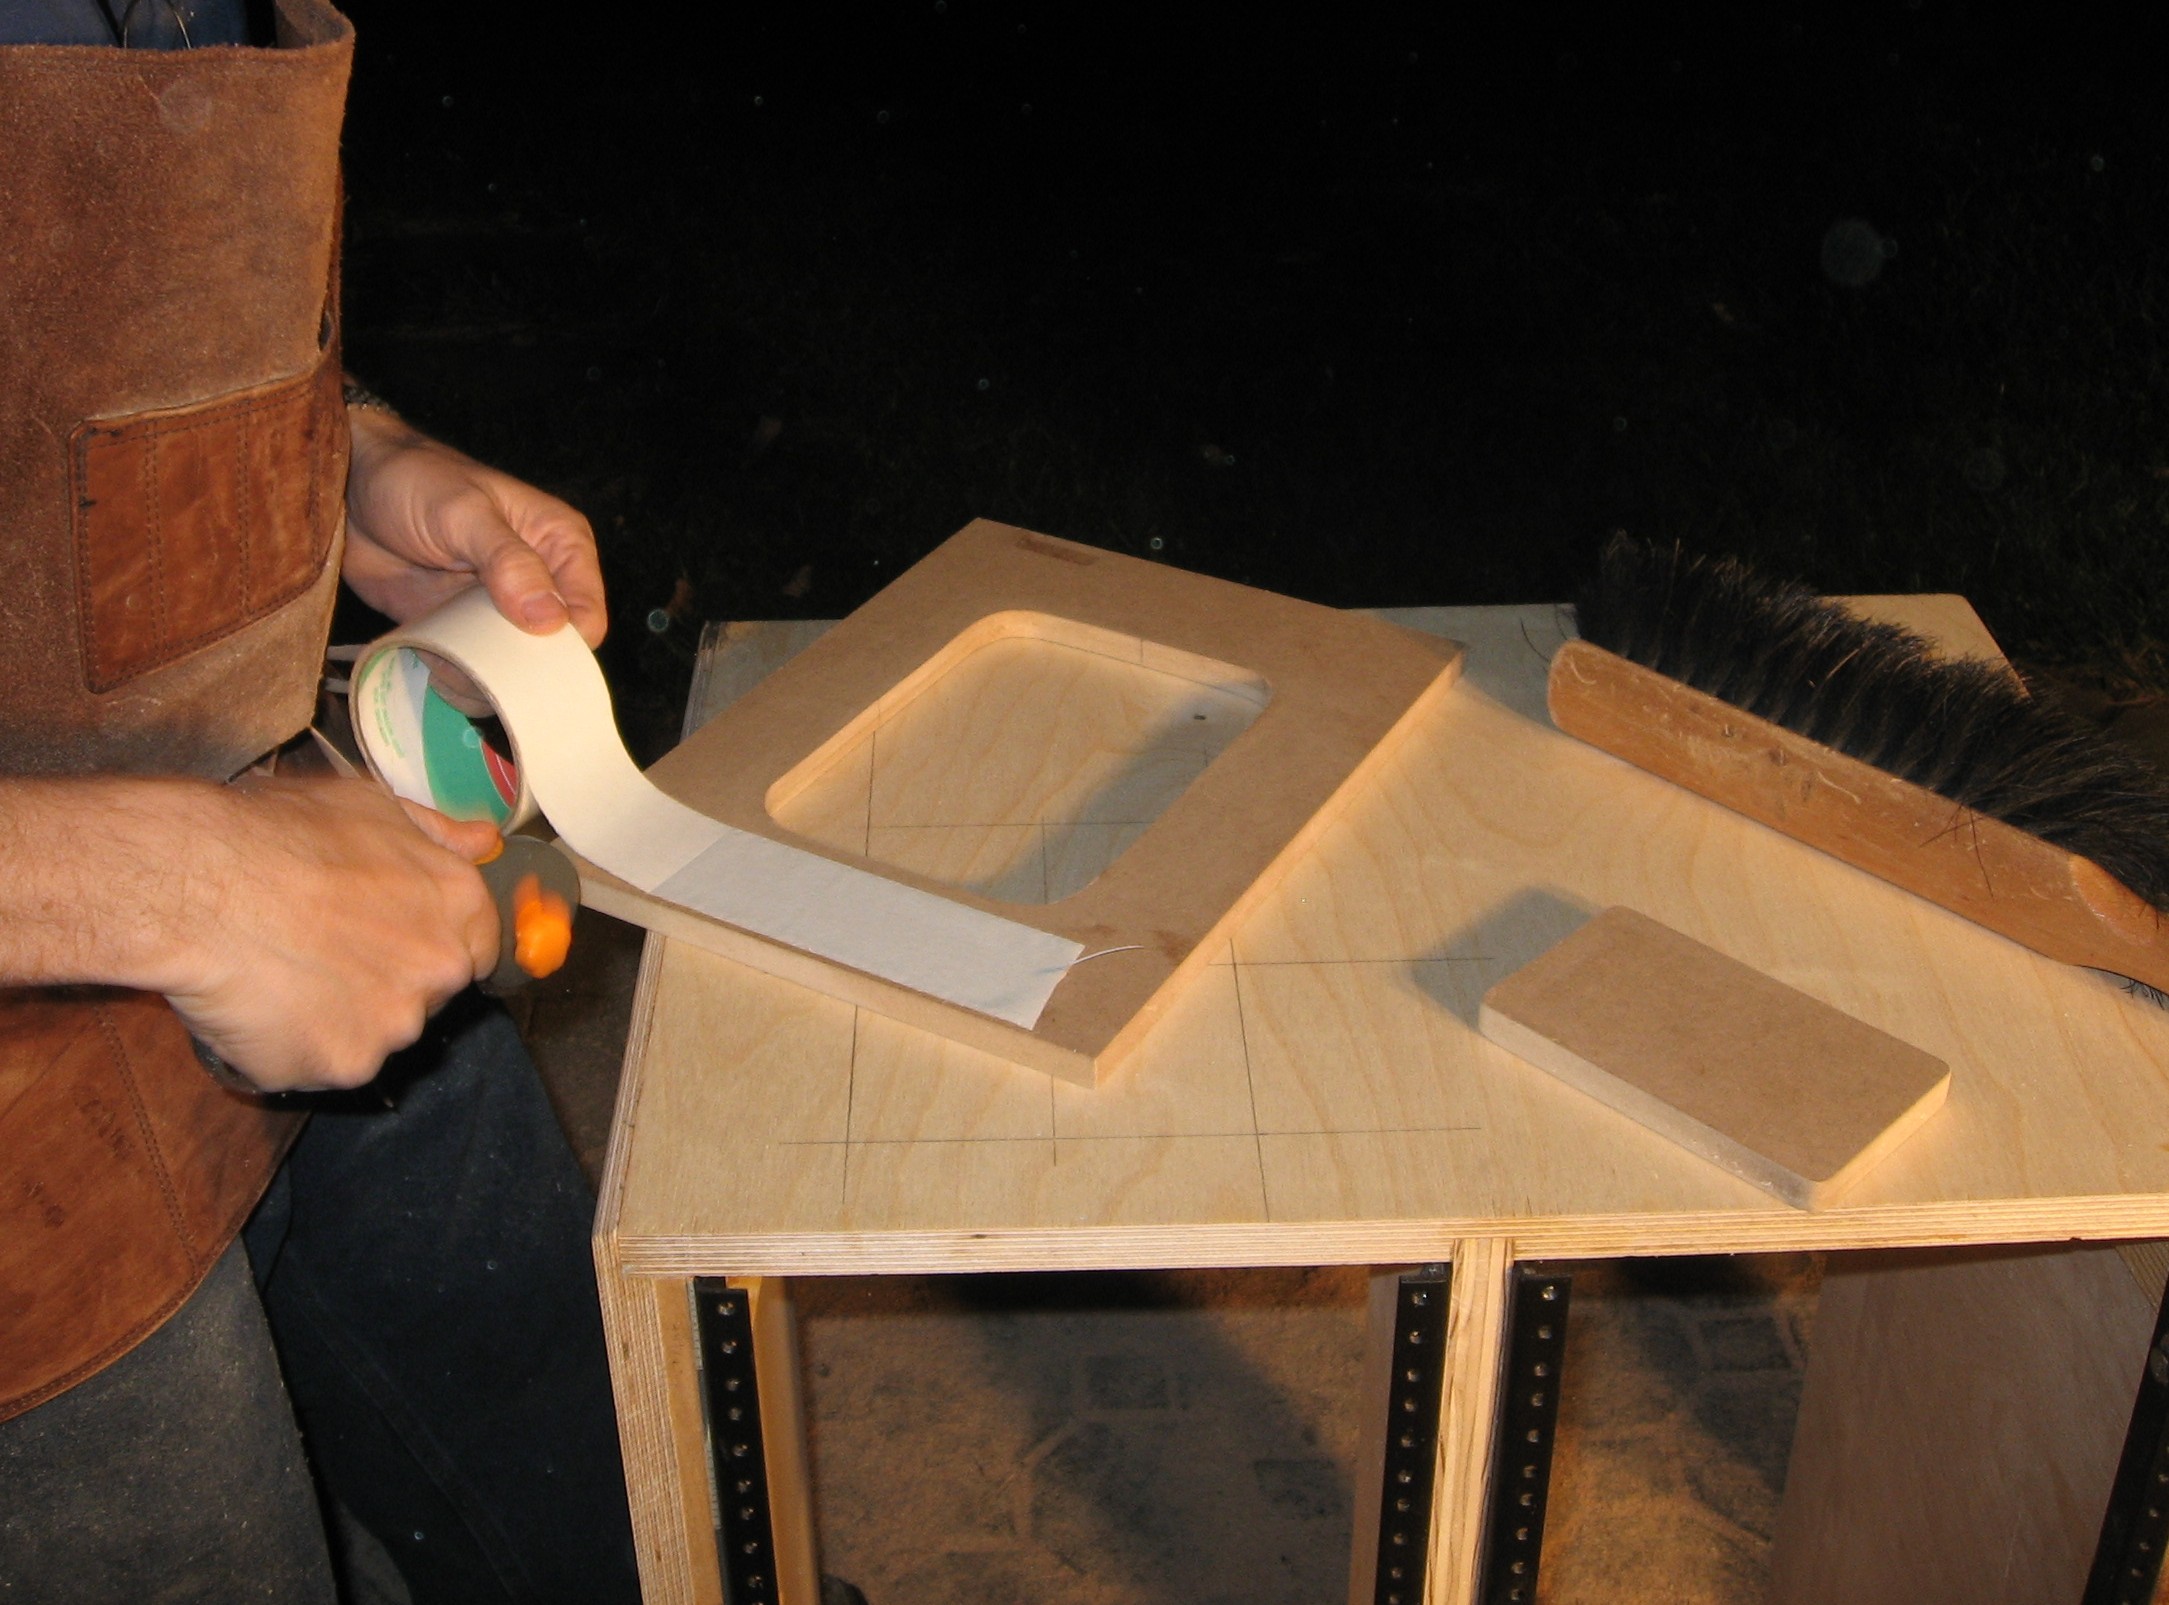
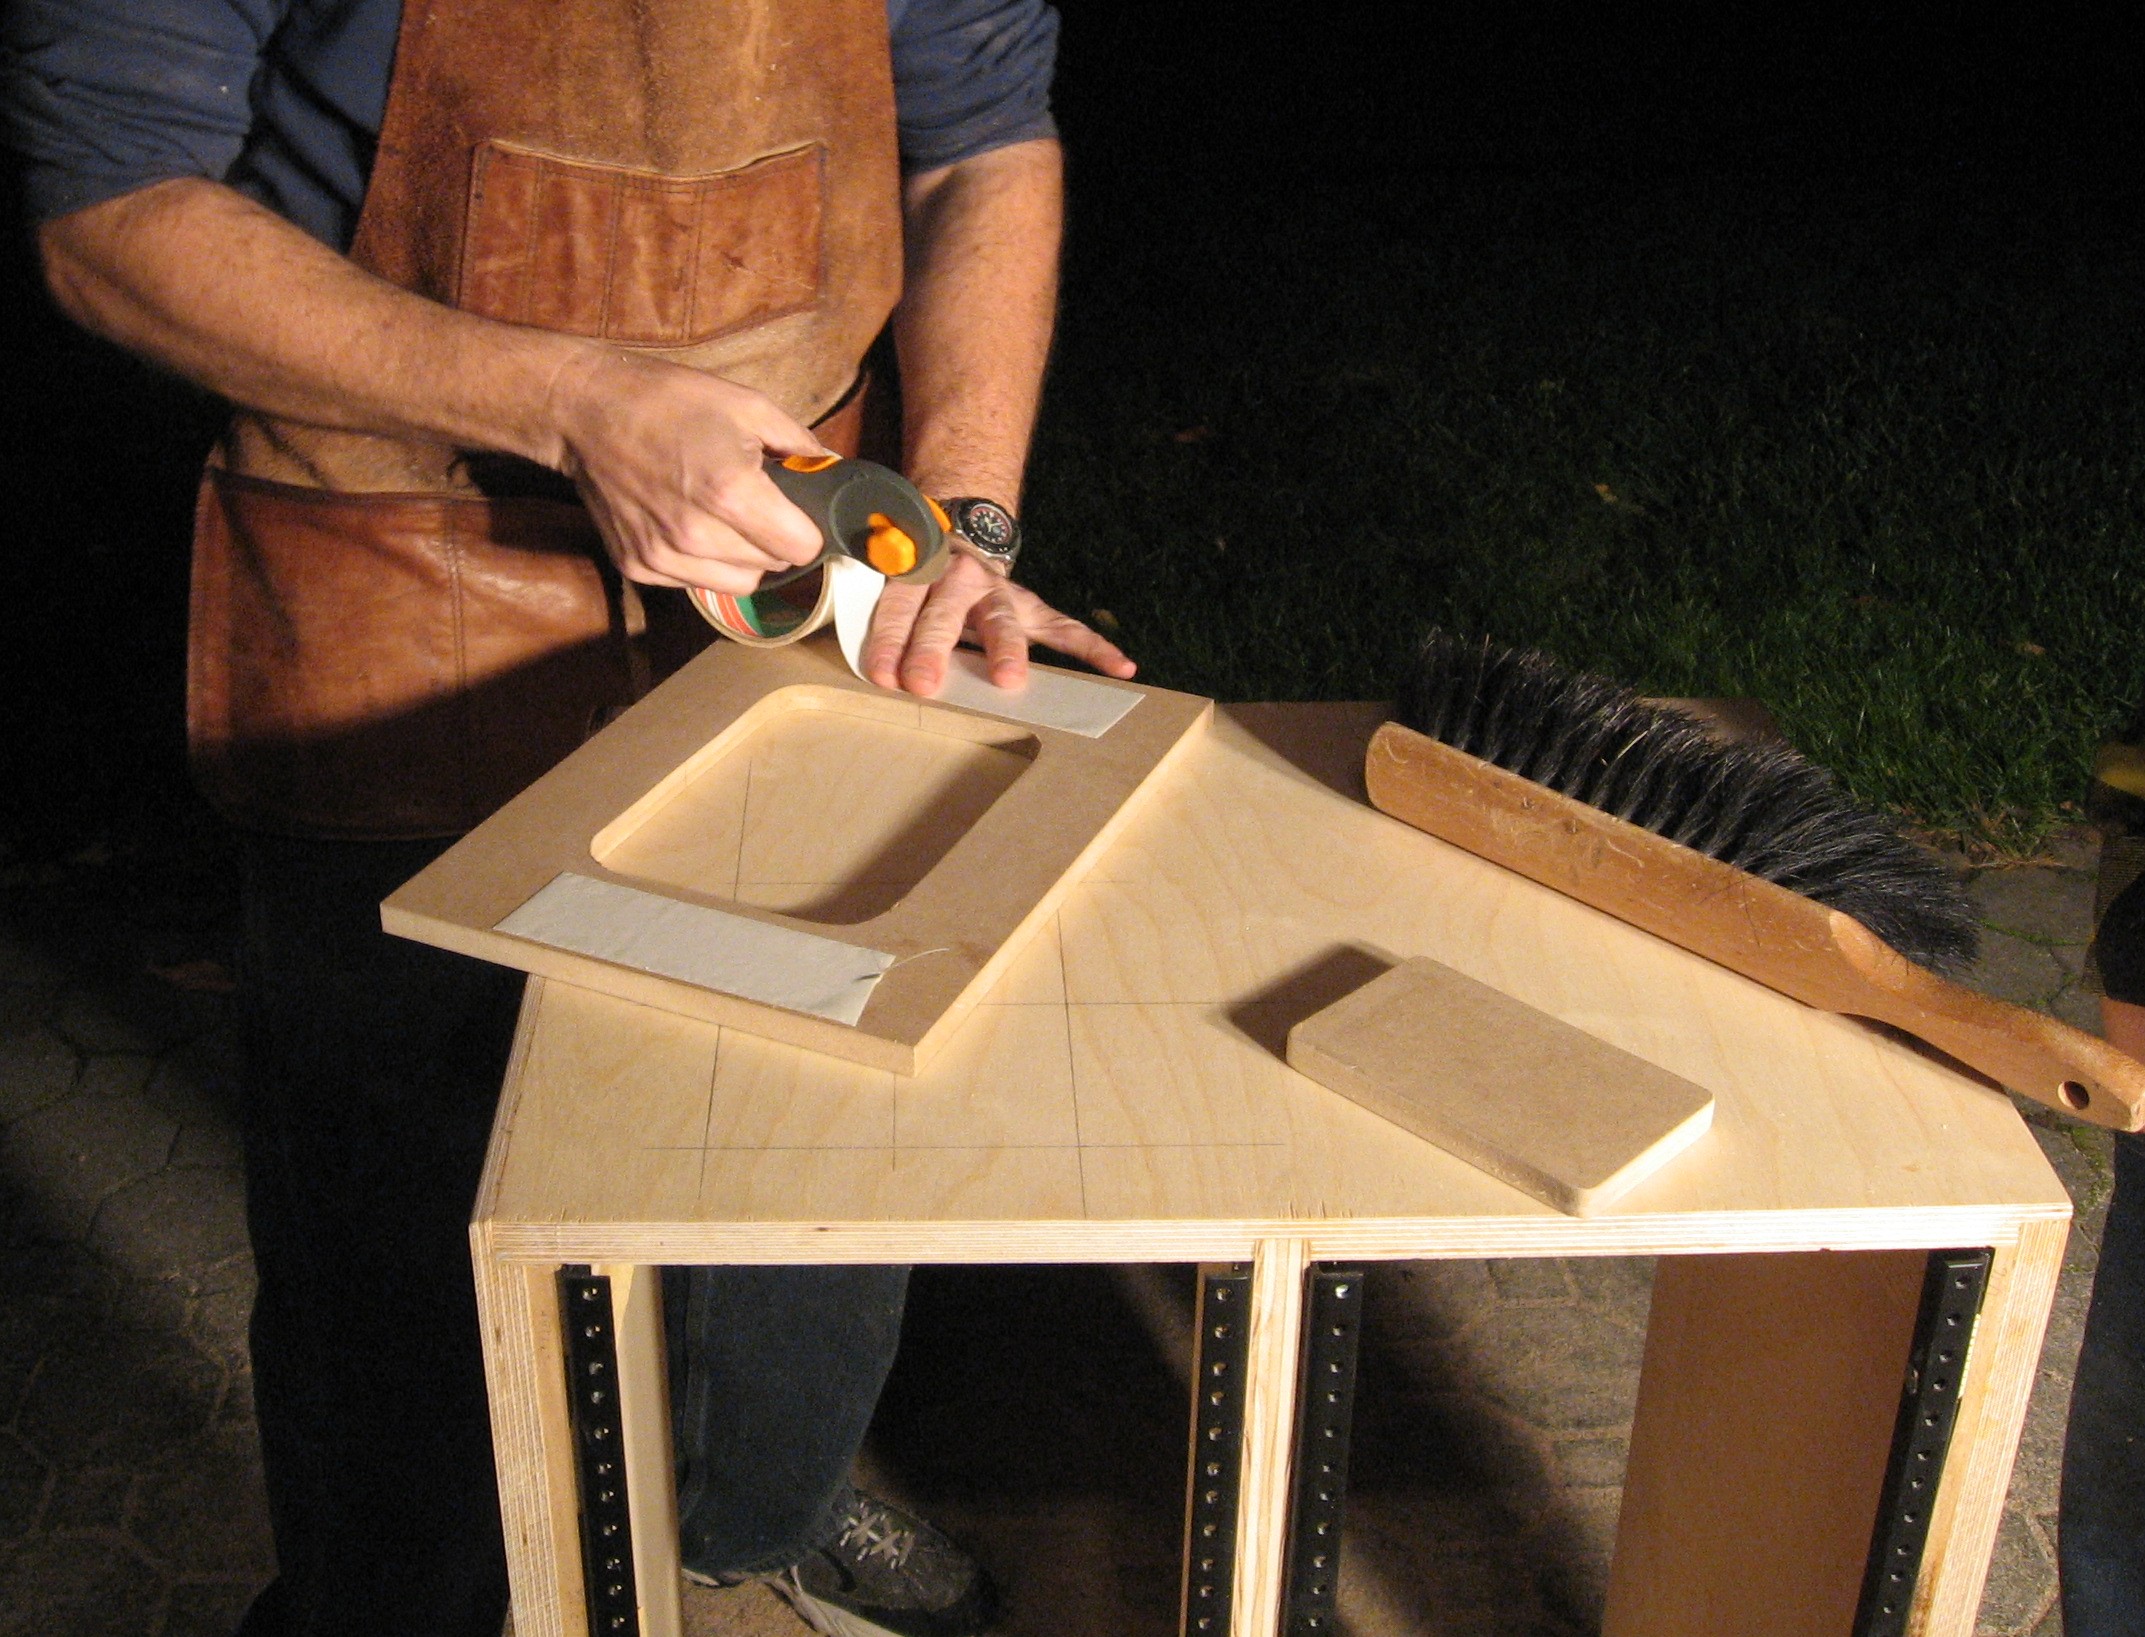
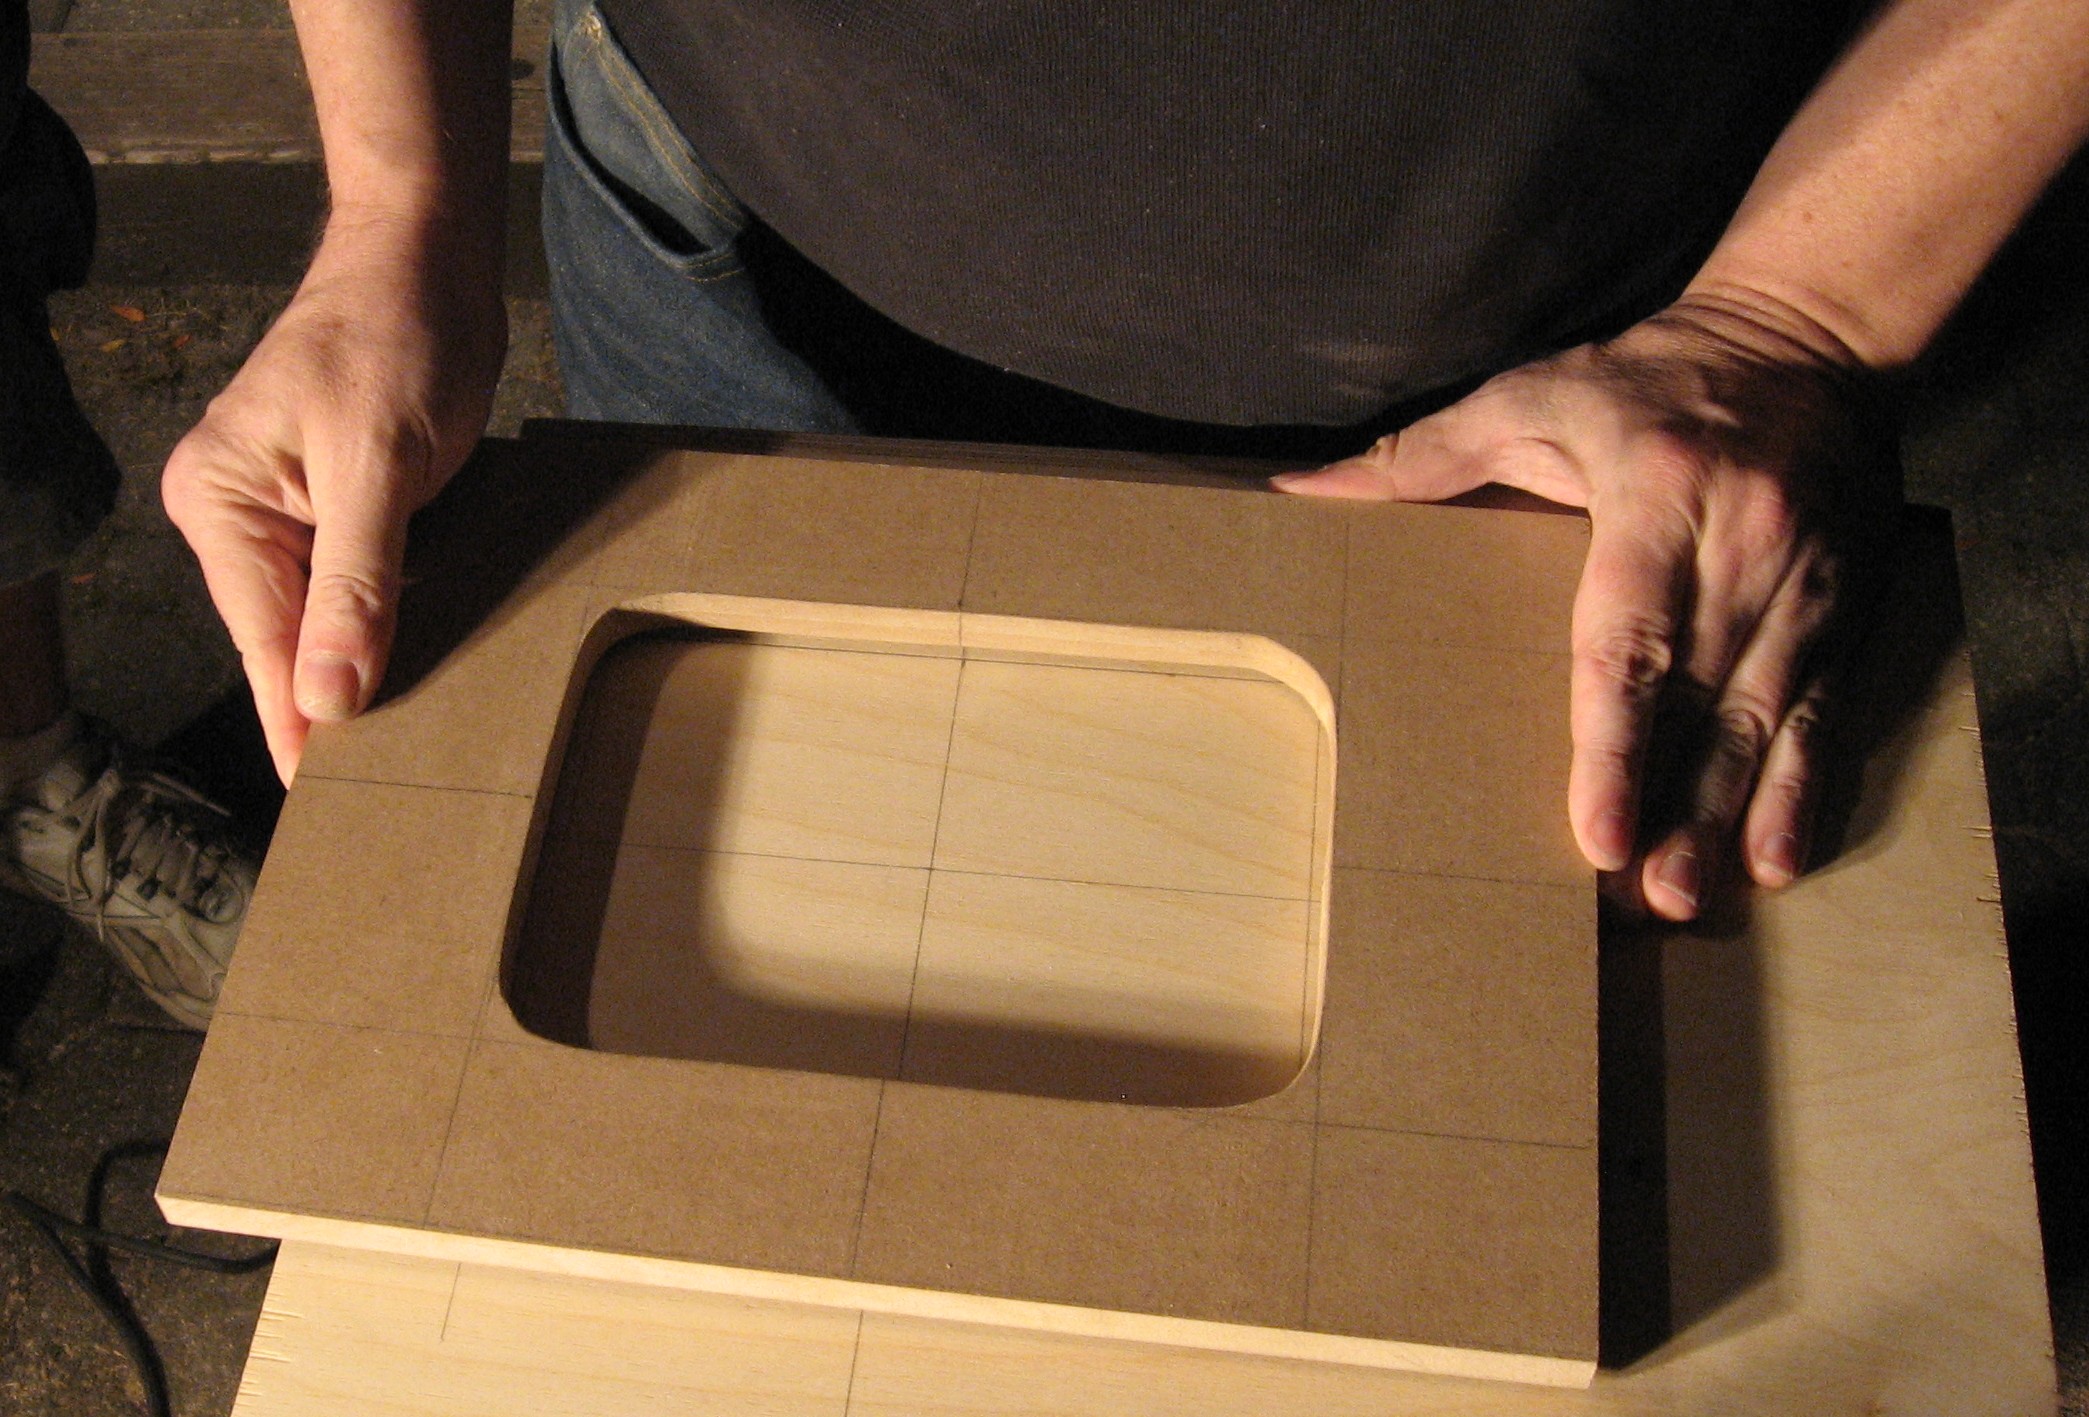
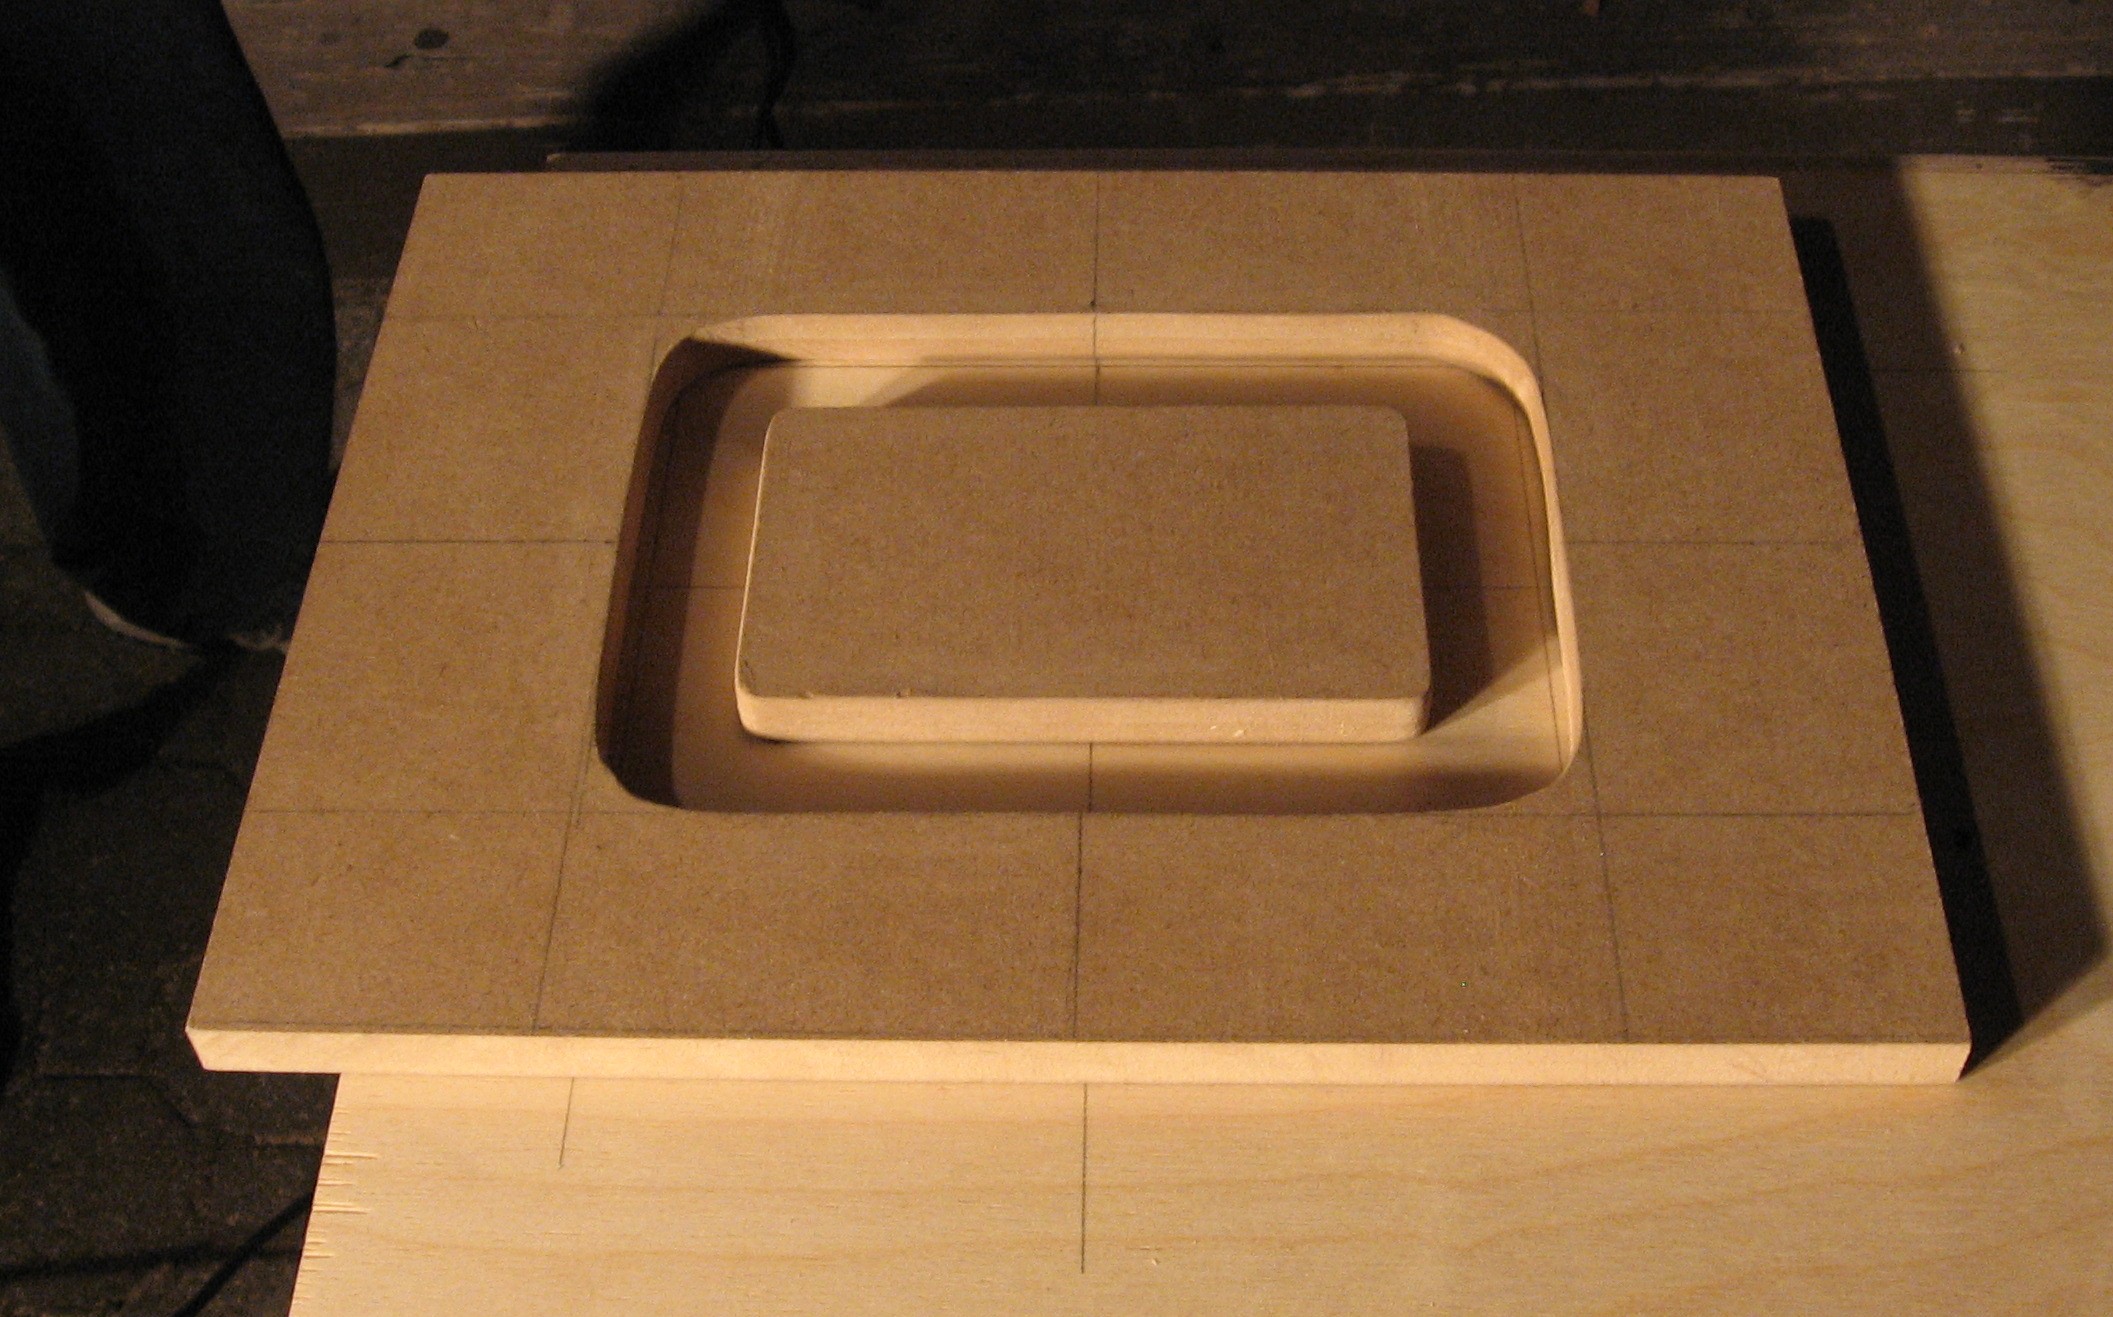
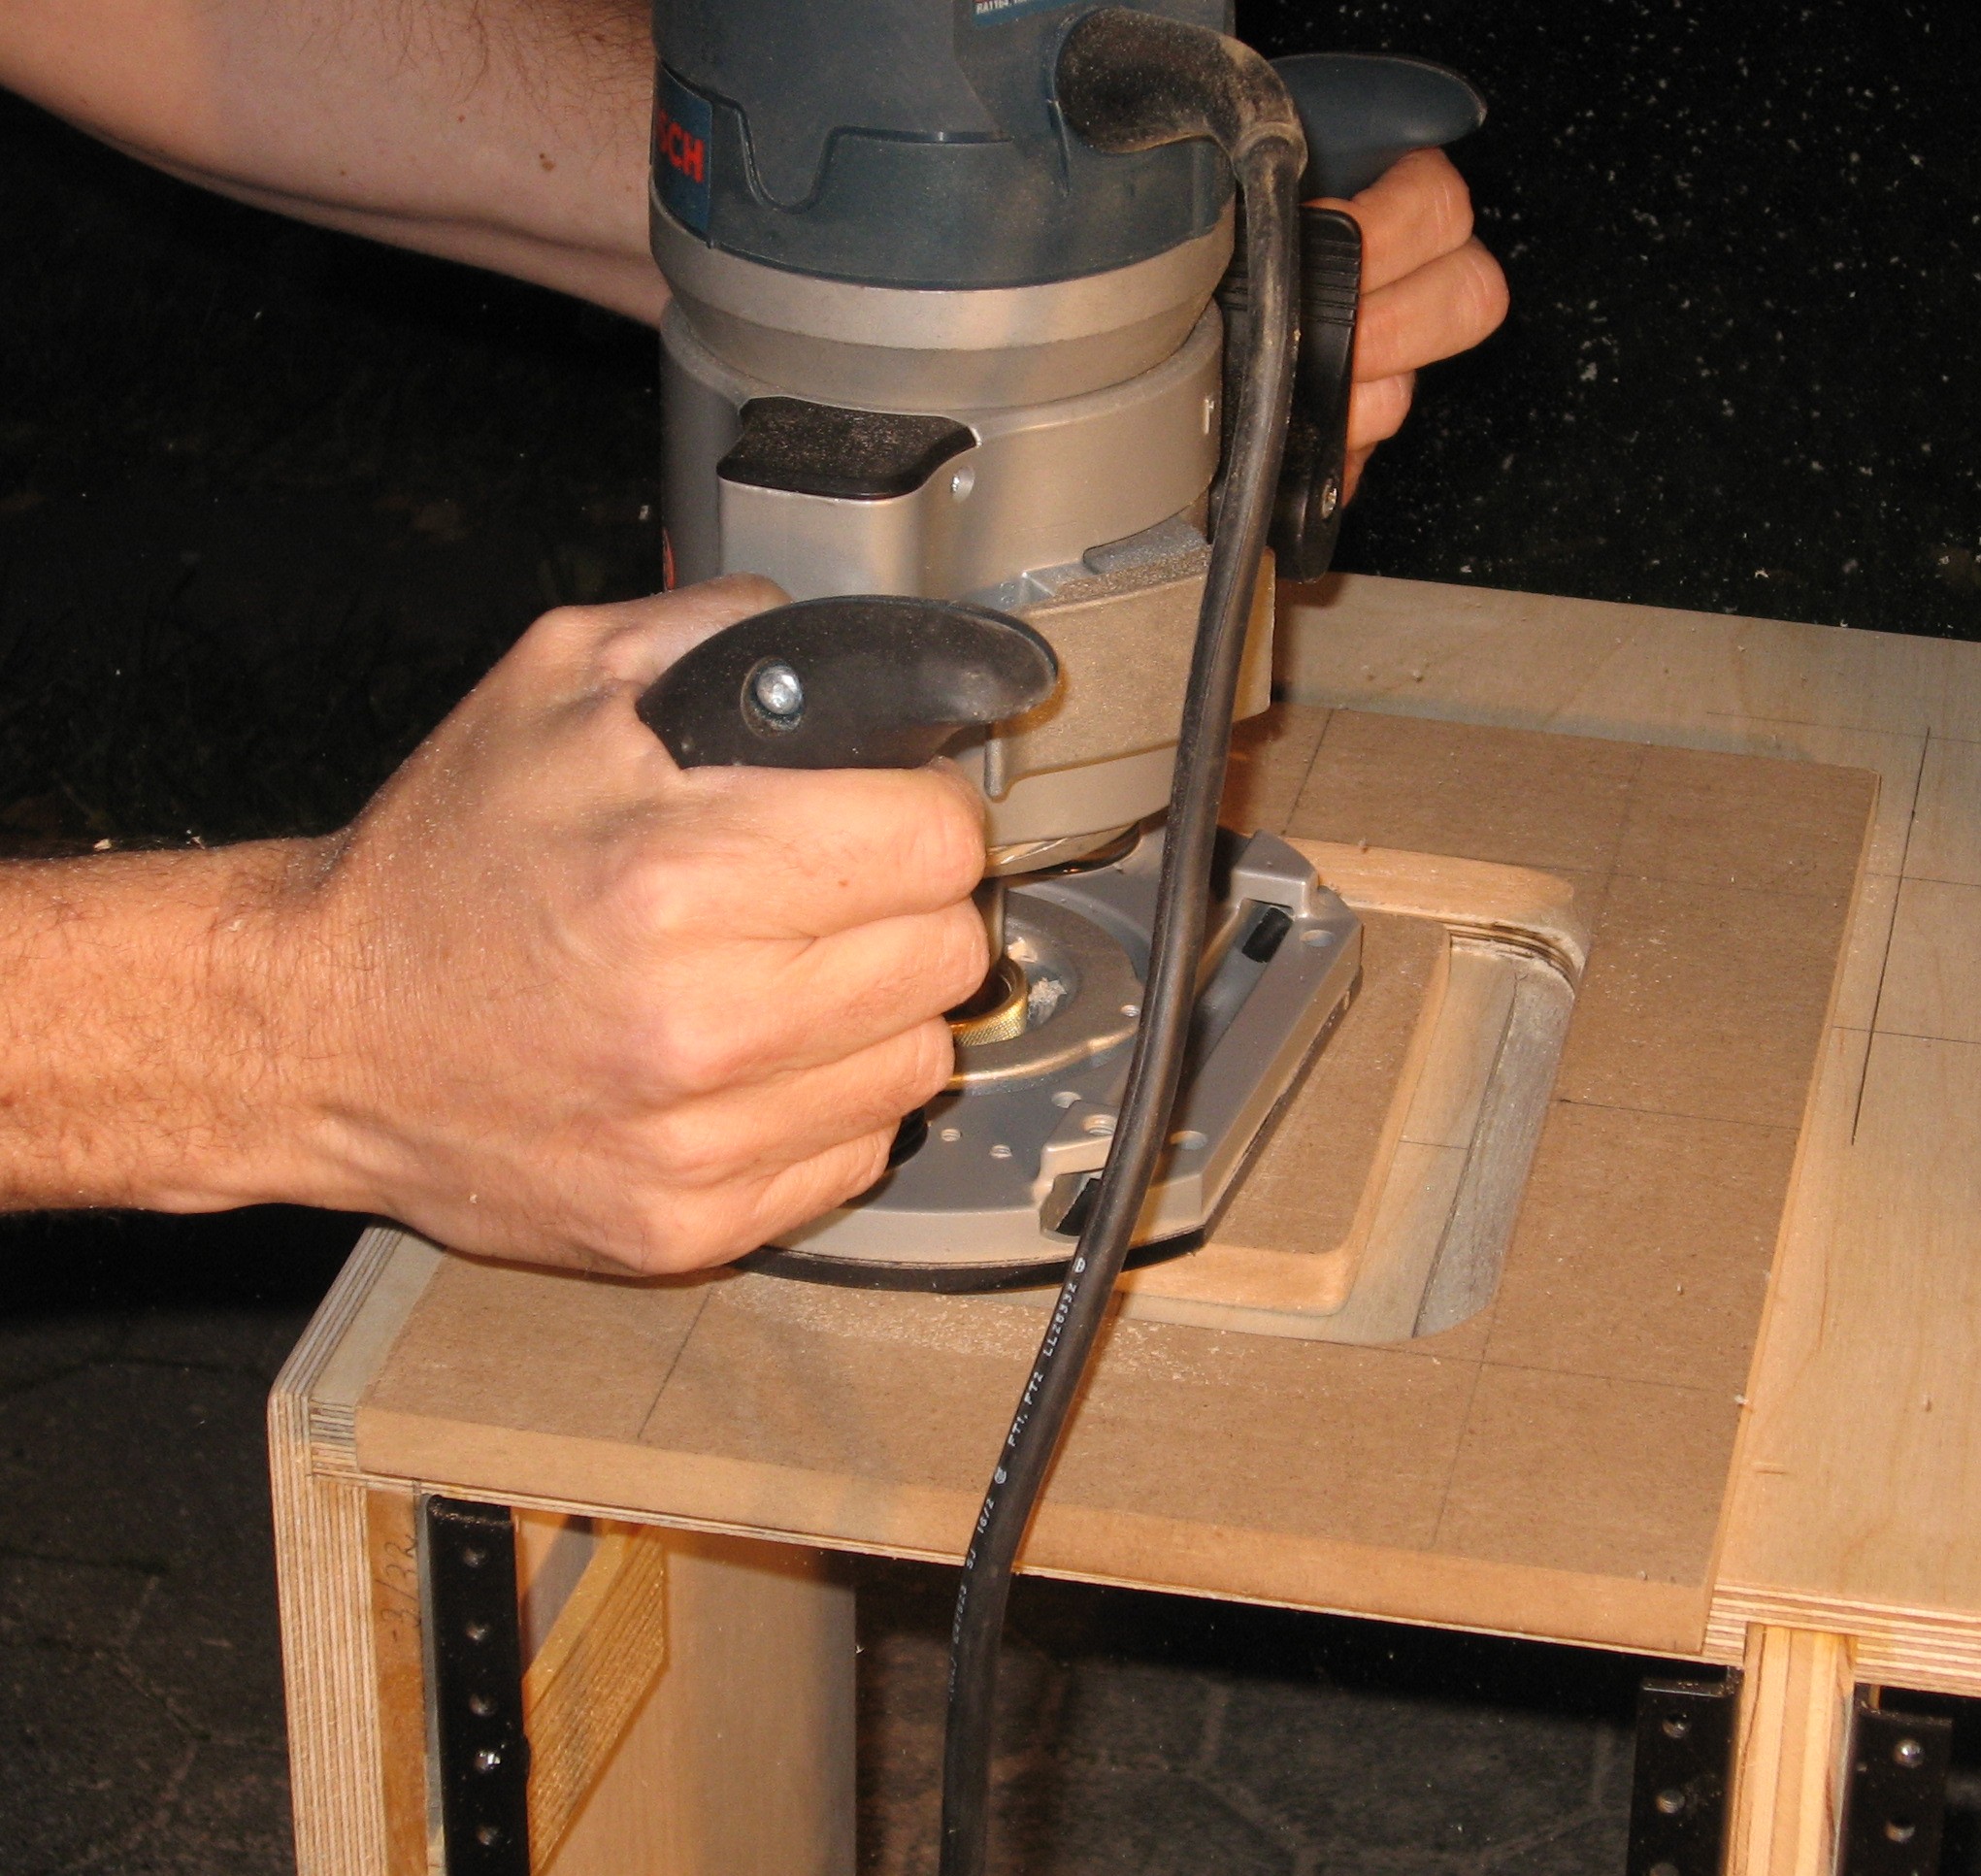
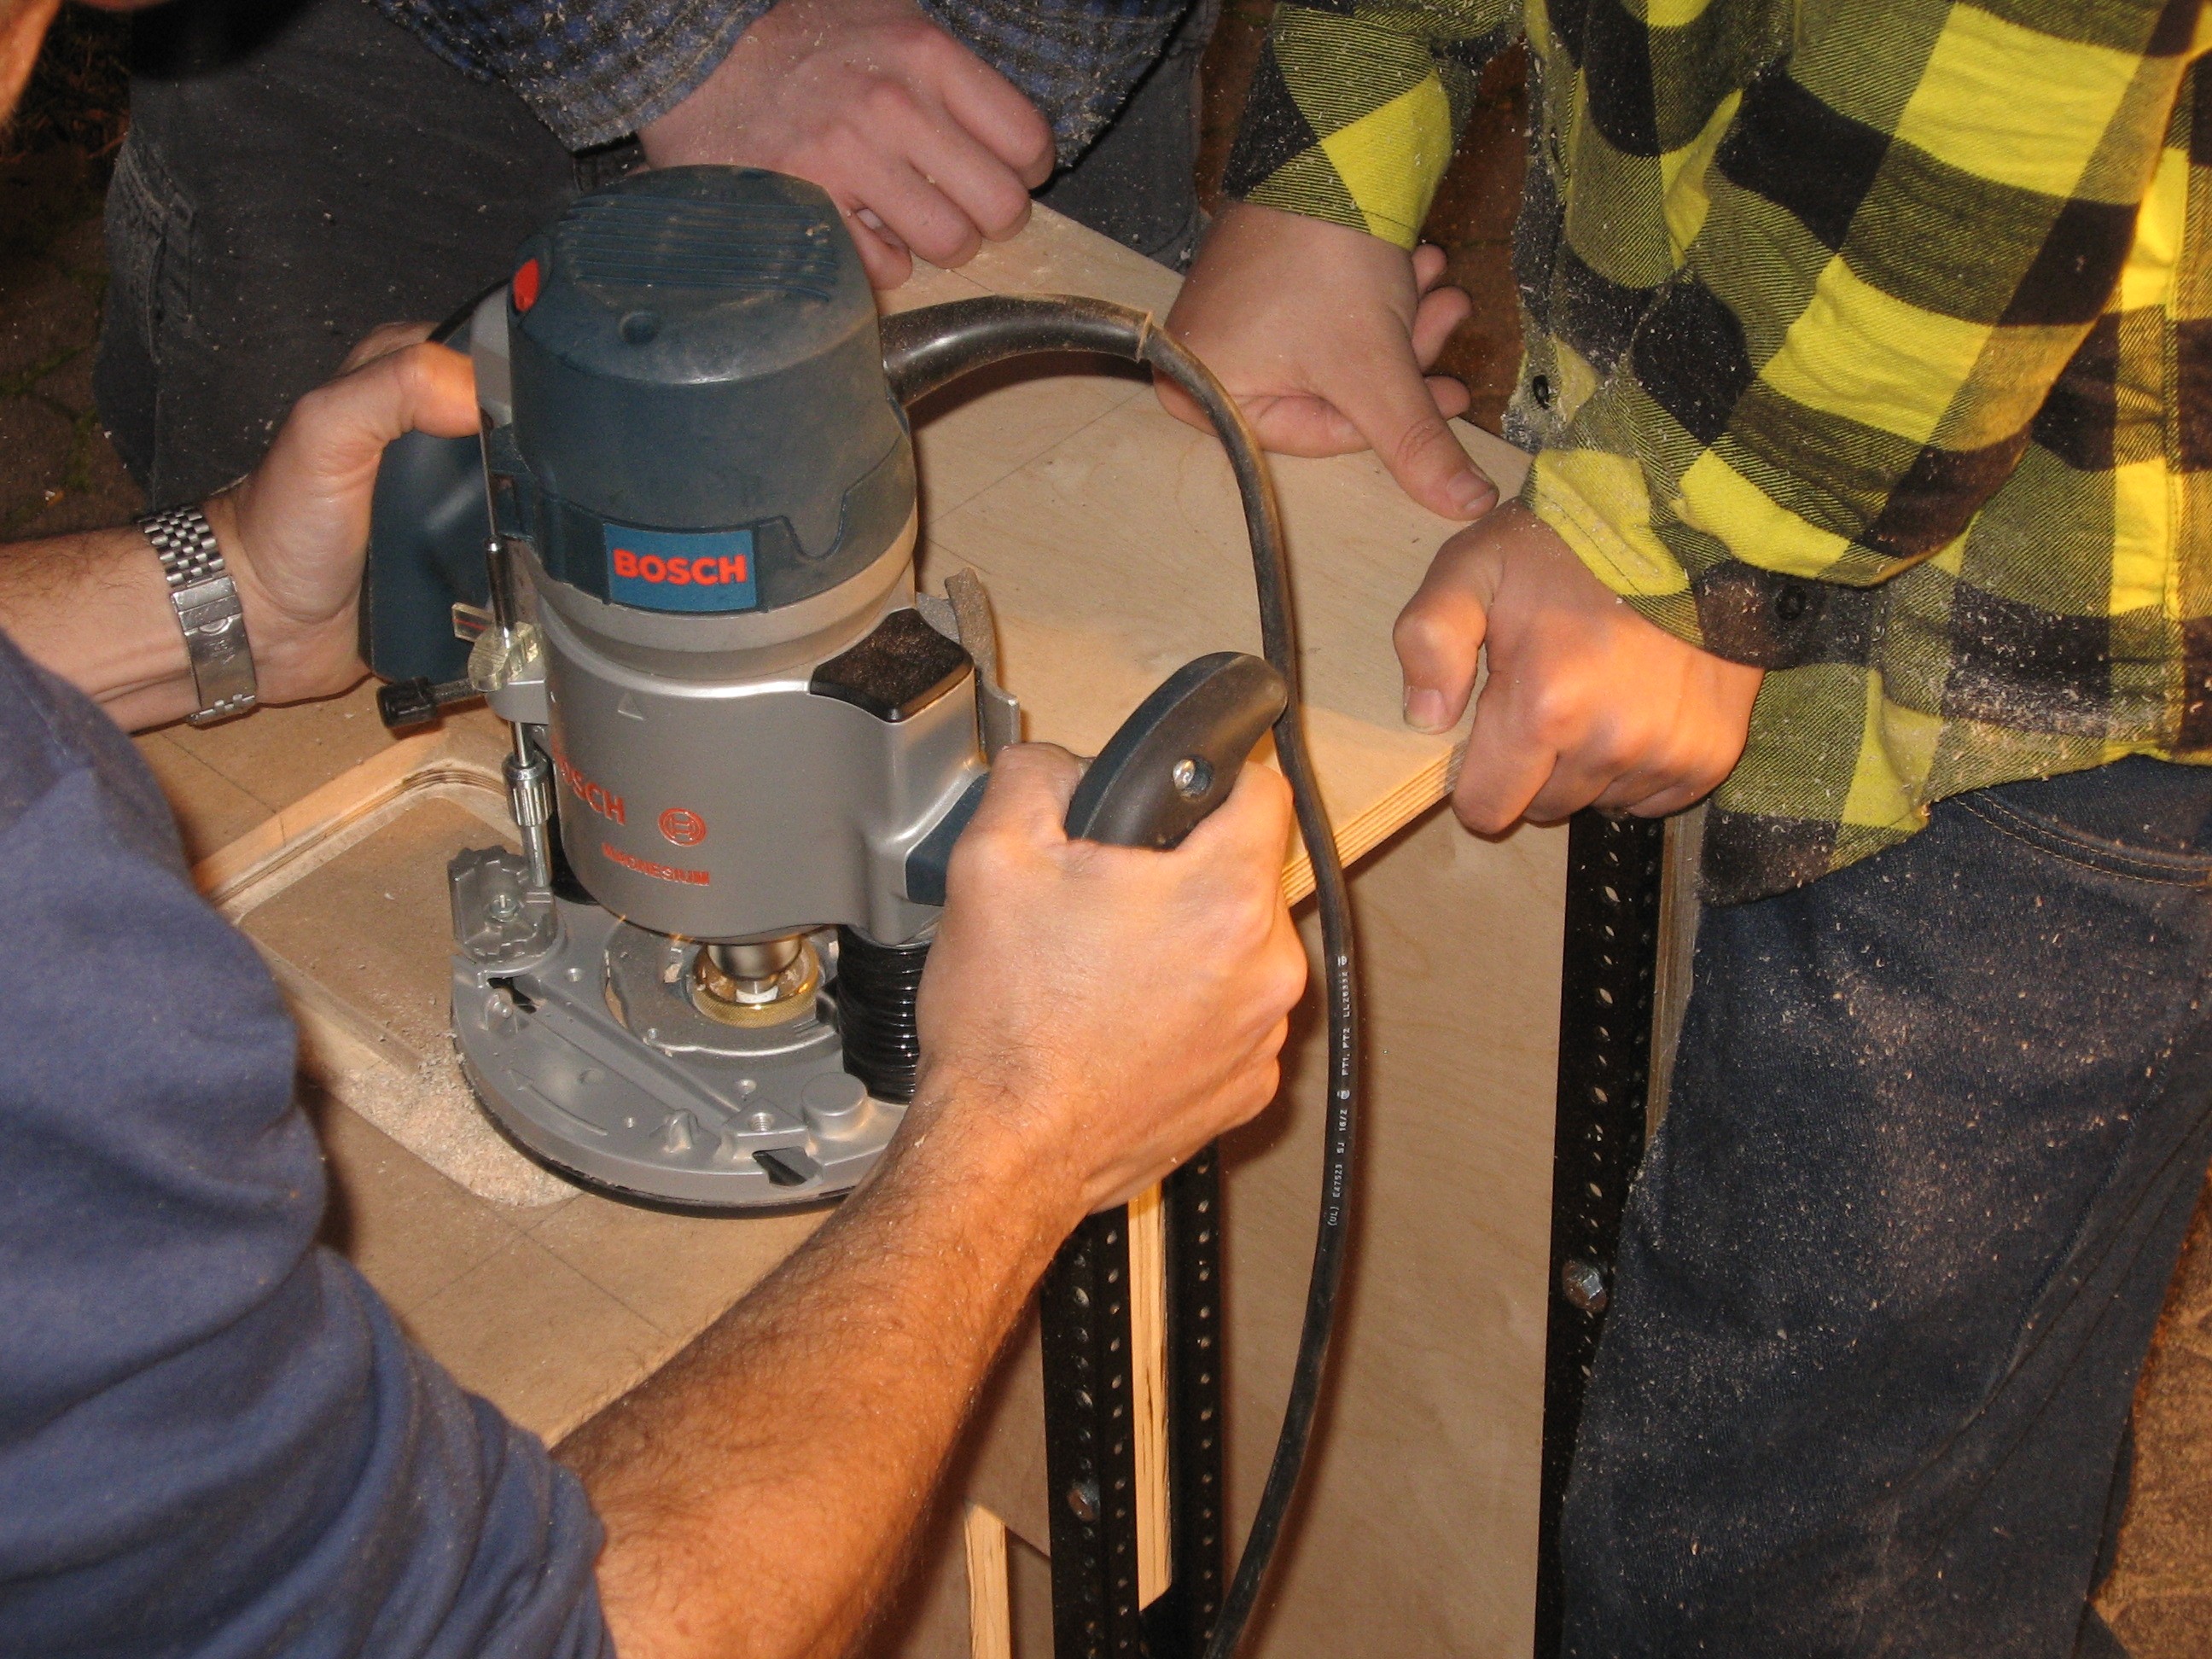
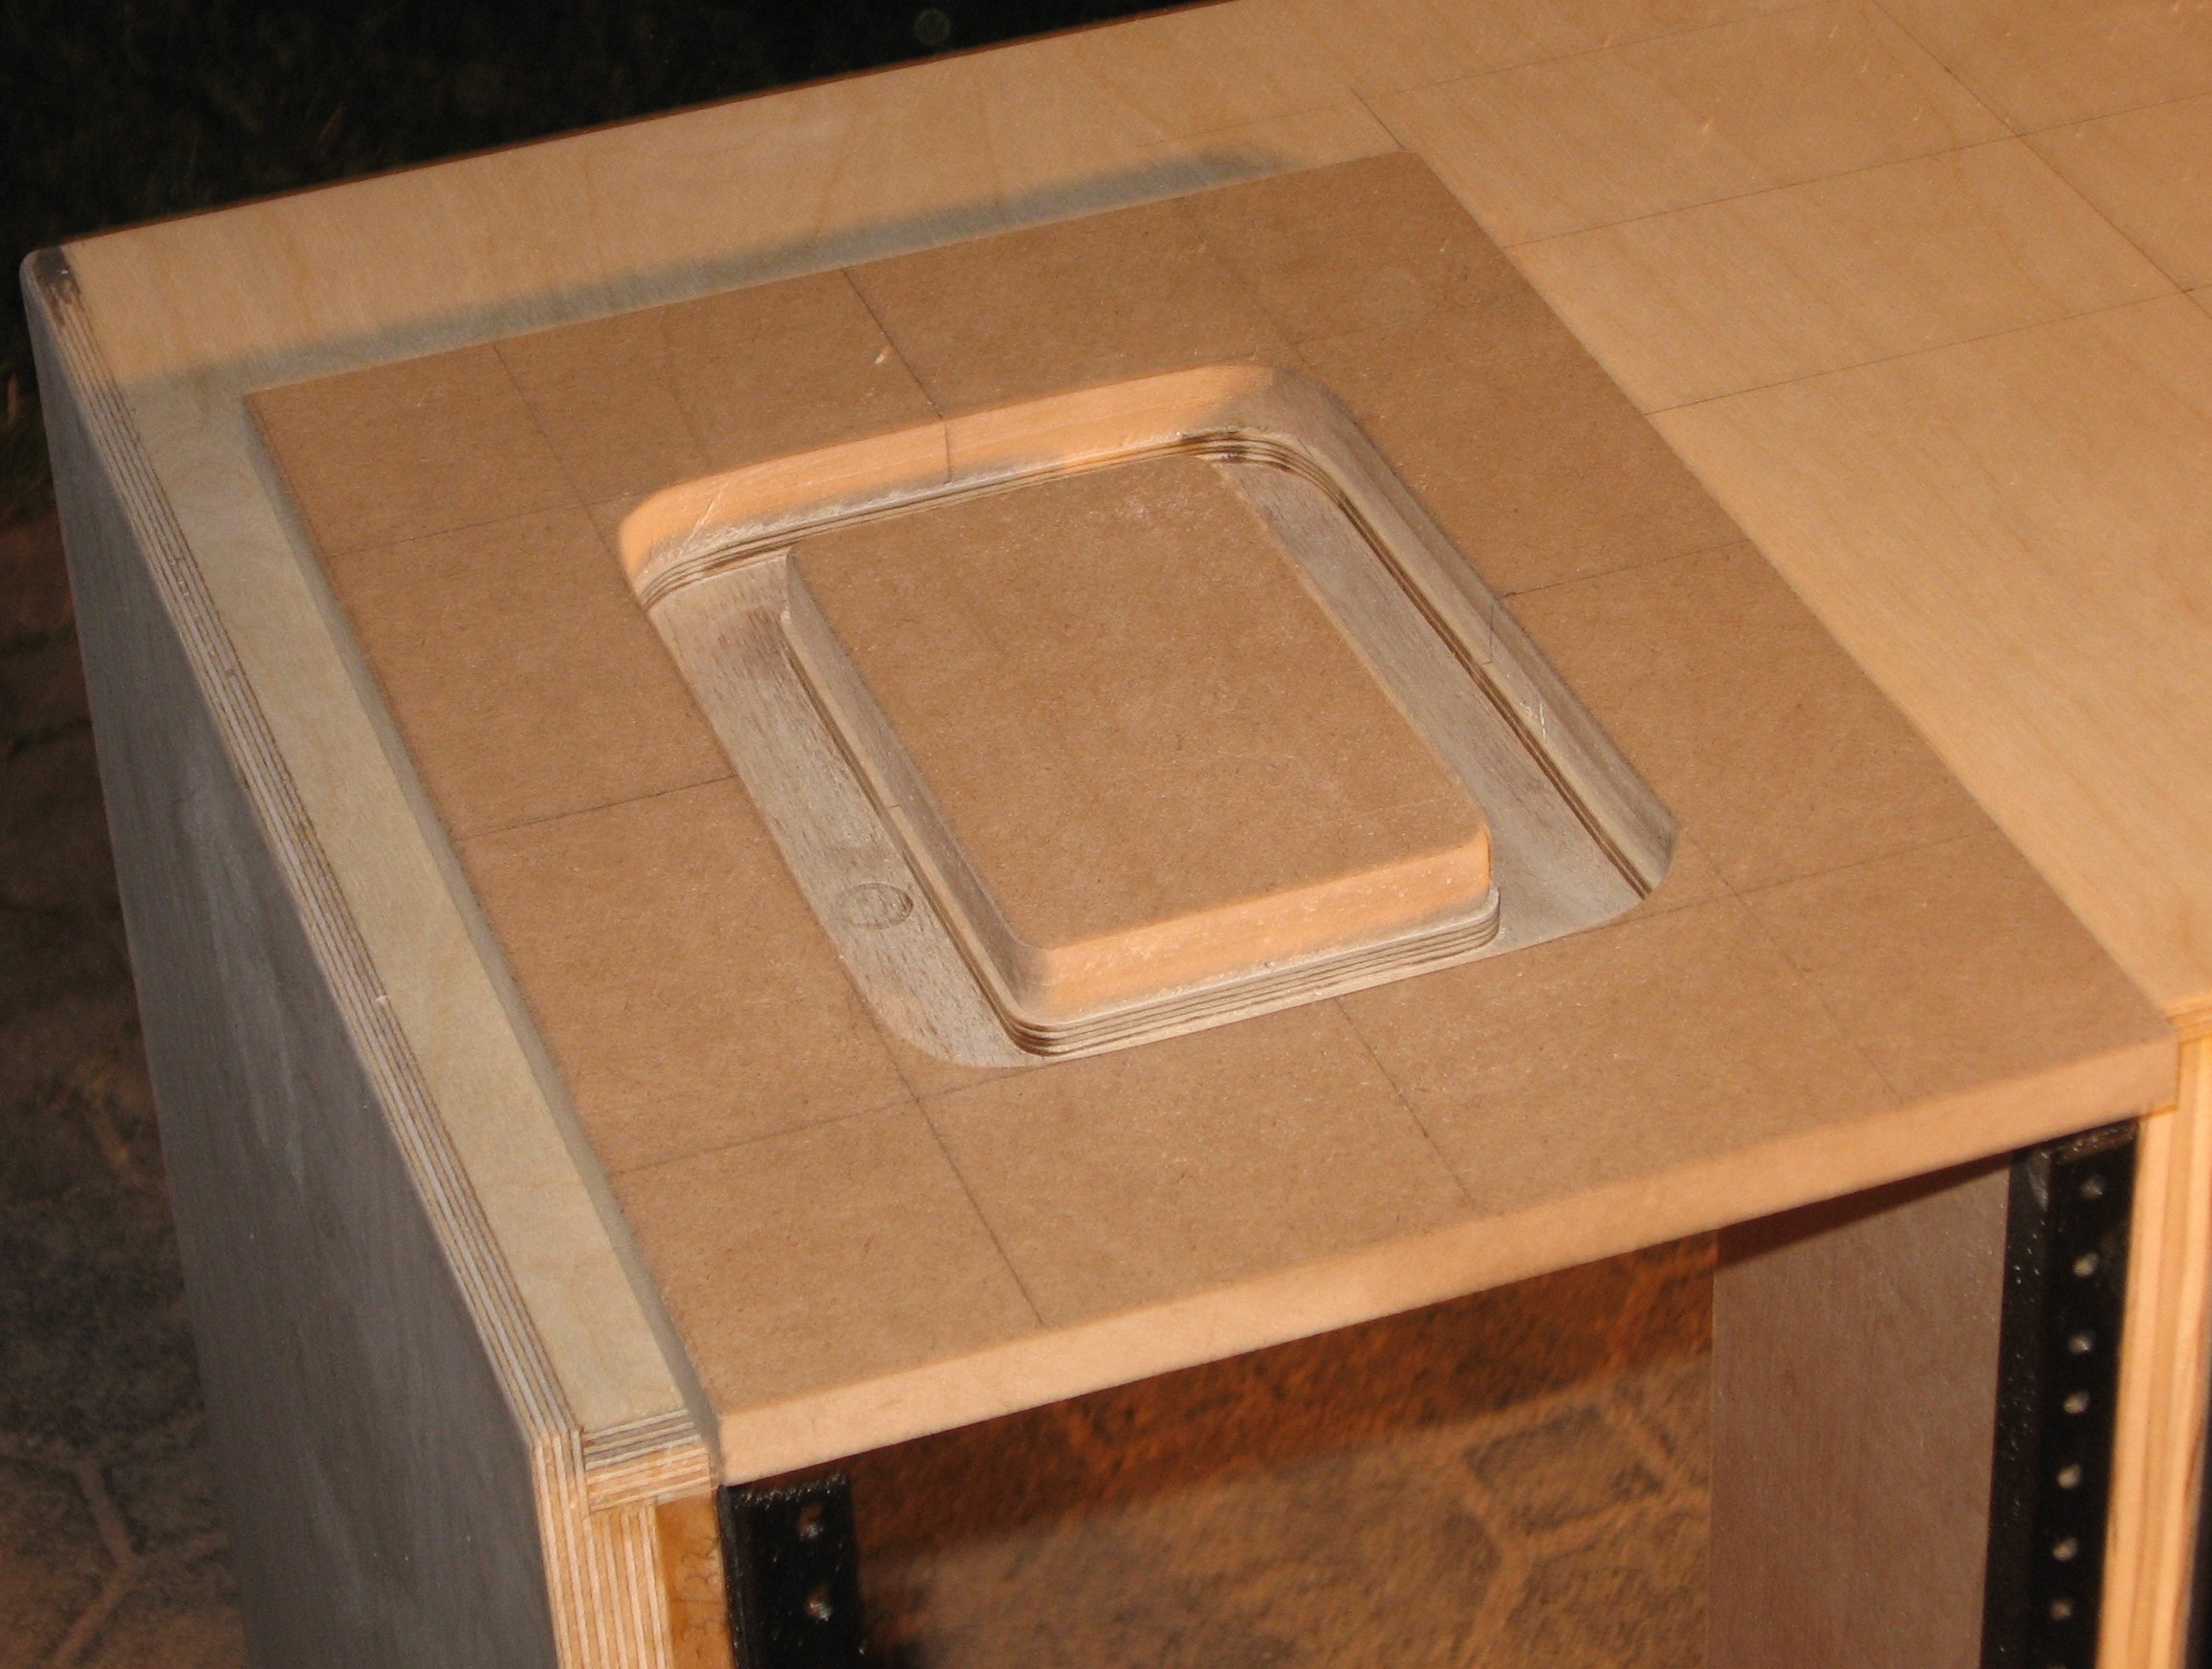
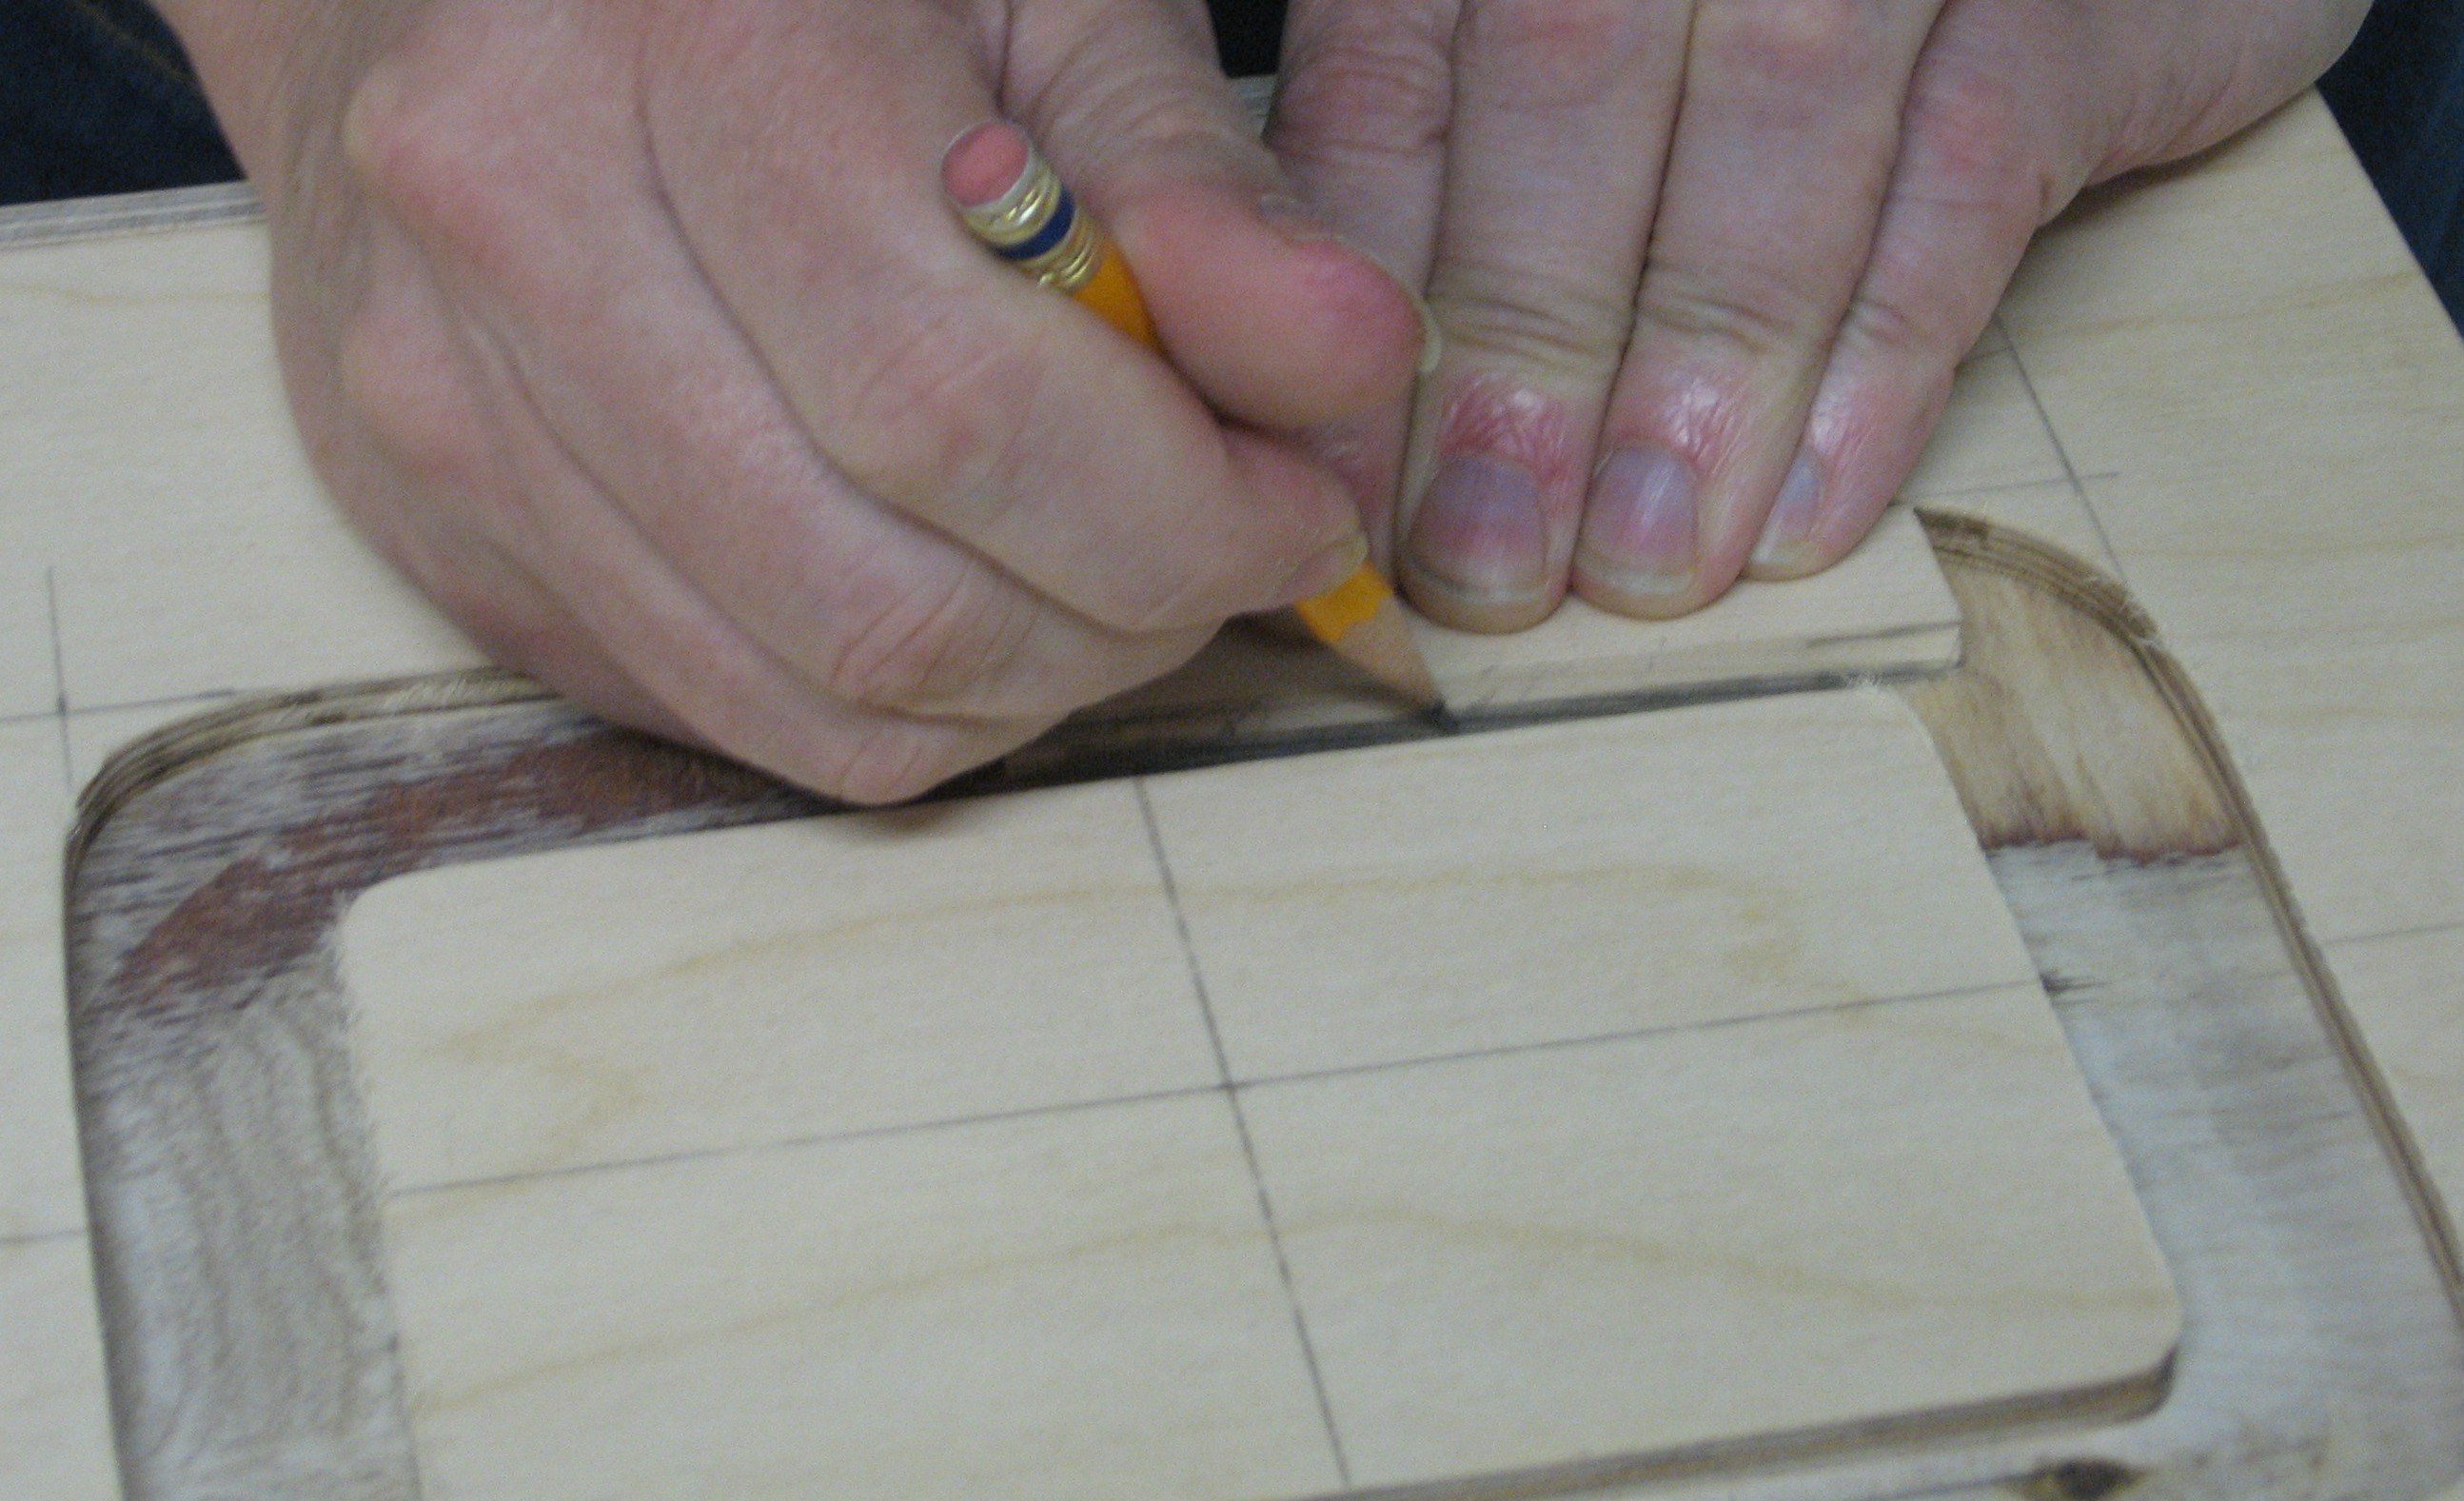
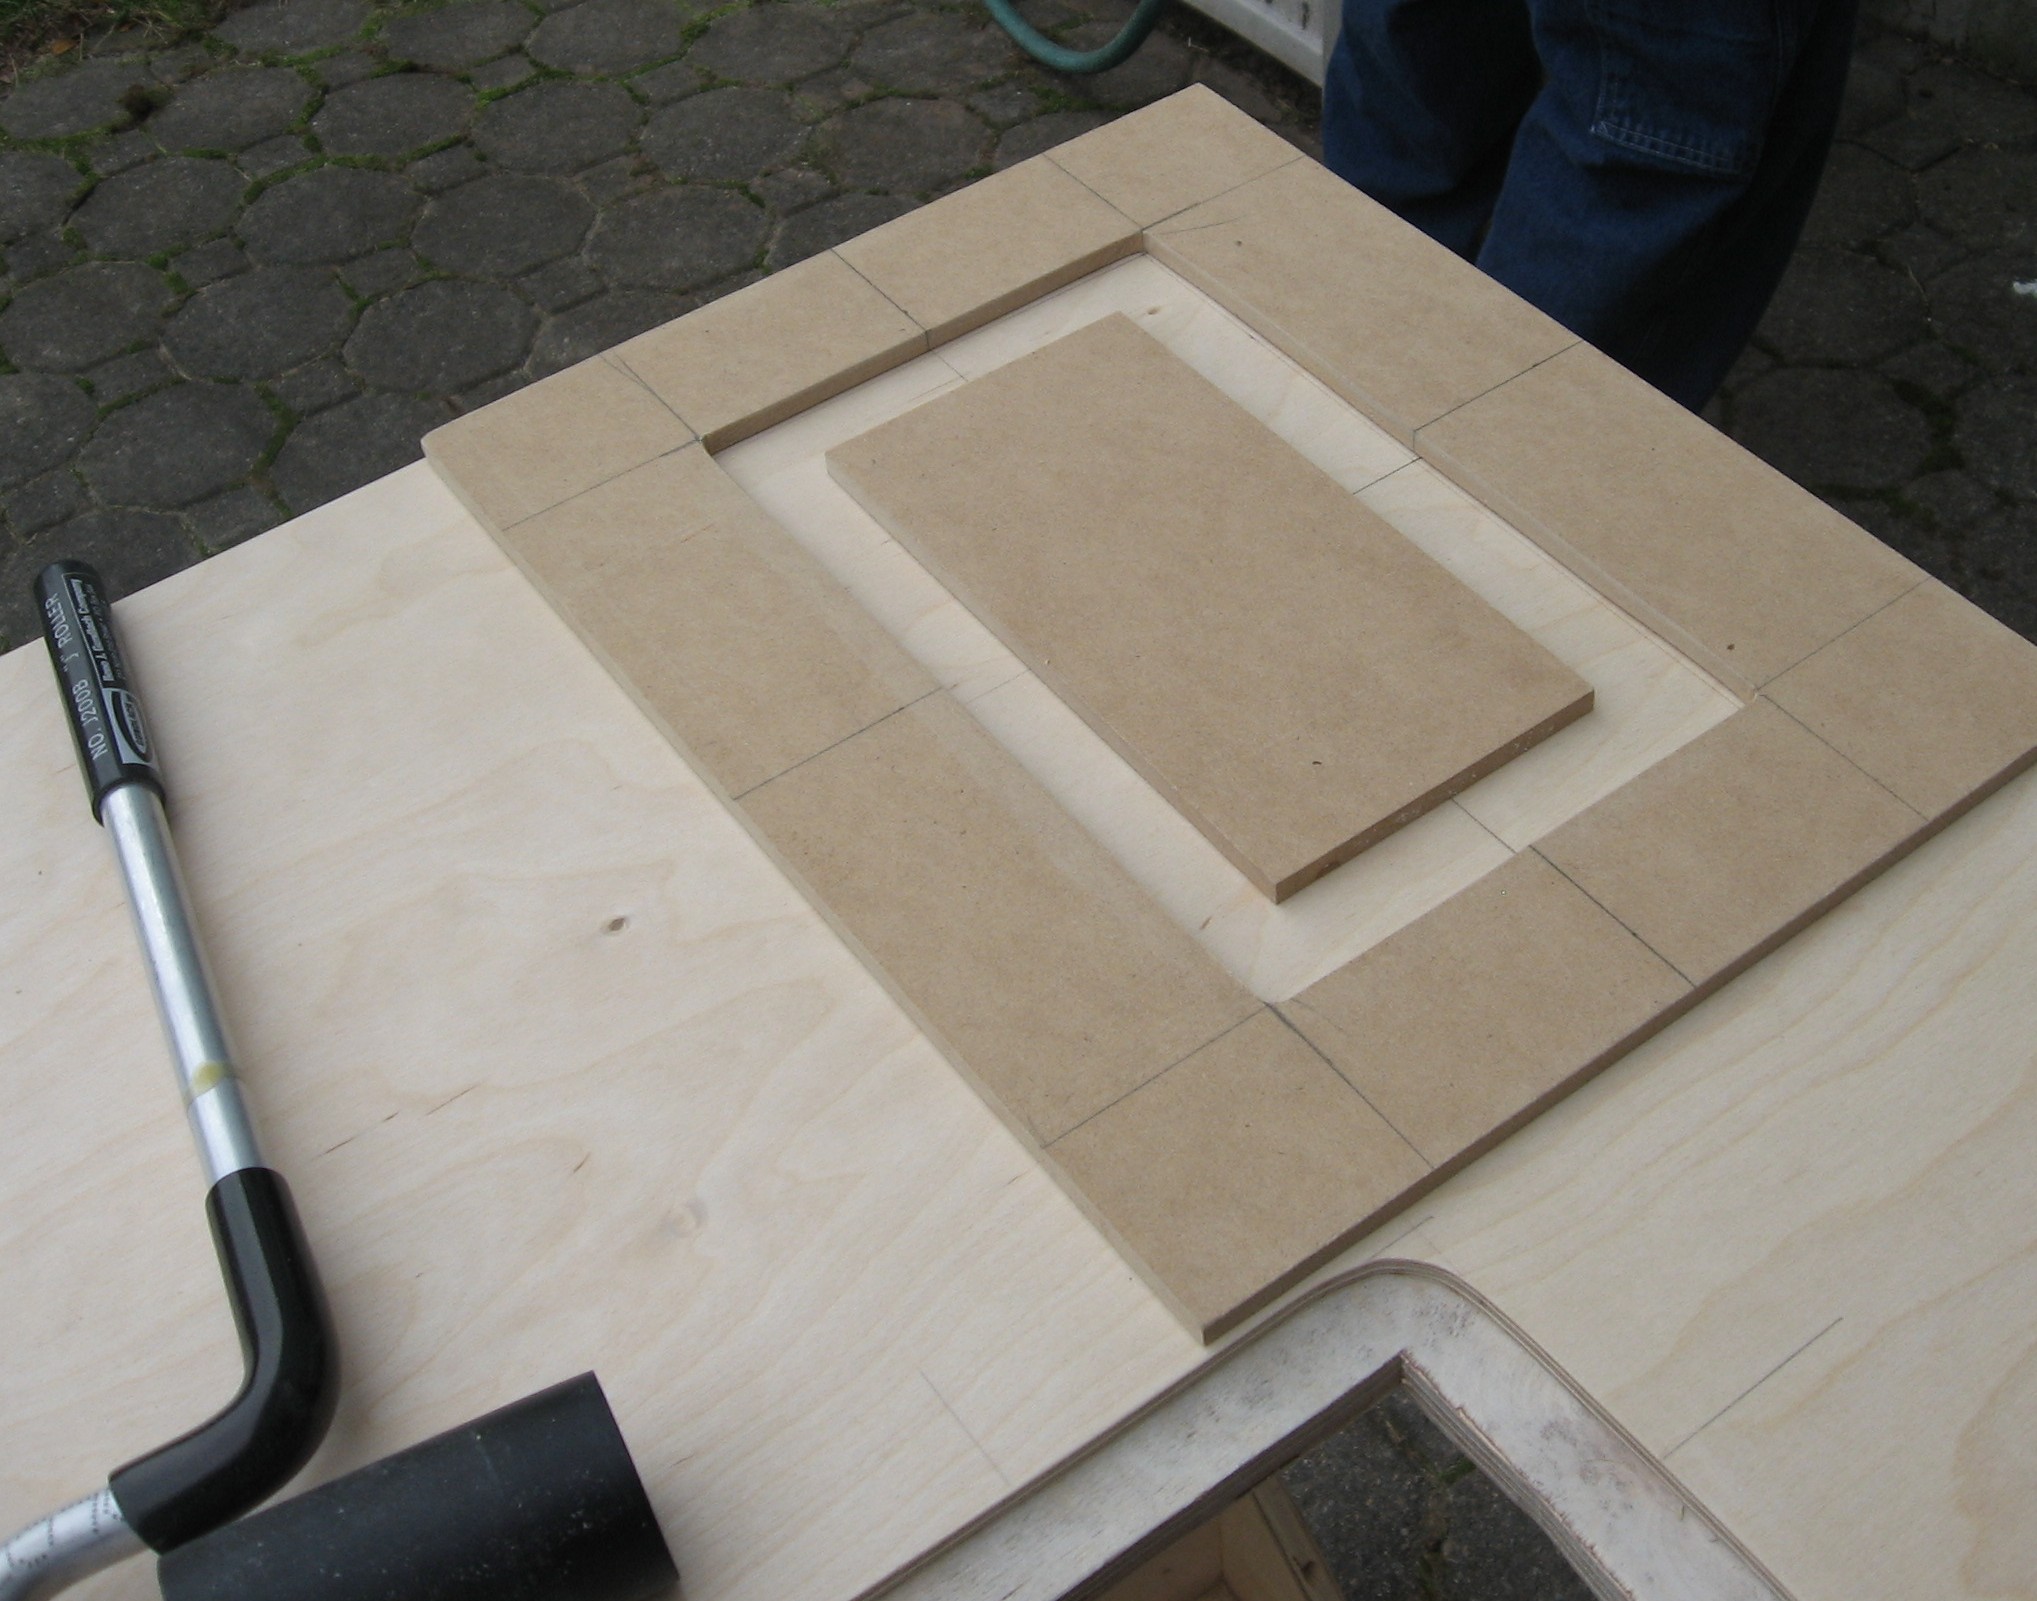
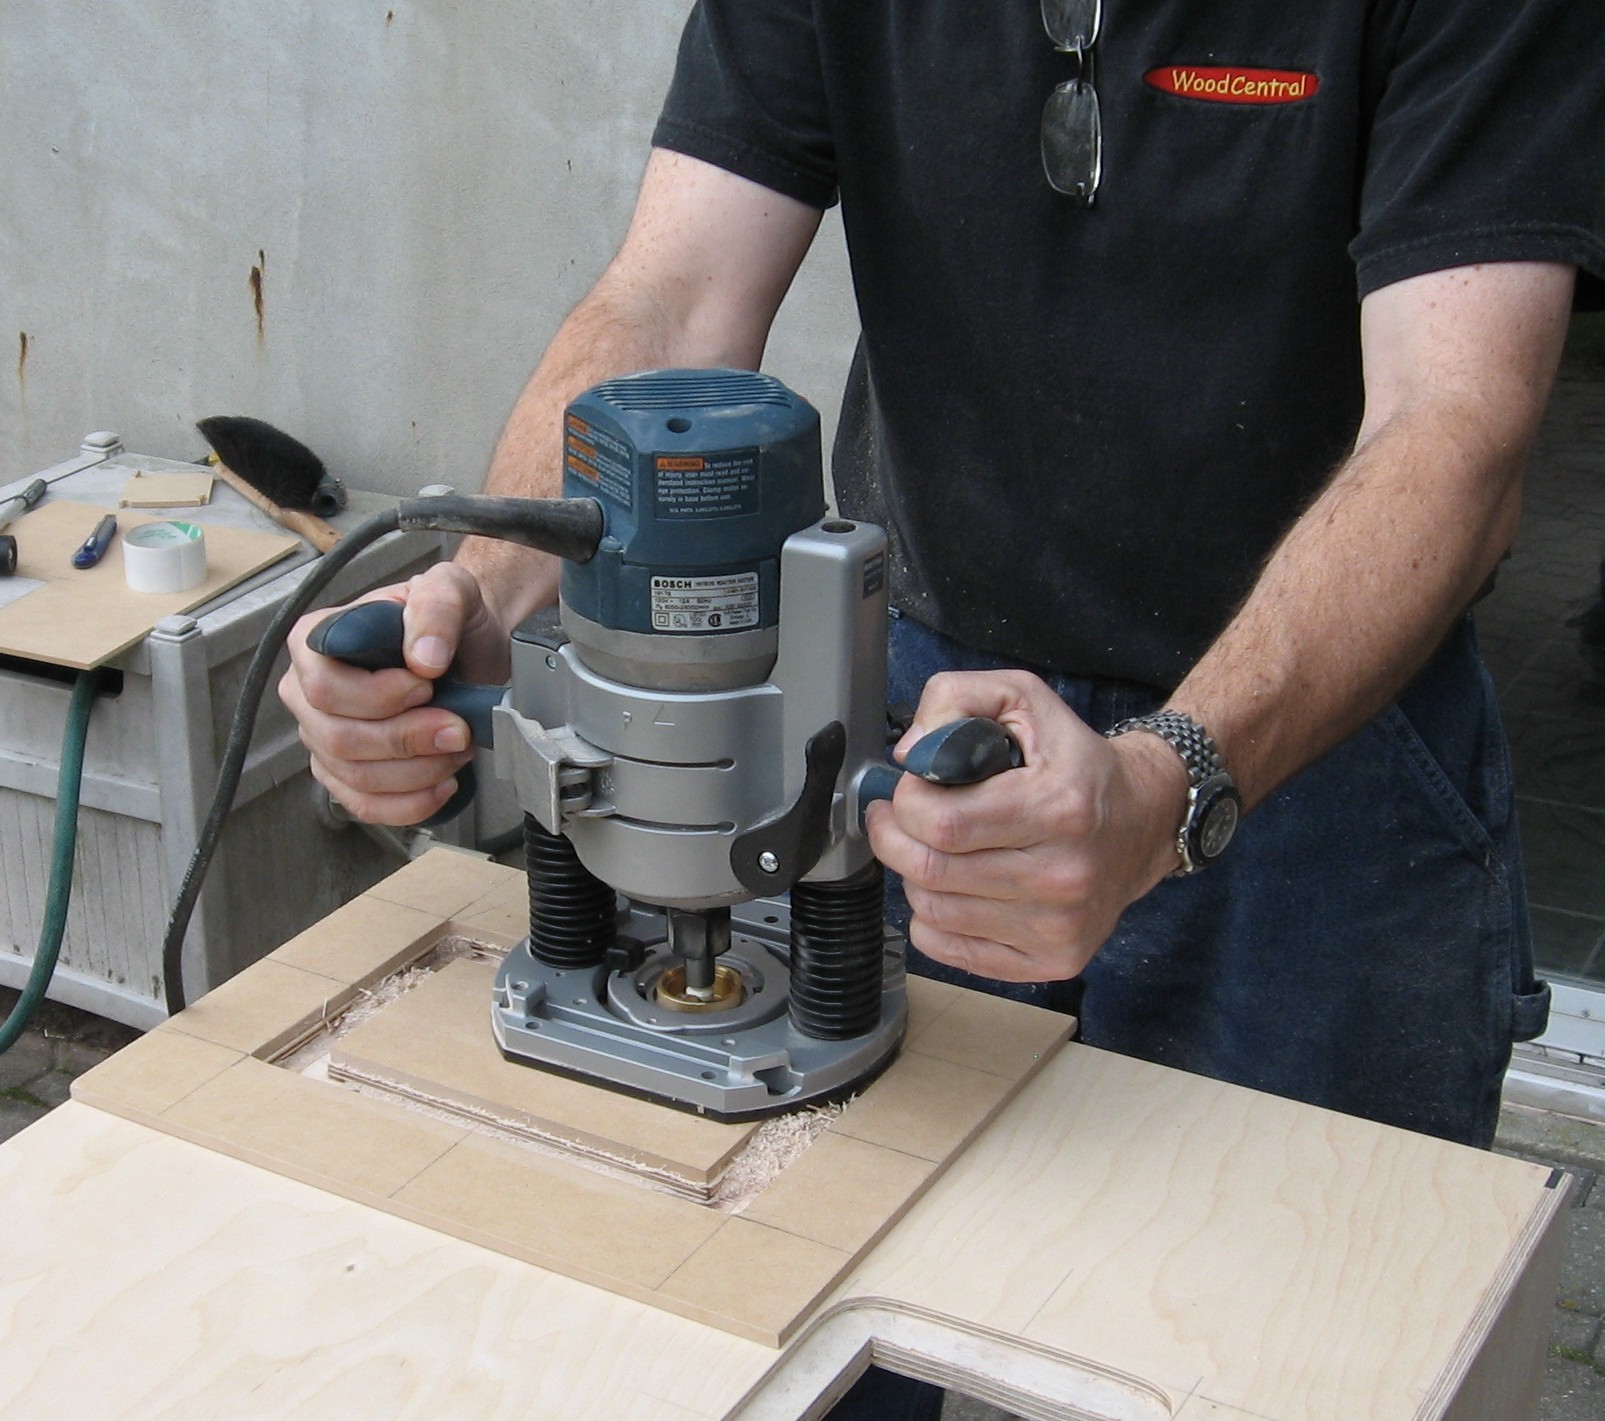
Recessed Handles - Test Cut We were going to recess the handles in the cases and so we'd rout out the wood. Bart made a template to guide the router. So we tested it to make sure it would work.
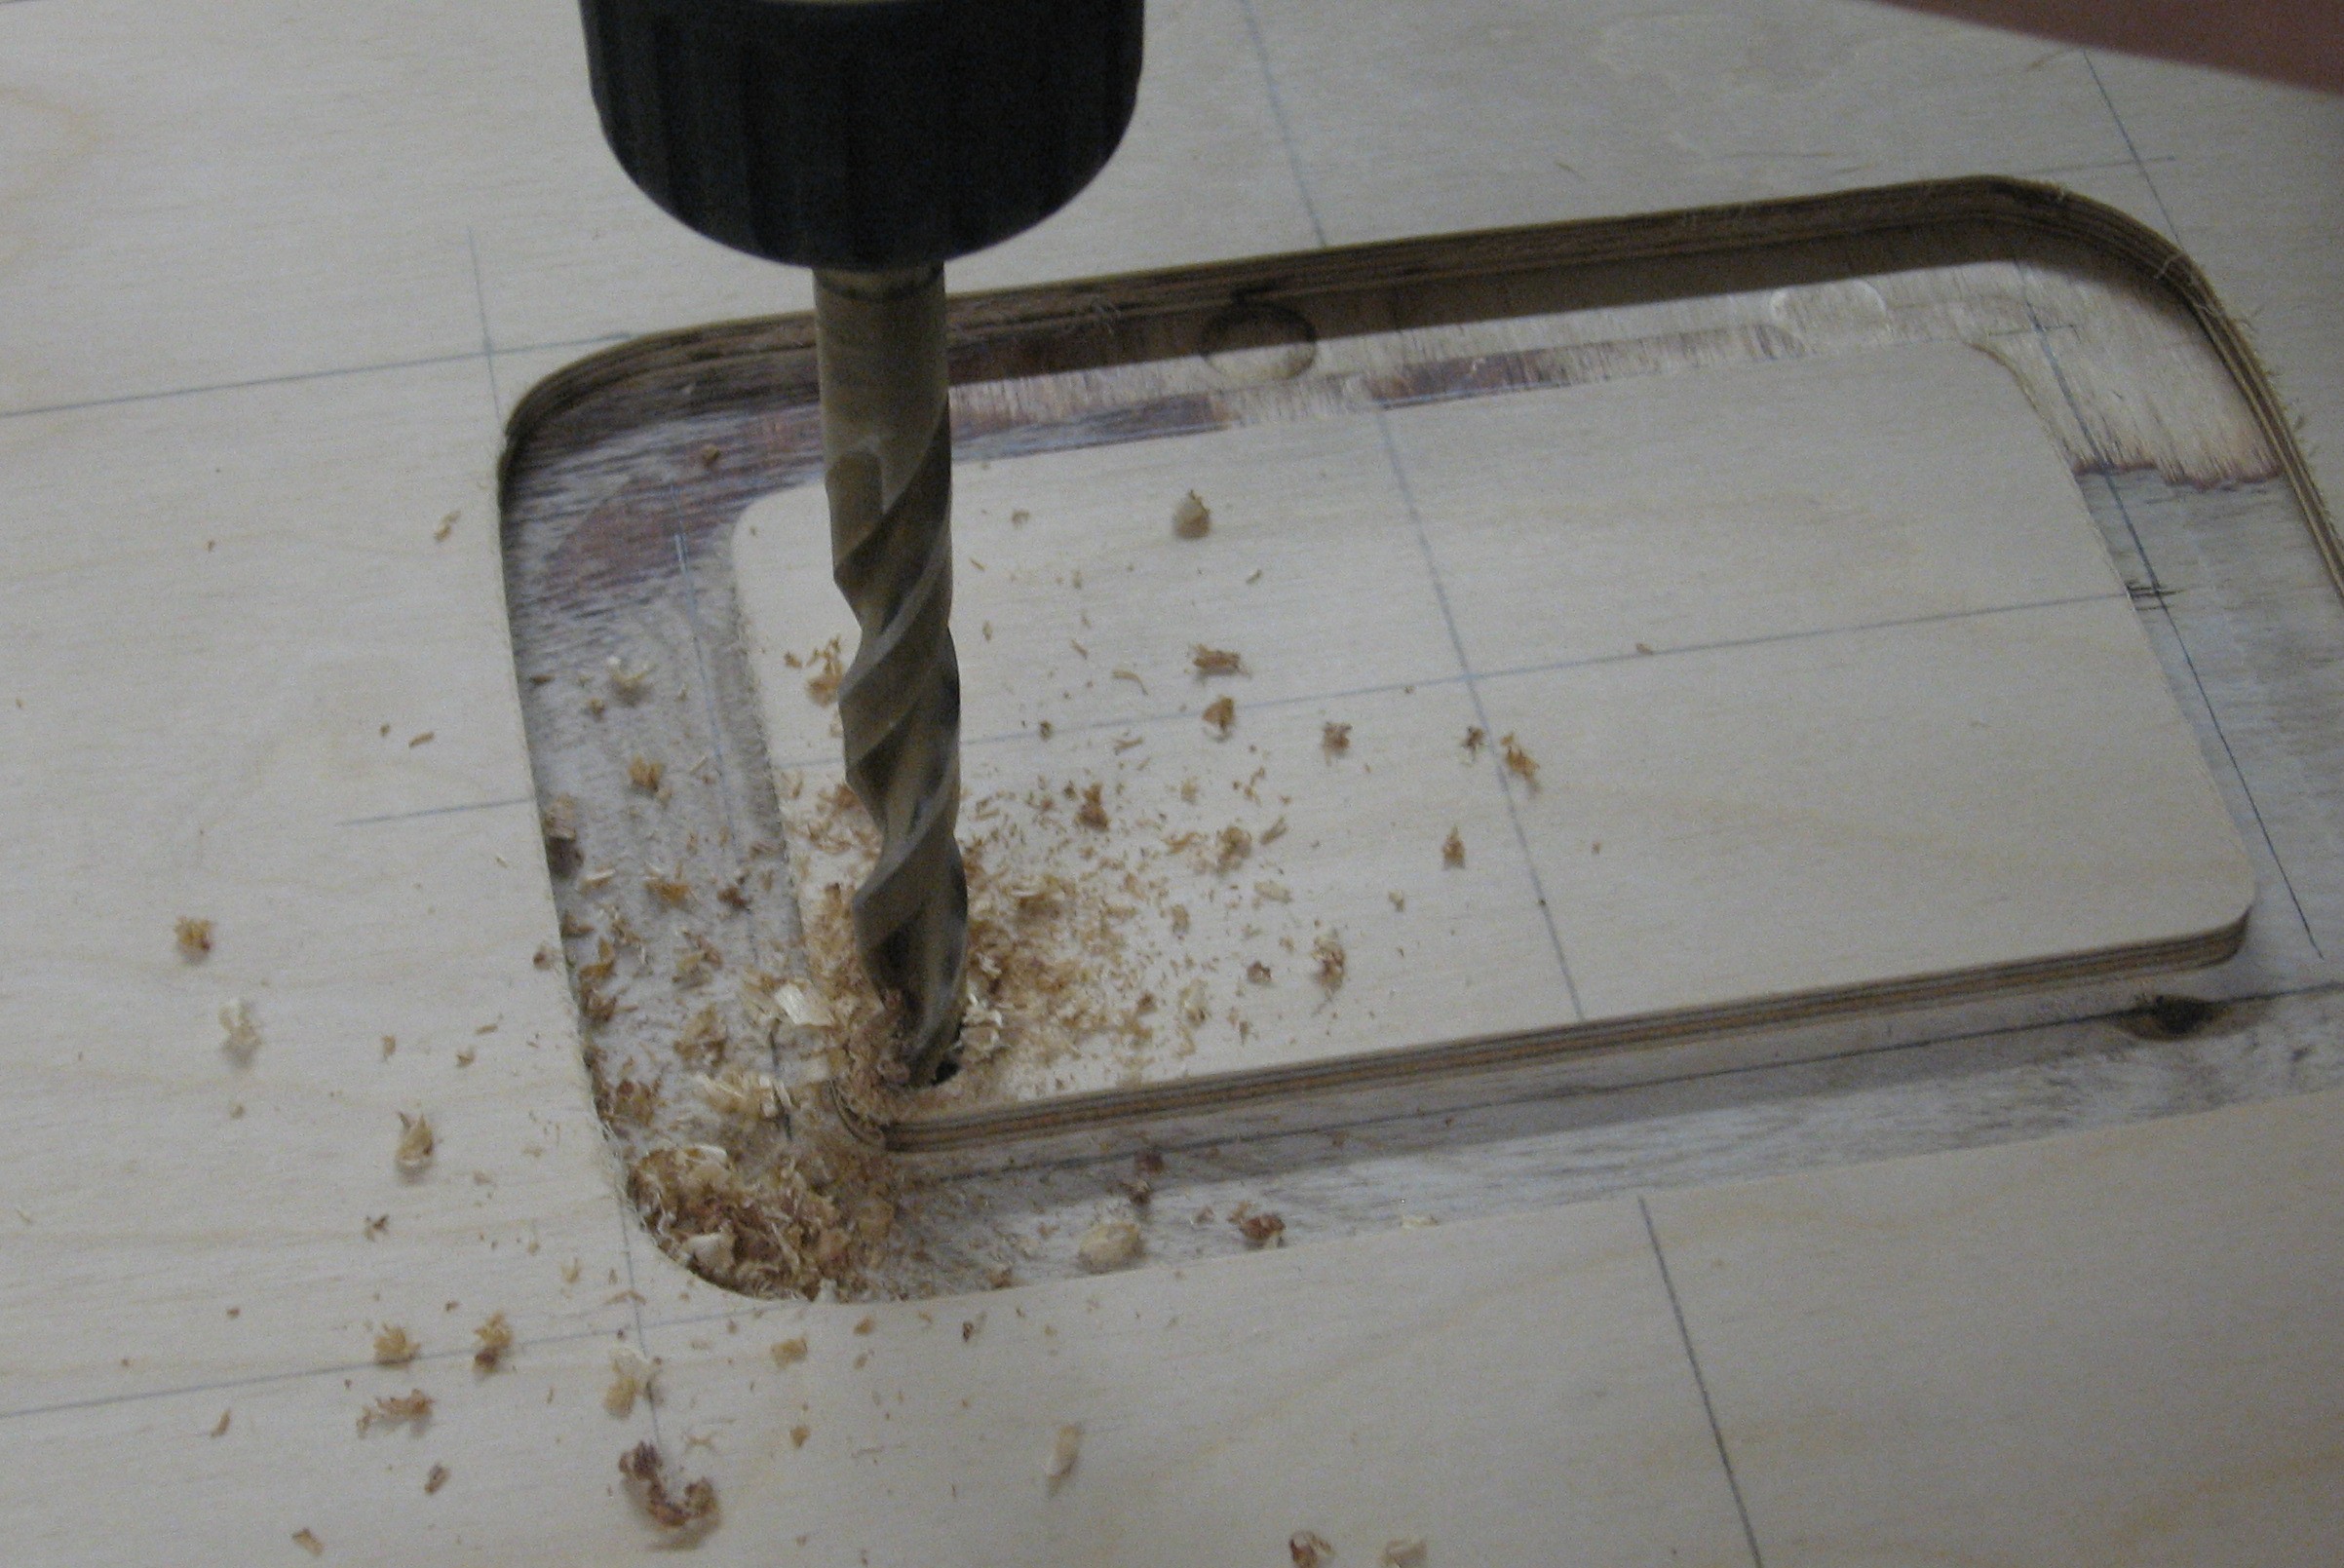
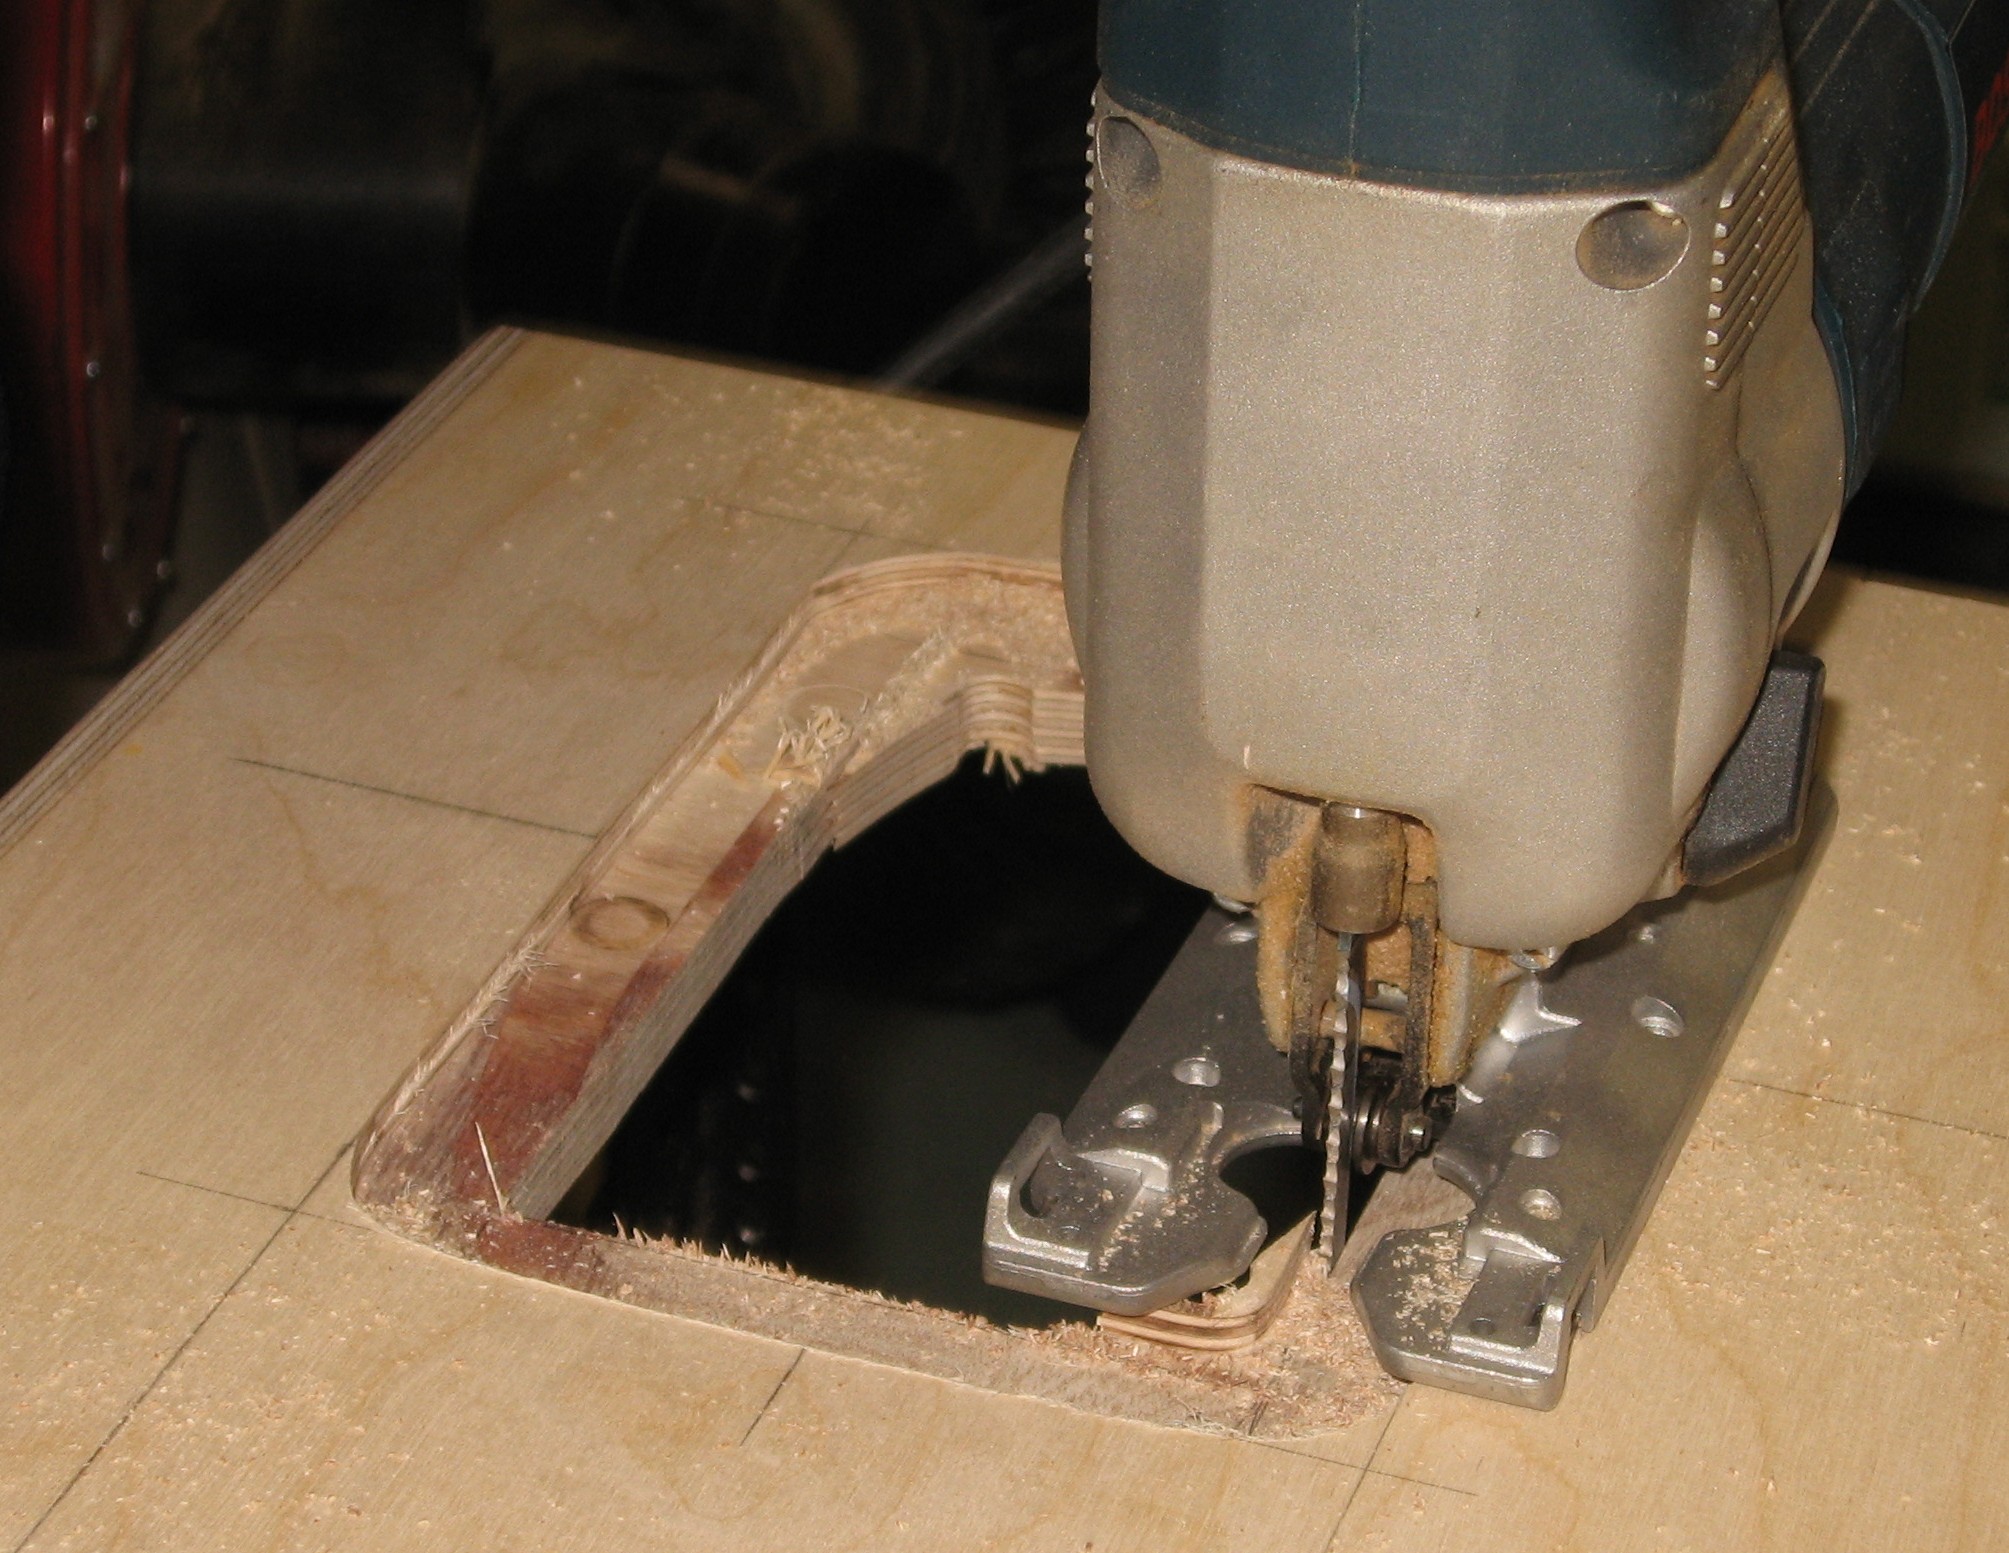
It worked out fine - the next step would be to cut out the center - which we did just to make sure the handle would fit in, but we forgot to take a picture.
|
||
|
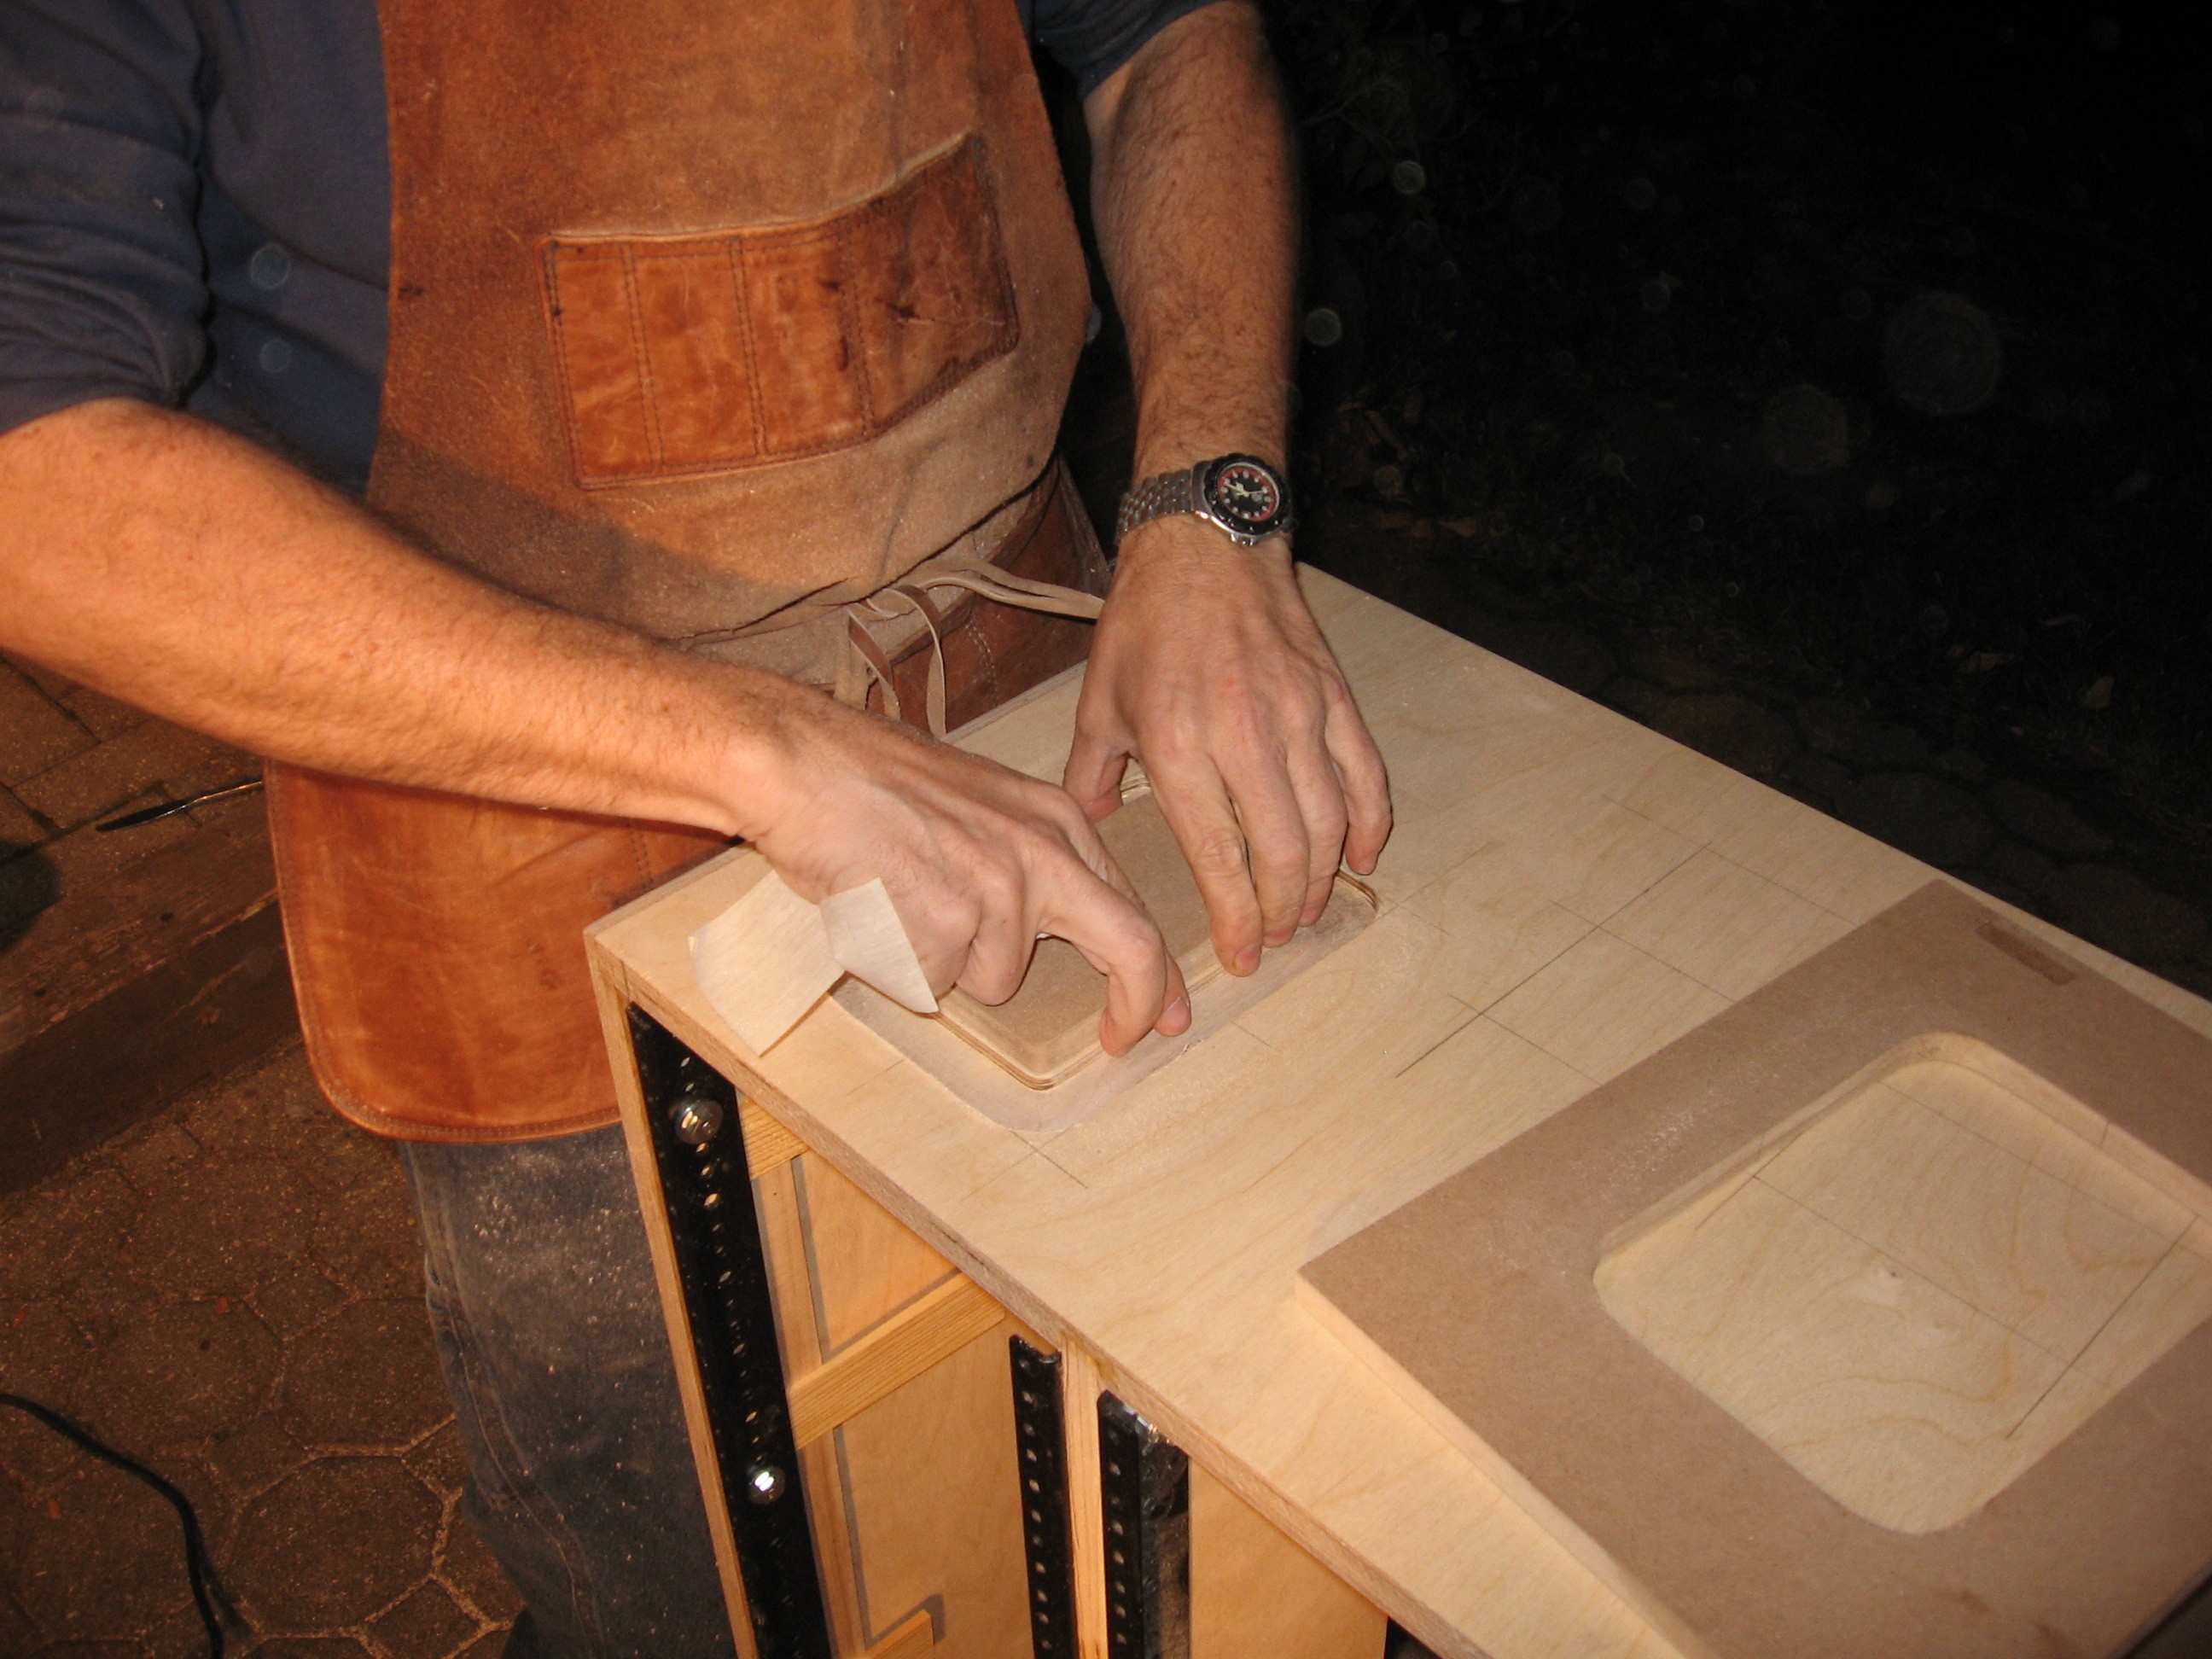
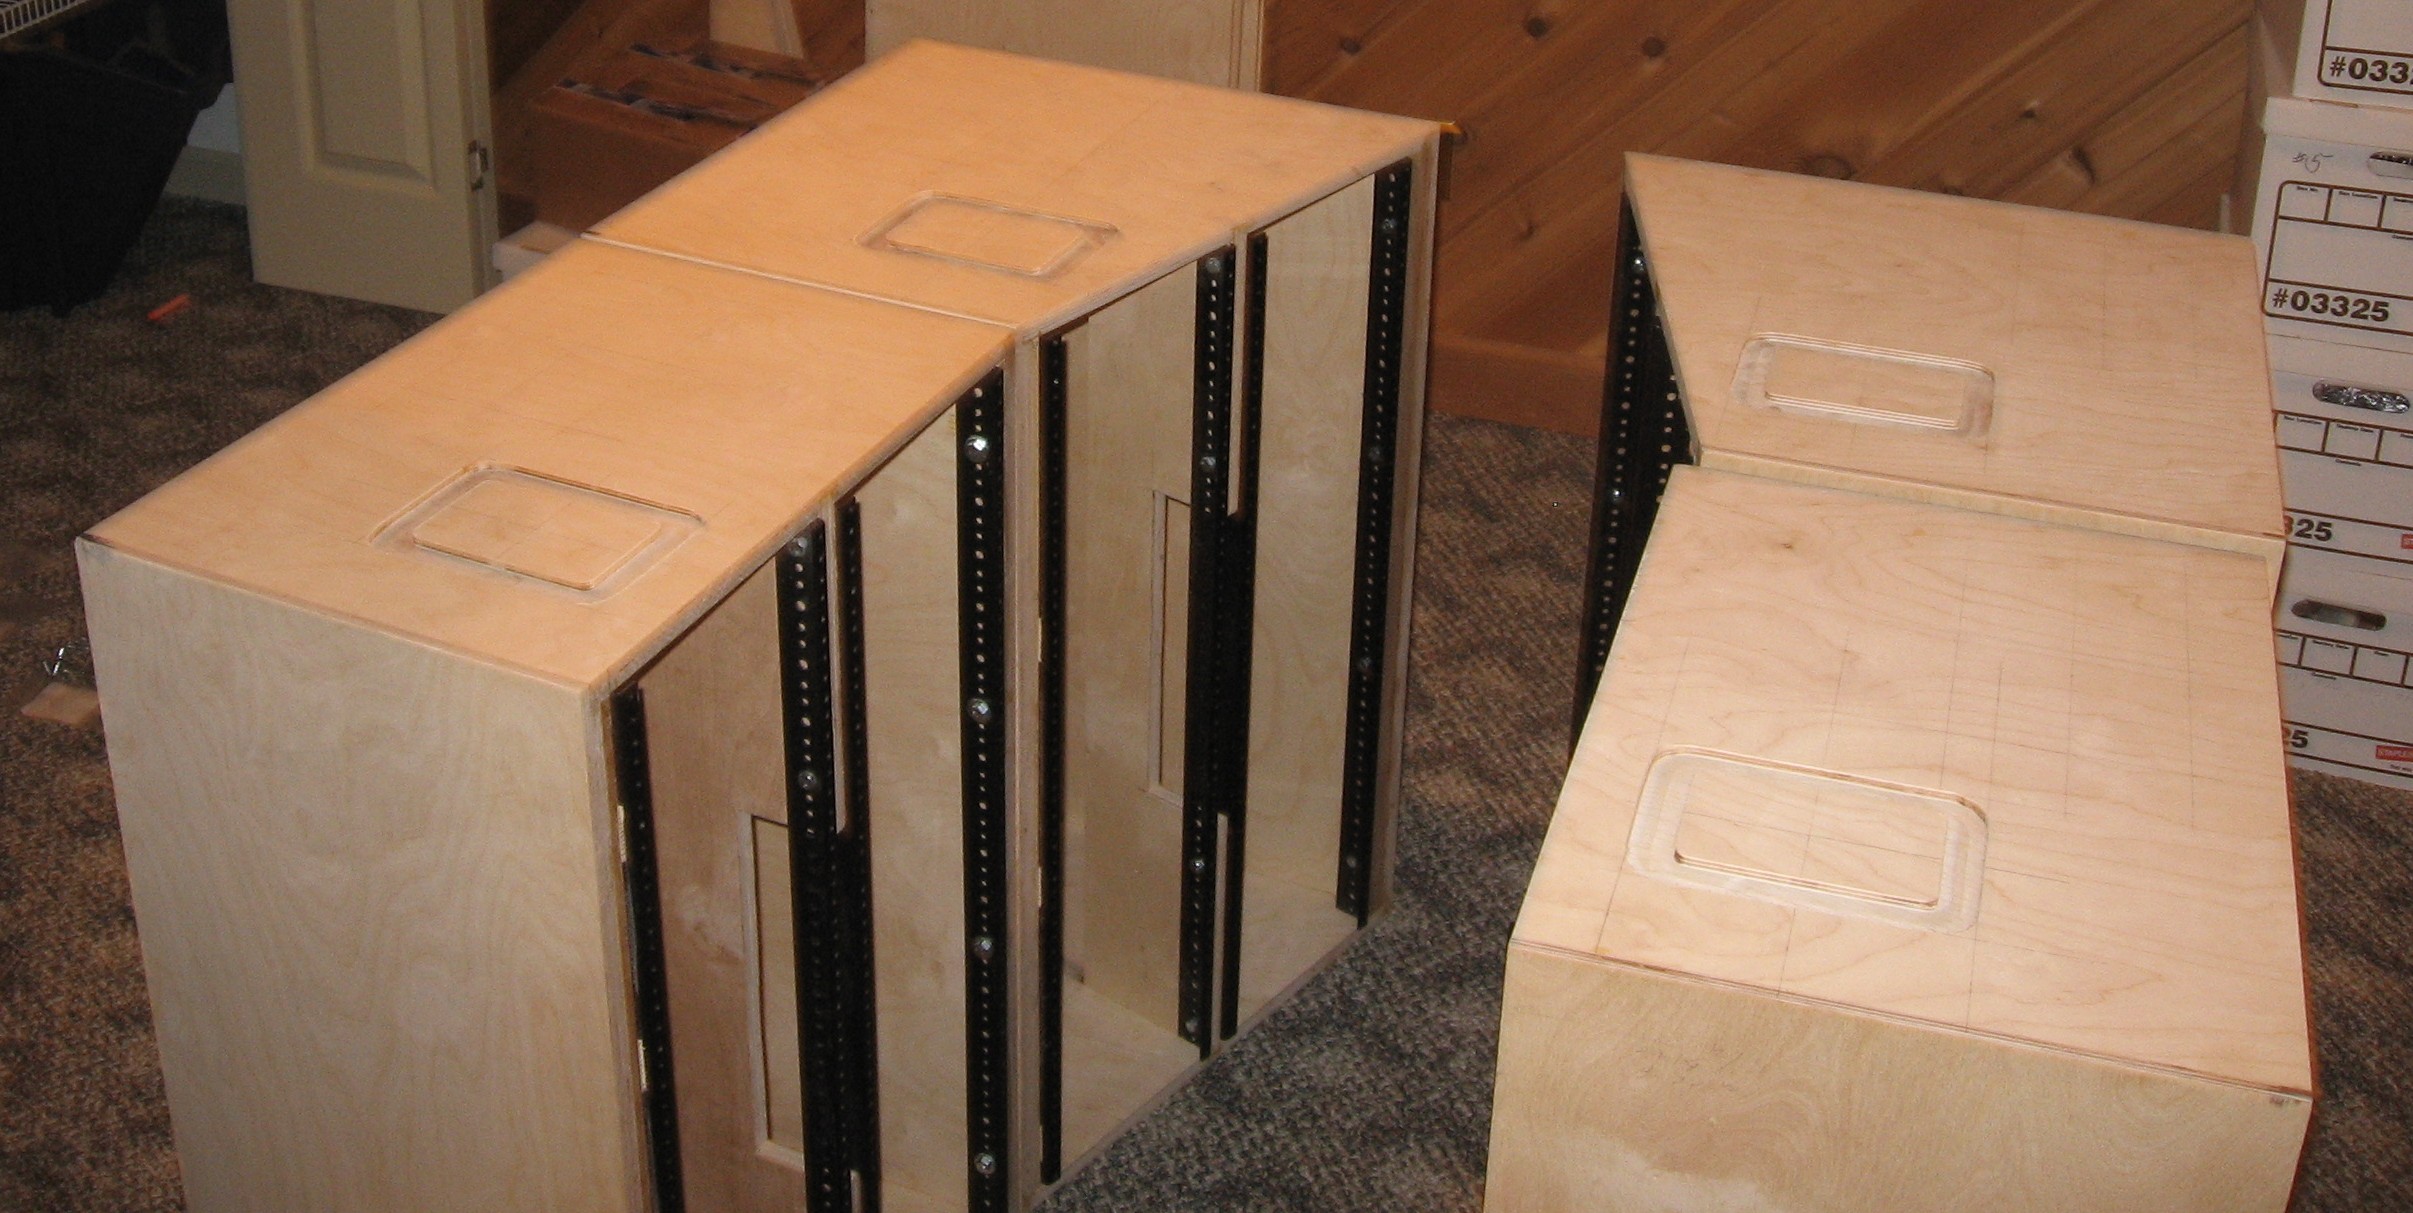
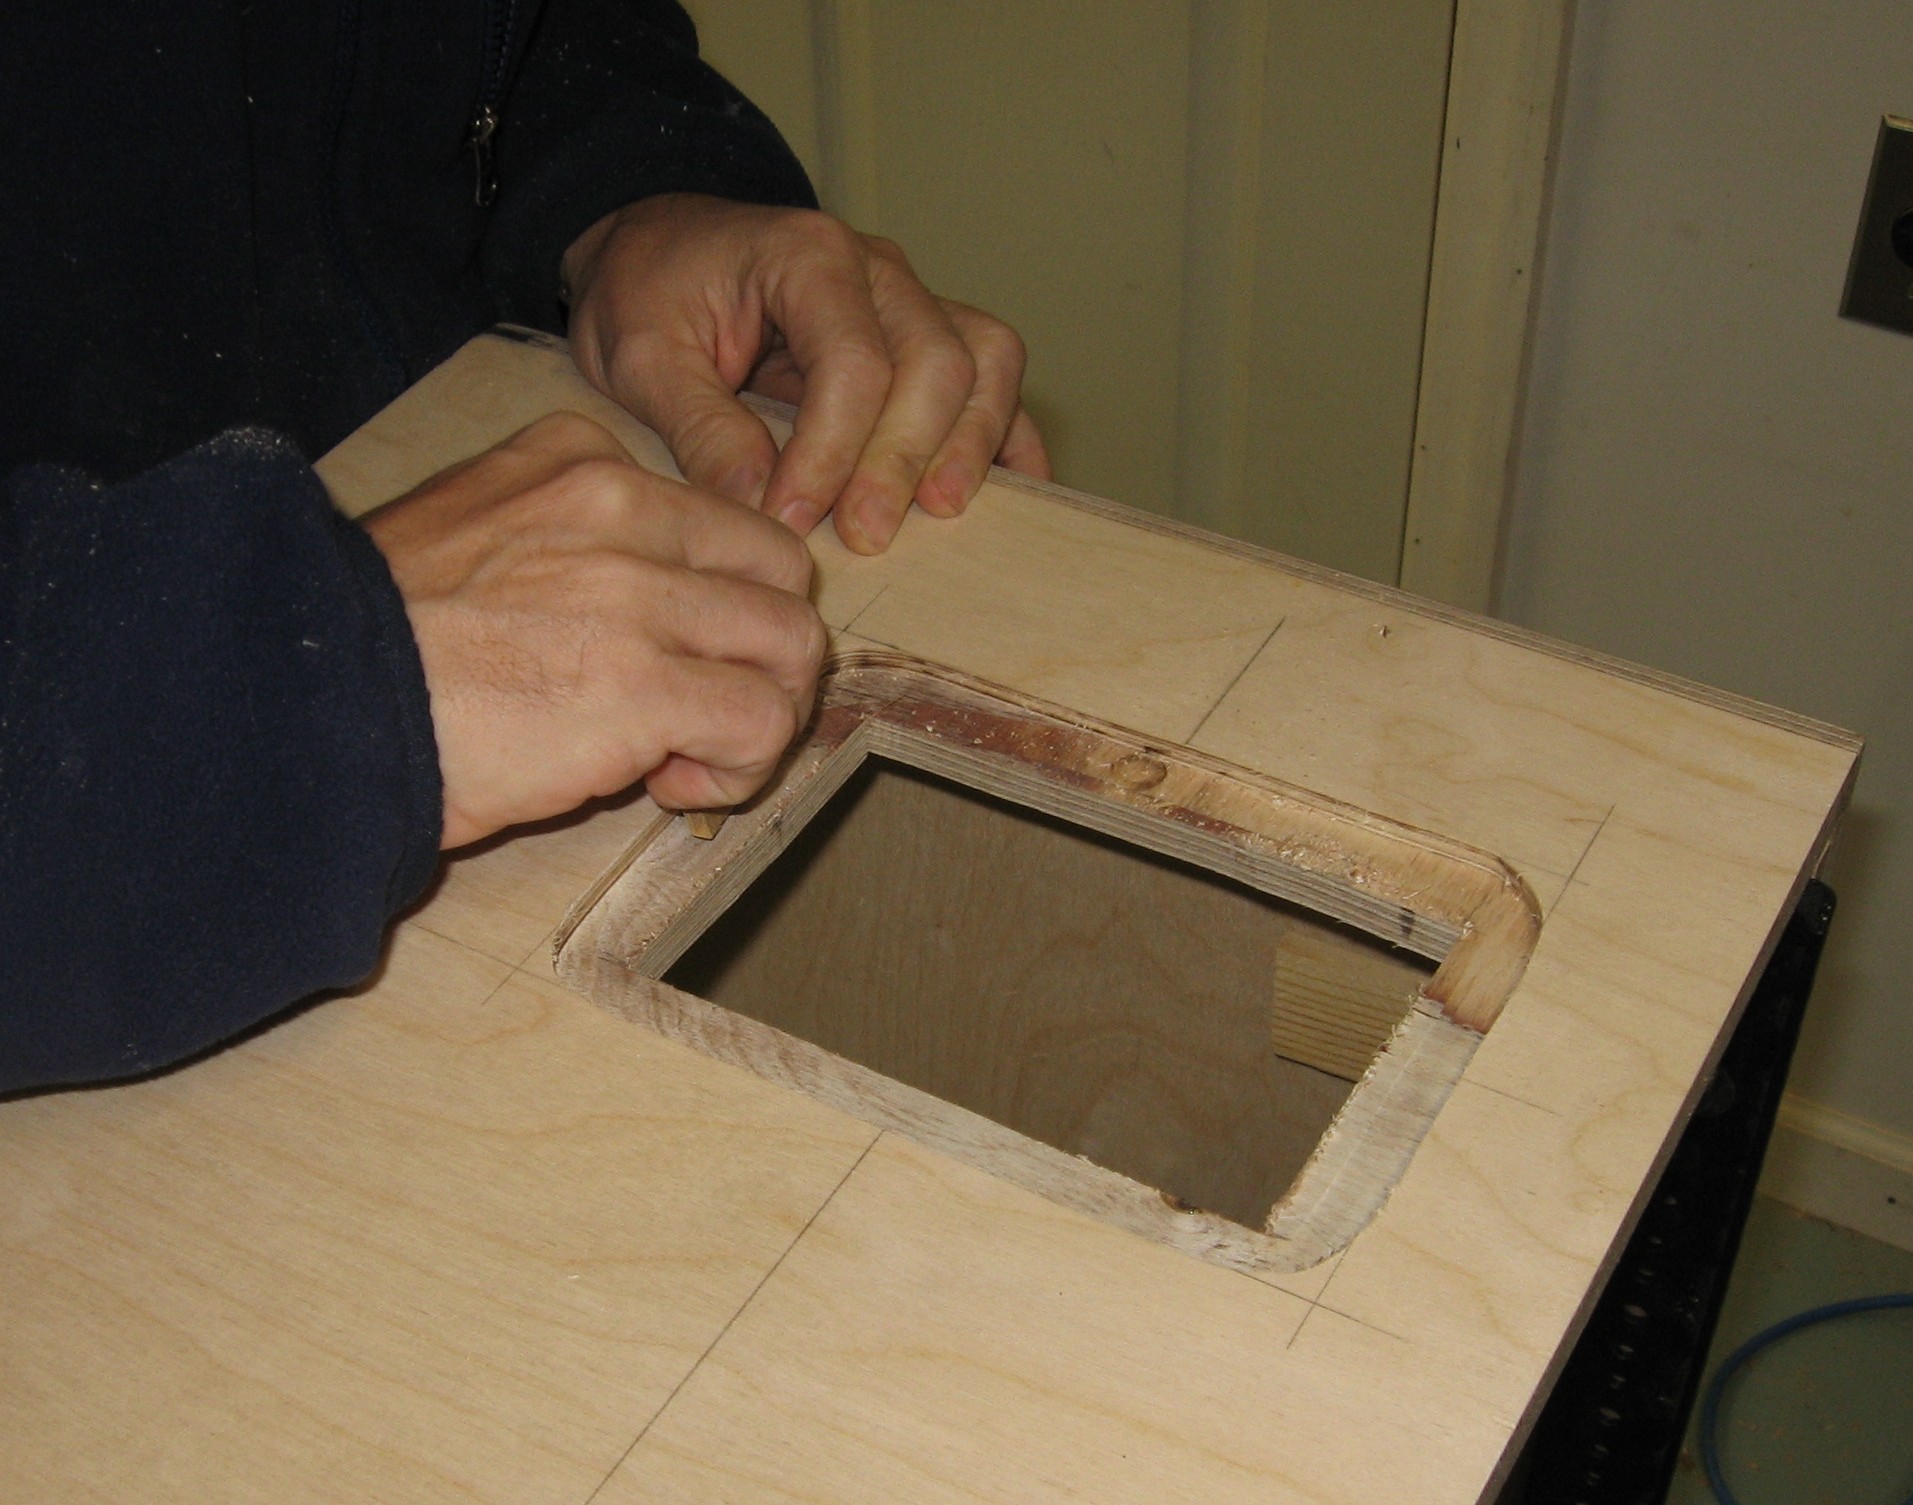
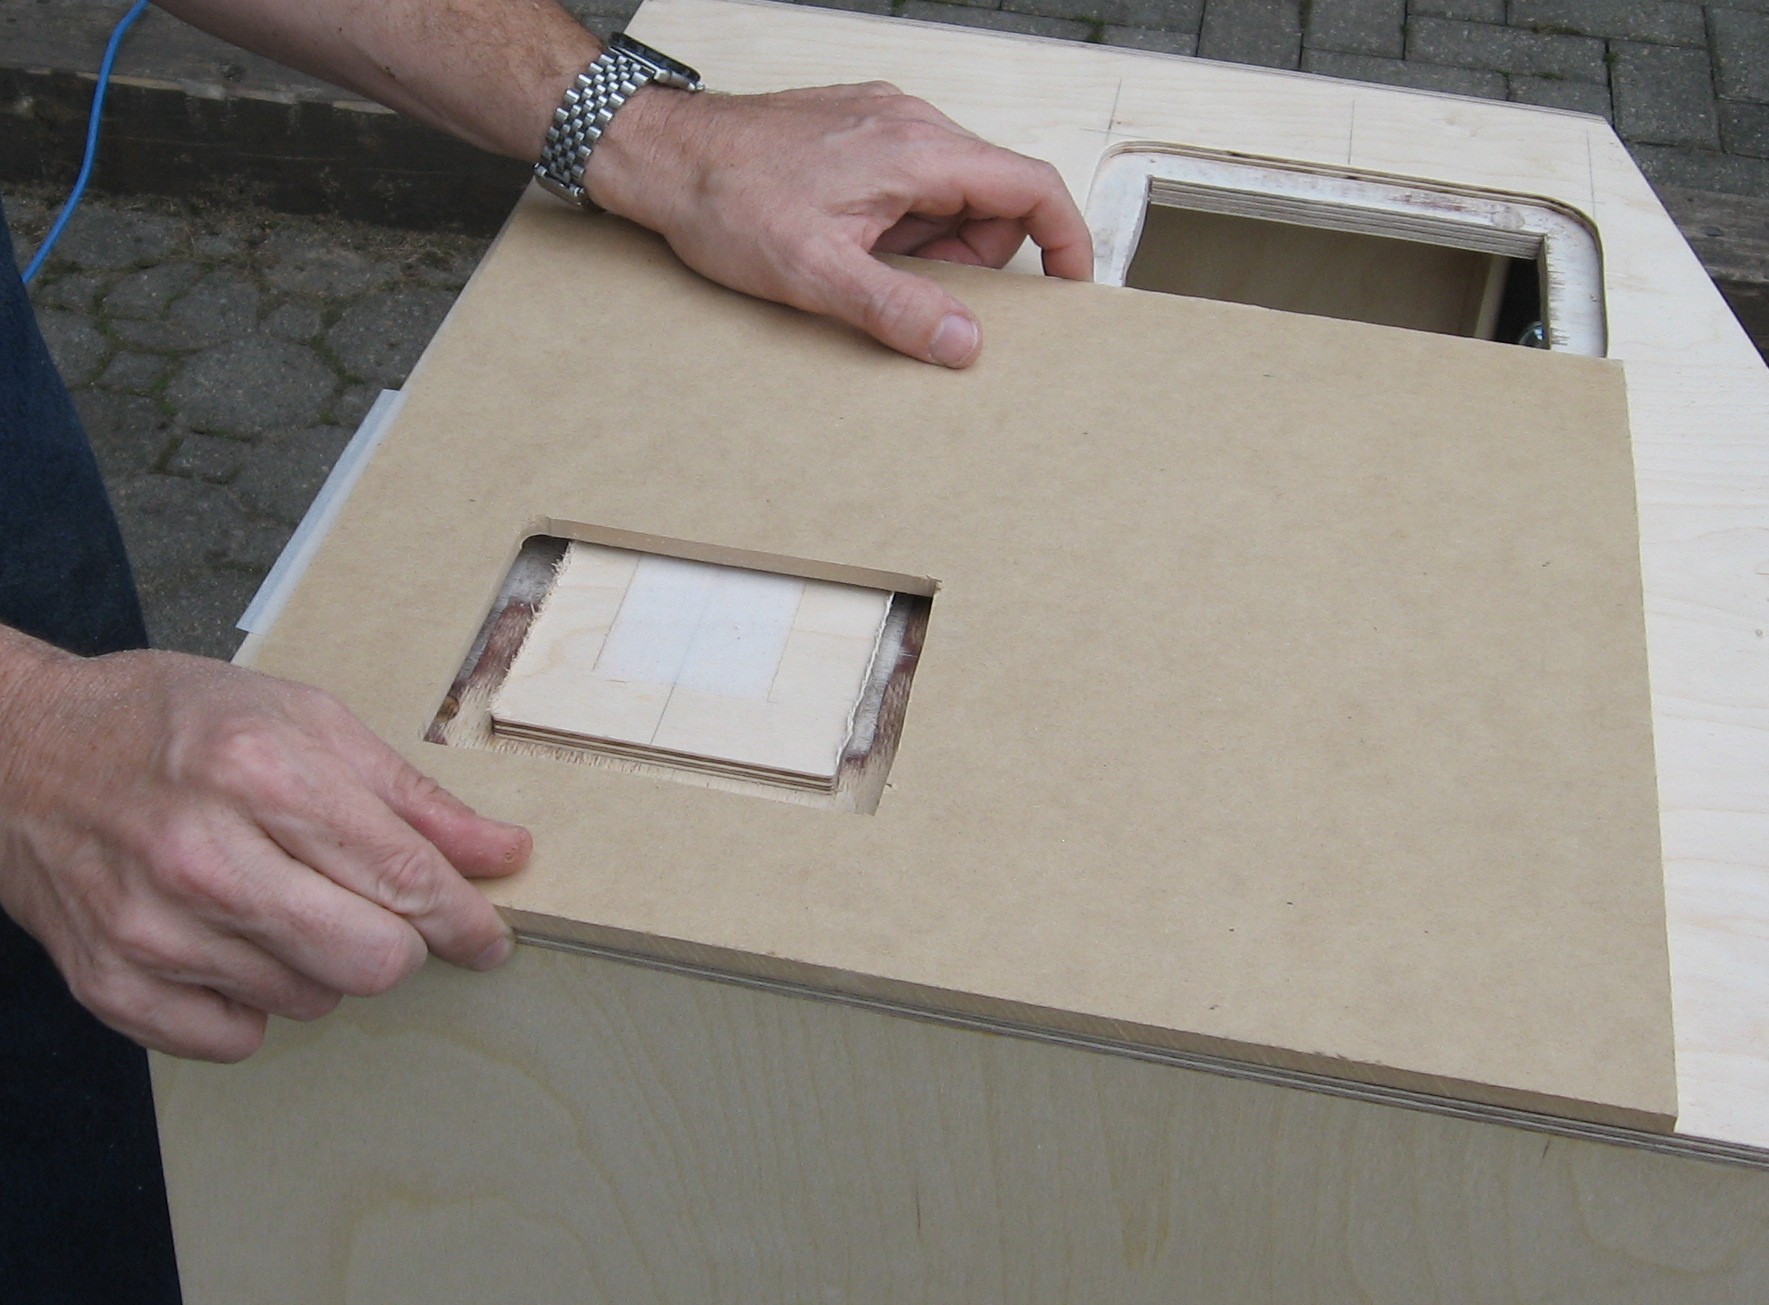
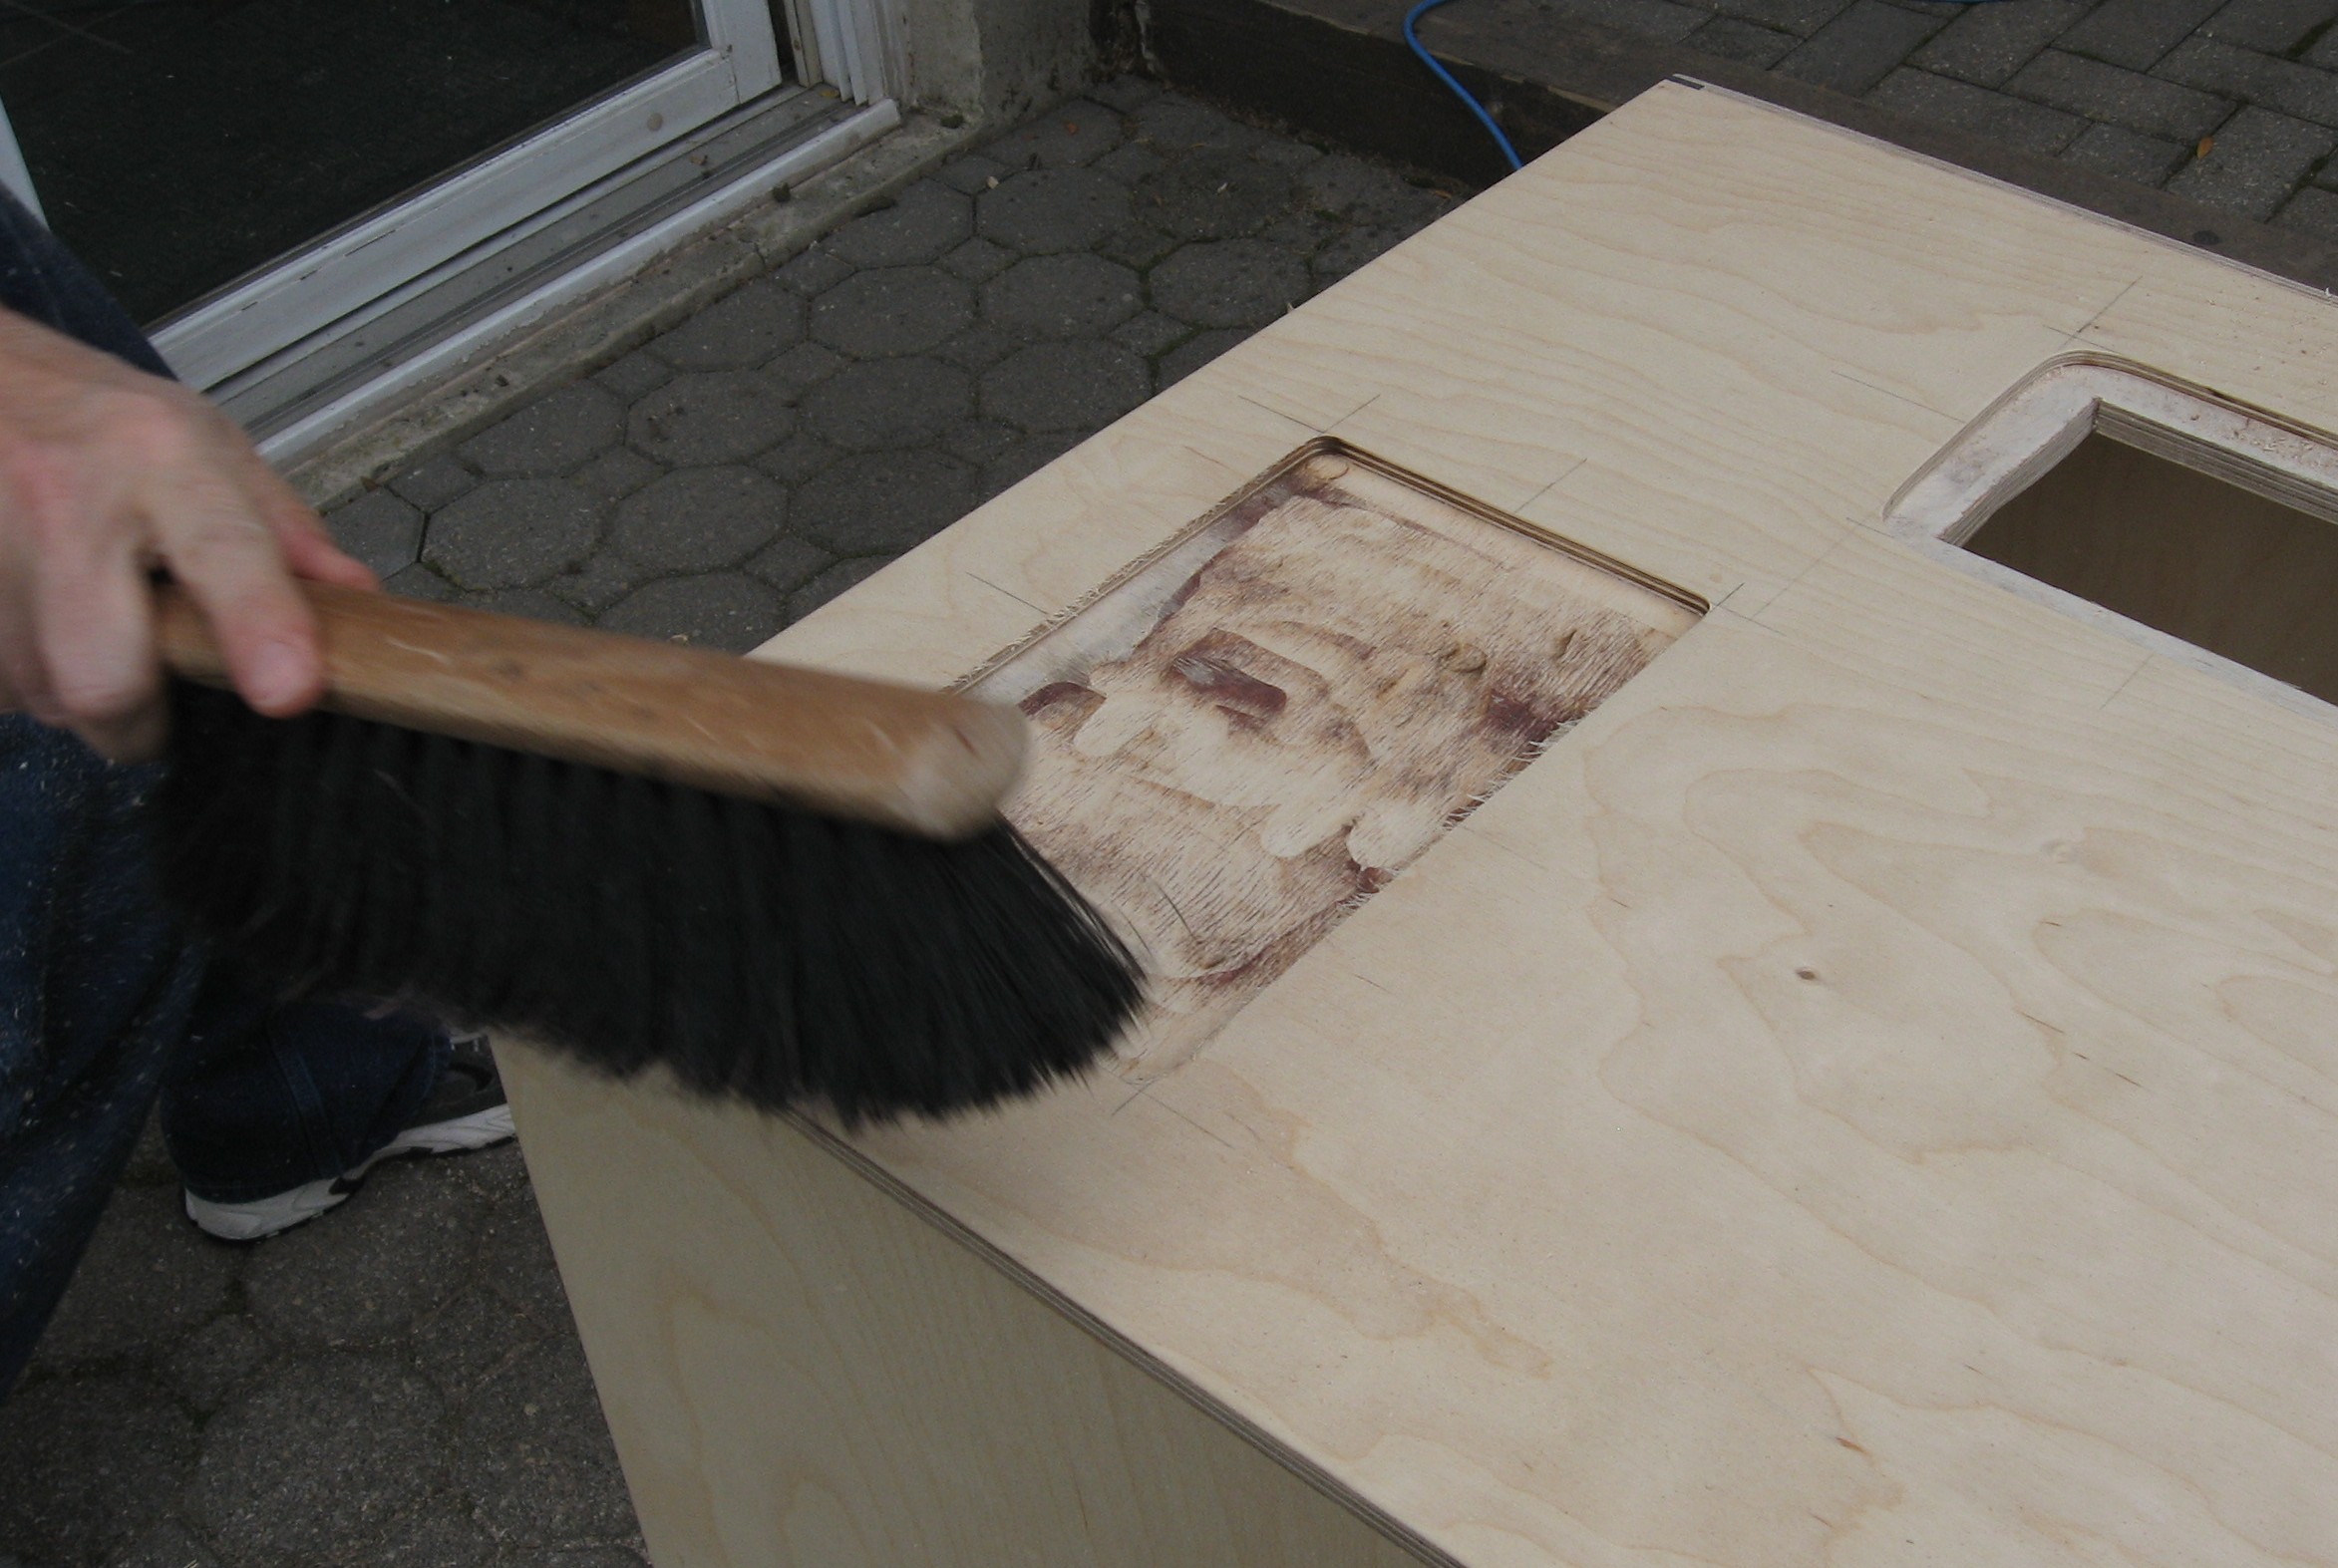
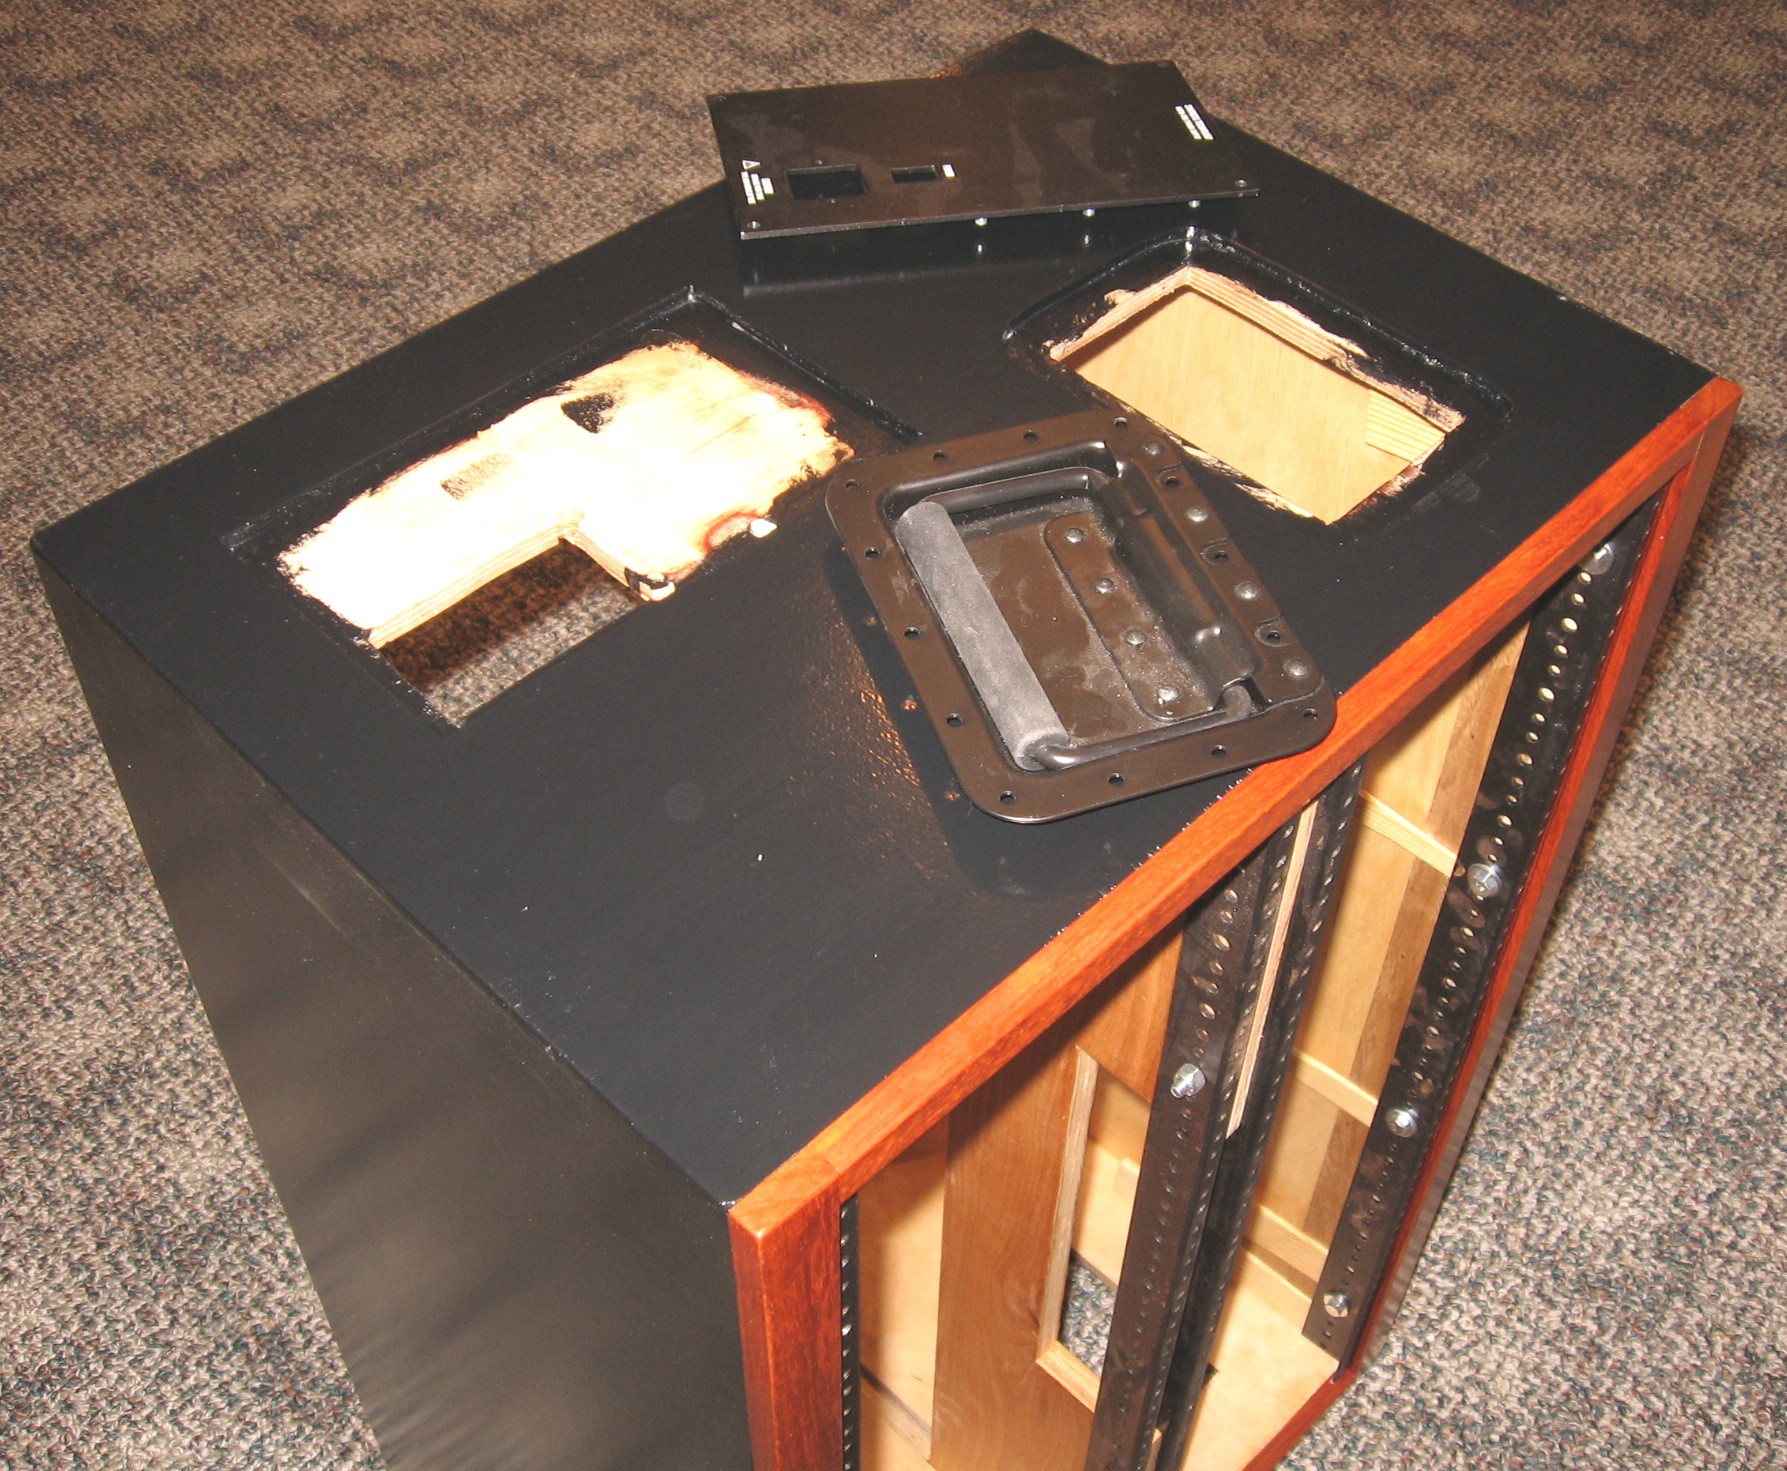
Cut Handle Holes So we cut all eight holes in the cabinets.
|
||
|
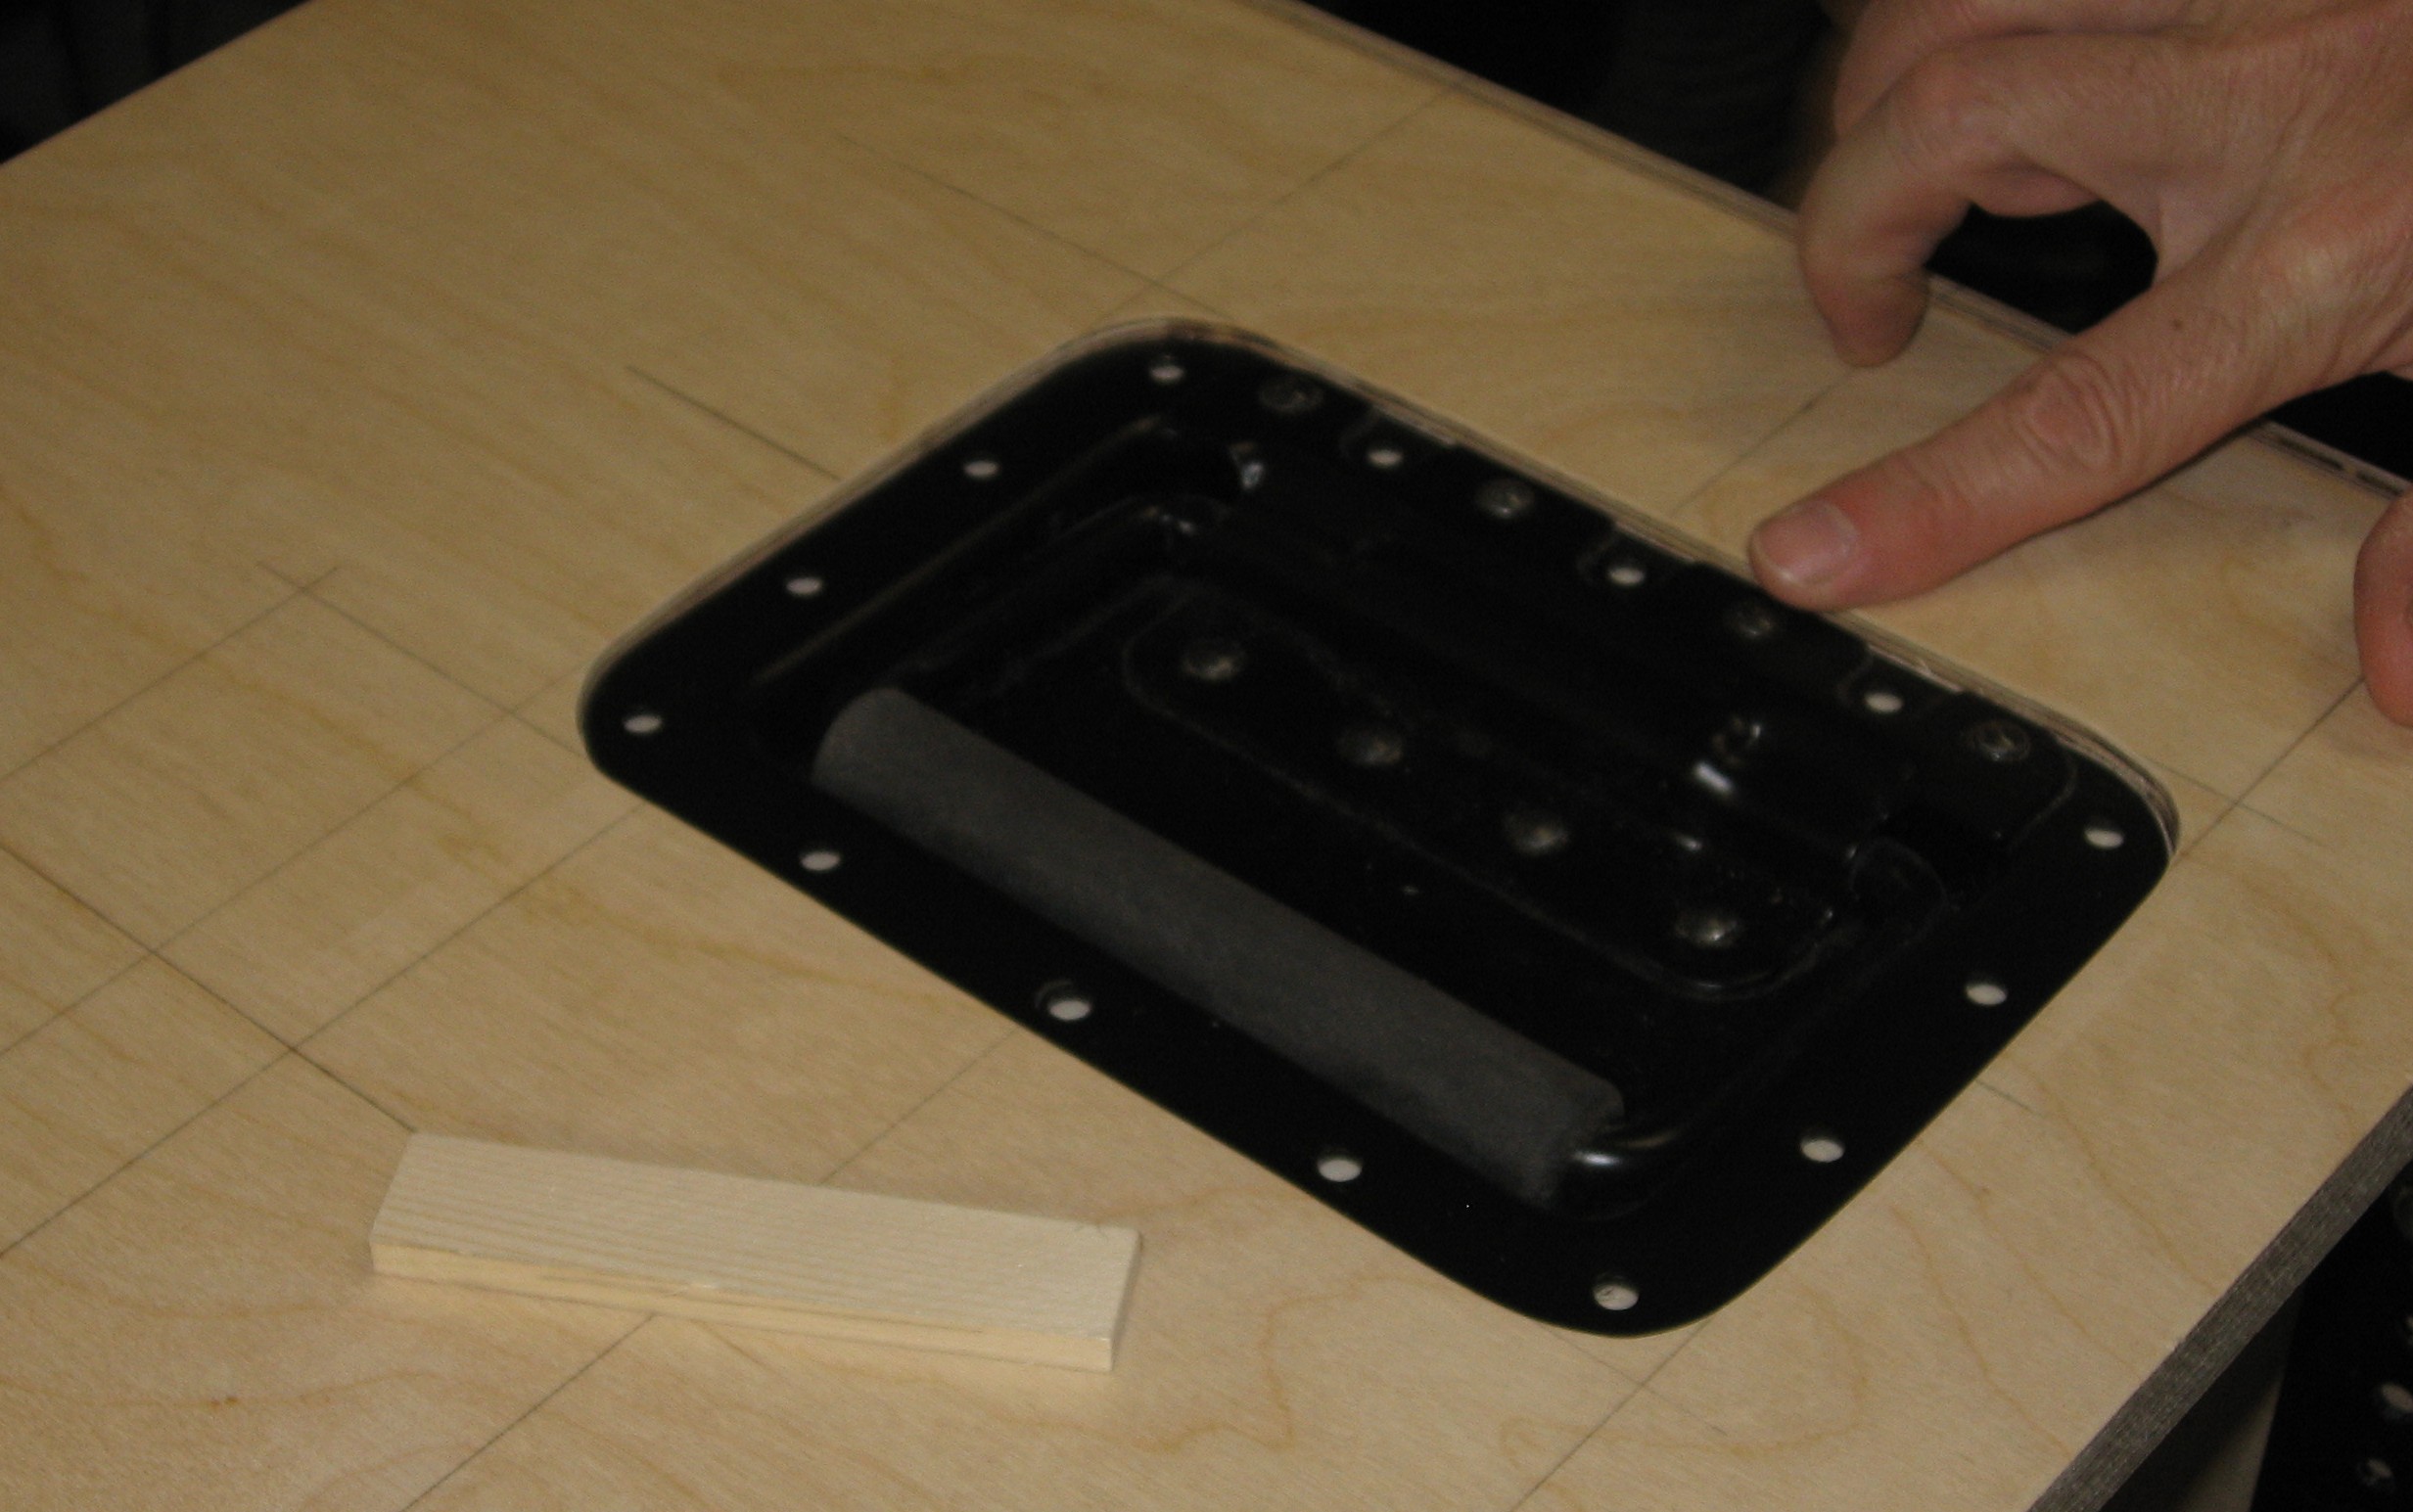
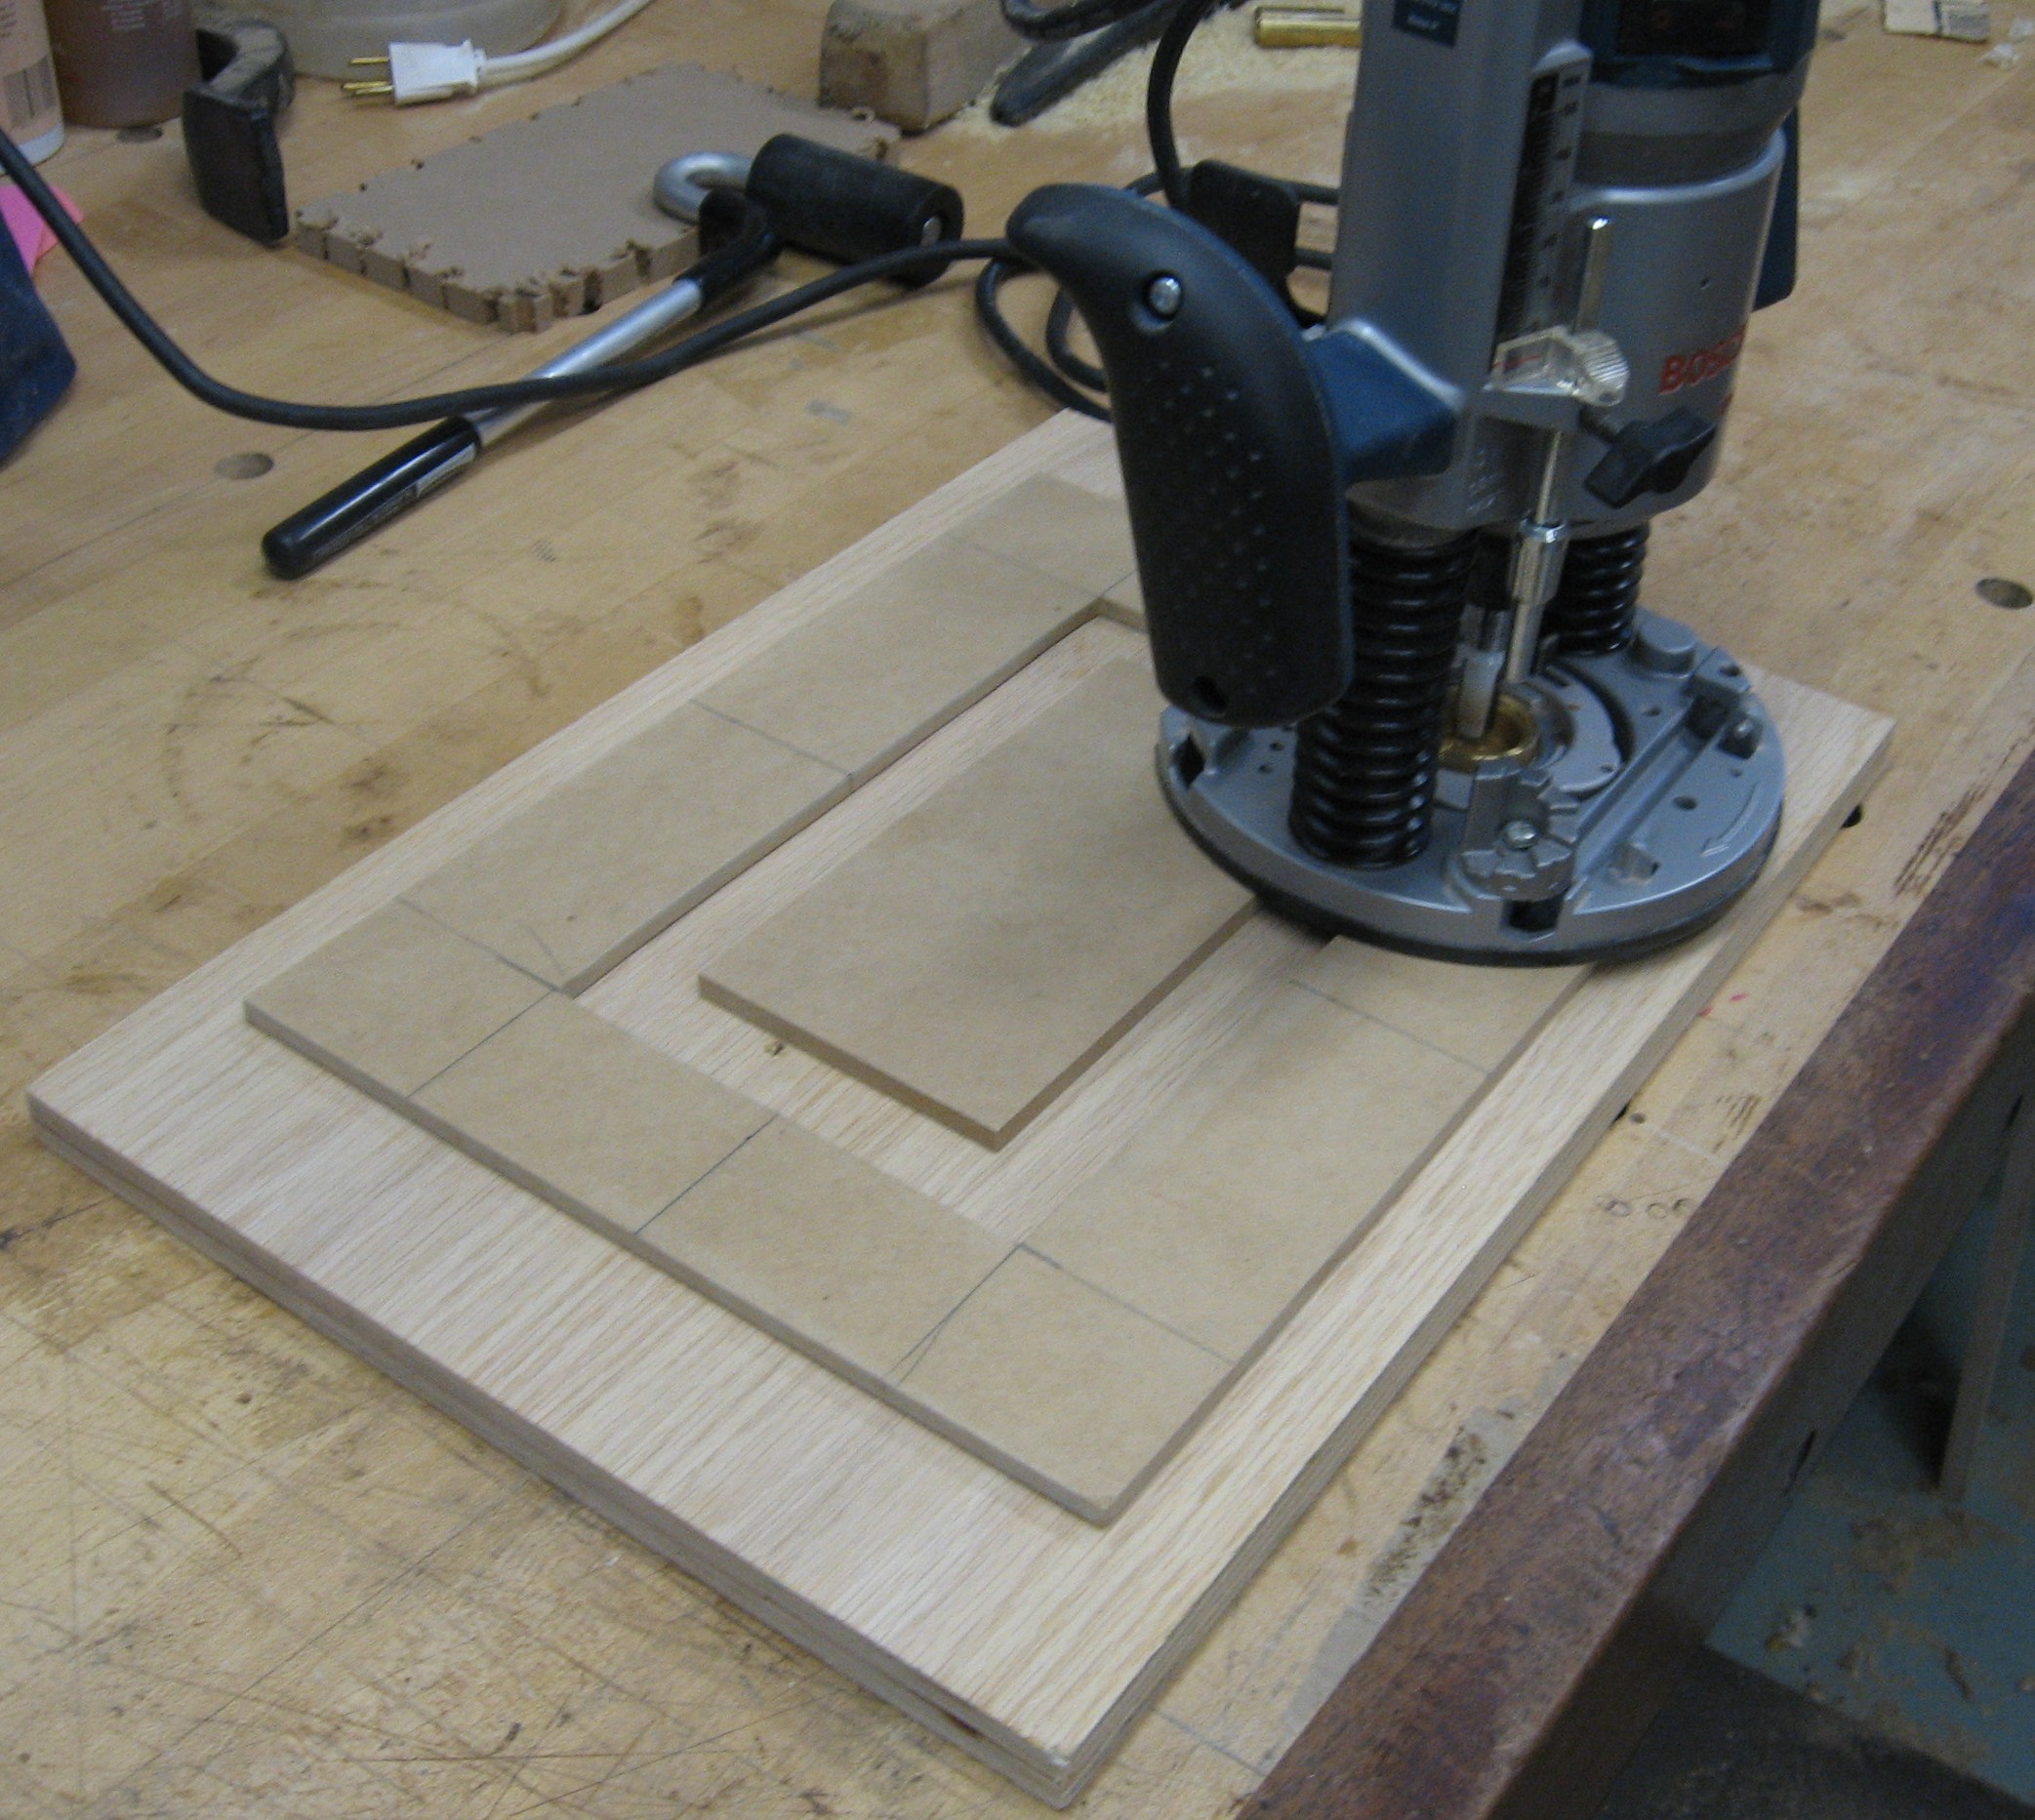
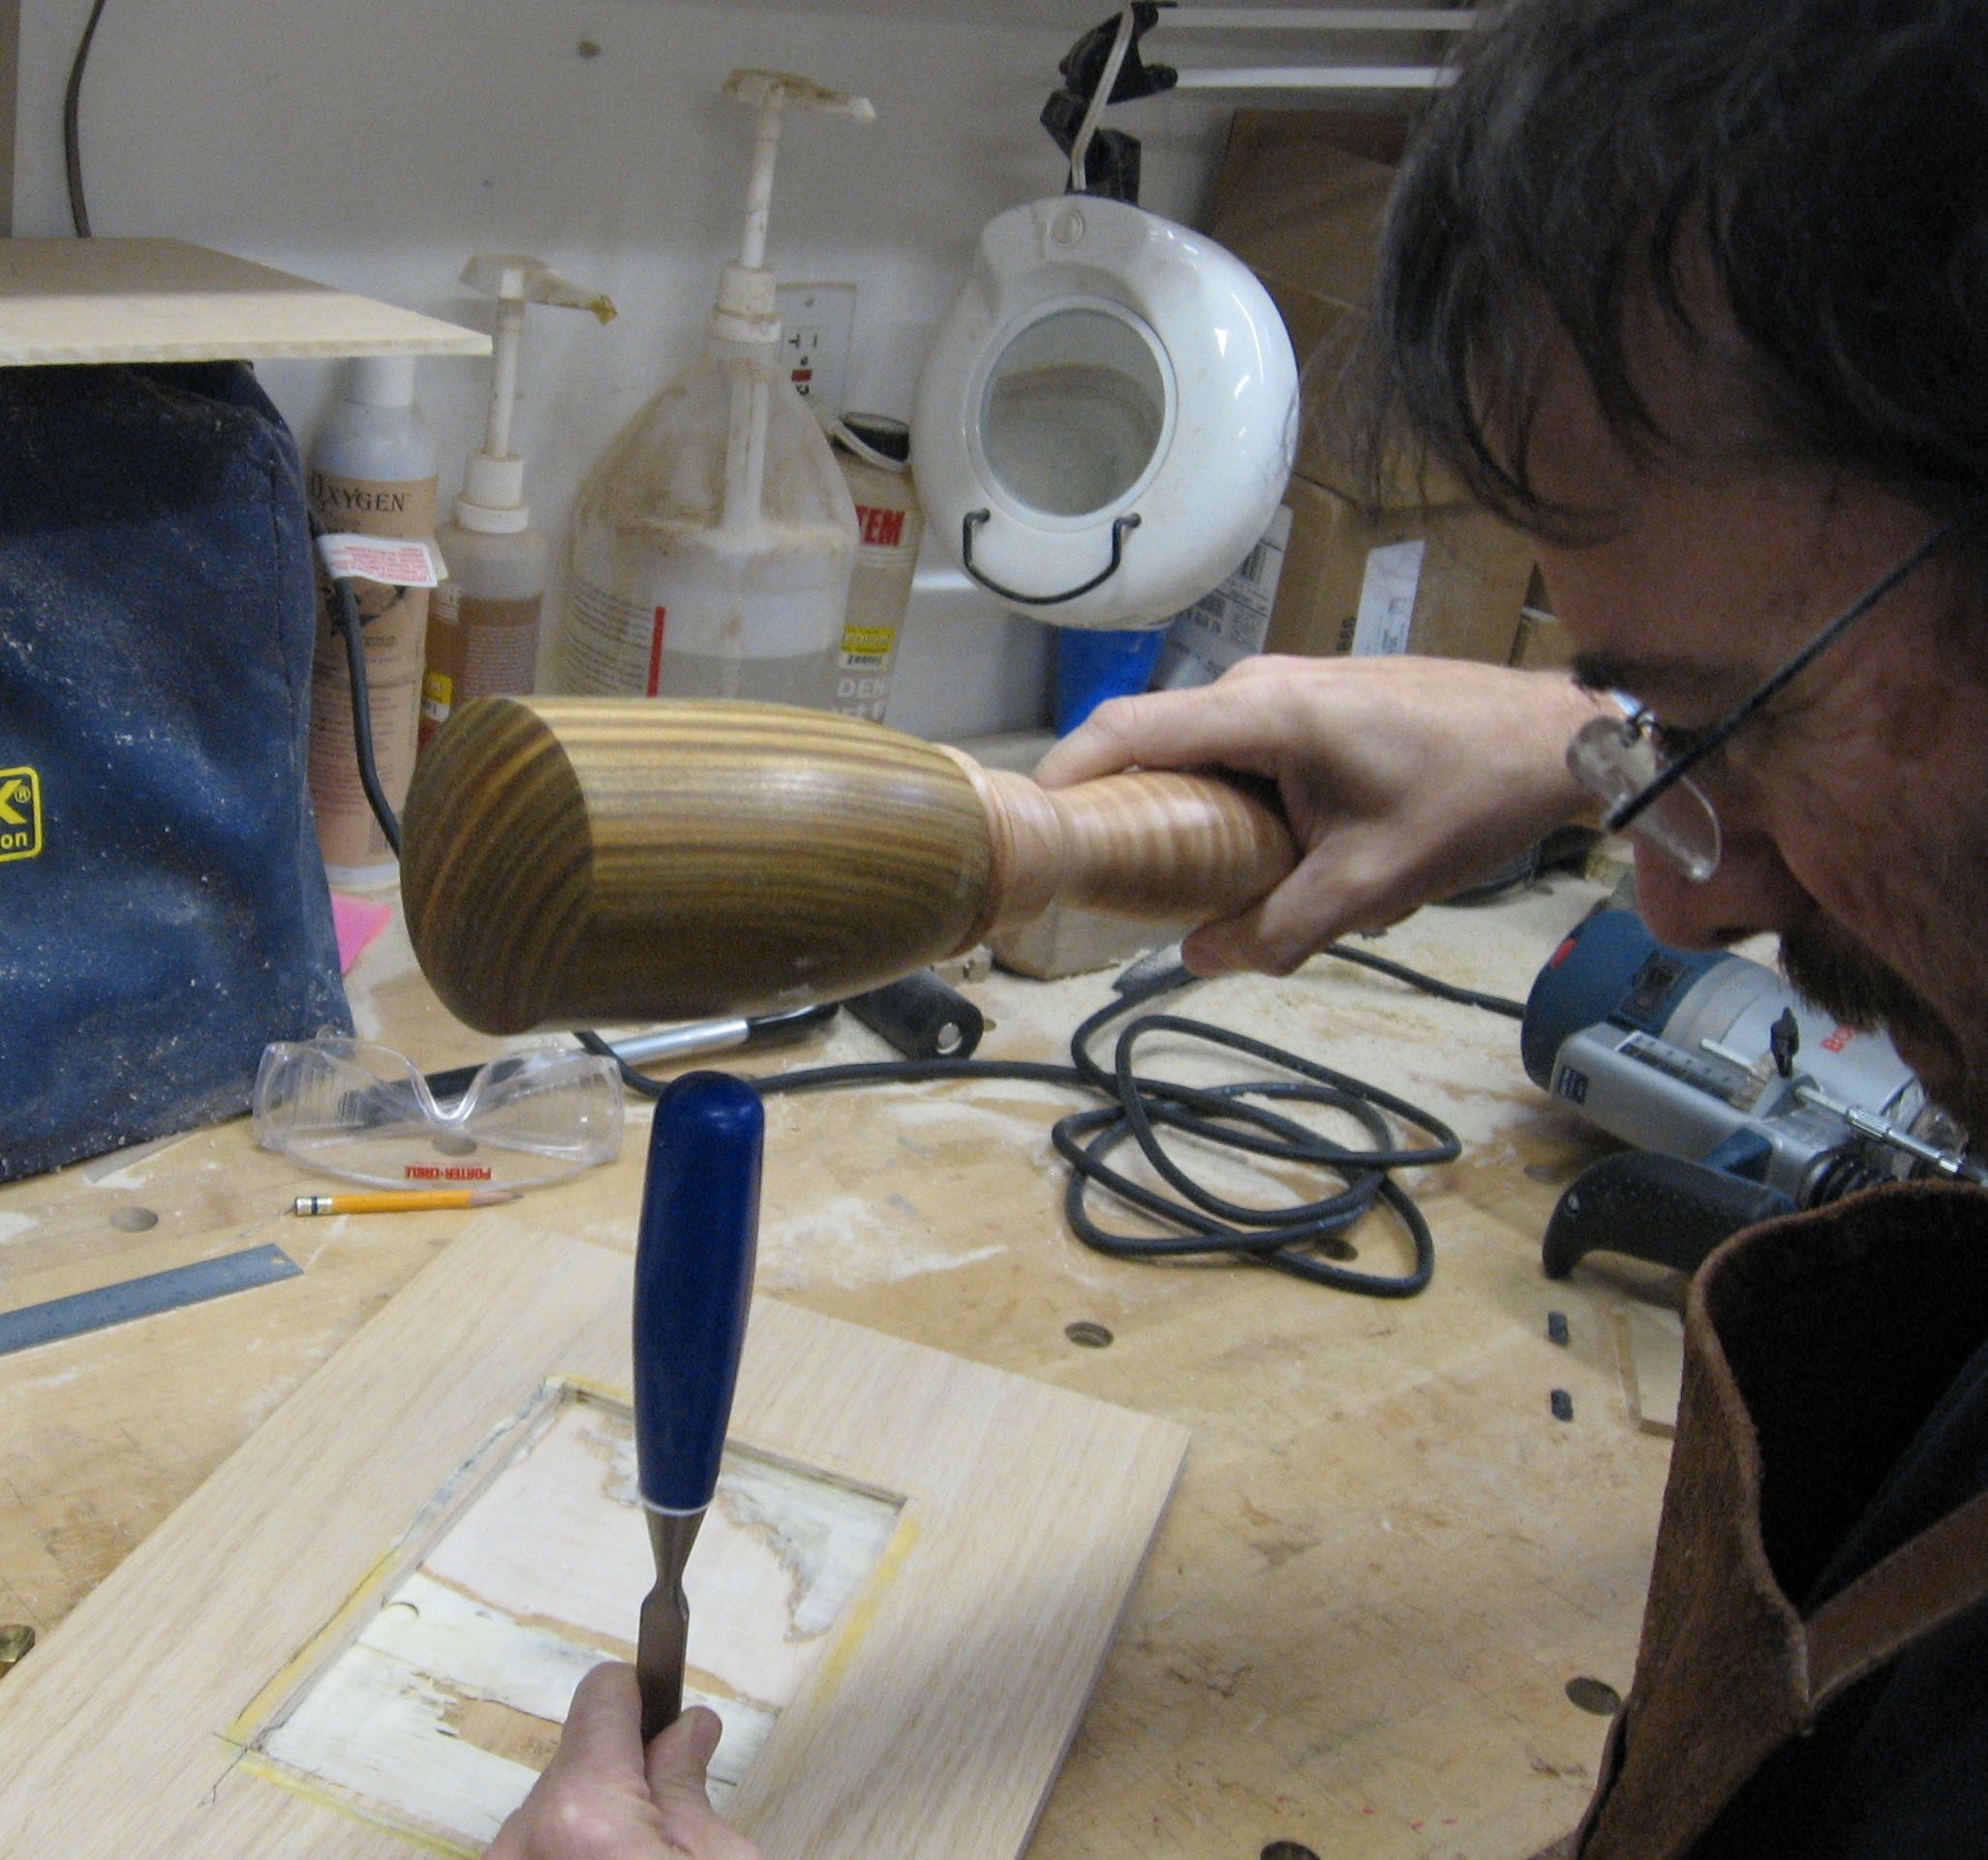
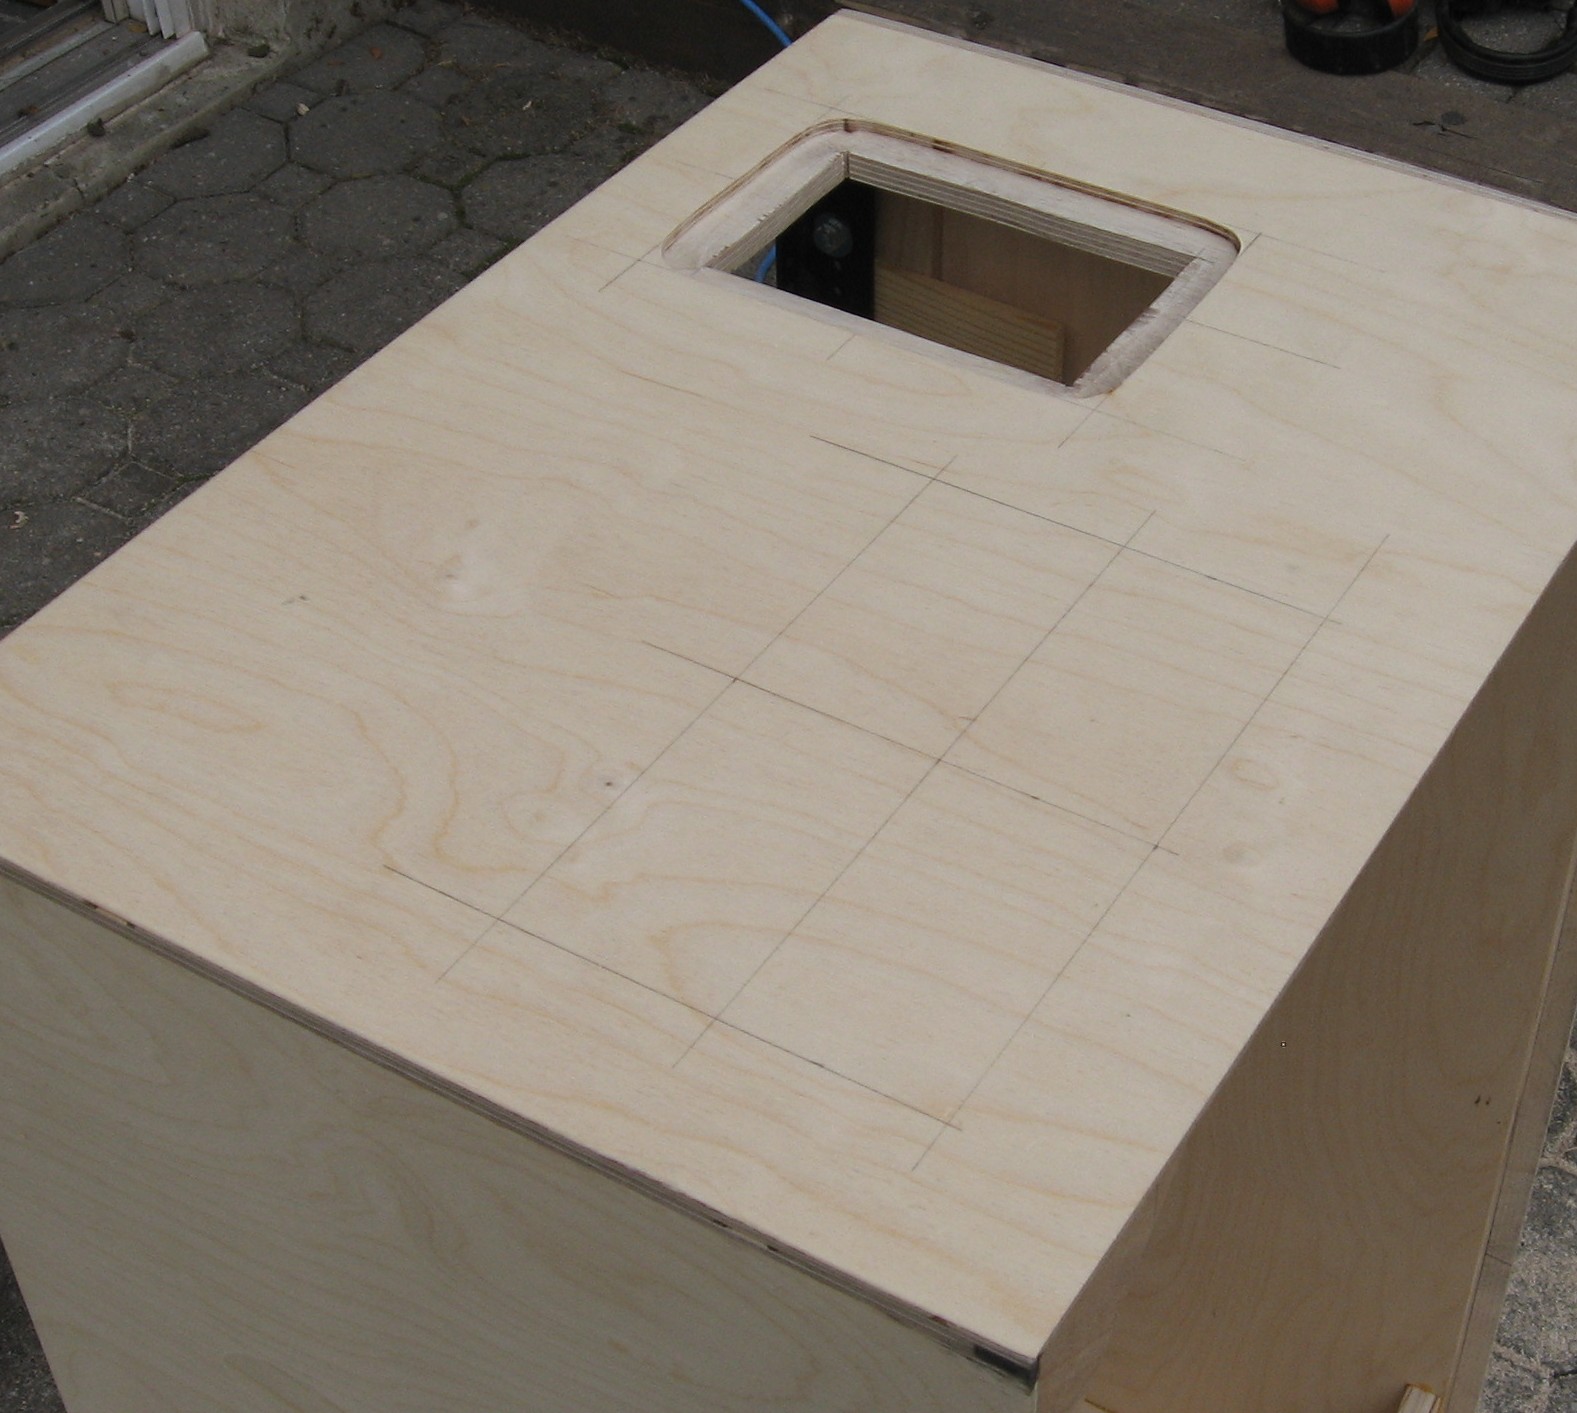
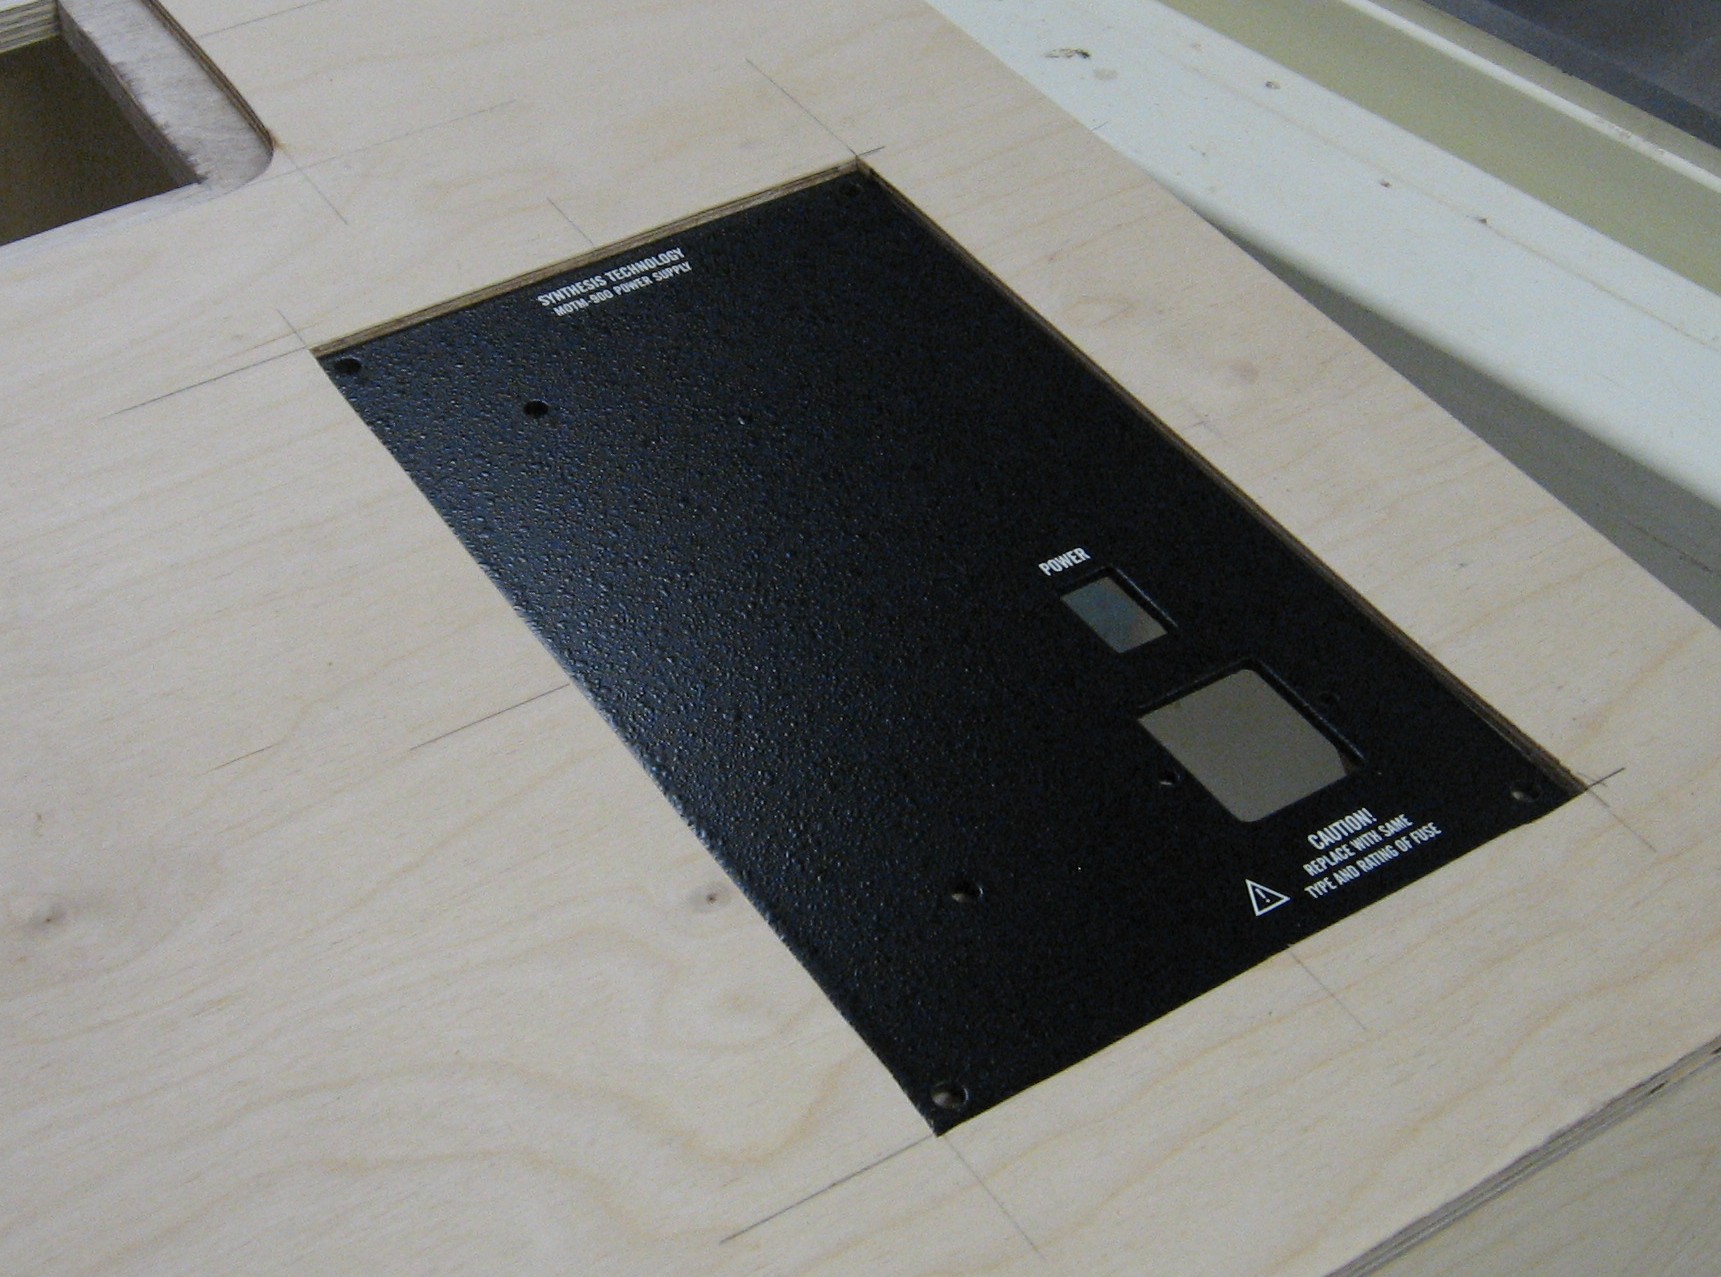
Power Panel Holes - Template Test Bart made a template the size of the Synth Tech power panels we're going to use.
In fact, the template proved to ba a little too narrow, so he adjusted it and tried again. We didn't take a picture of the clever template he made to stabilize the router while he was removing all the material in the center of the recess (you can see that below), but that's how he did it.
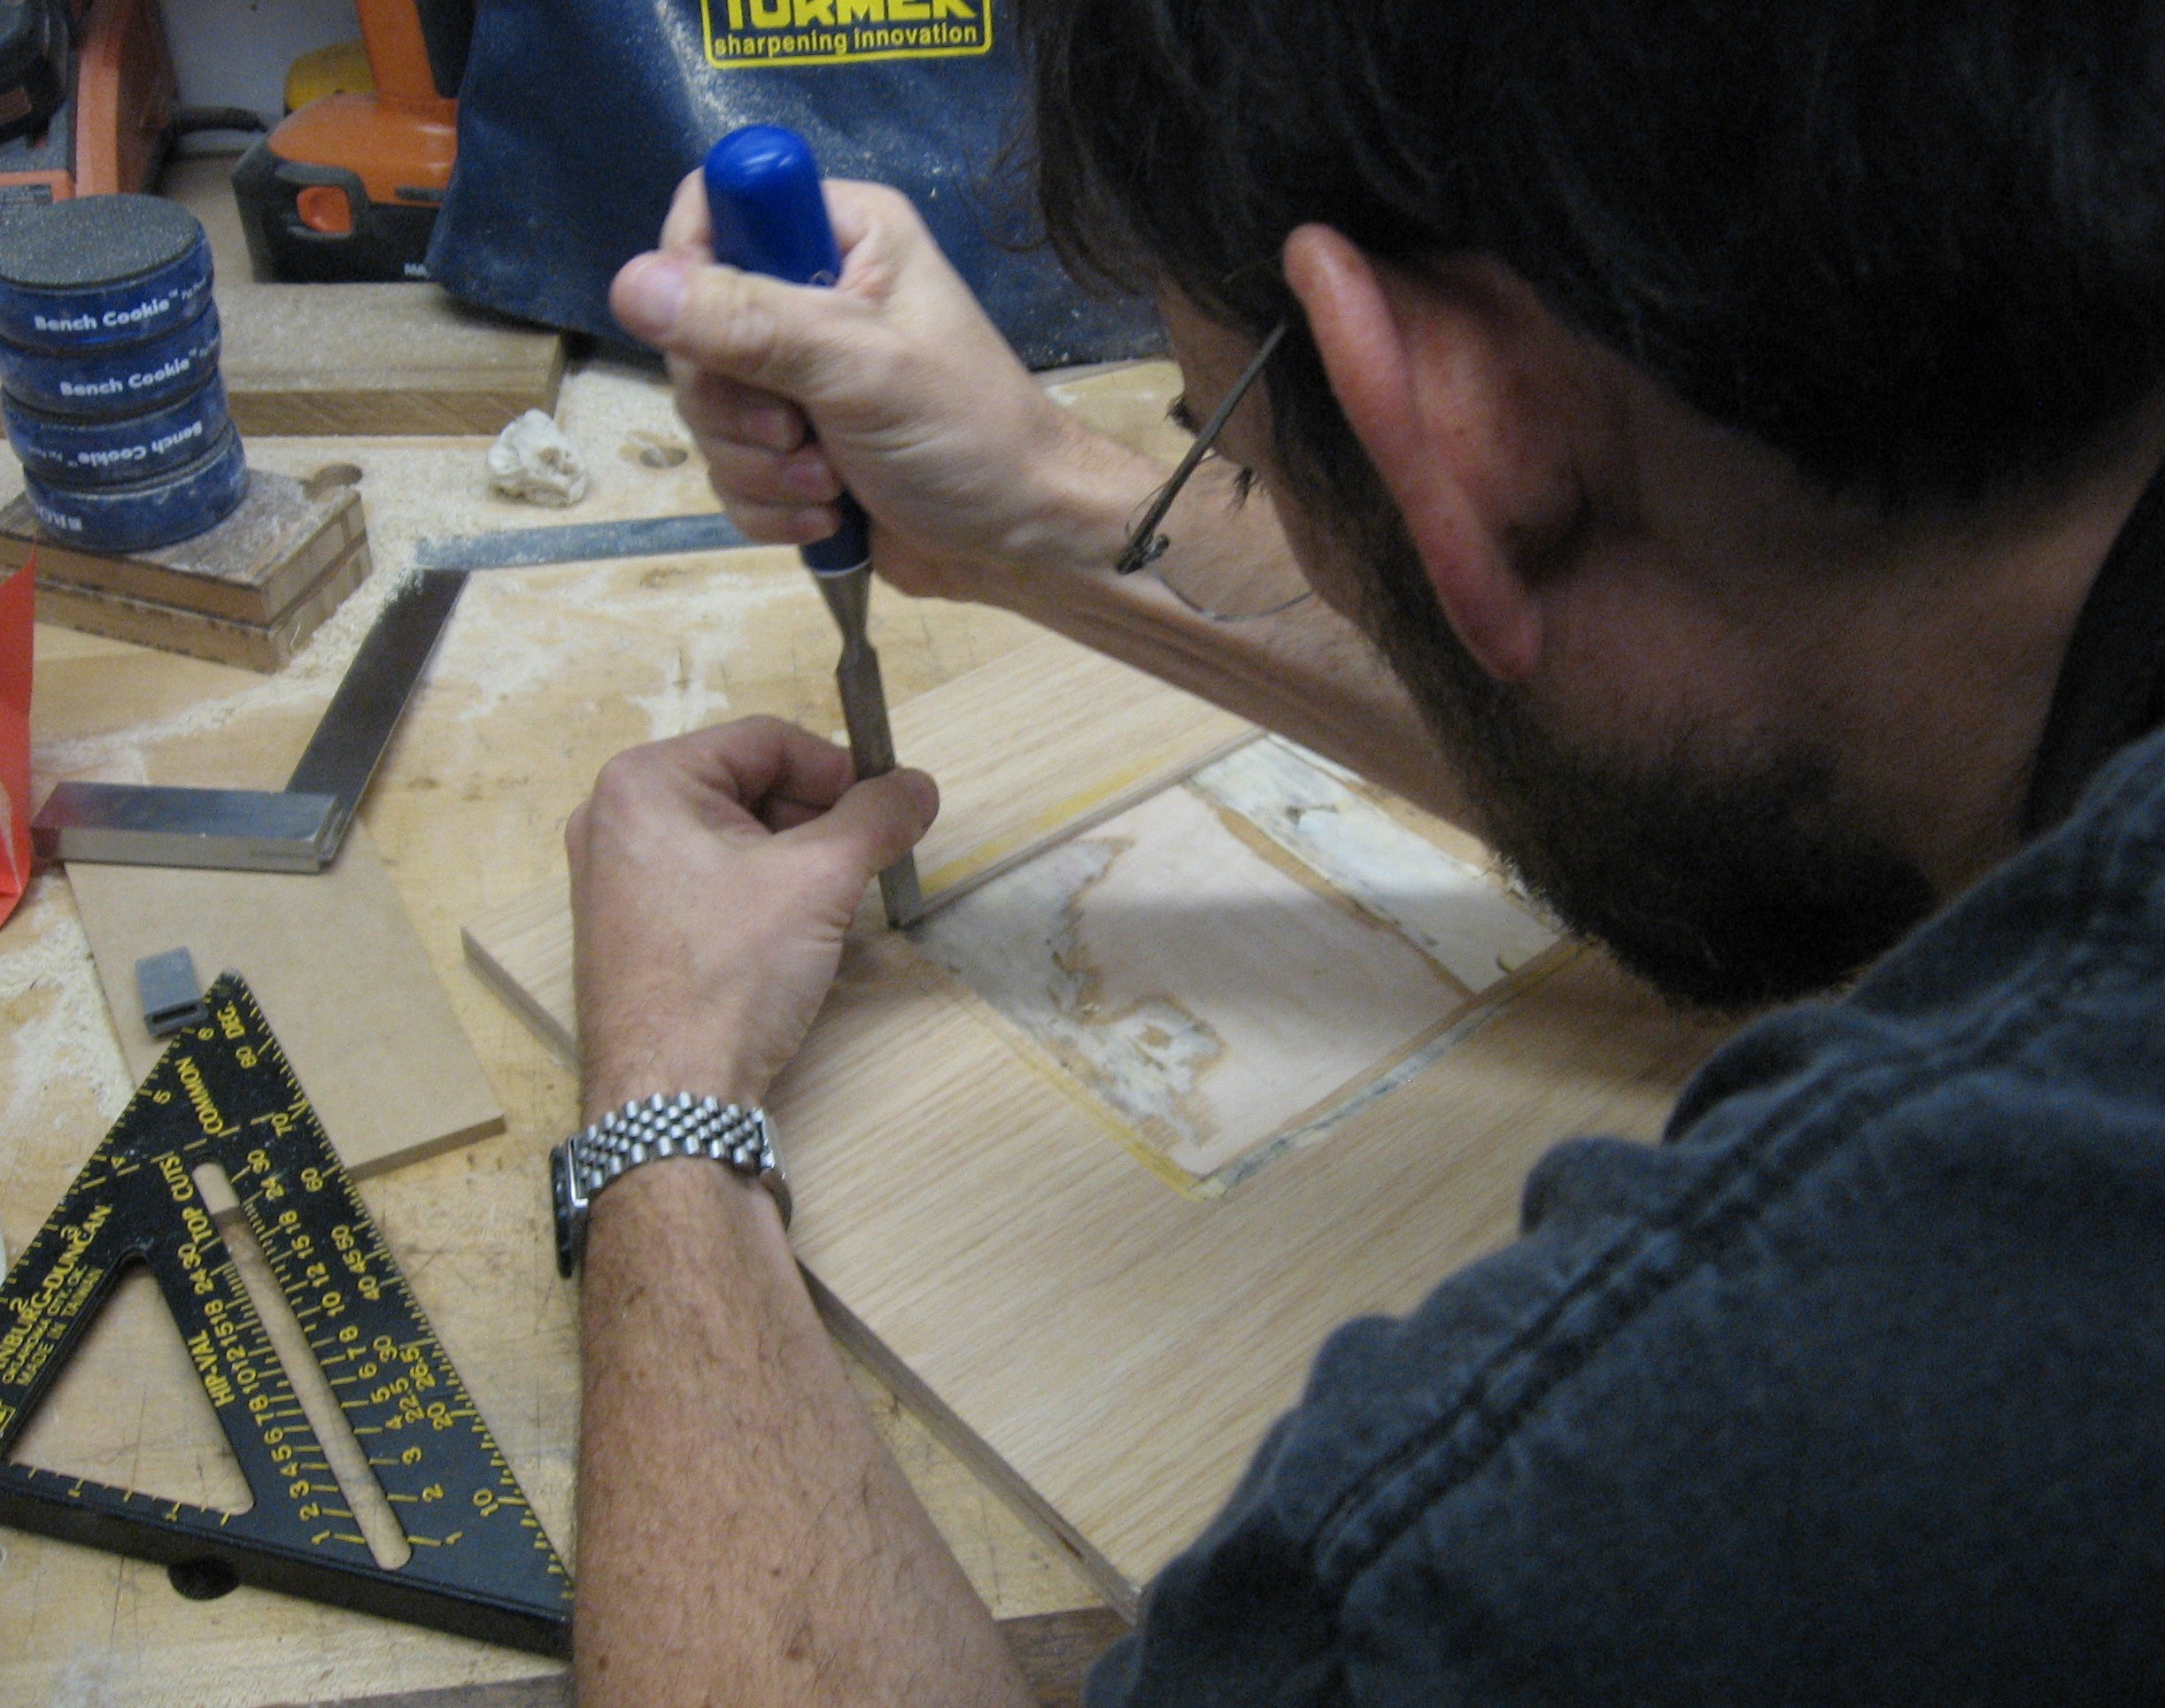
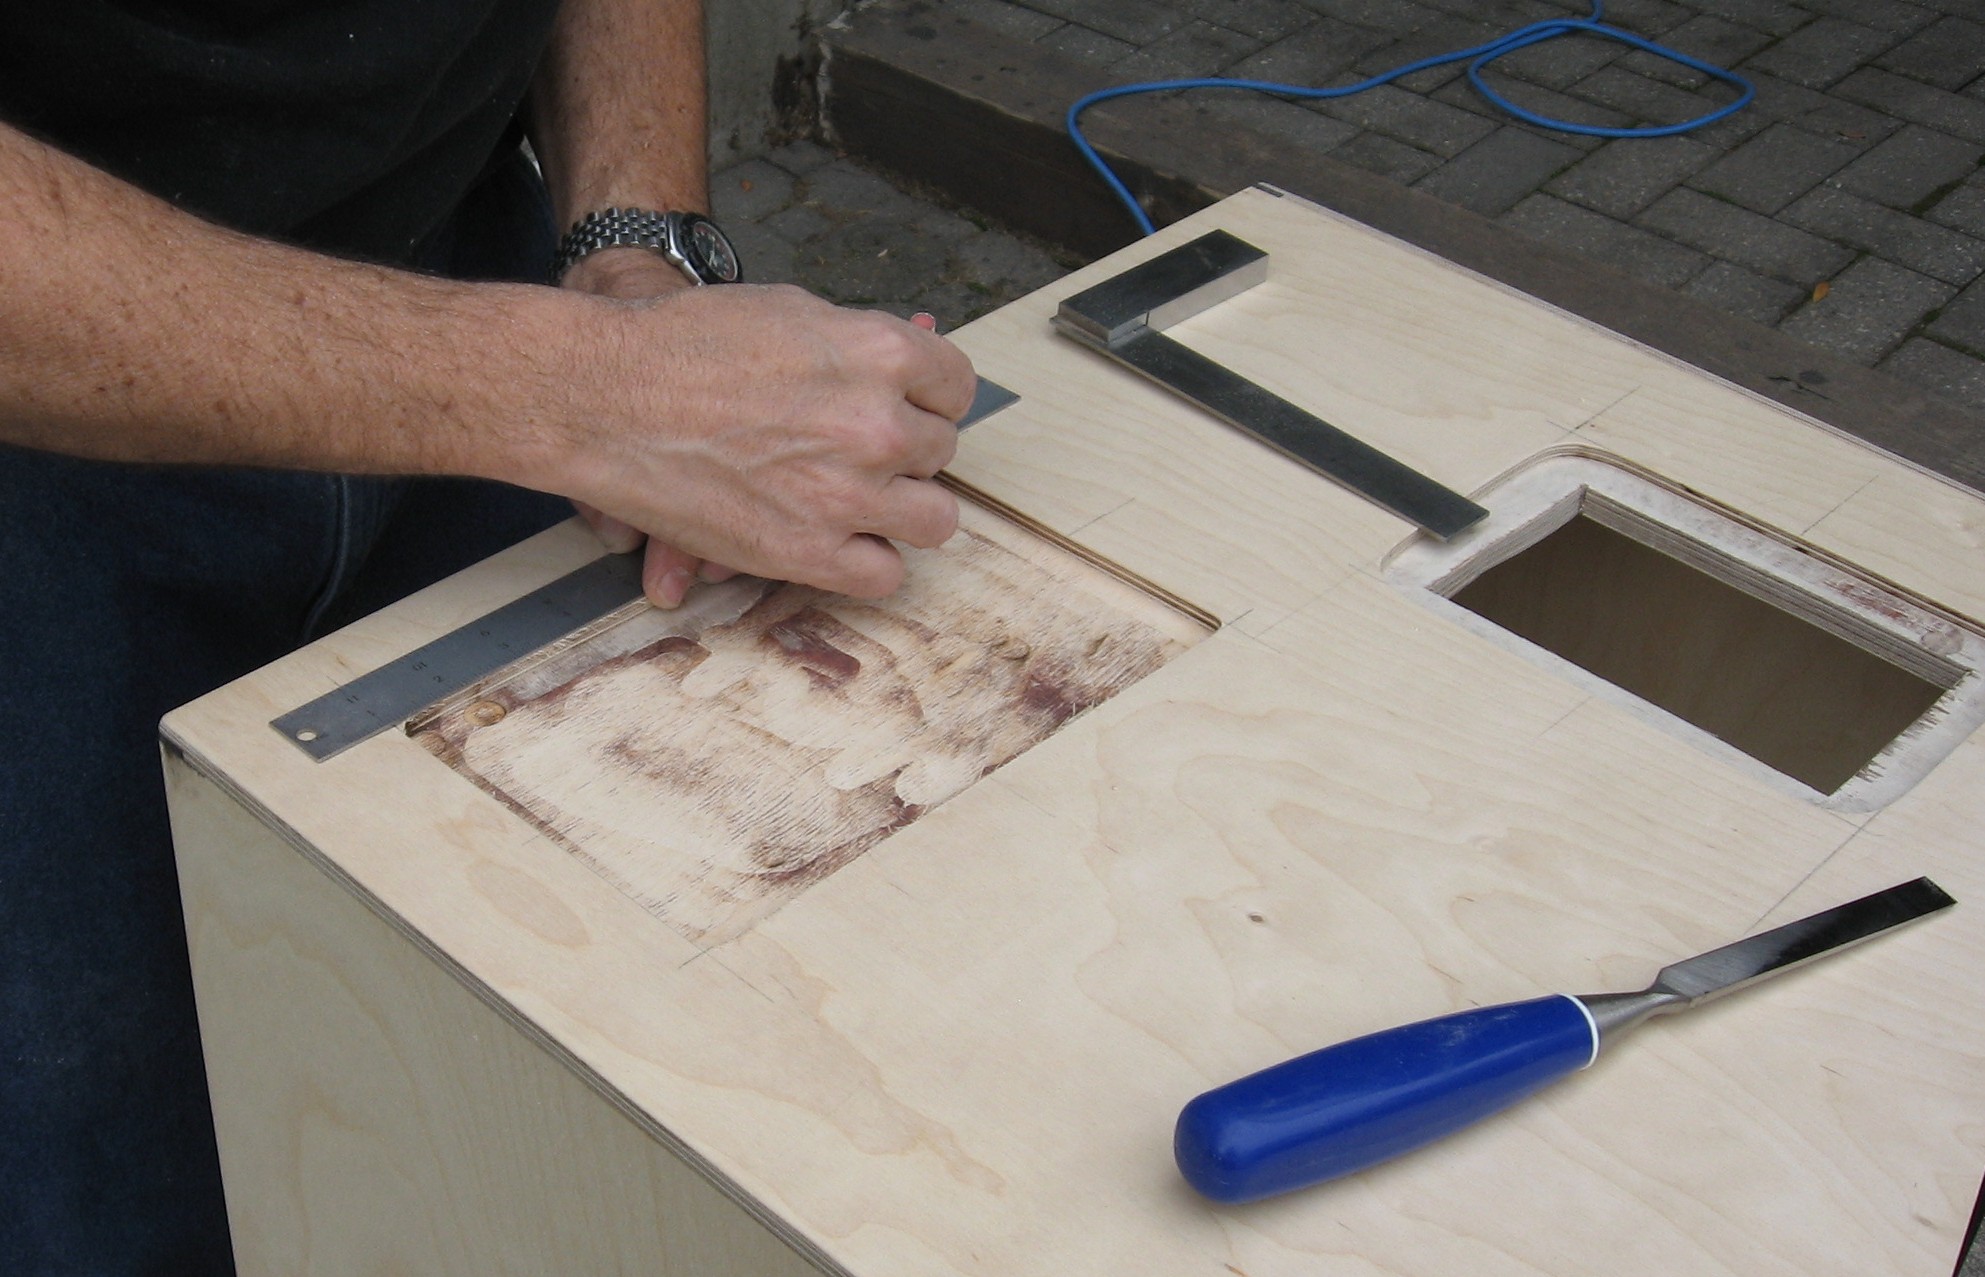
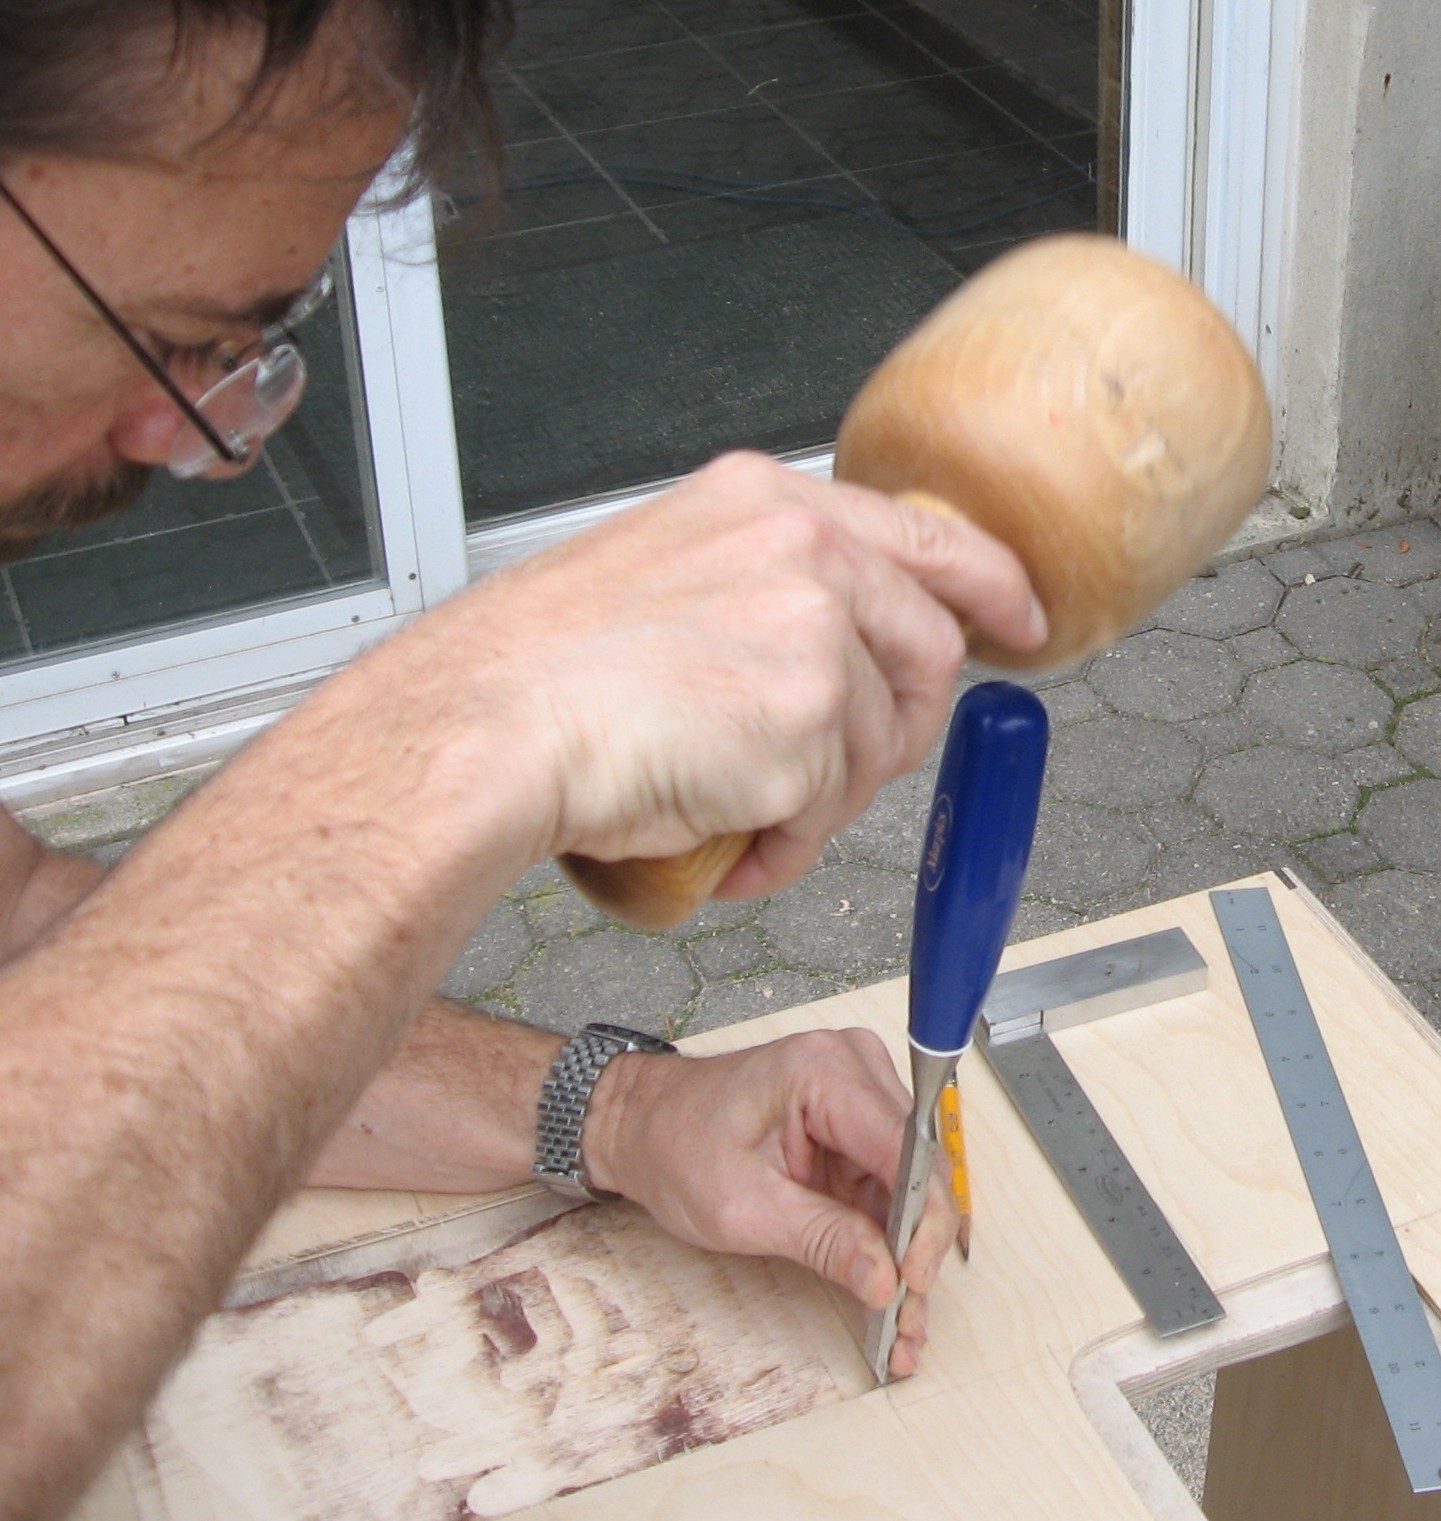
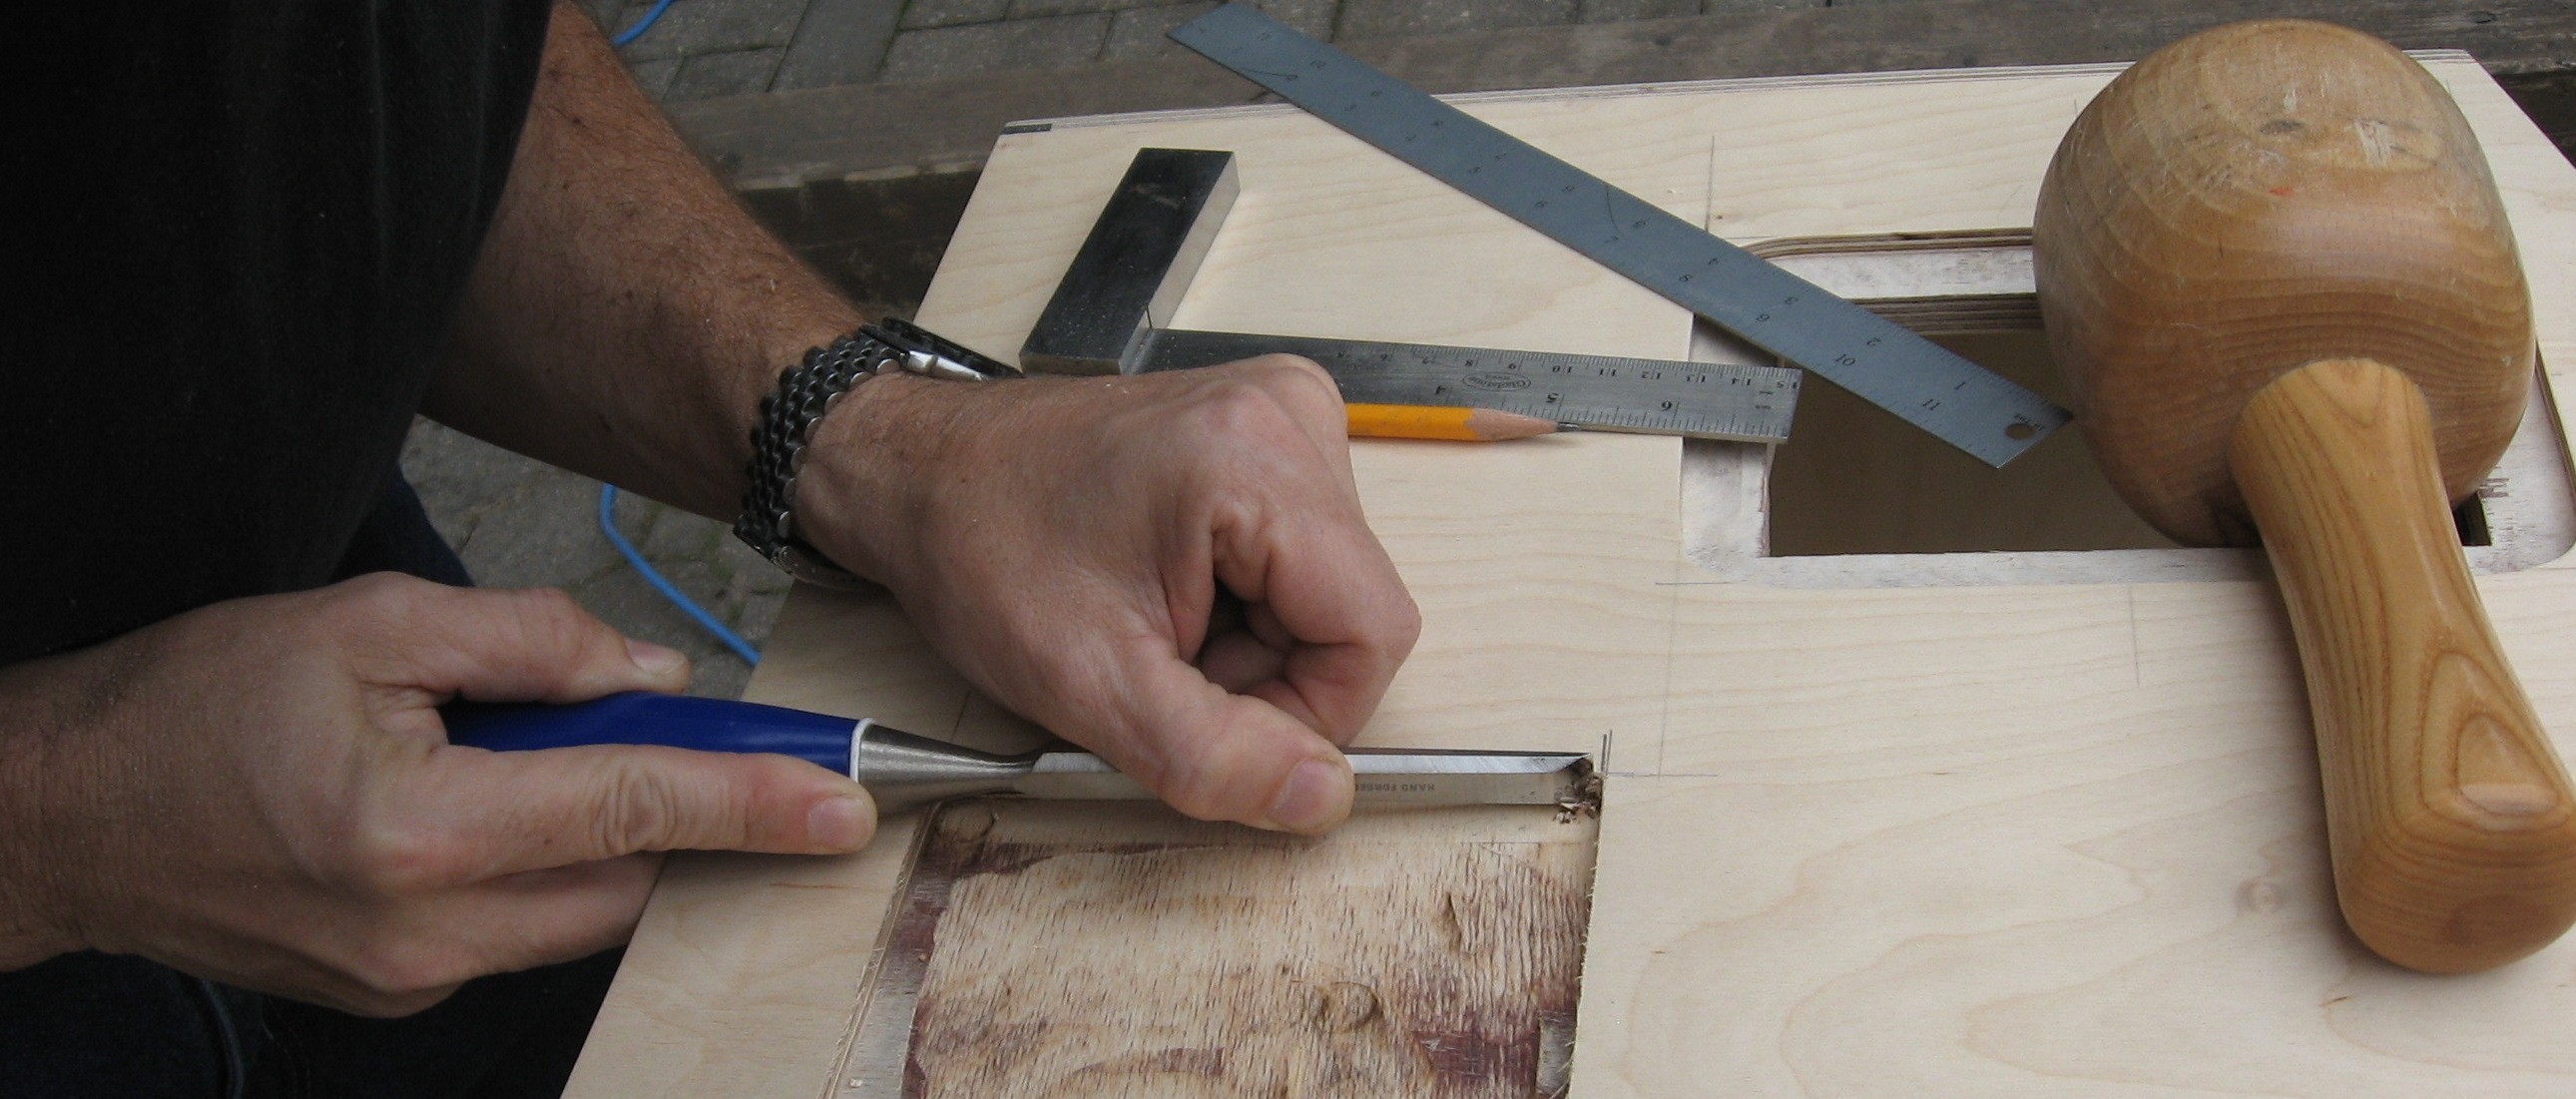
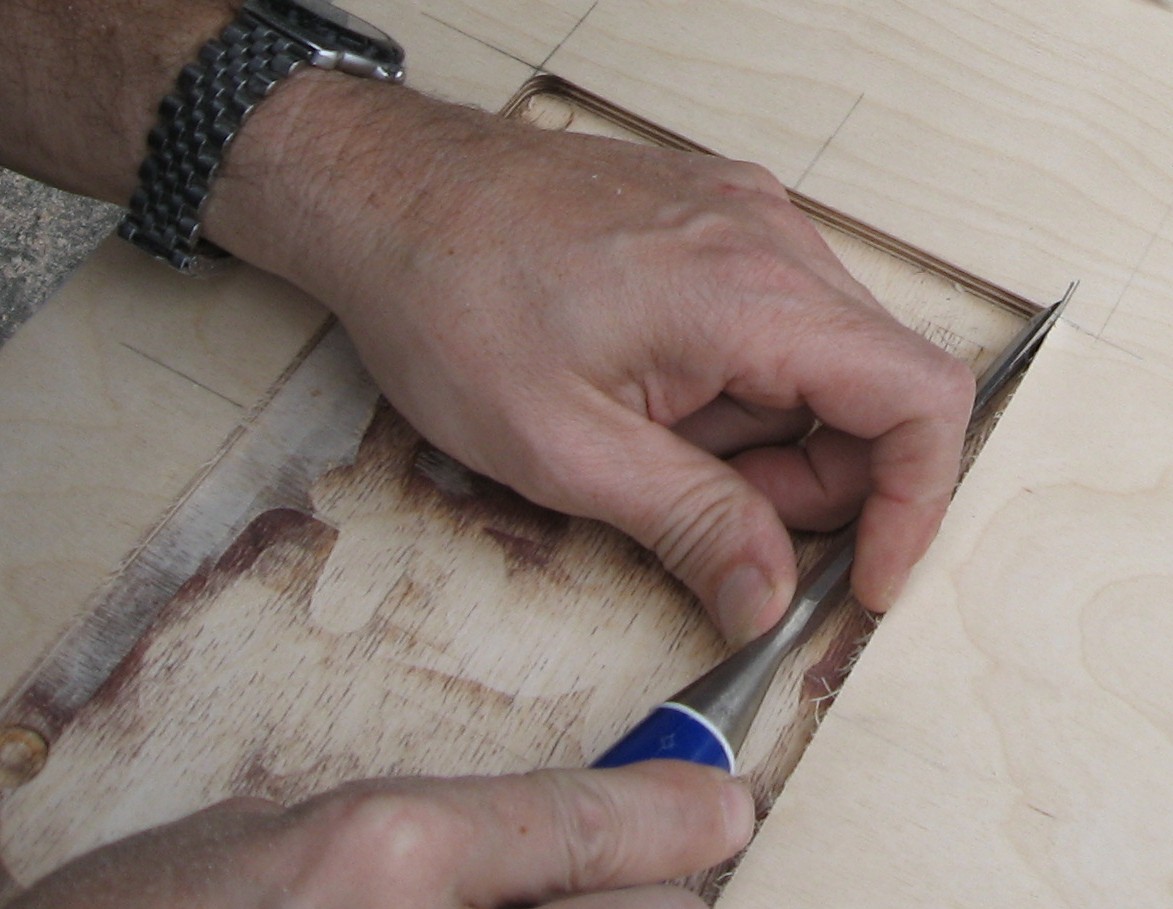
He used a chisel to square the corners
|
||
|
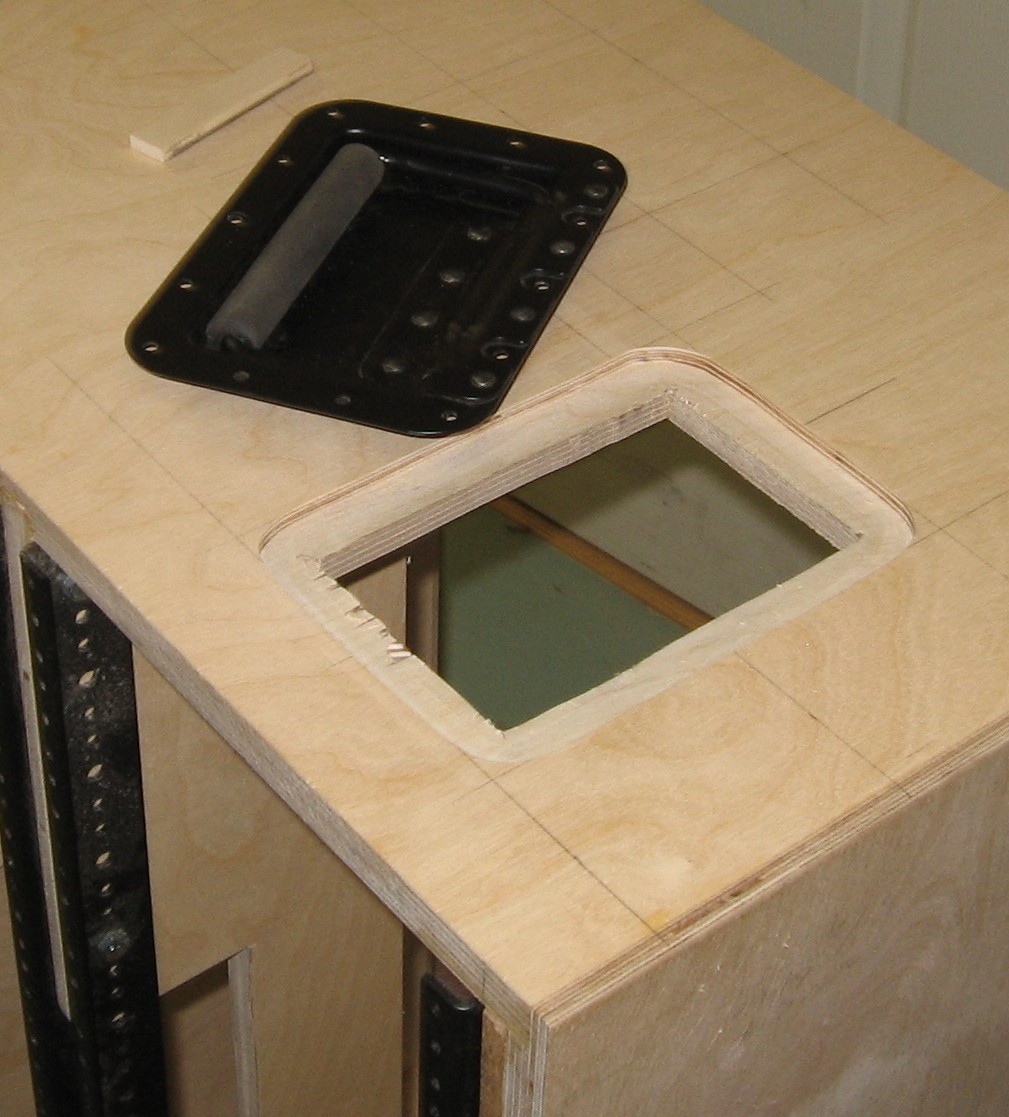
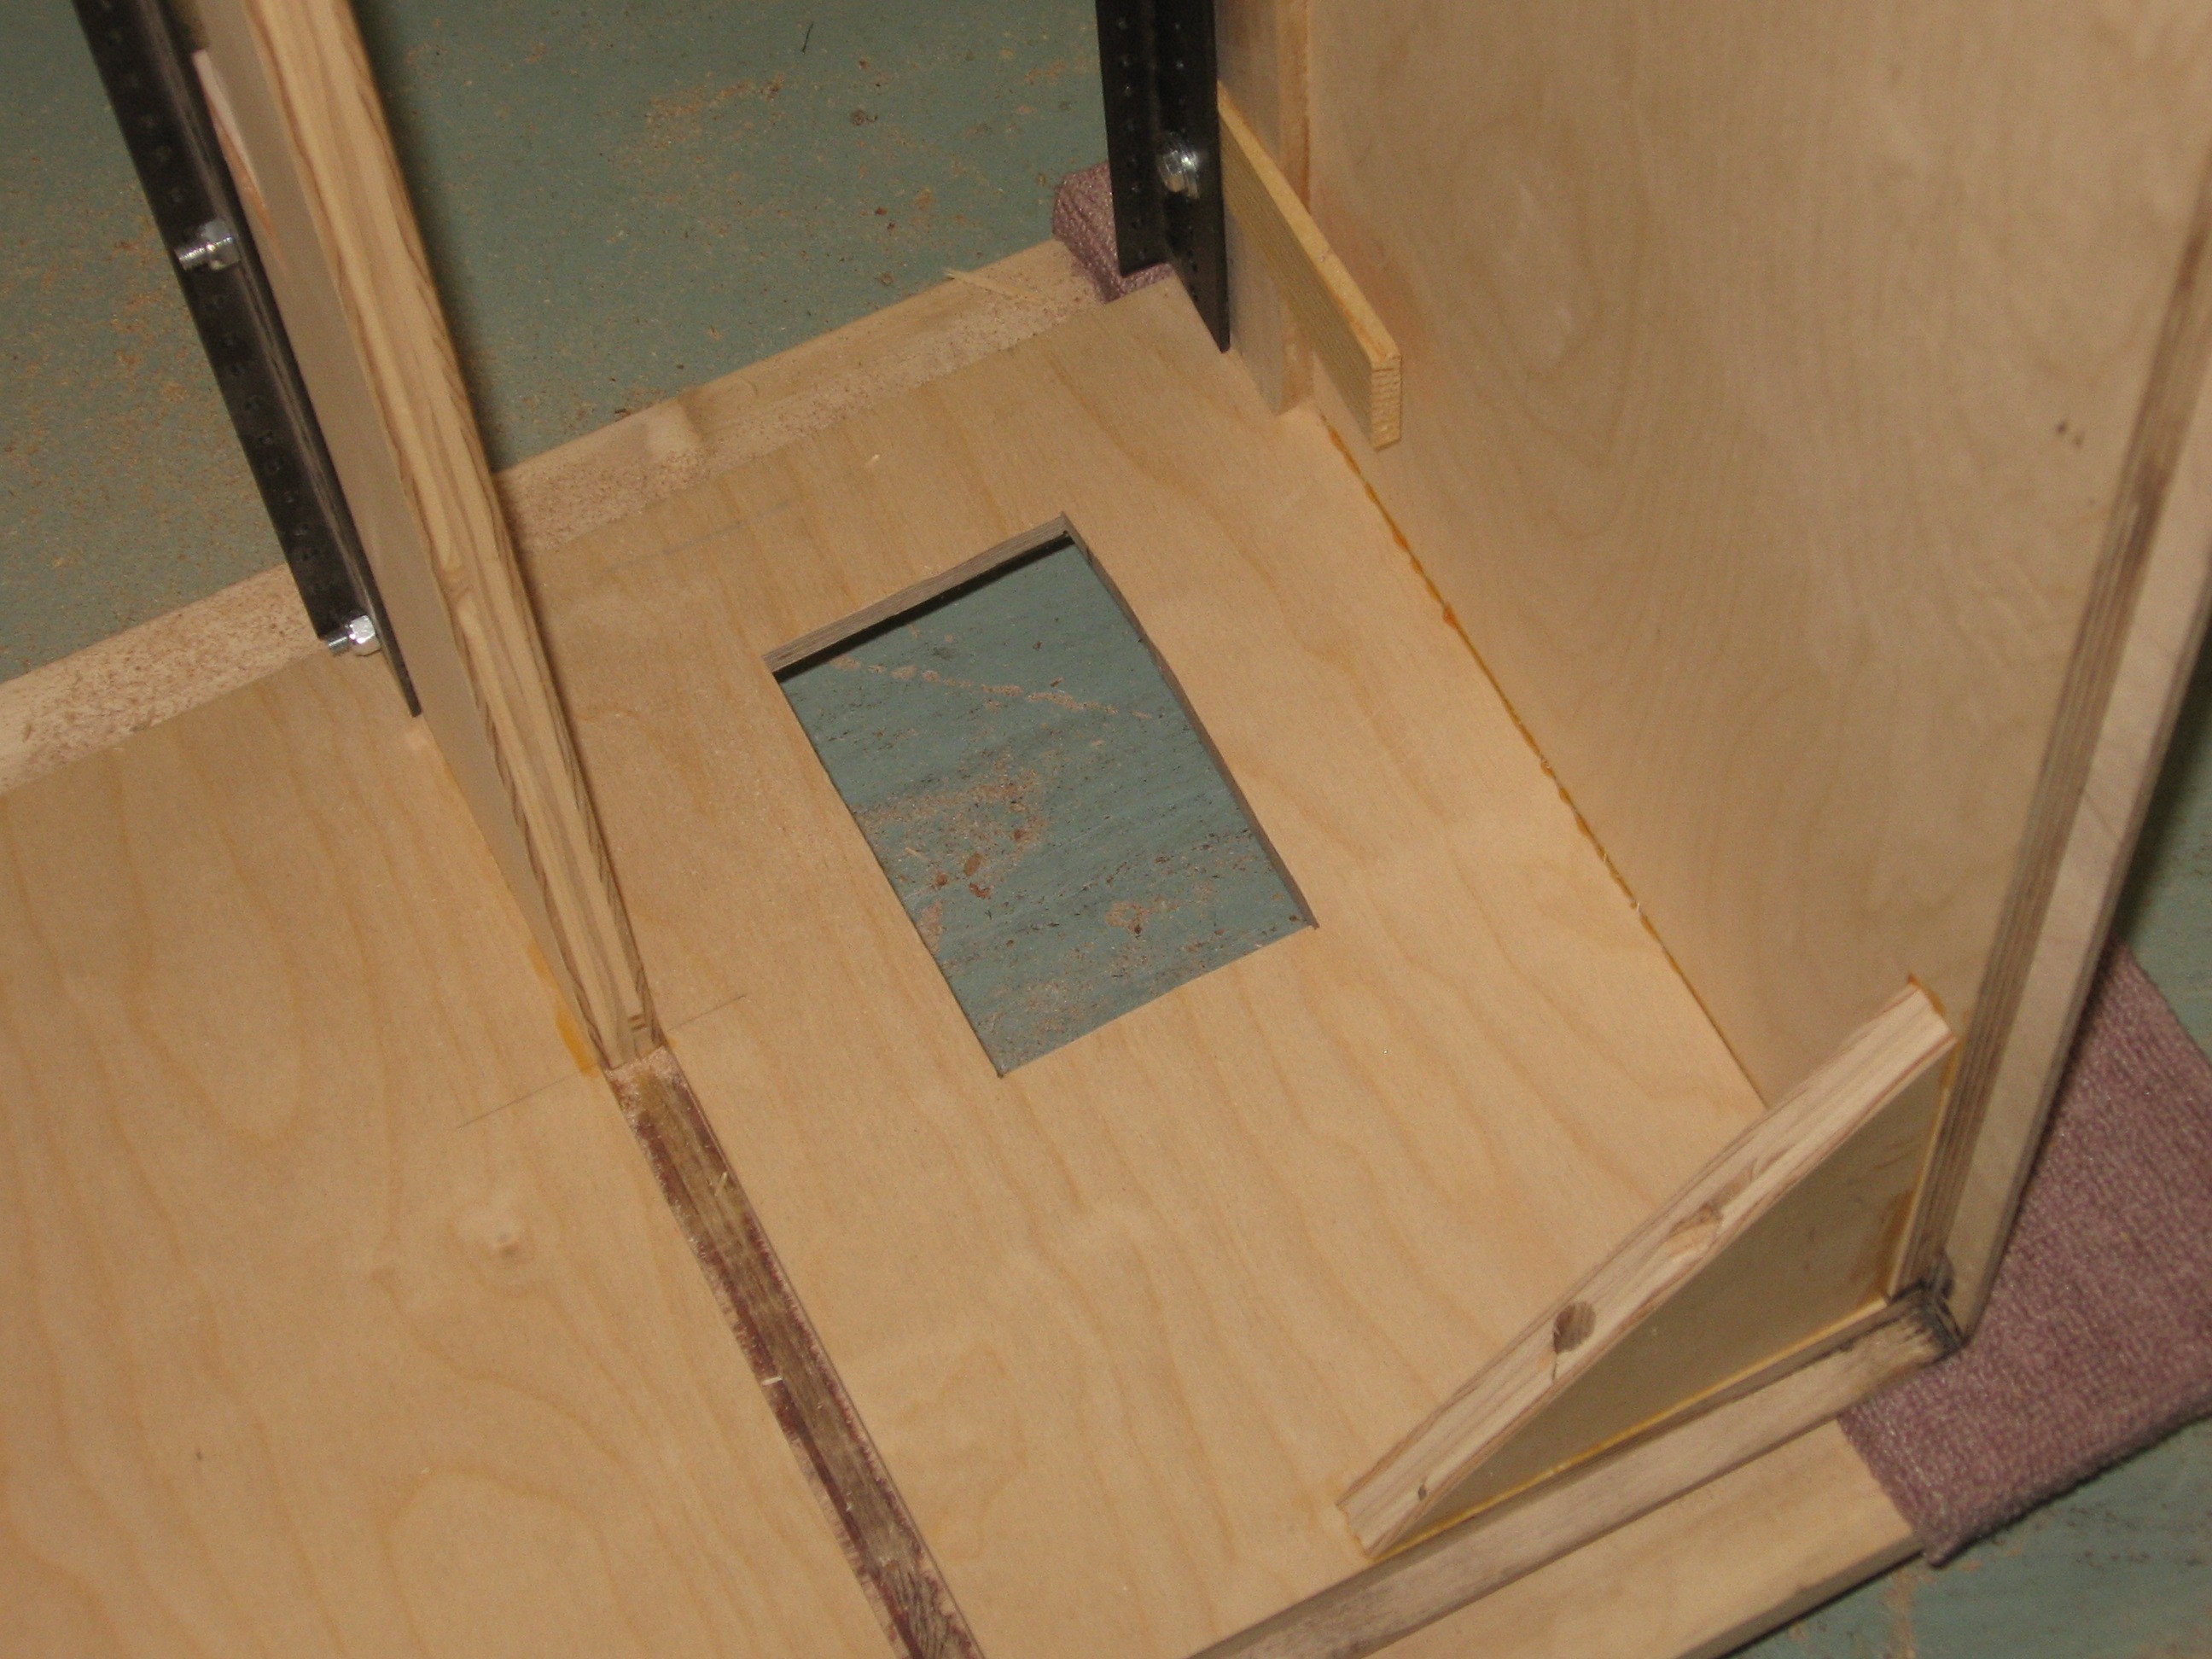
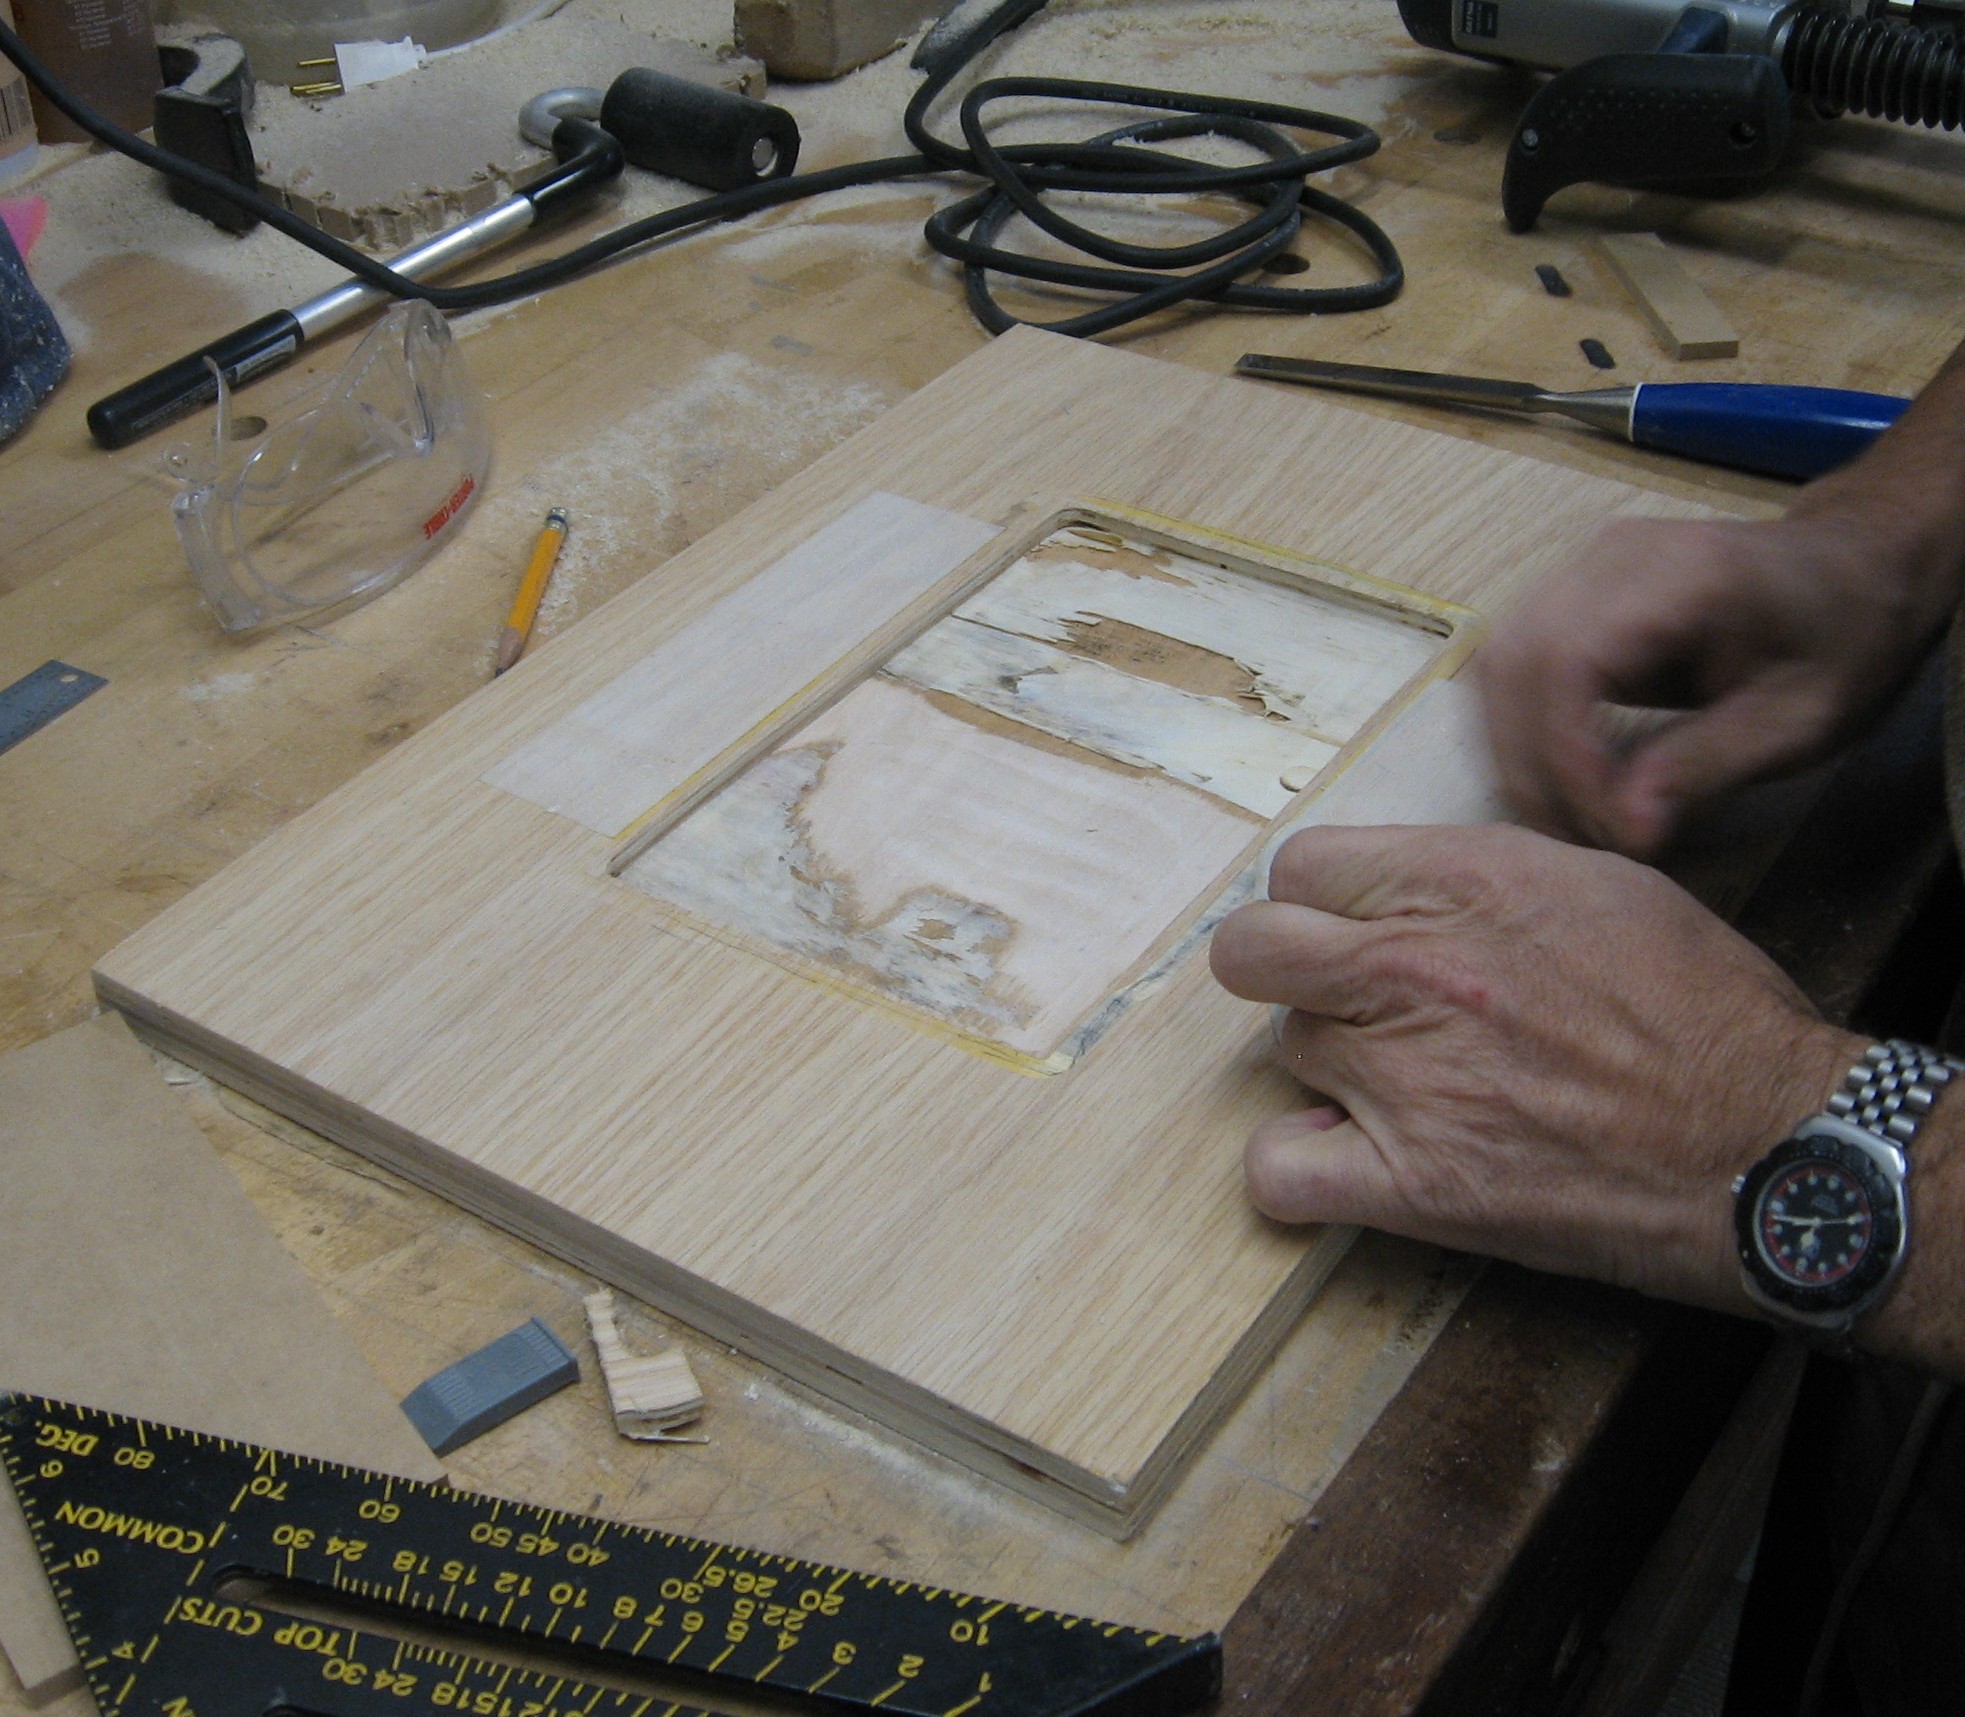
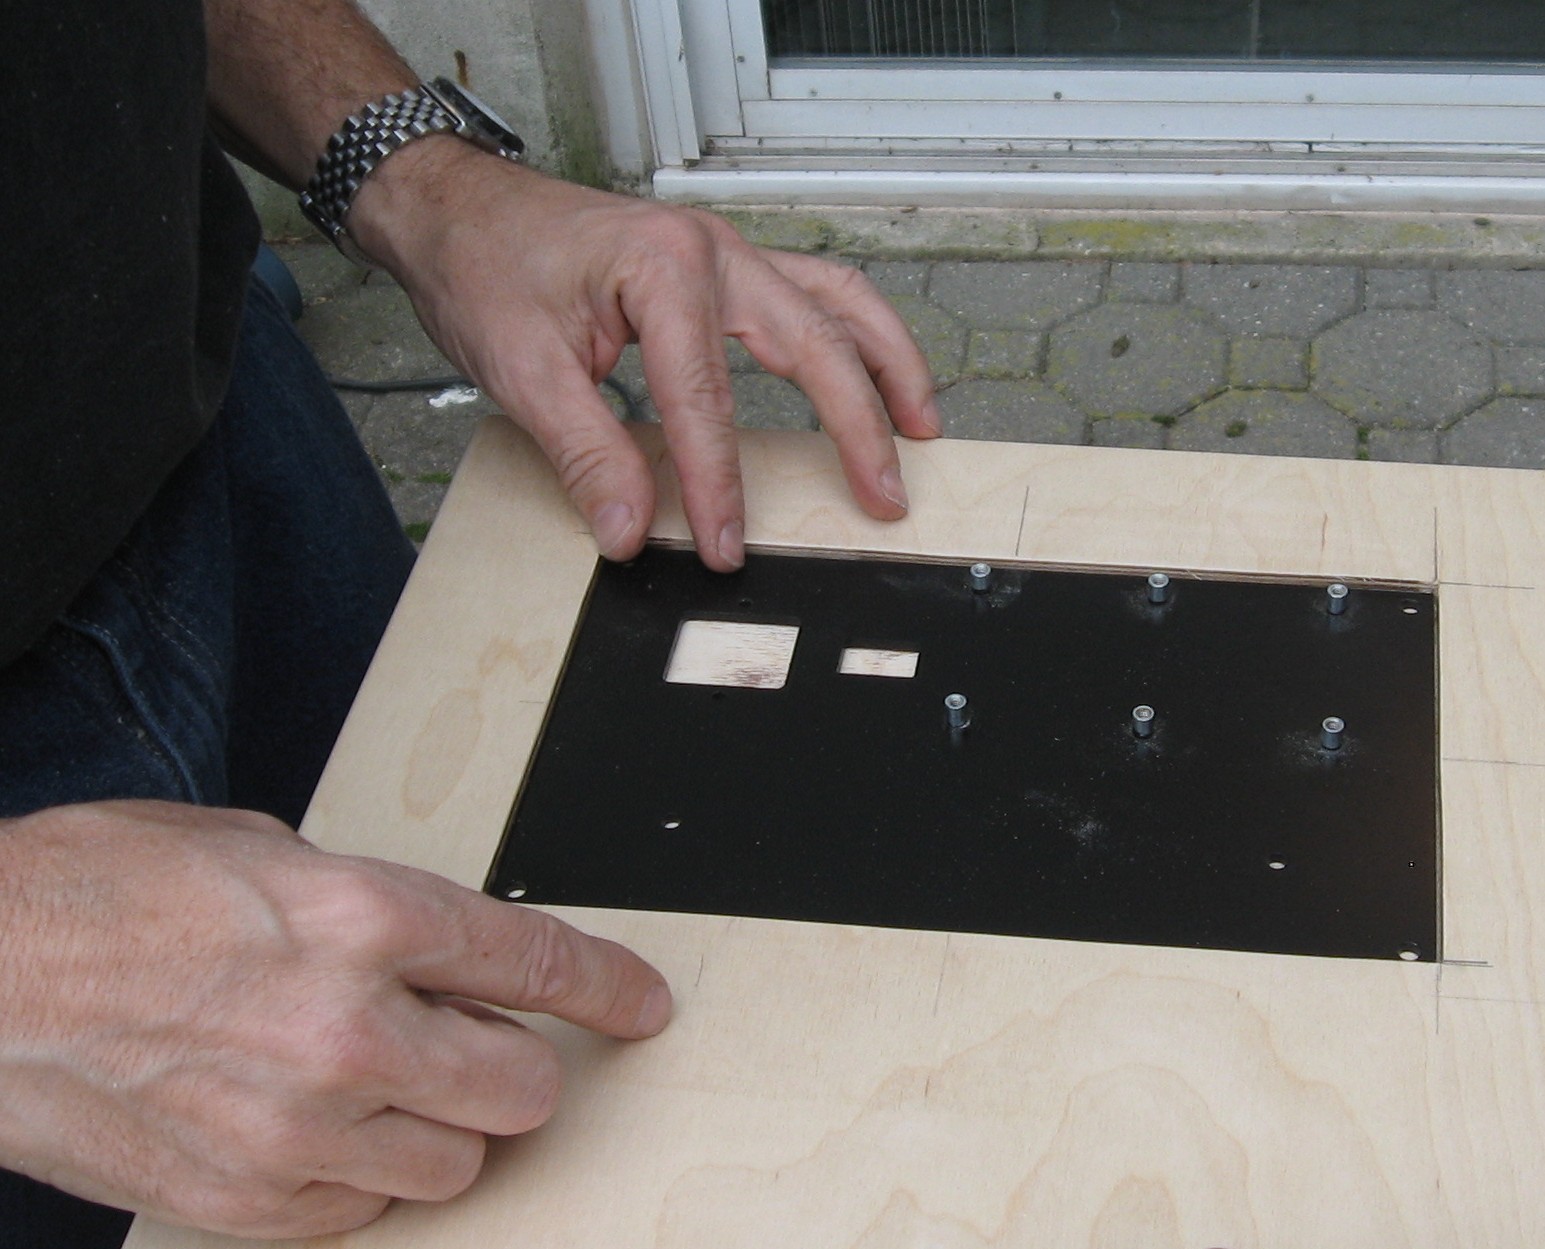
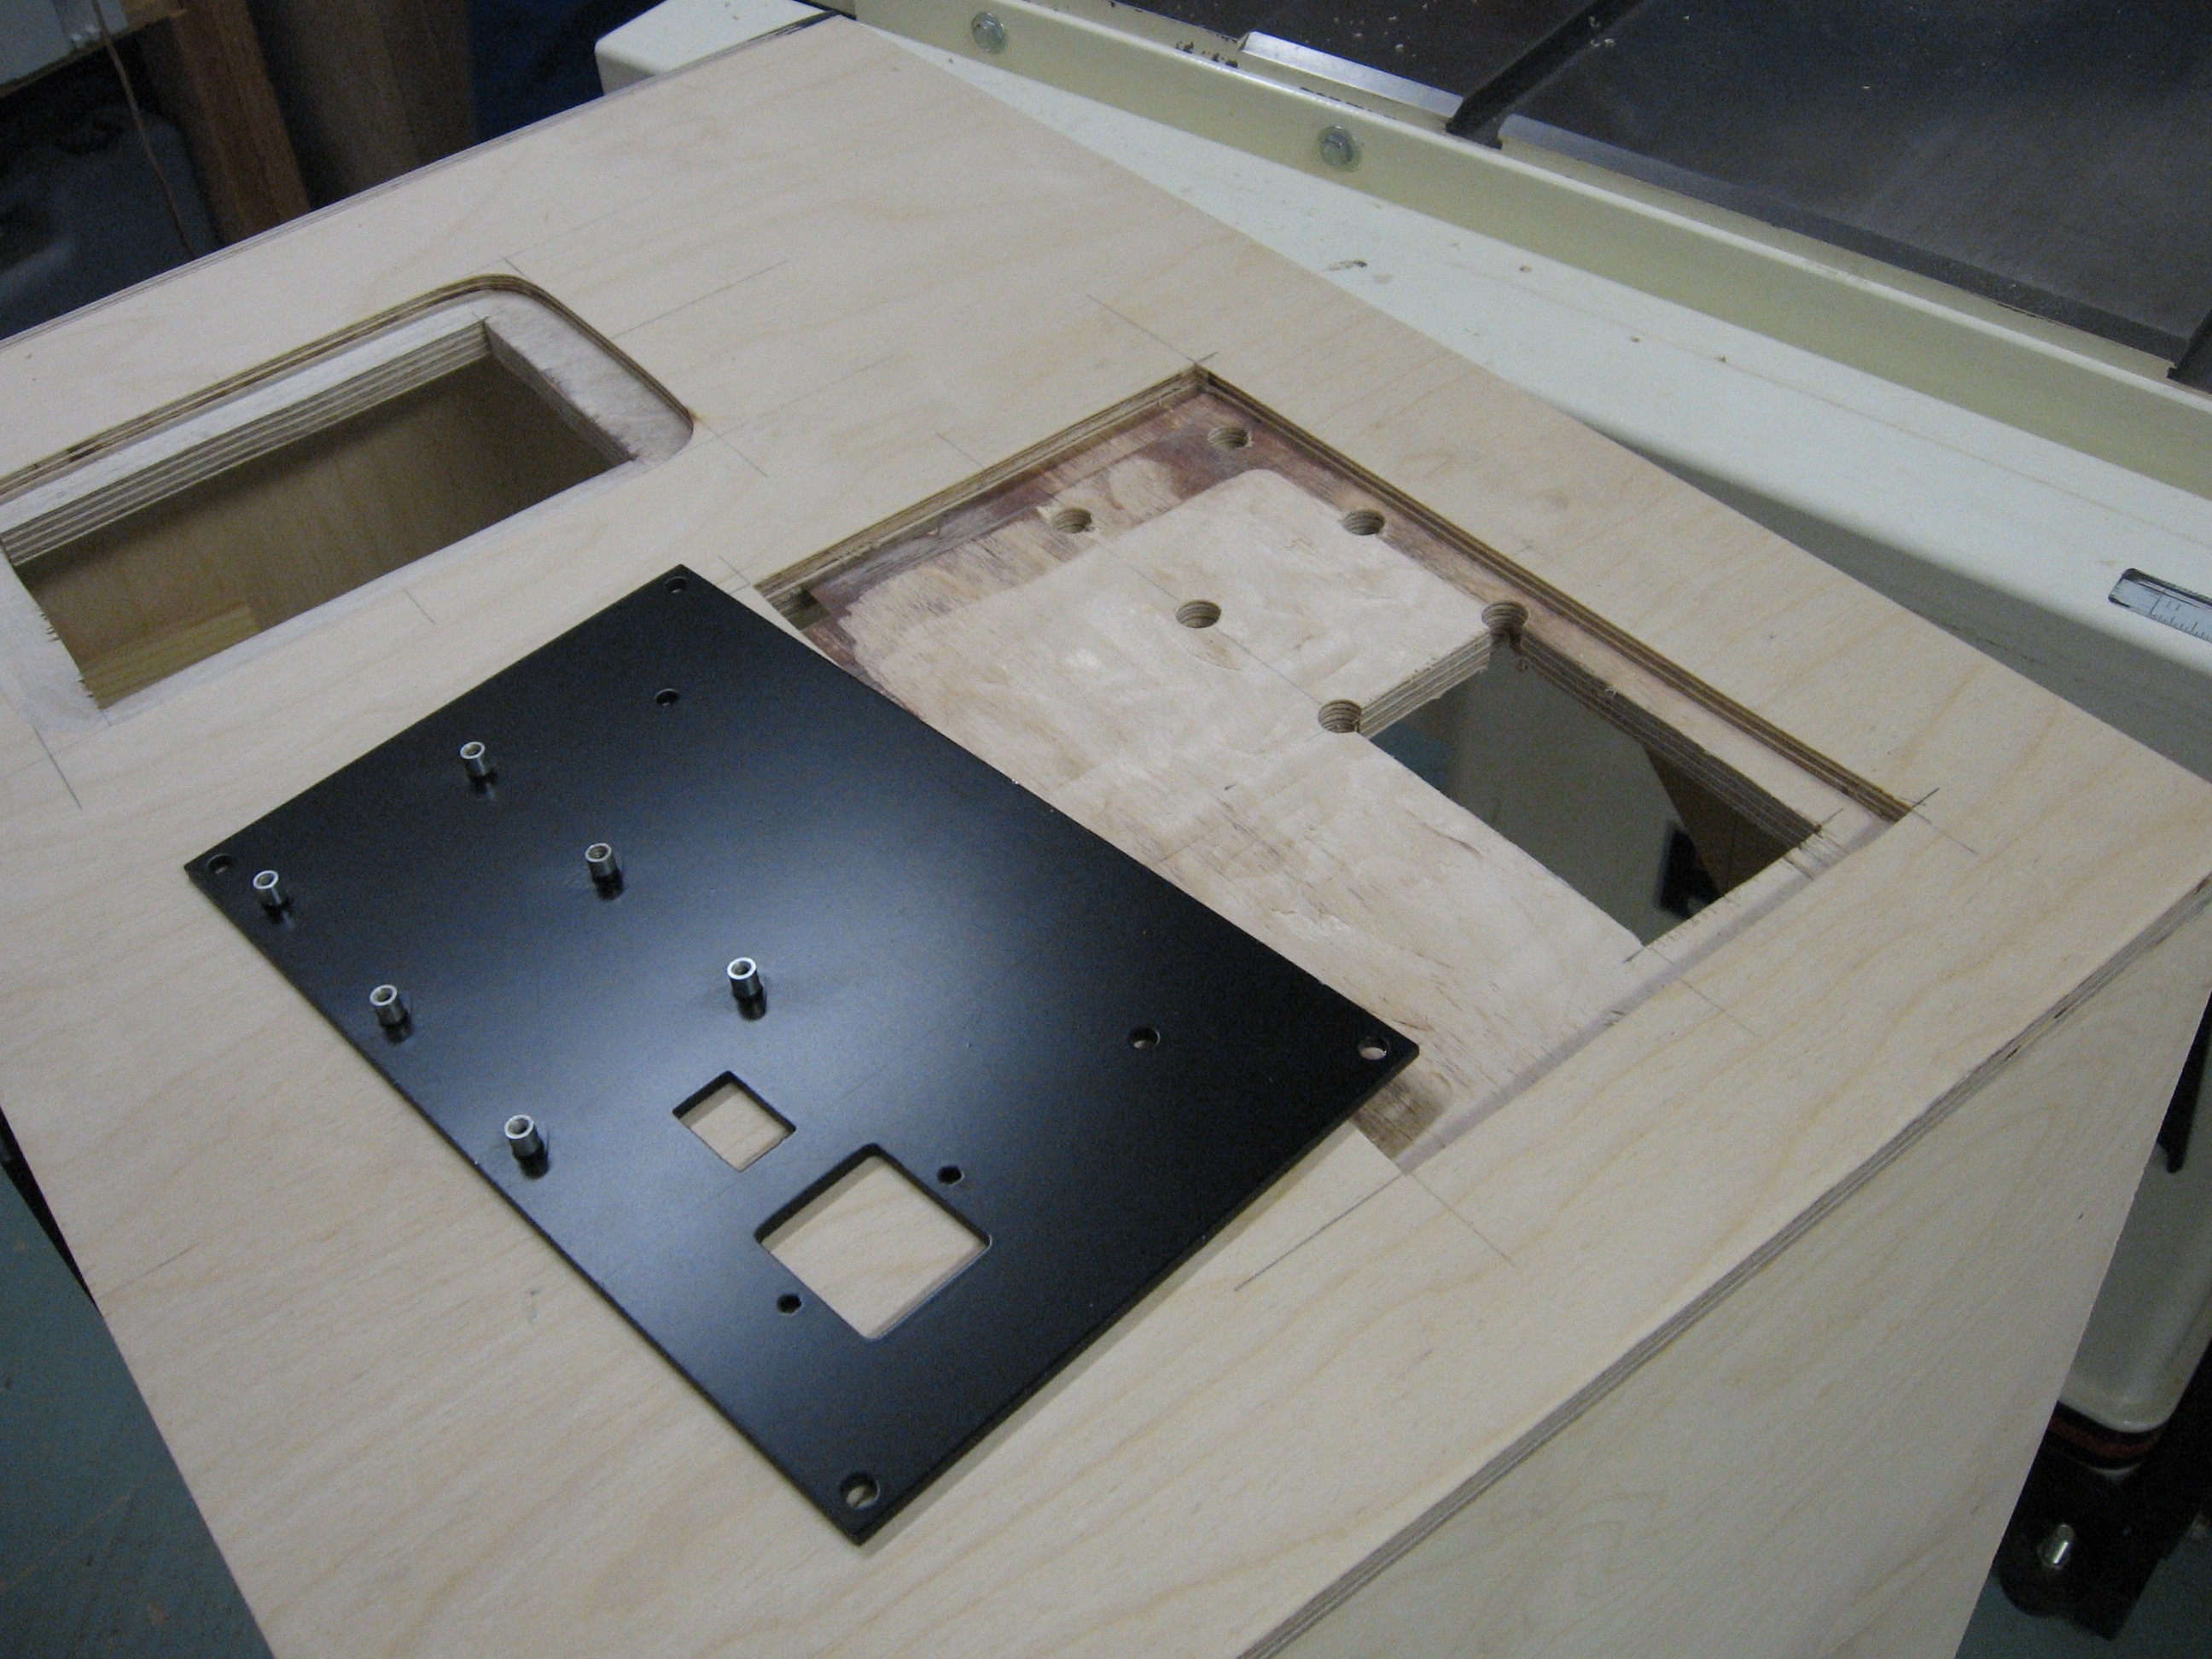
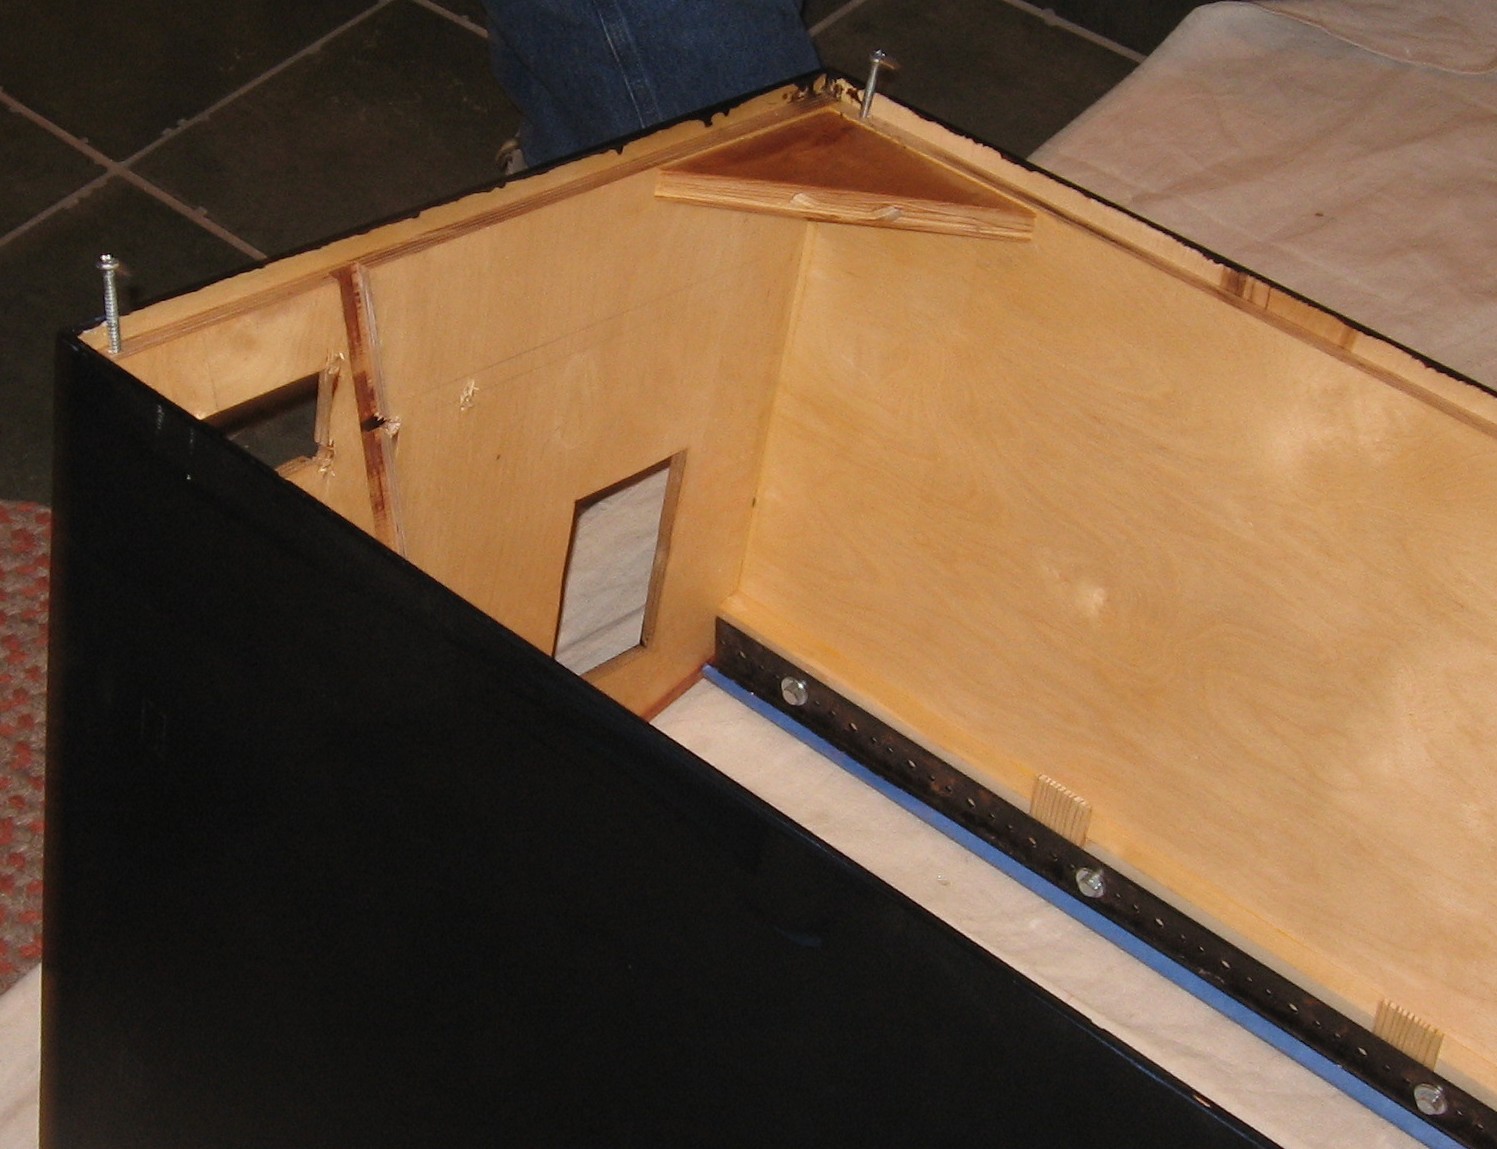
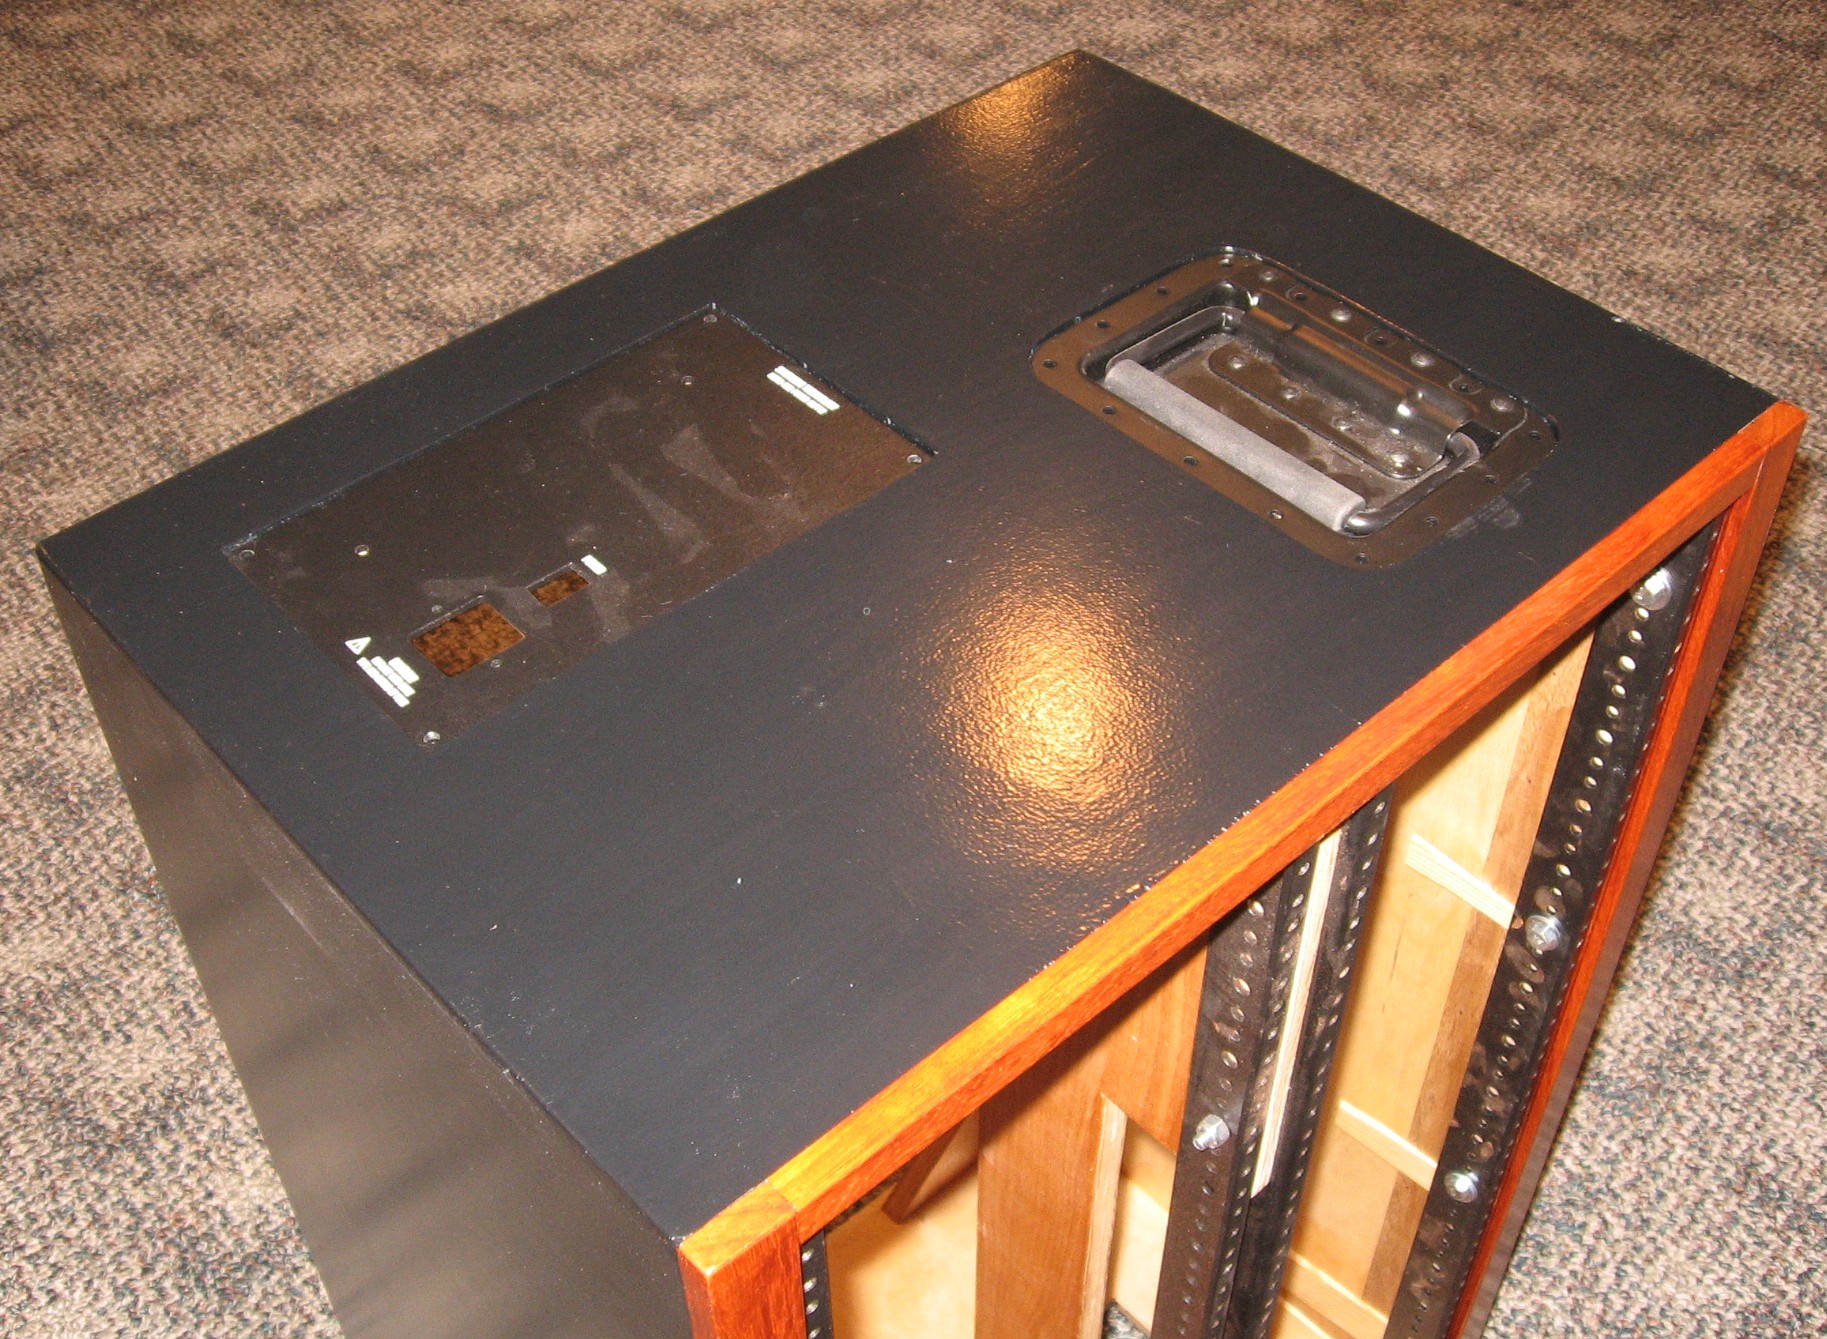
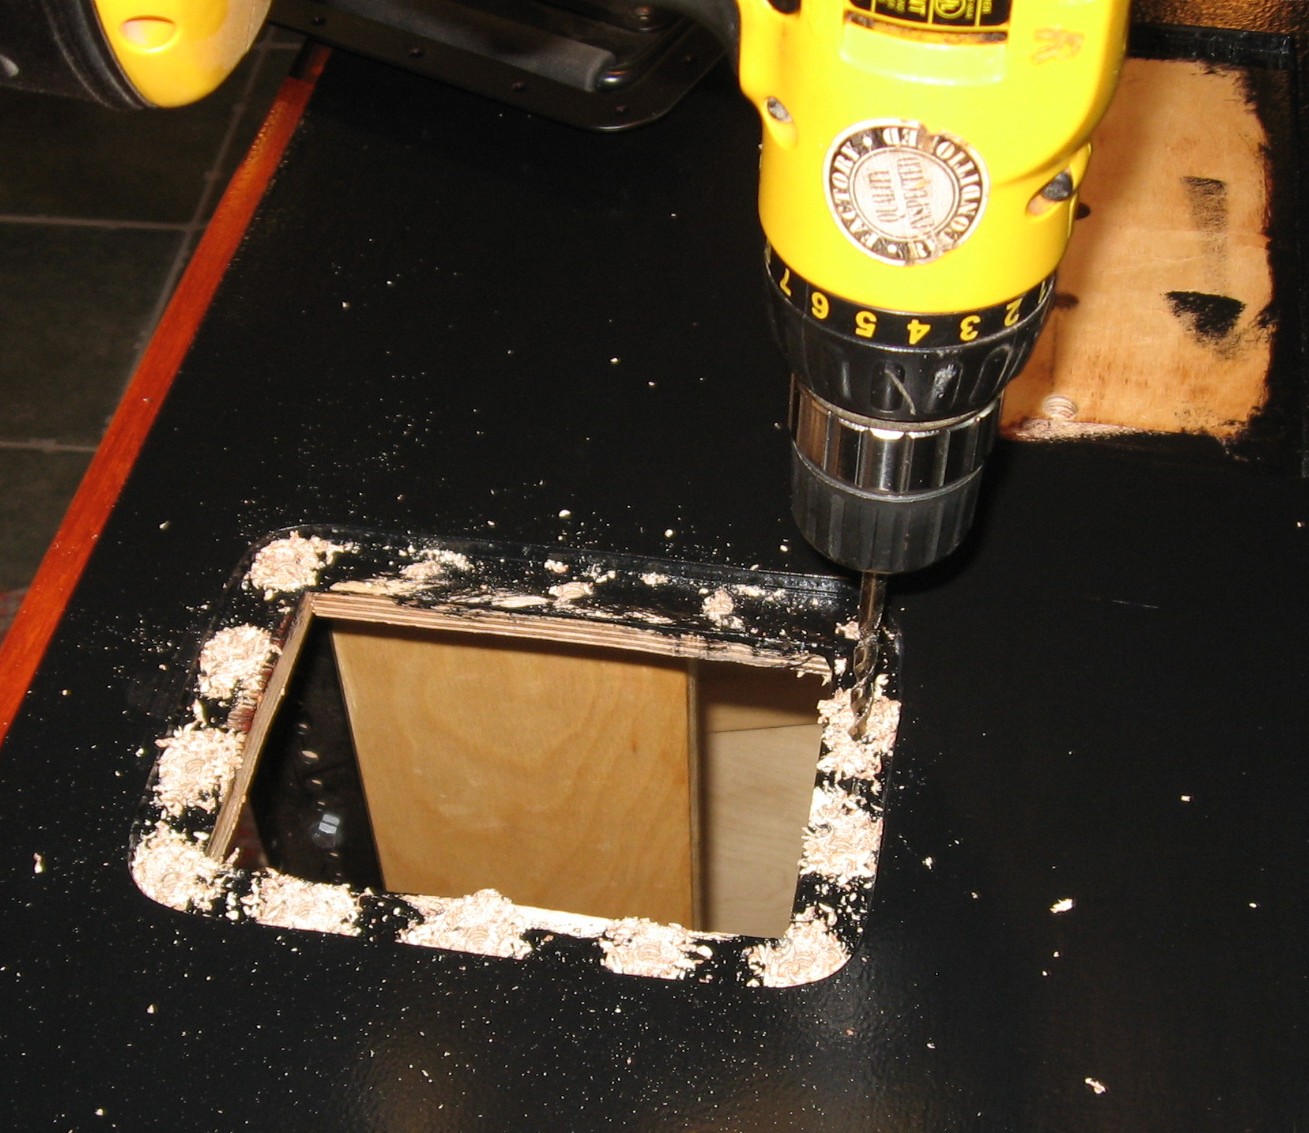
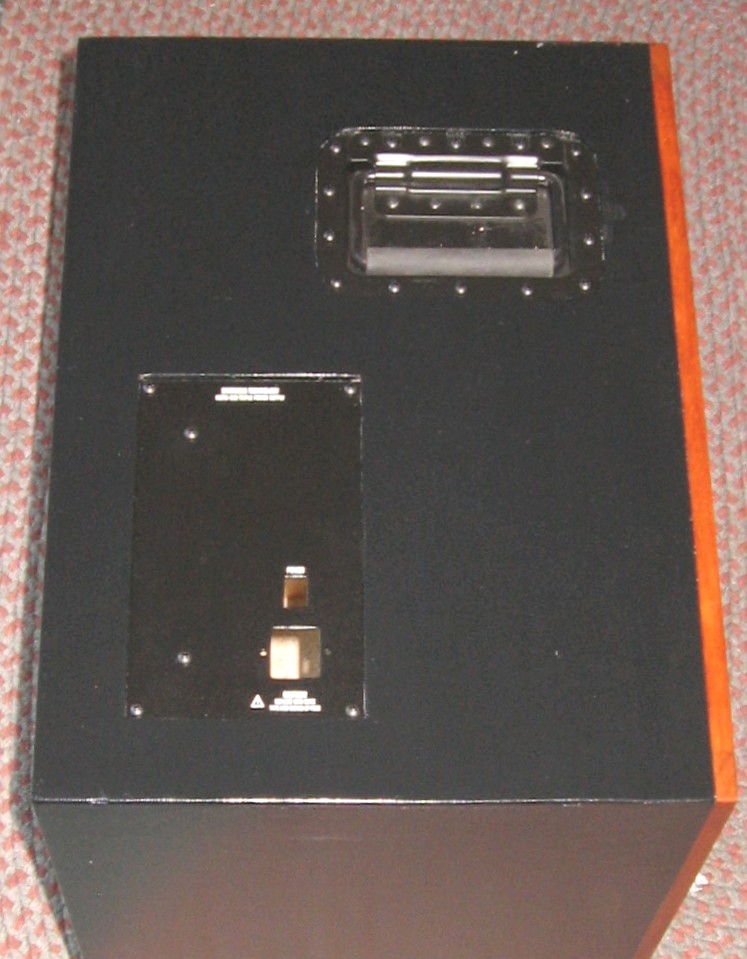
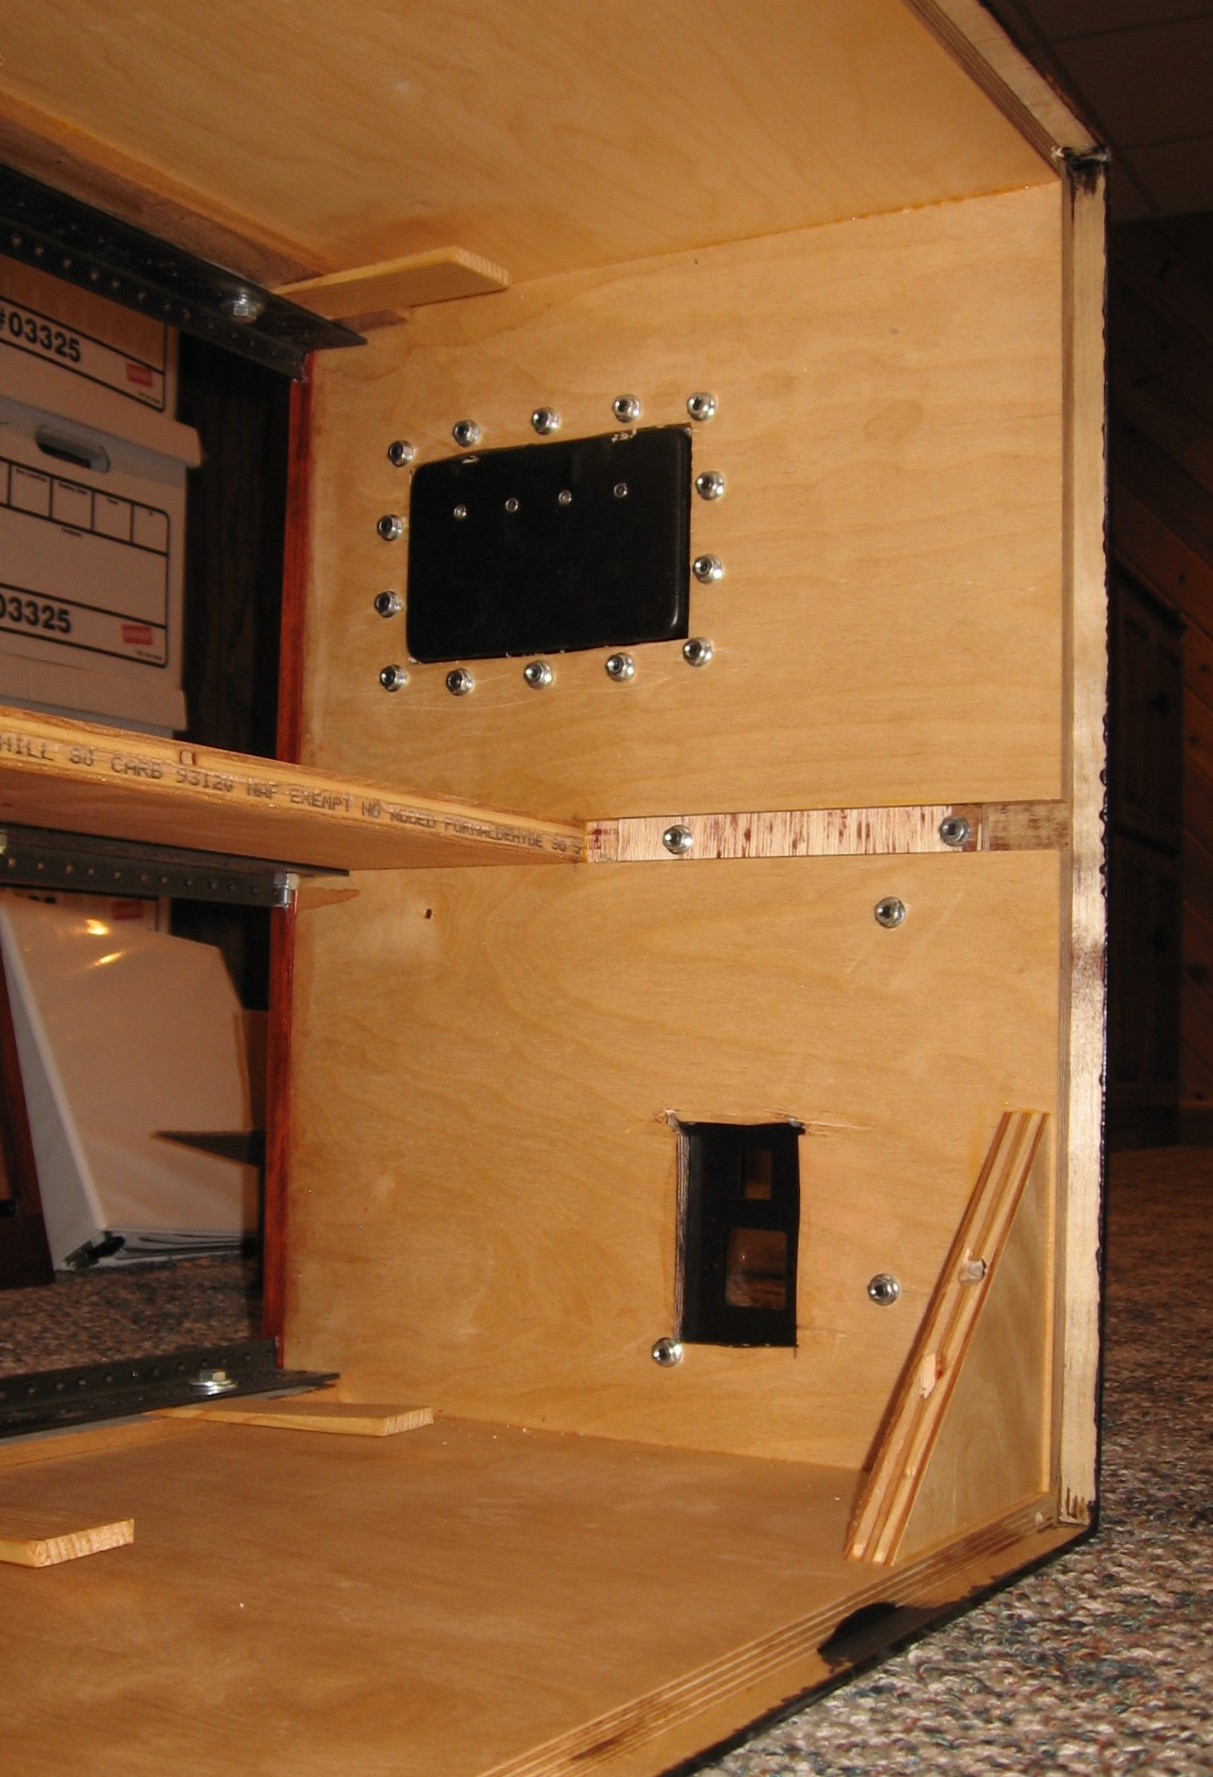
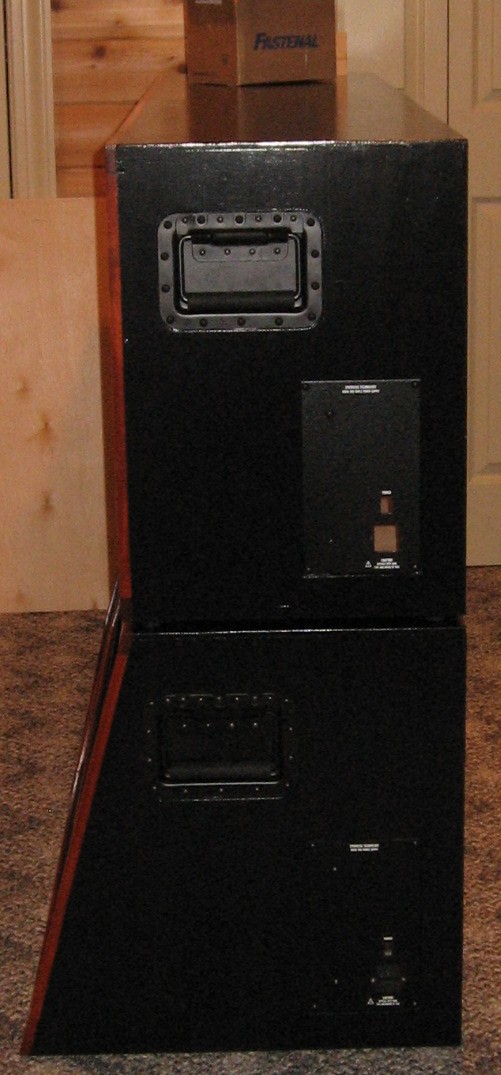
Cut Power Panel Holes We marked the panels for the power panel holes - one per case (four of them) - so that, when the cases are together, the power panels will be on the outside back of the cases.
Here's that clever template we used to bridge the cut so Bart could rout out the center material.
He marked the corners and chiseled them square, cleaning up the cut while he was at it.
But the holes have to be cut behind so the little nubs can fit into something, and the electronics can go through.
|
||
|
Finishing |
||
|
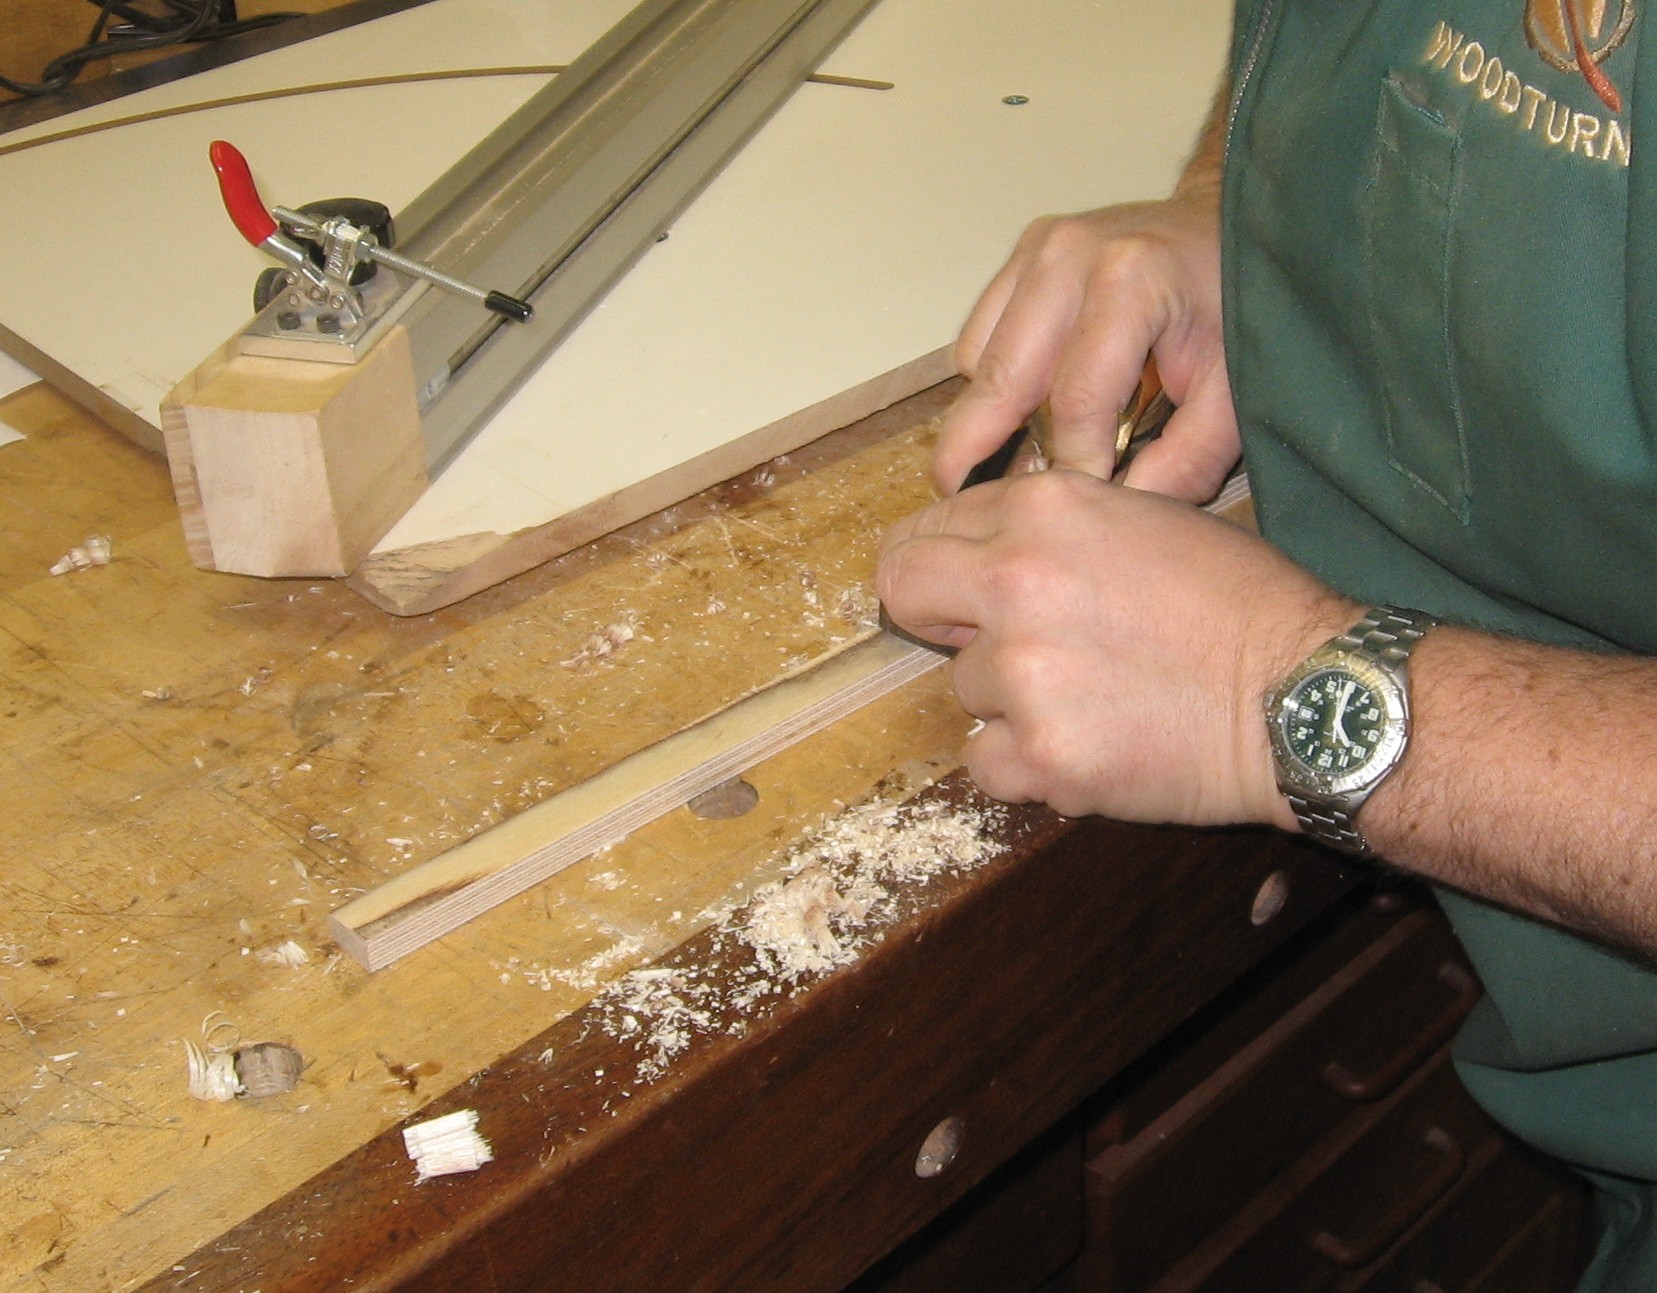
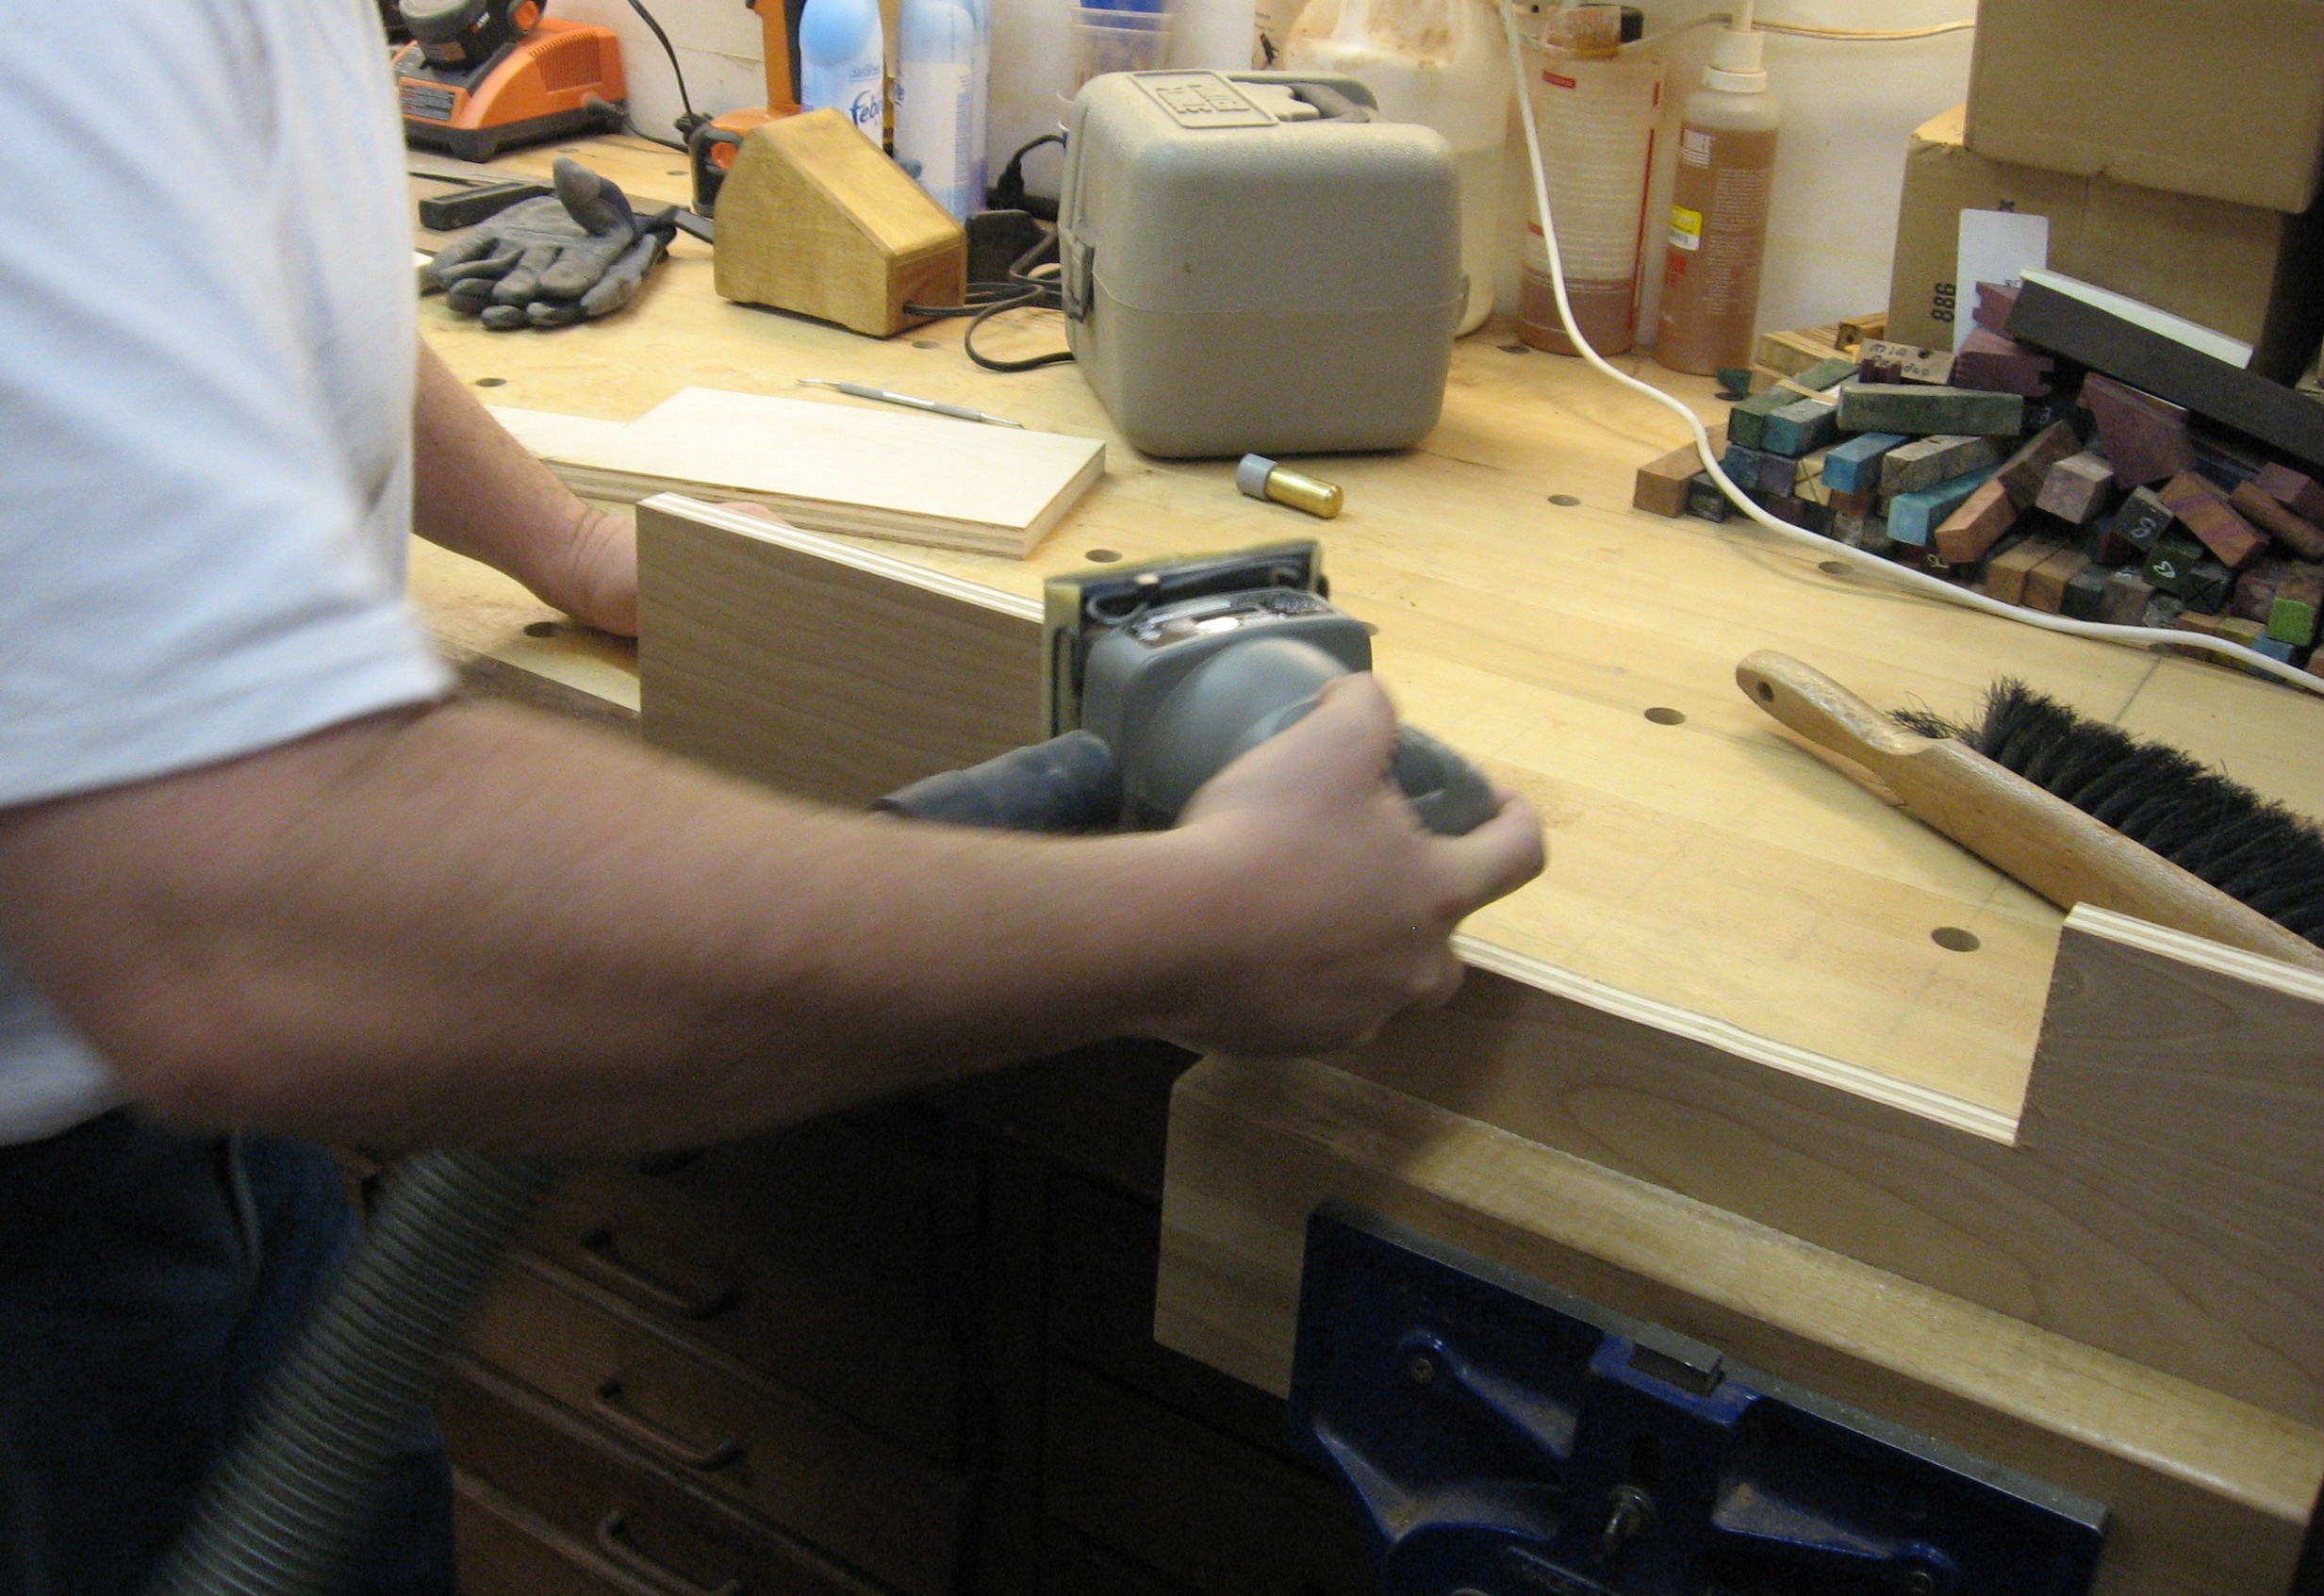
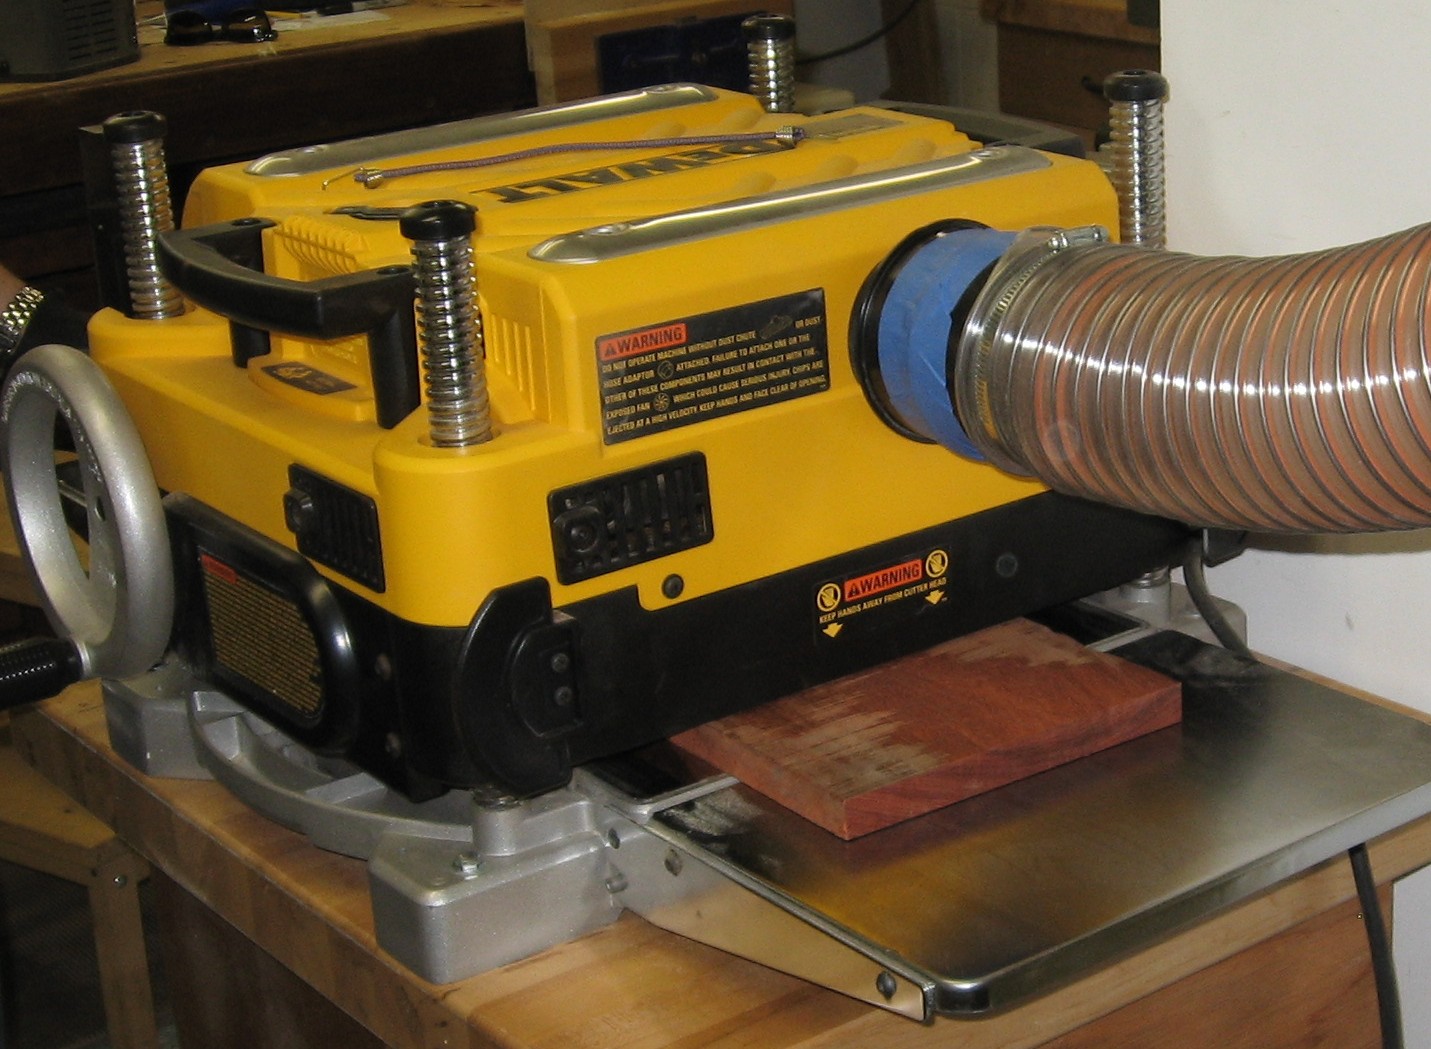
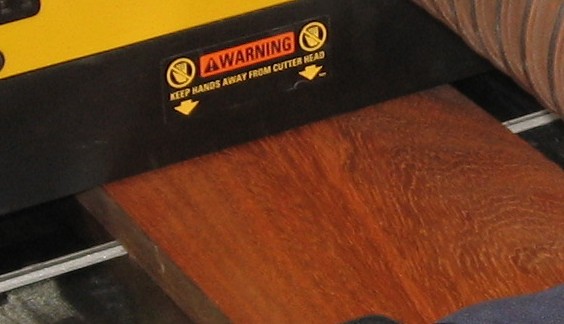
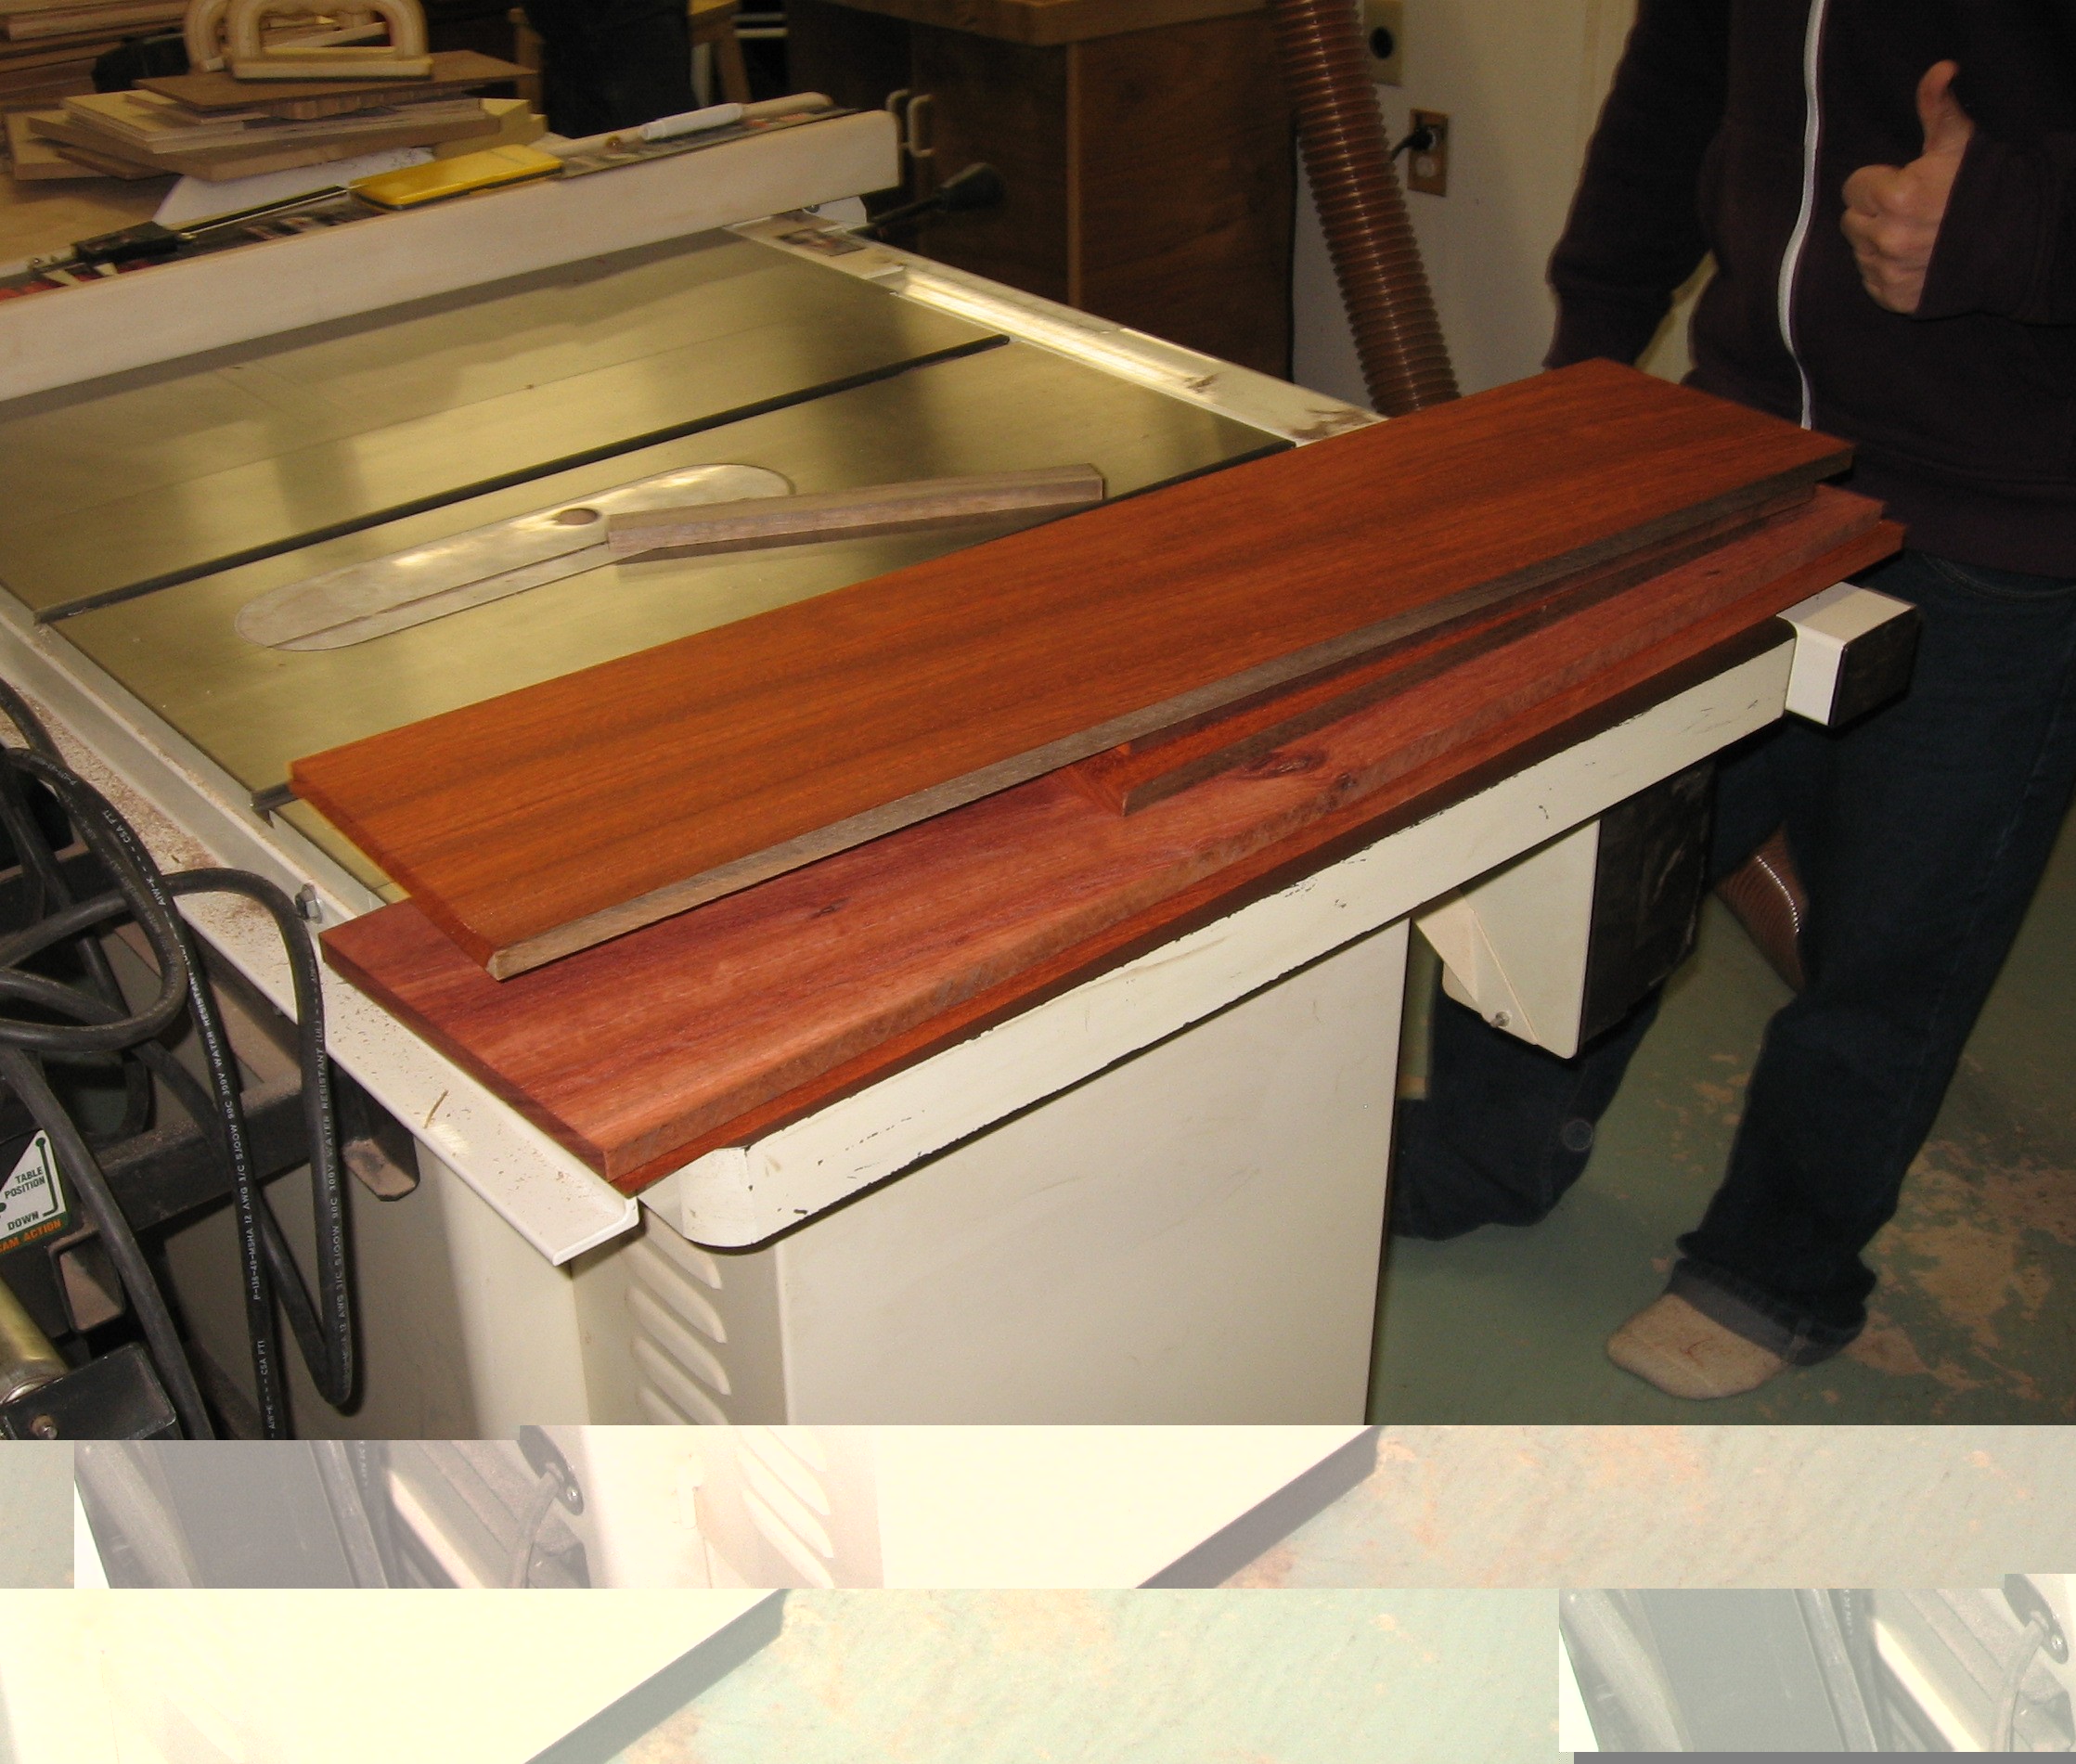
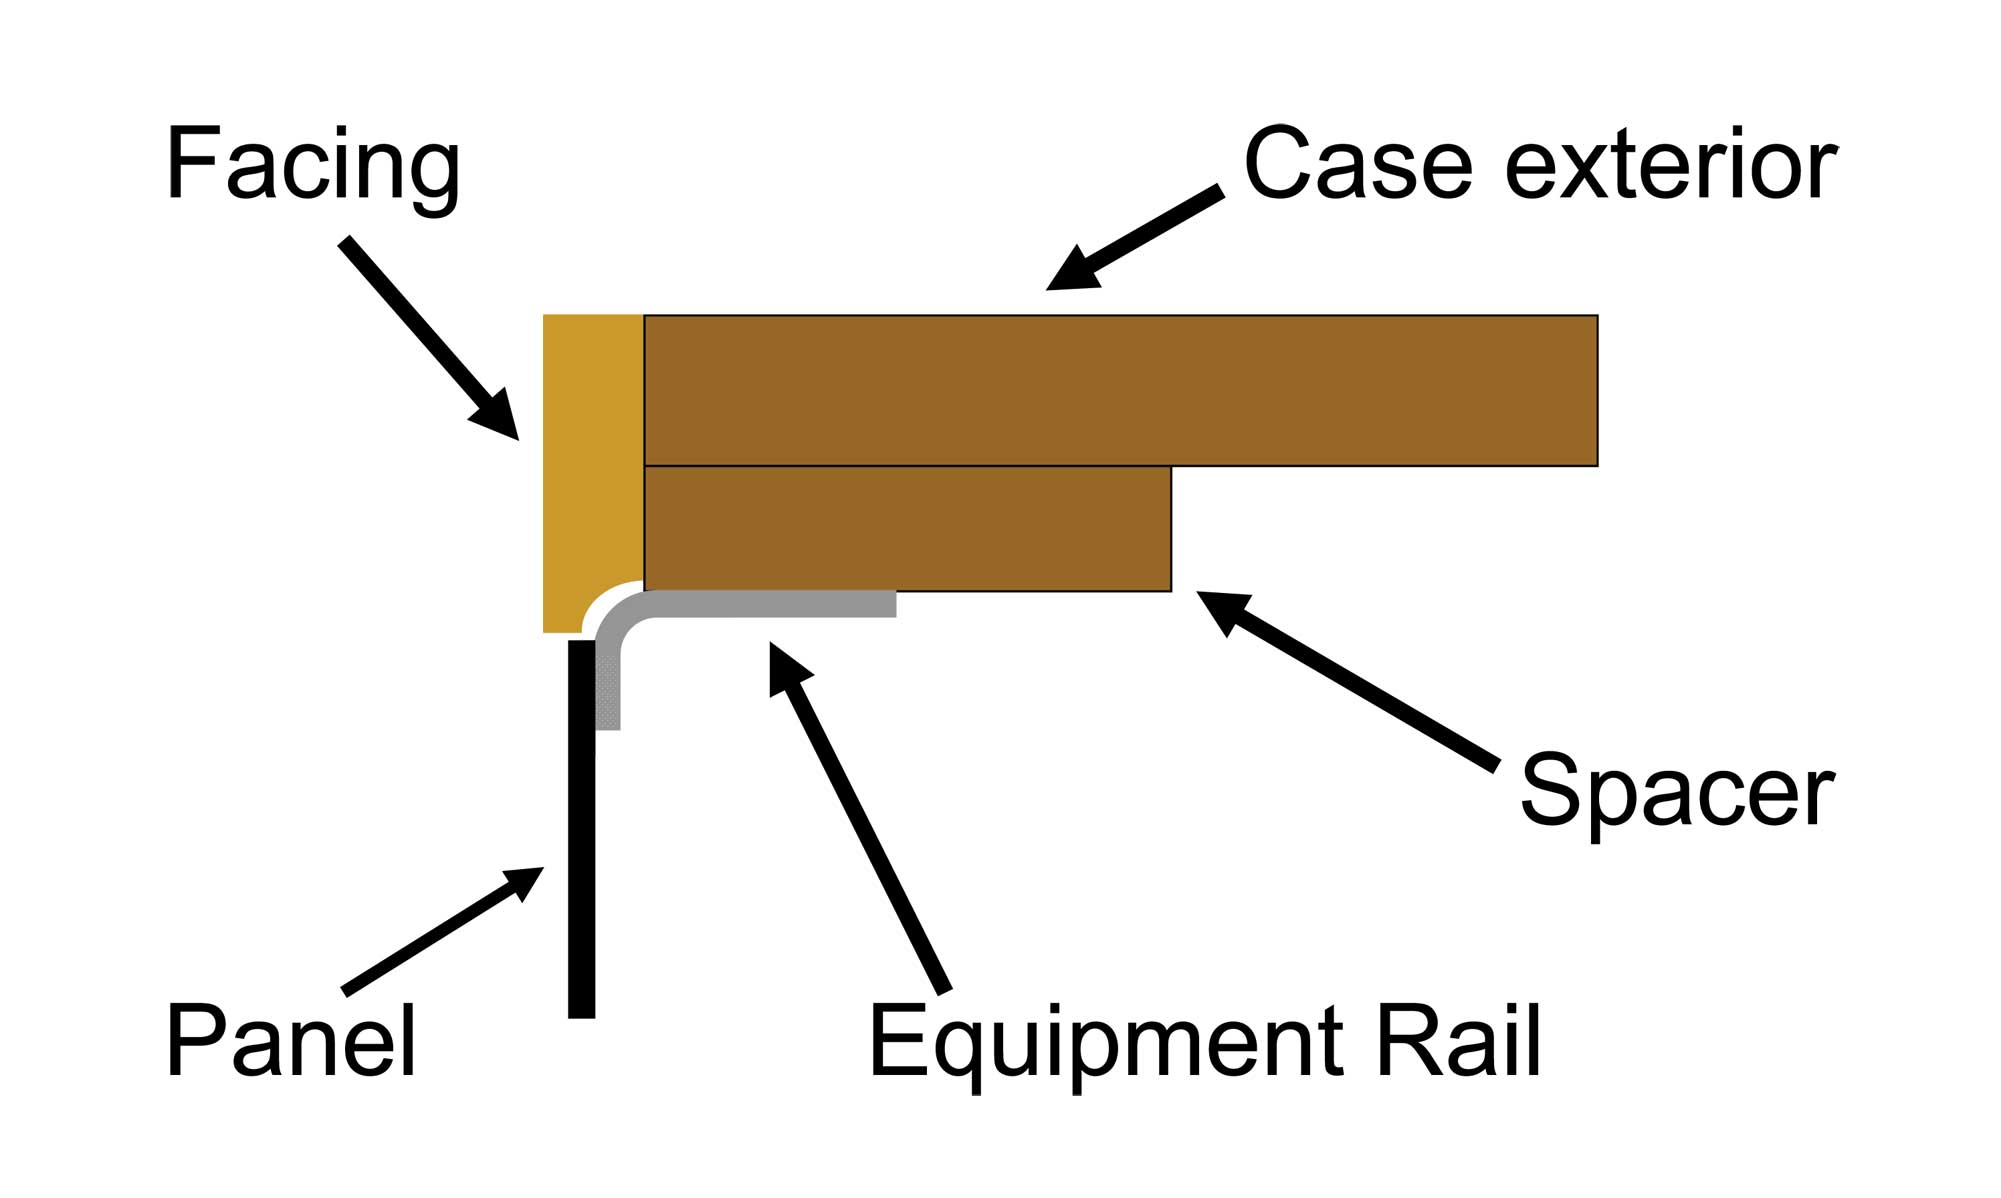
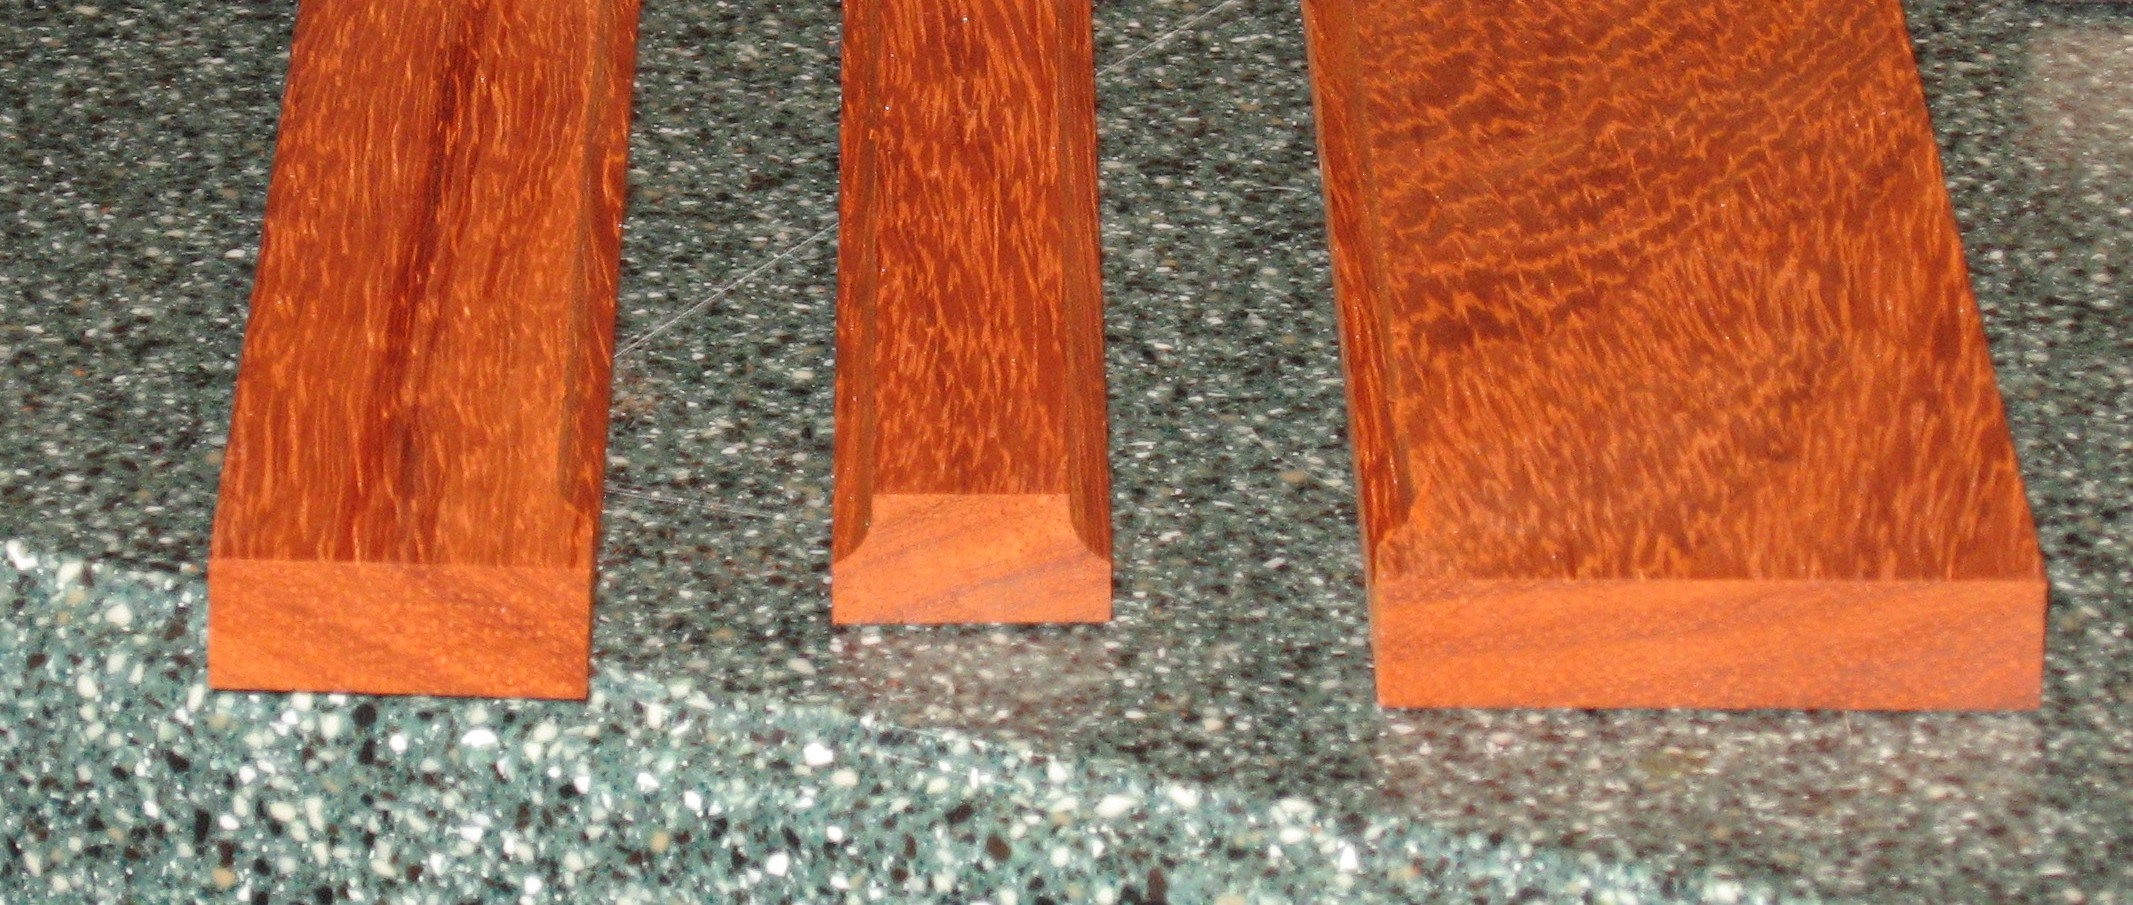
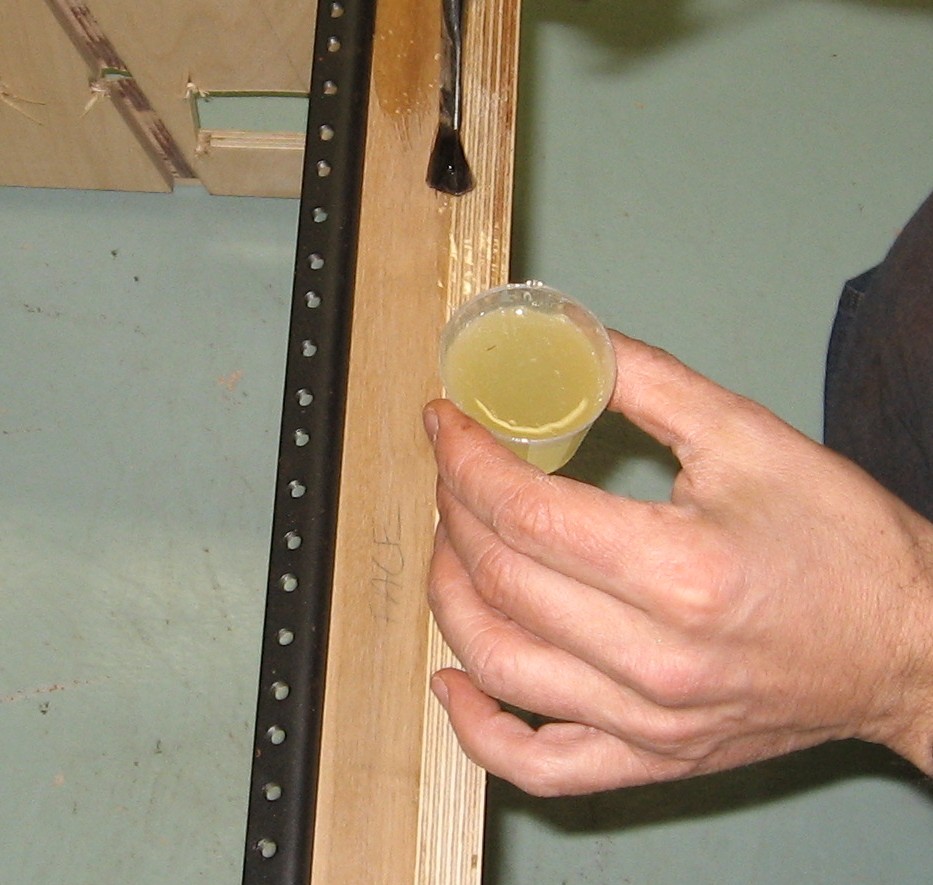
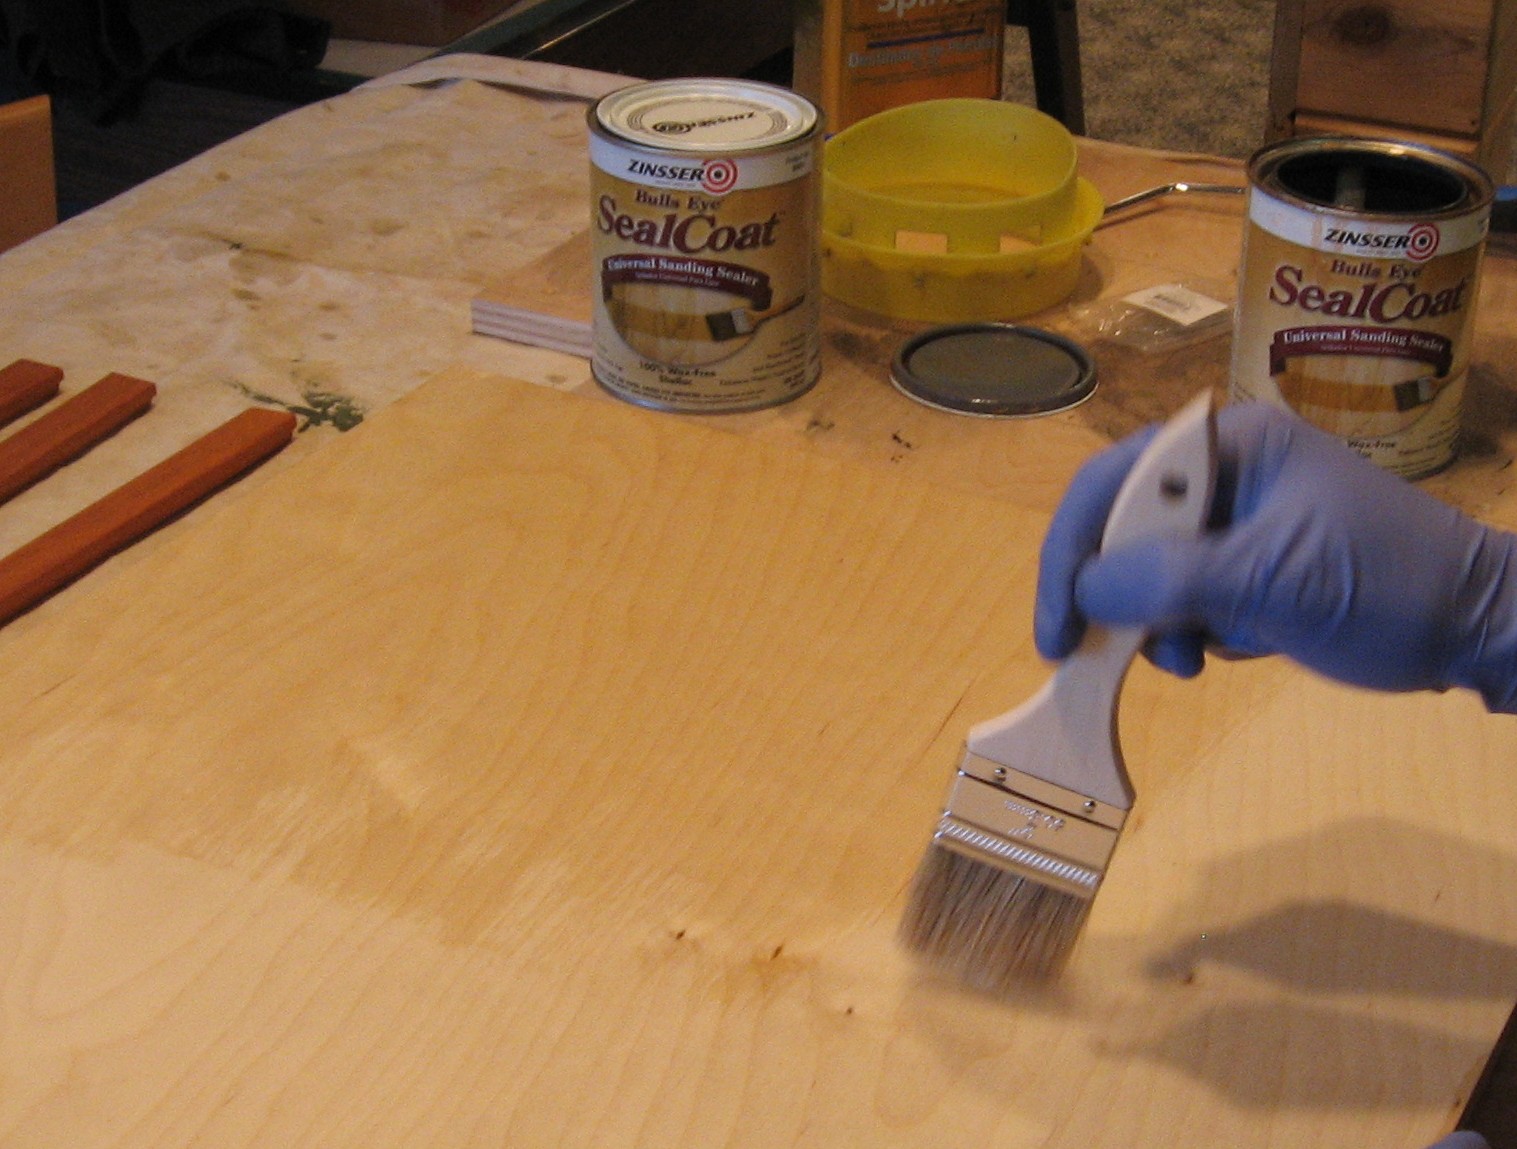
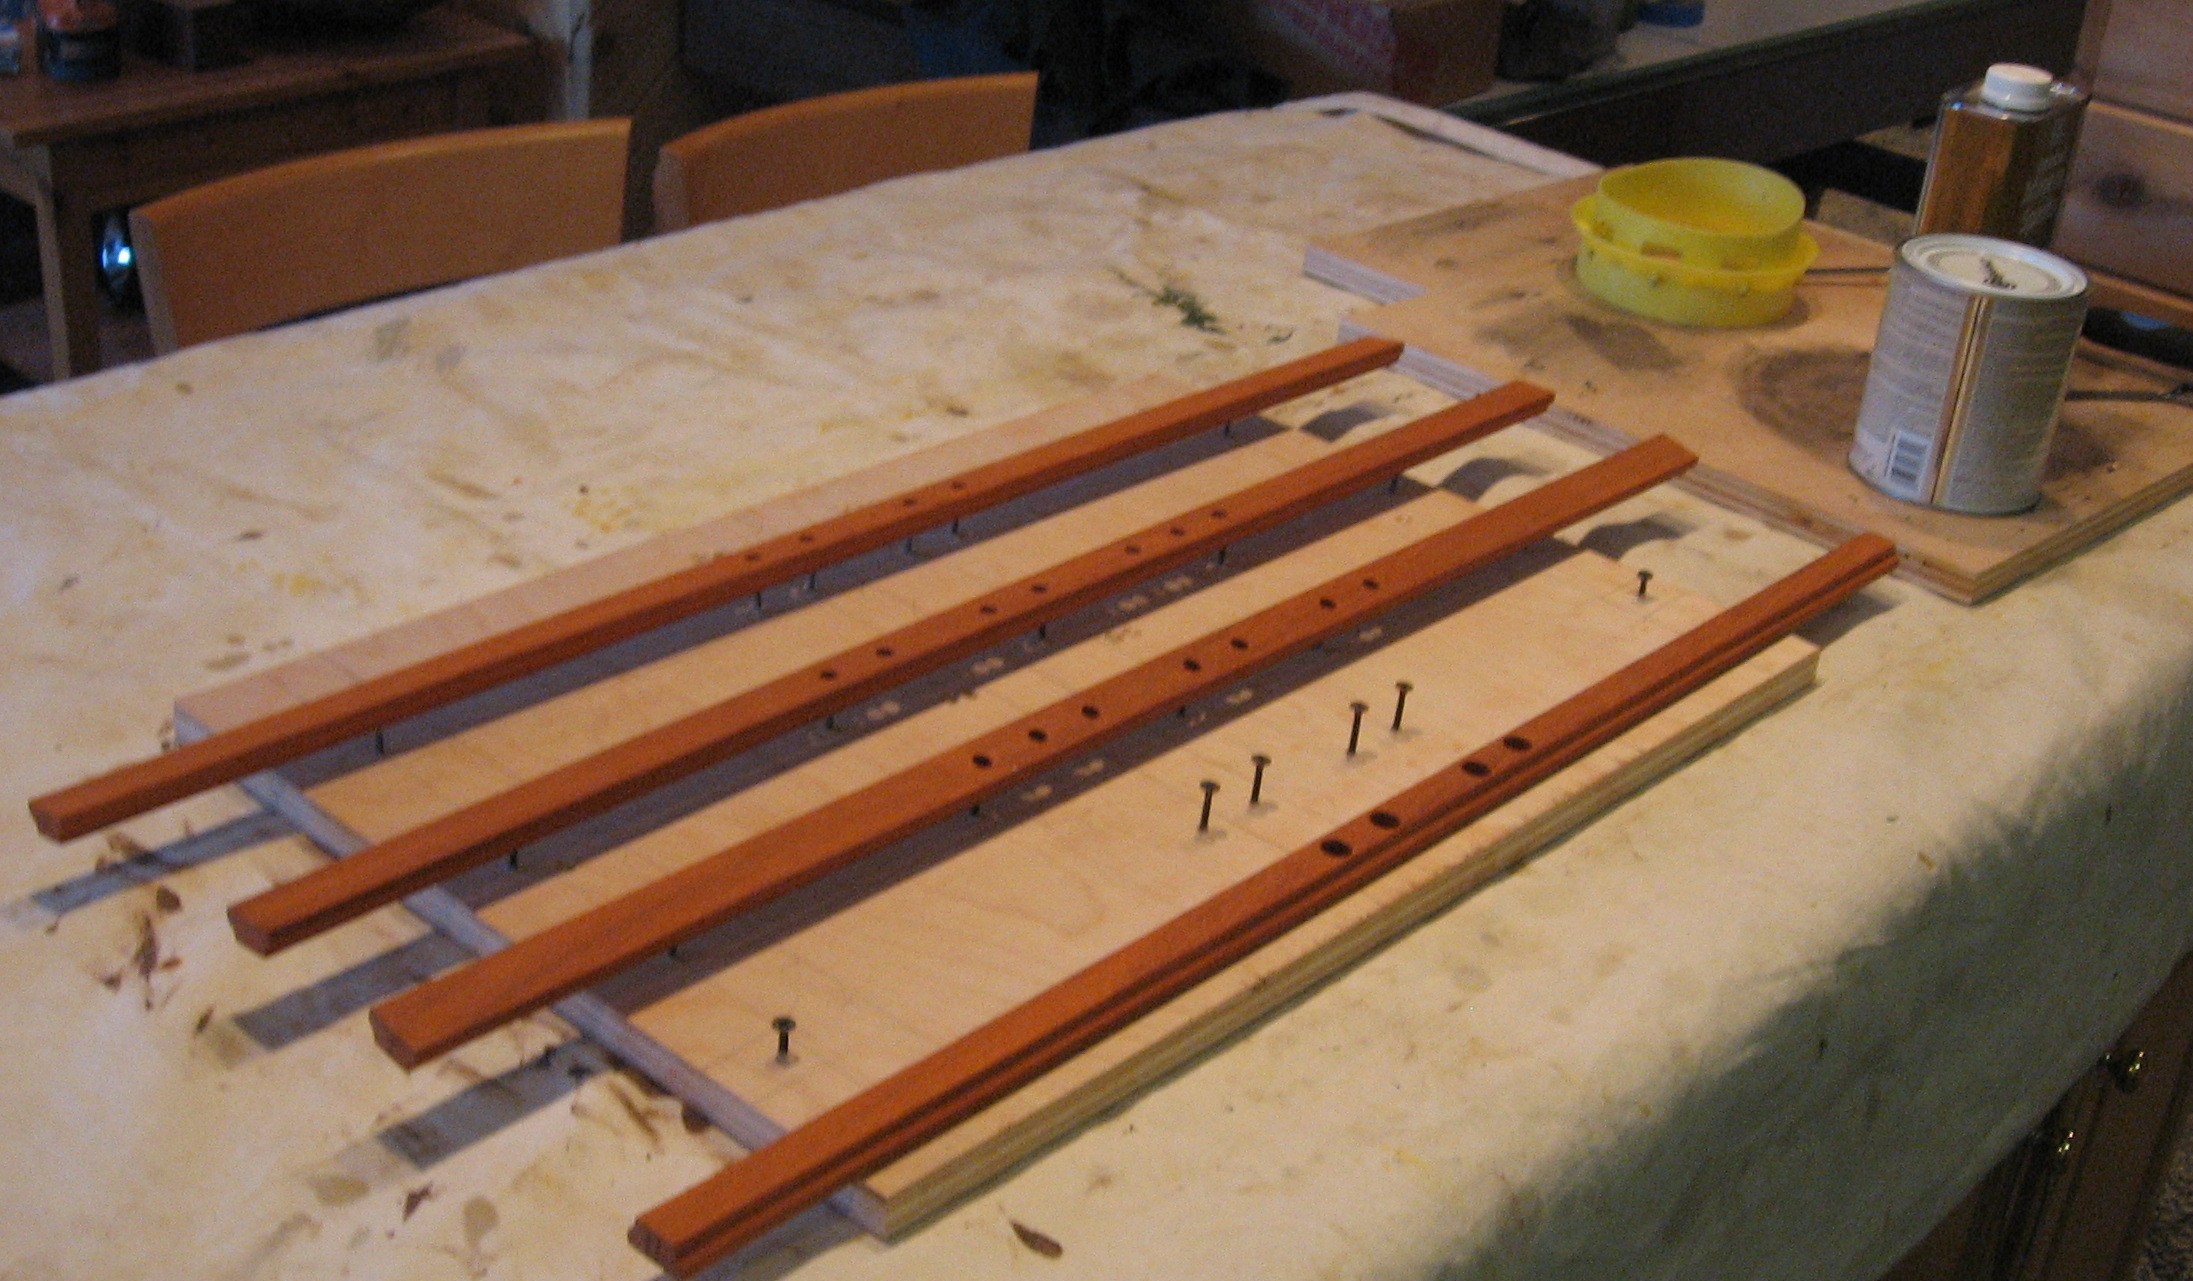
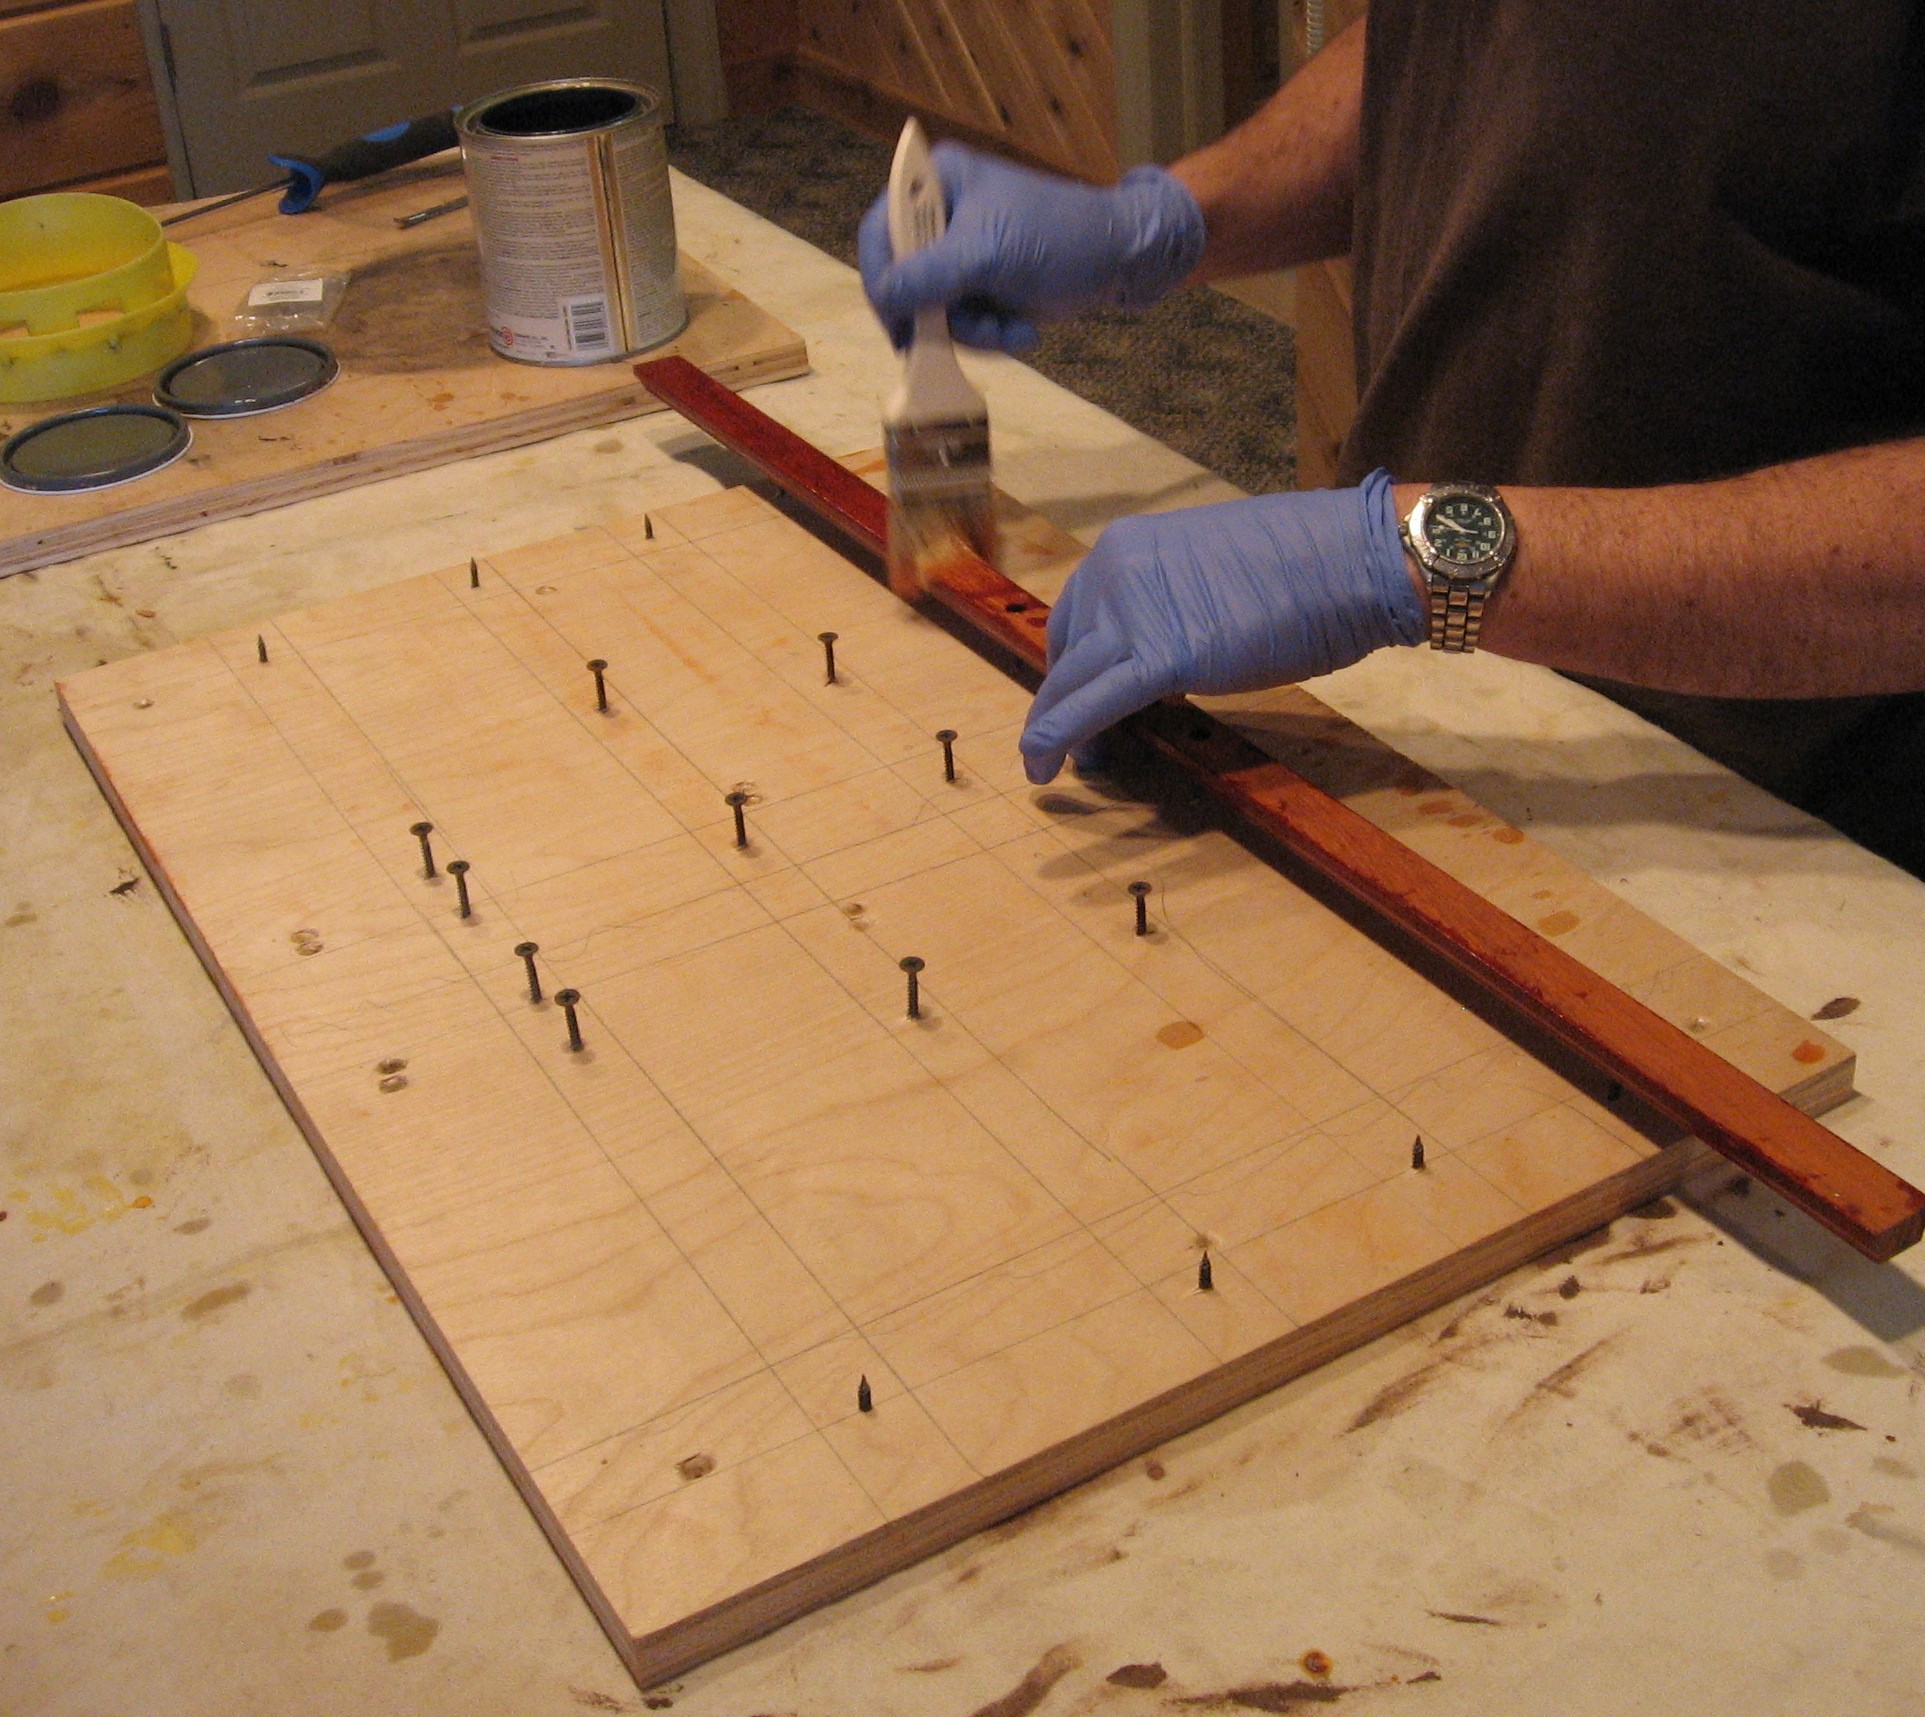
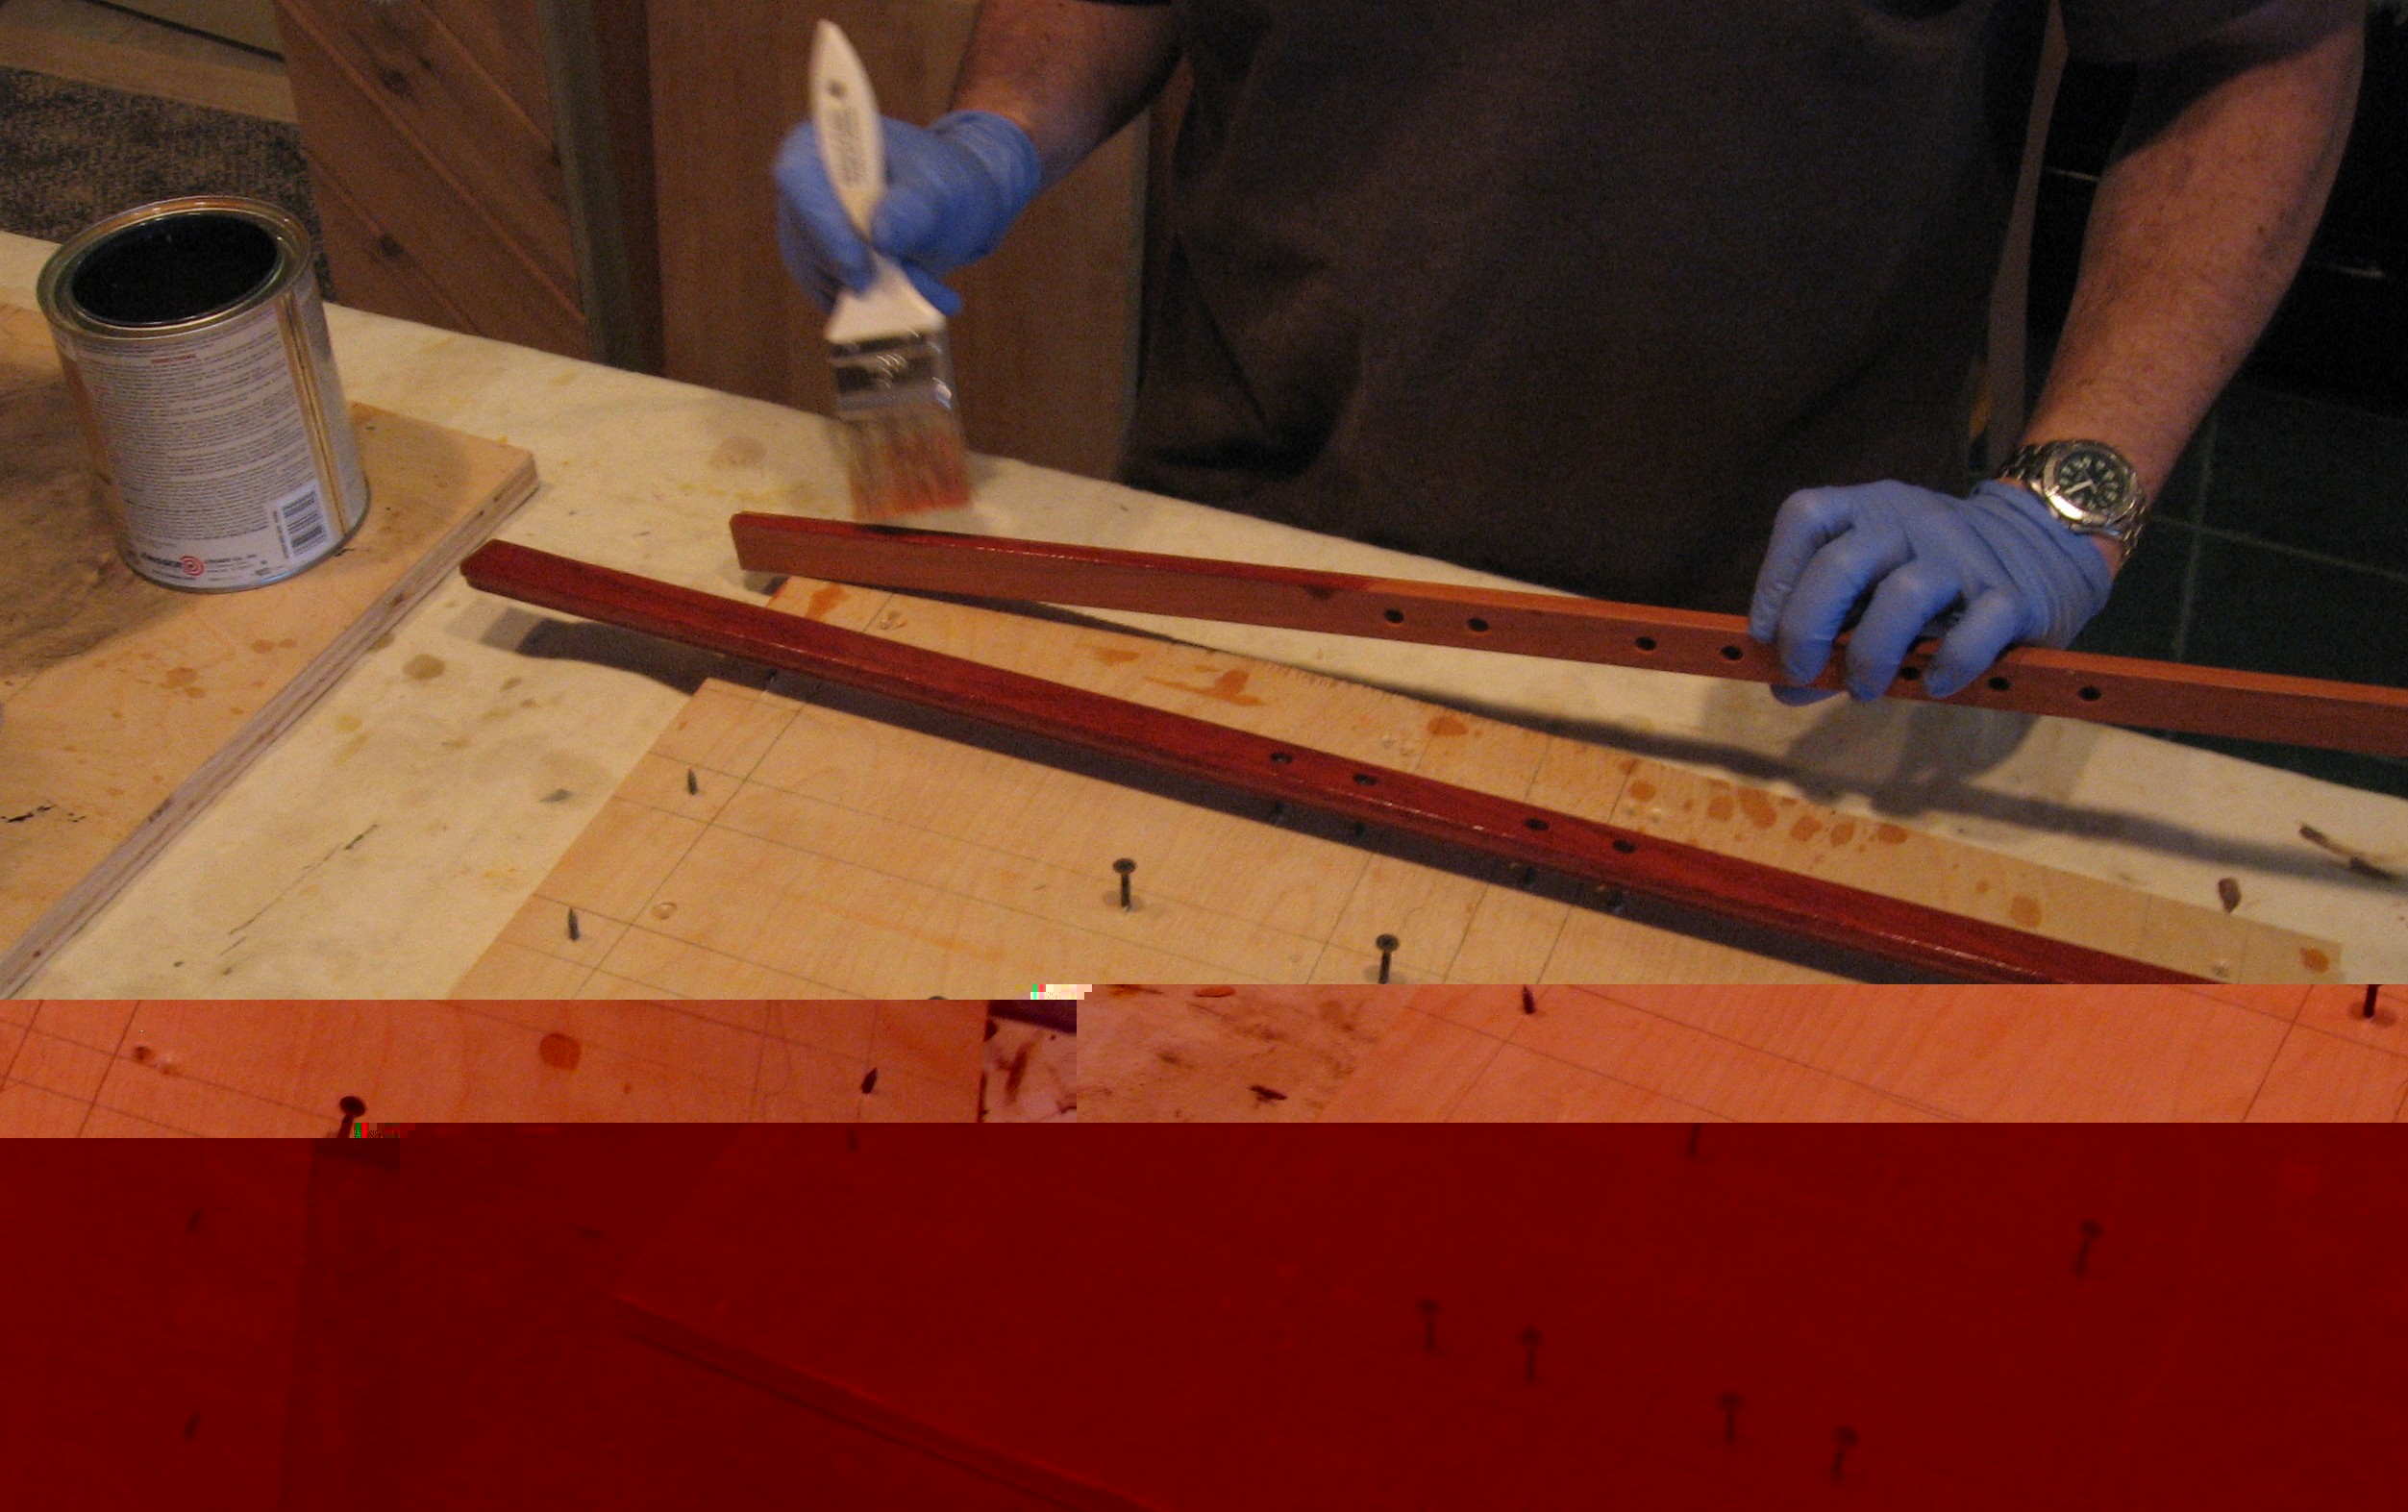
Finishing - Facing The top, bottom, sides, and back will be painted black, but the front edges will be covered with hard wood facings. We've chosen _____ for its color. The facings will be 1/2 inch thick so the first step is to mill the material with the jointer and the planer.
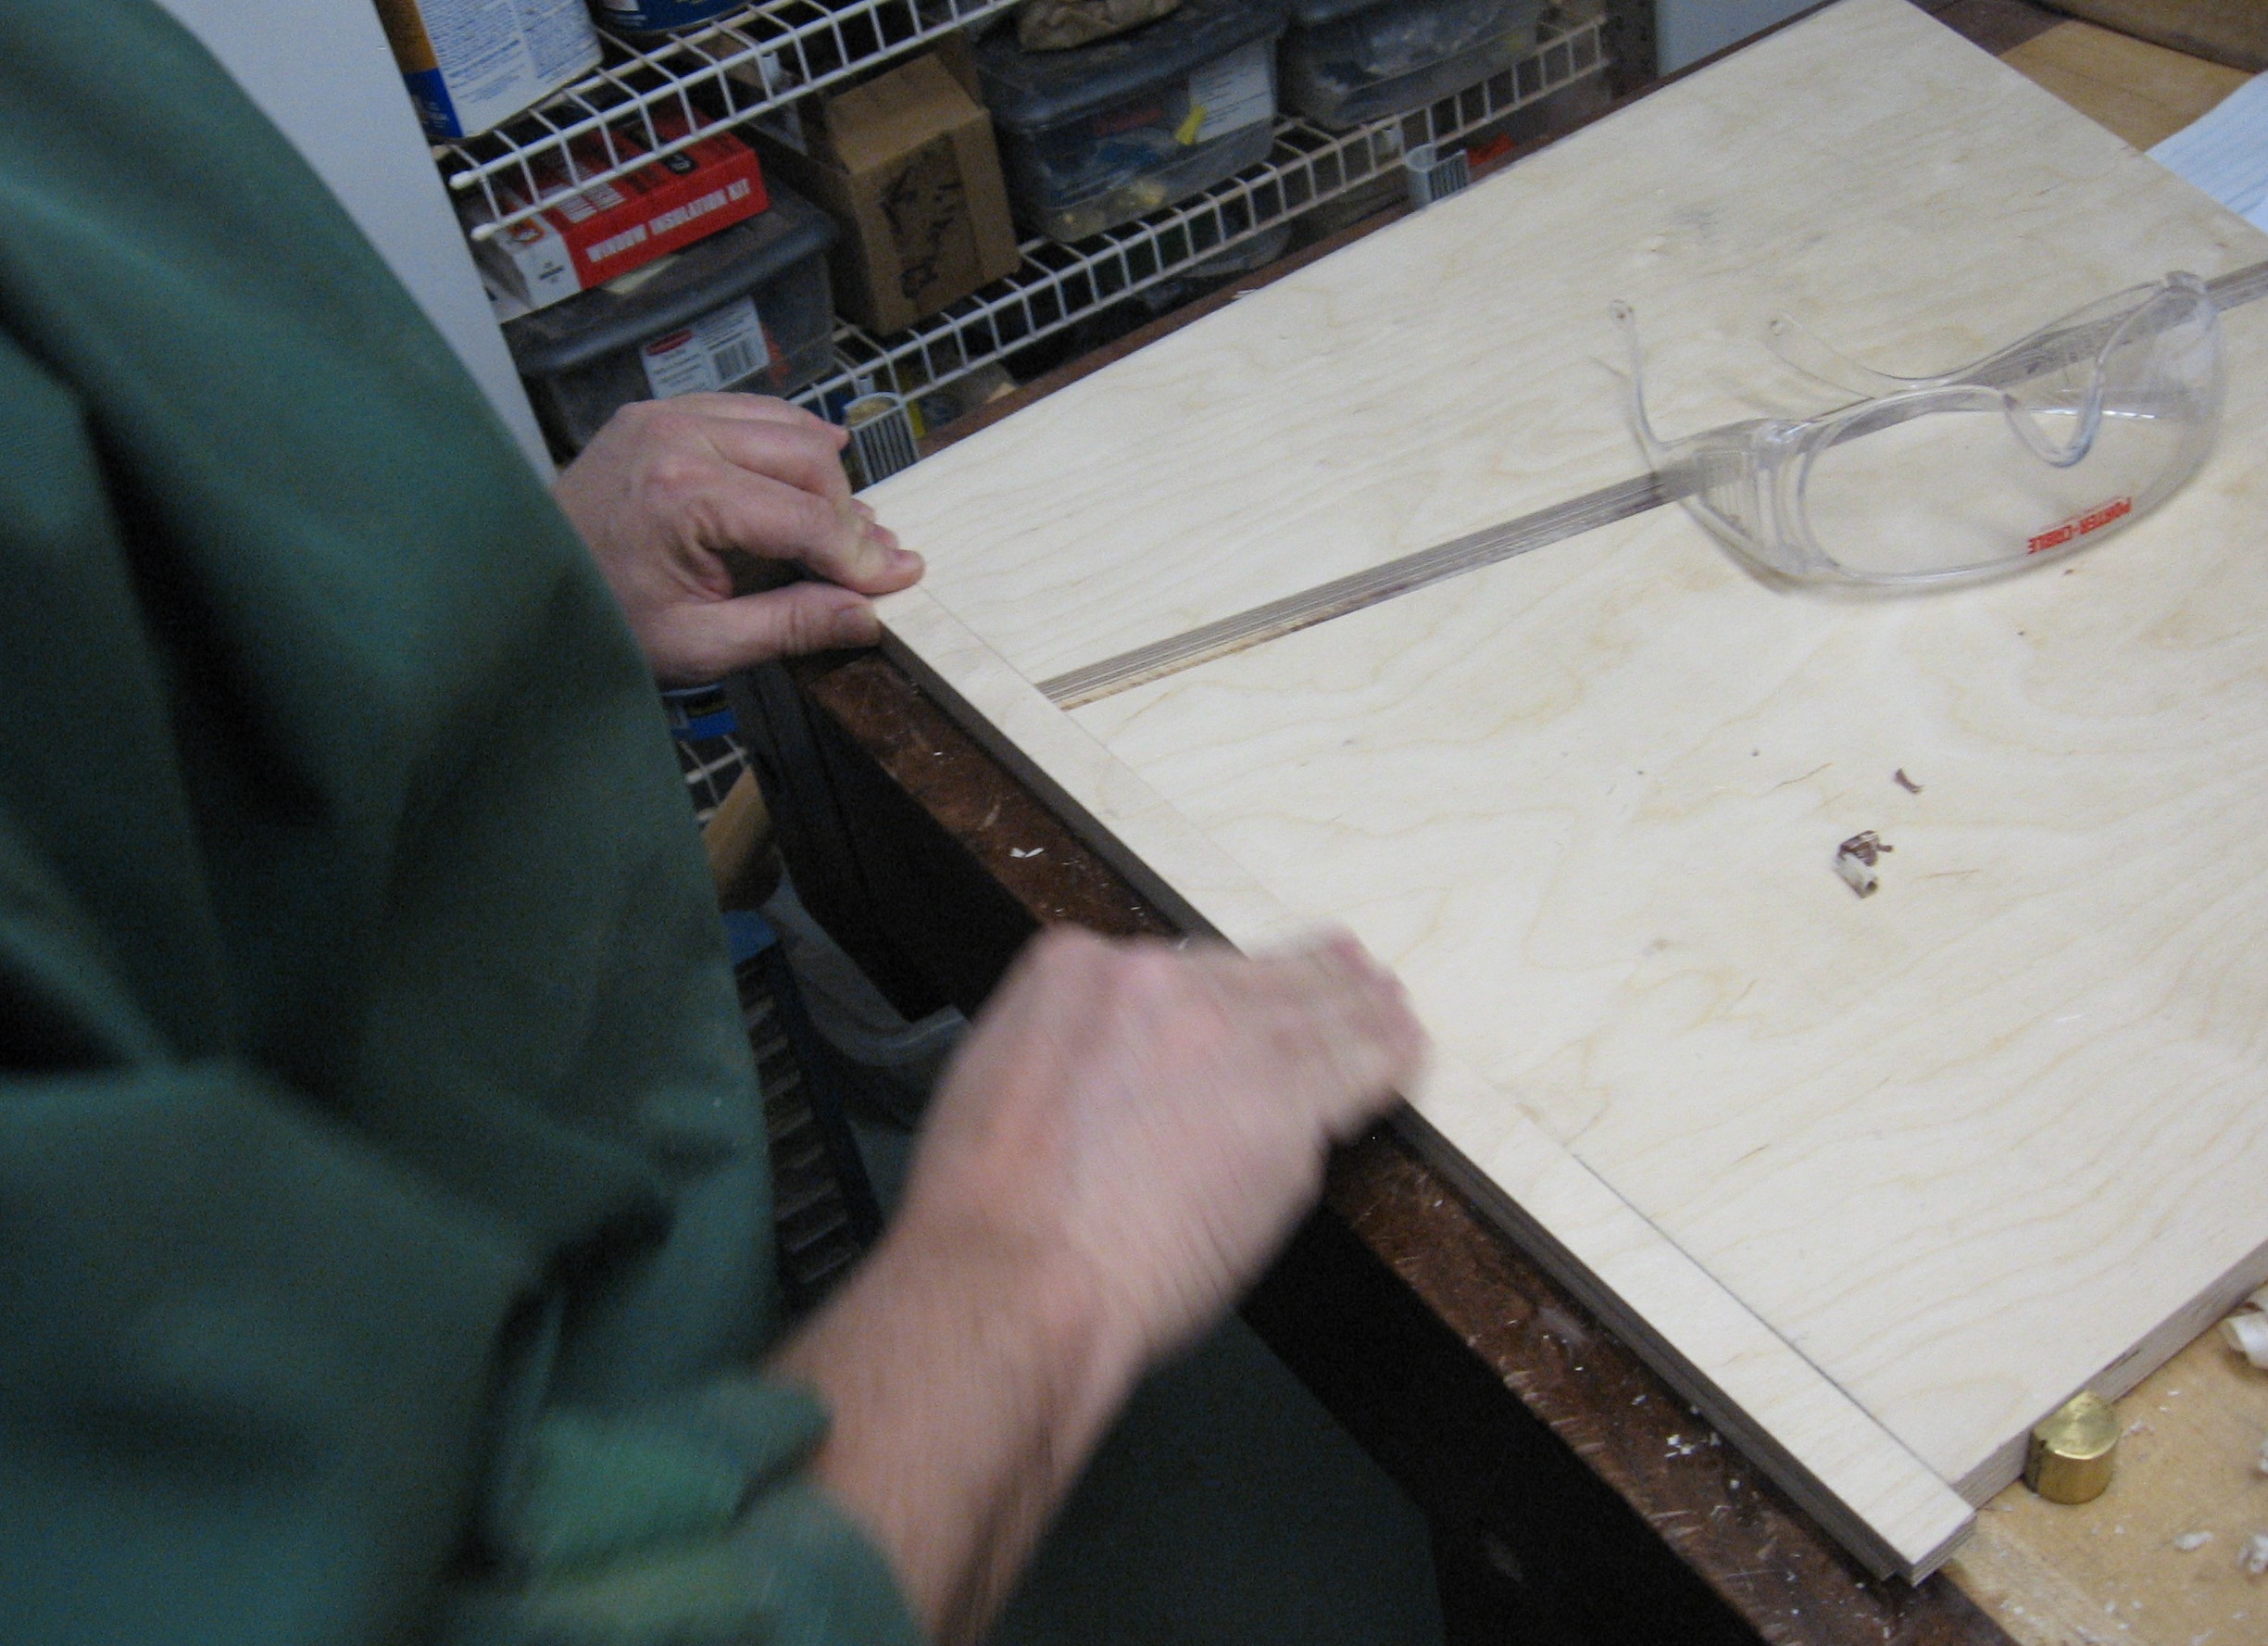
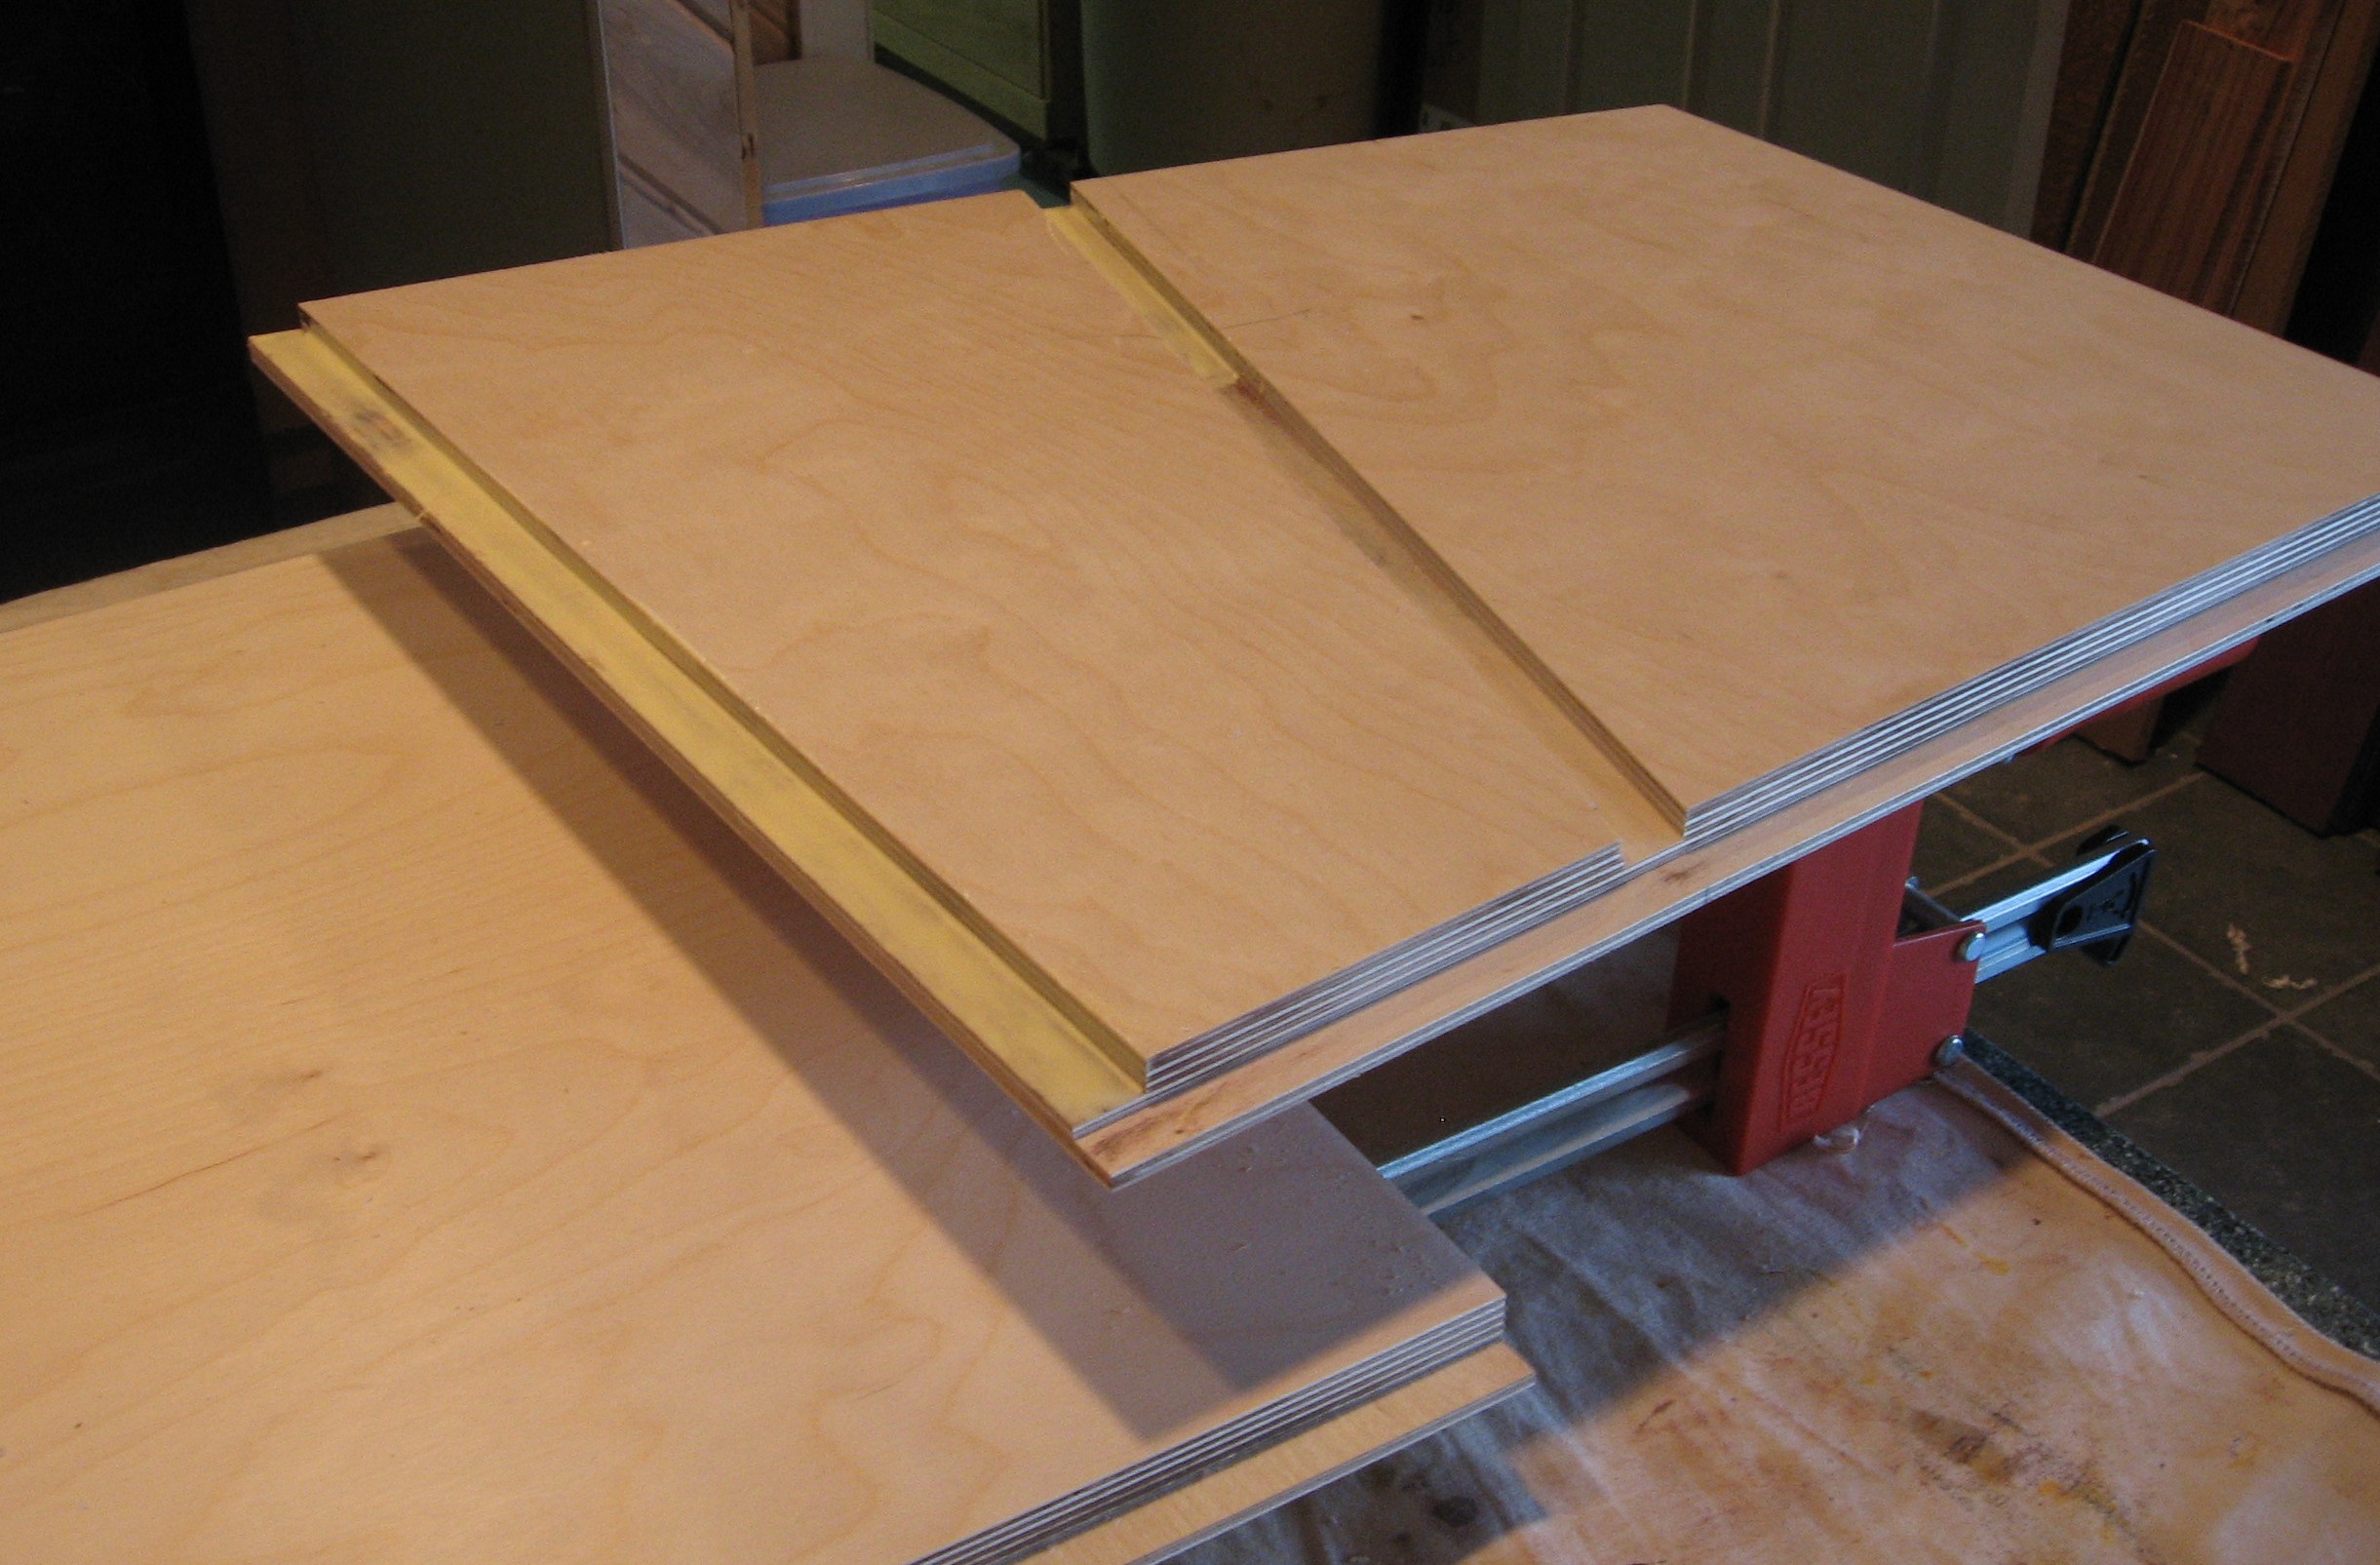
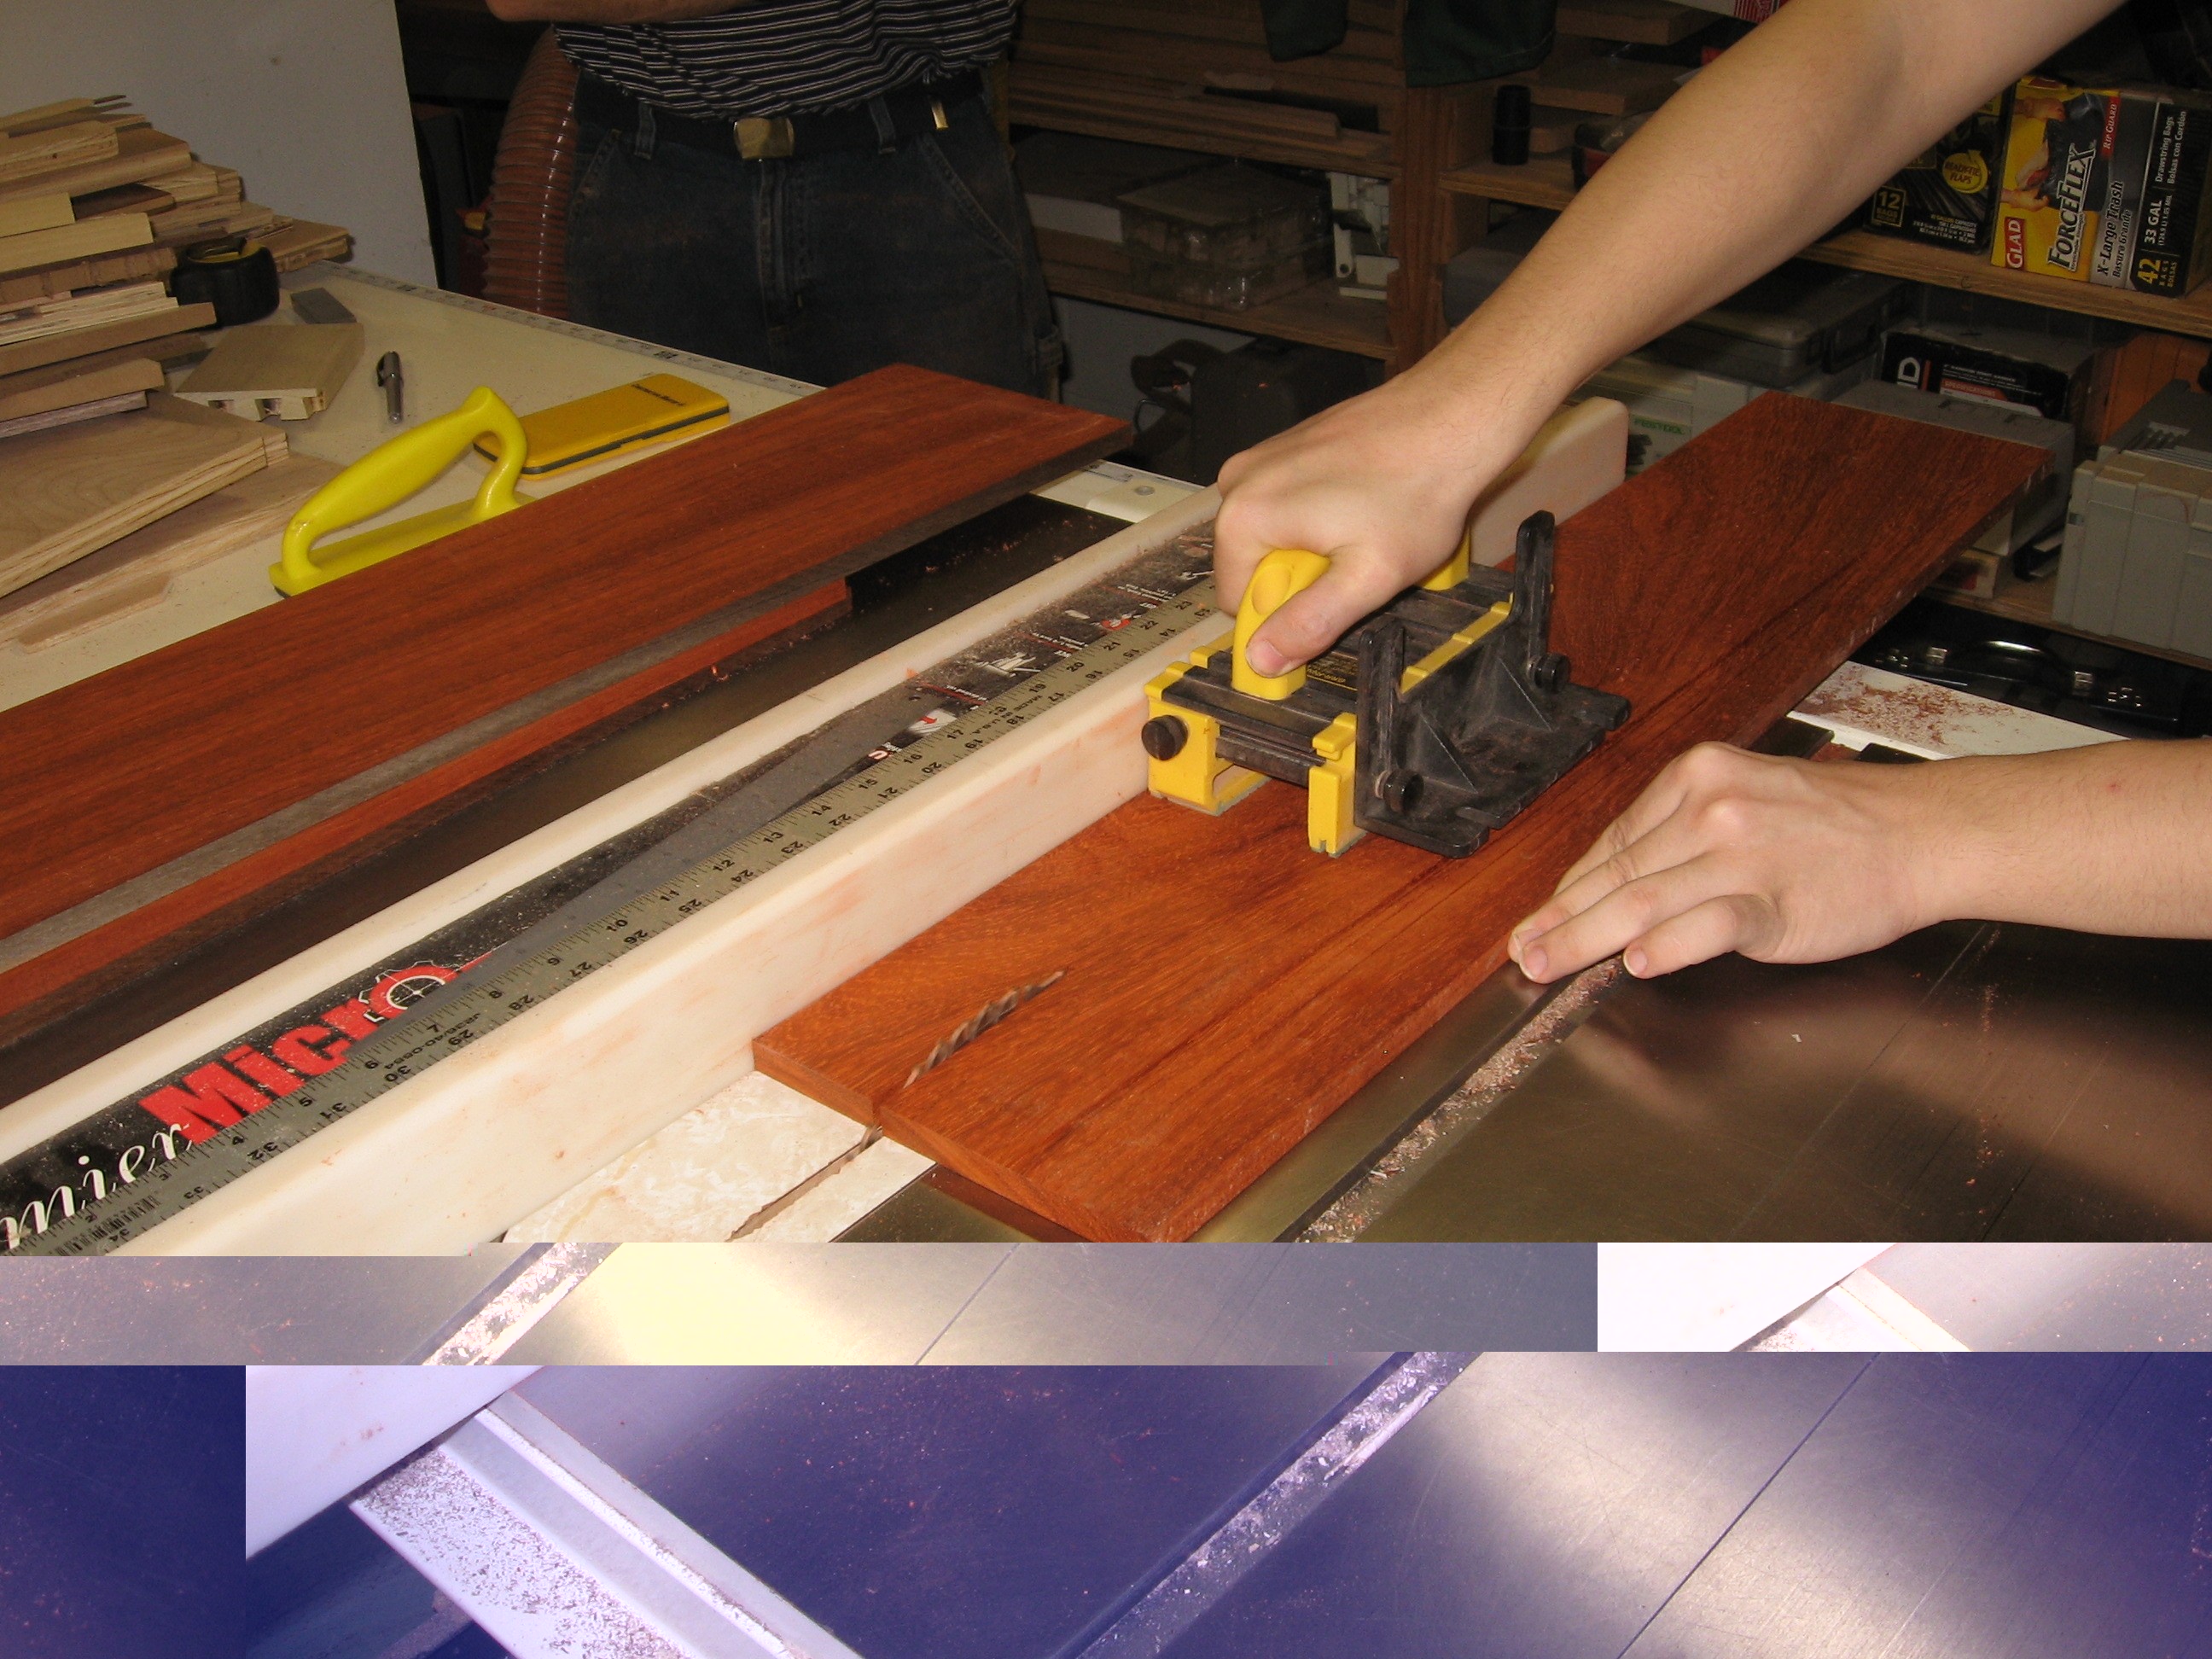
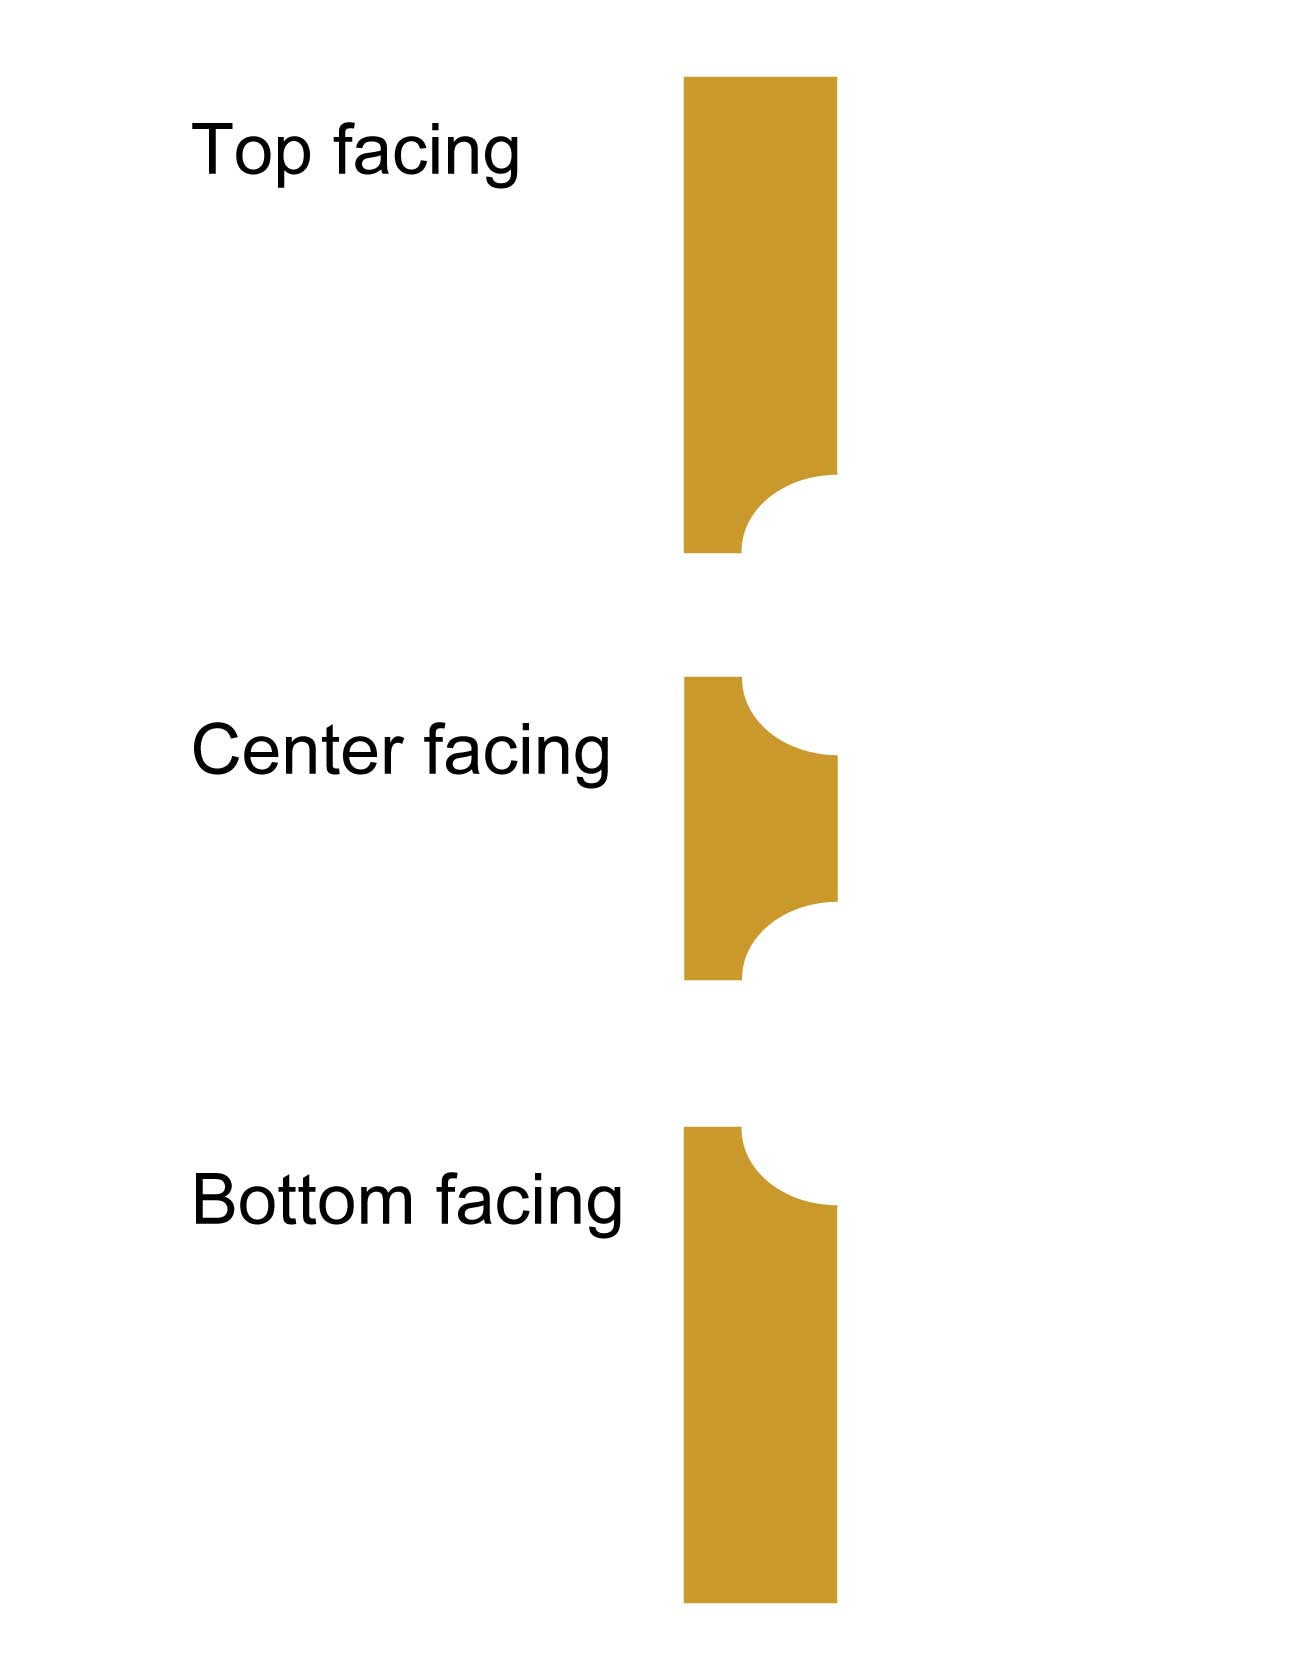
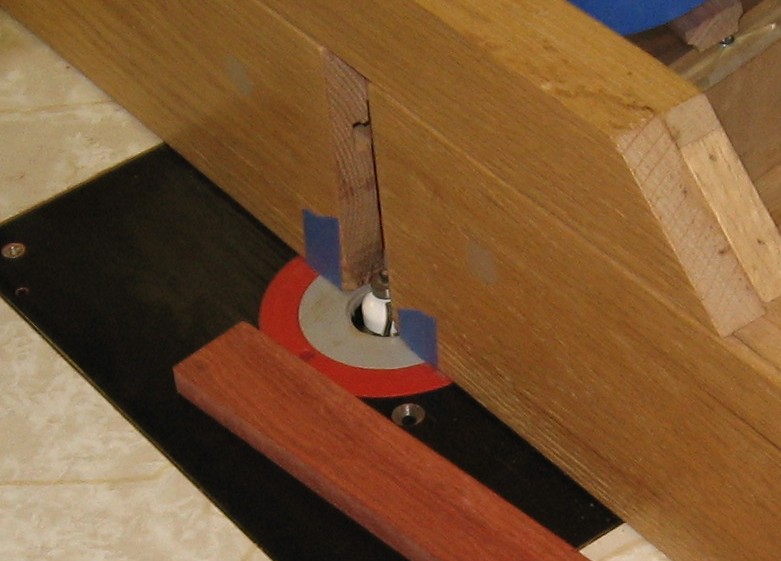
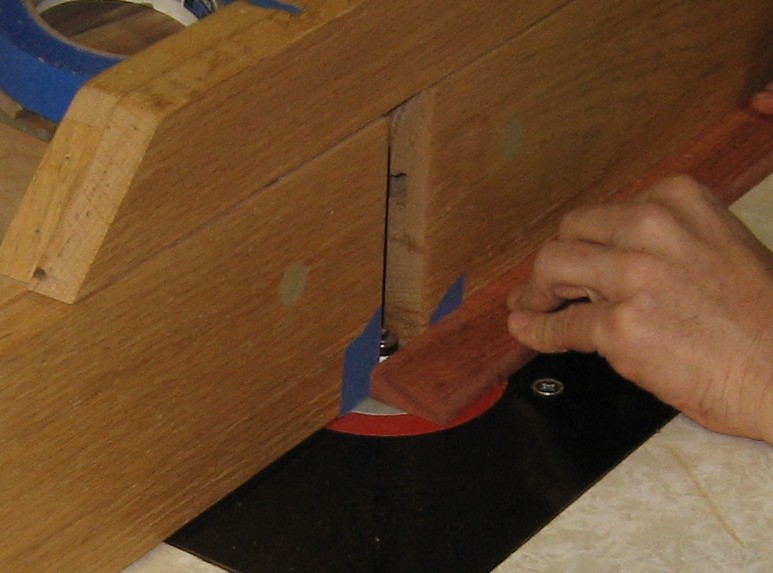
Rough Cutting We're going to mill a cove into the top, bottom, and center facings so that they overlap the rails a little bit and we need some slop so we can trim the facing to fit perfectly.
Milling the Facing Cove Now to mill the cove into the top, bottom, and center facings.
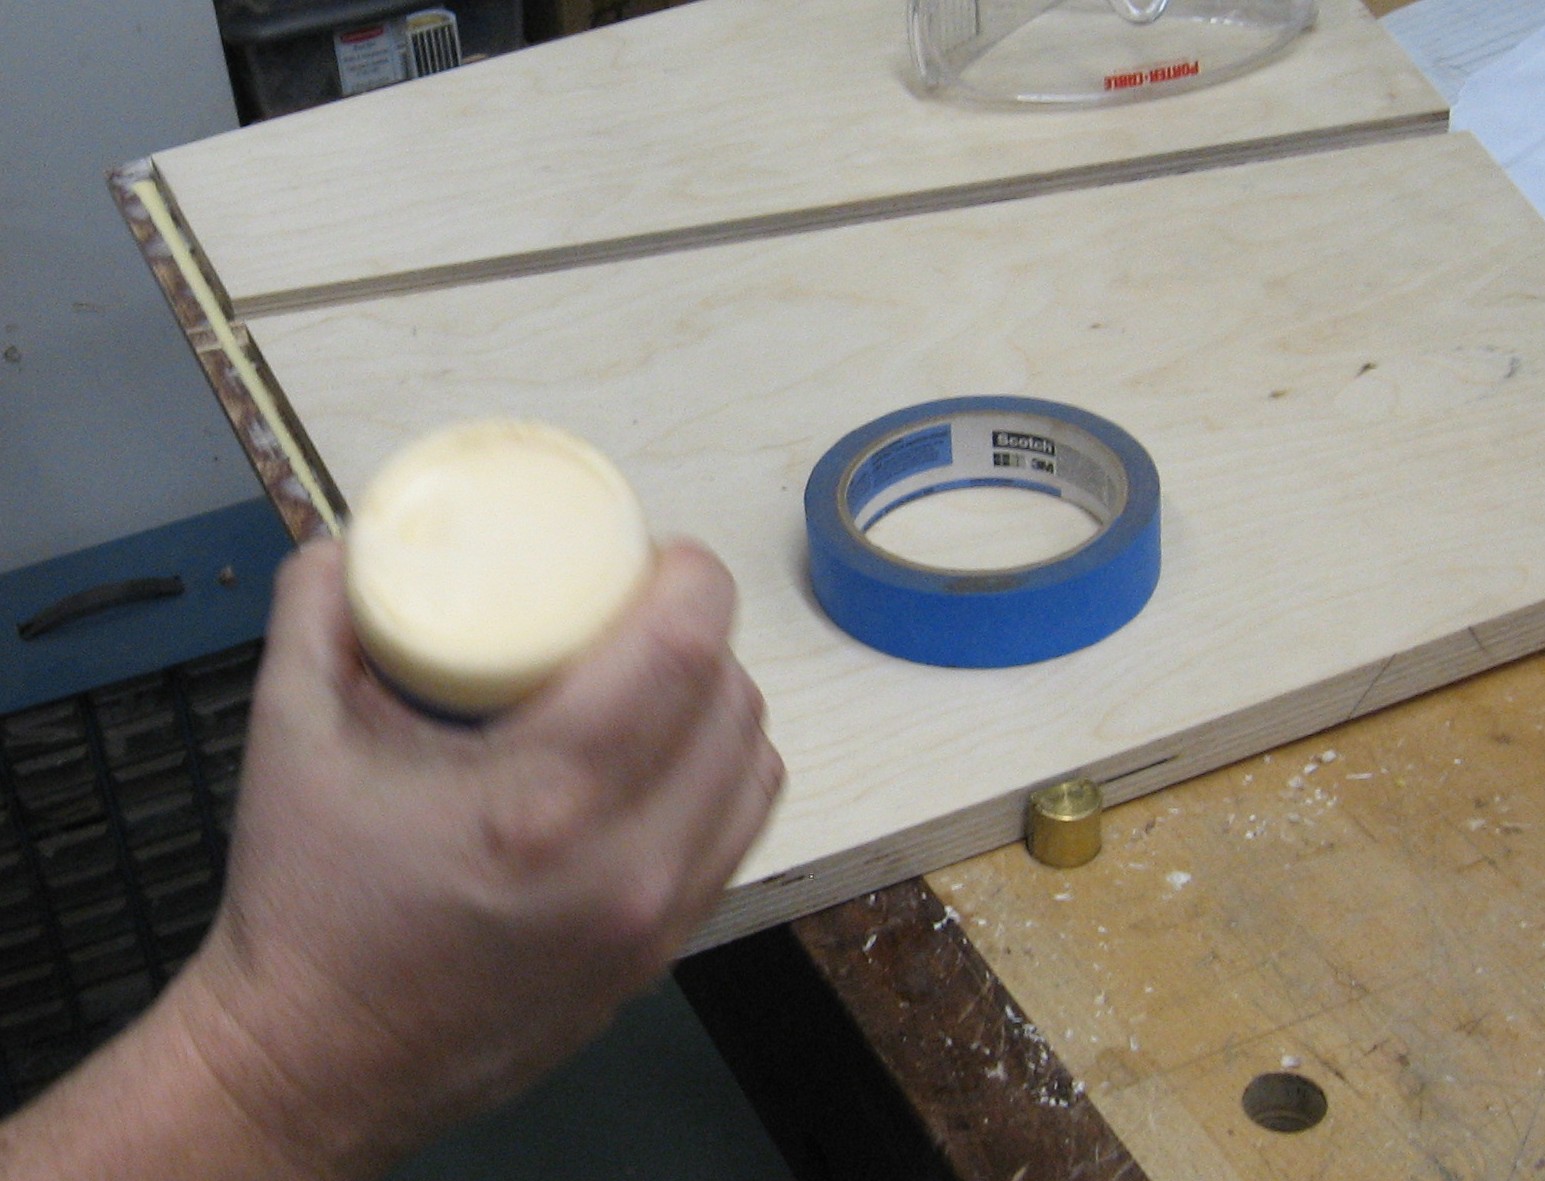
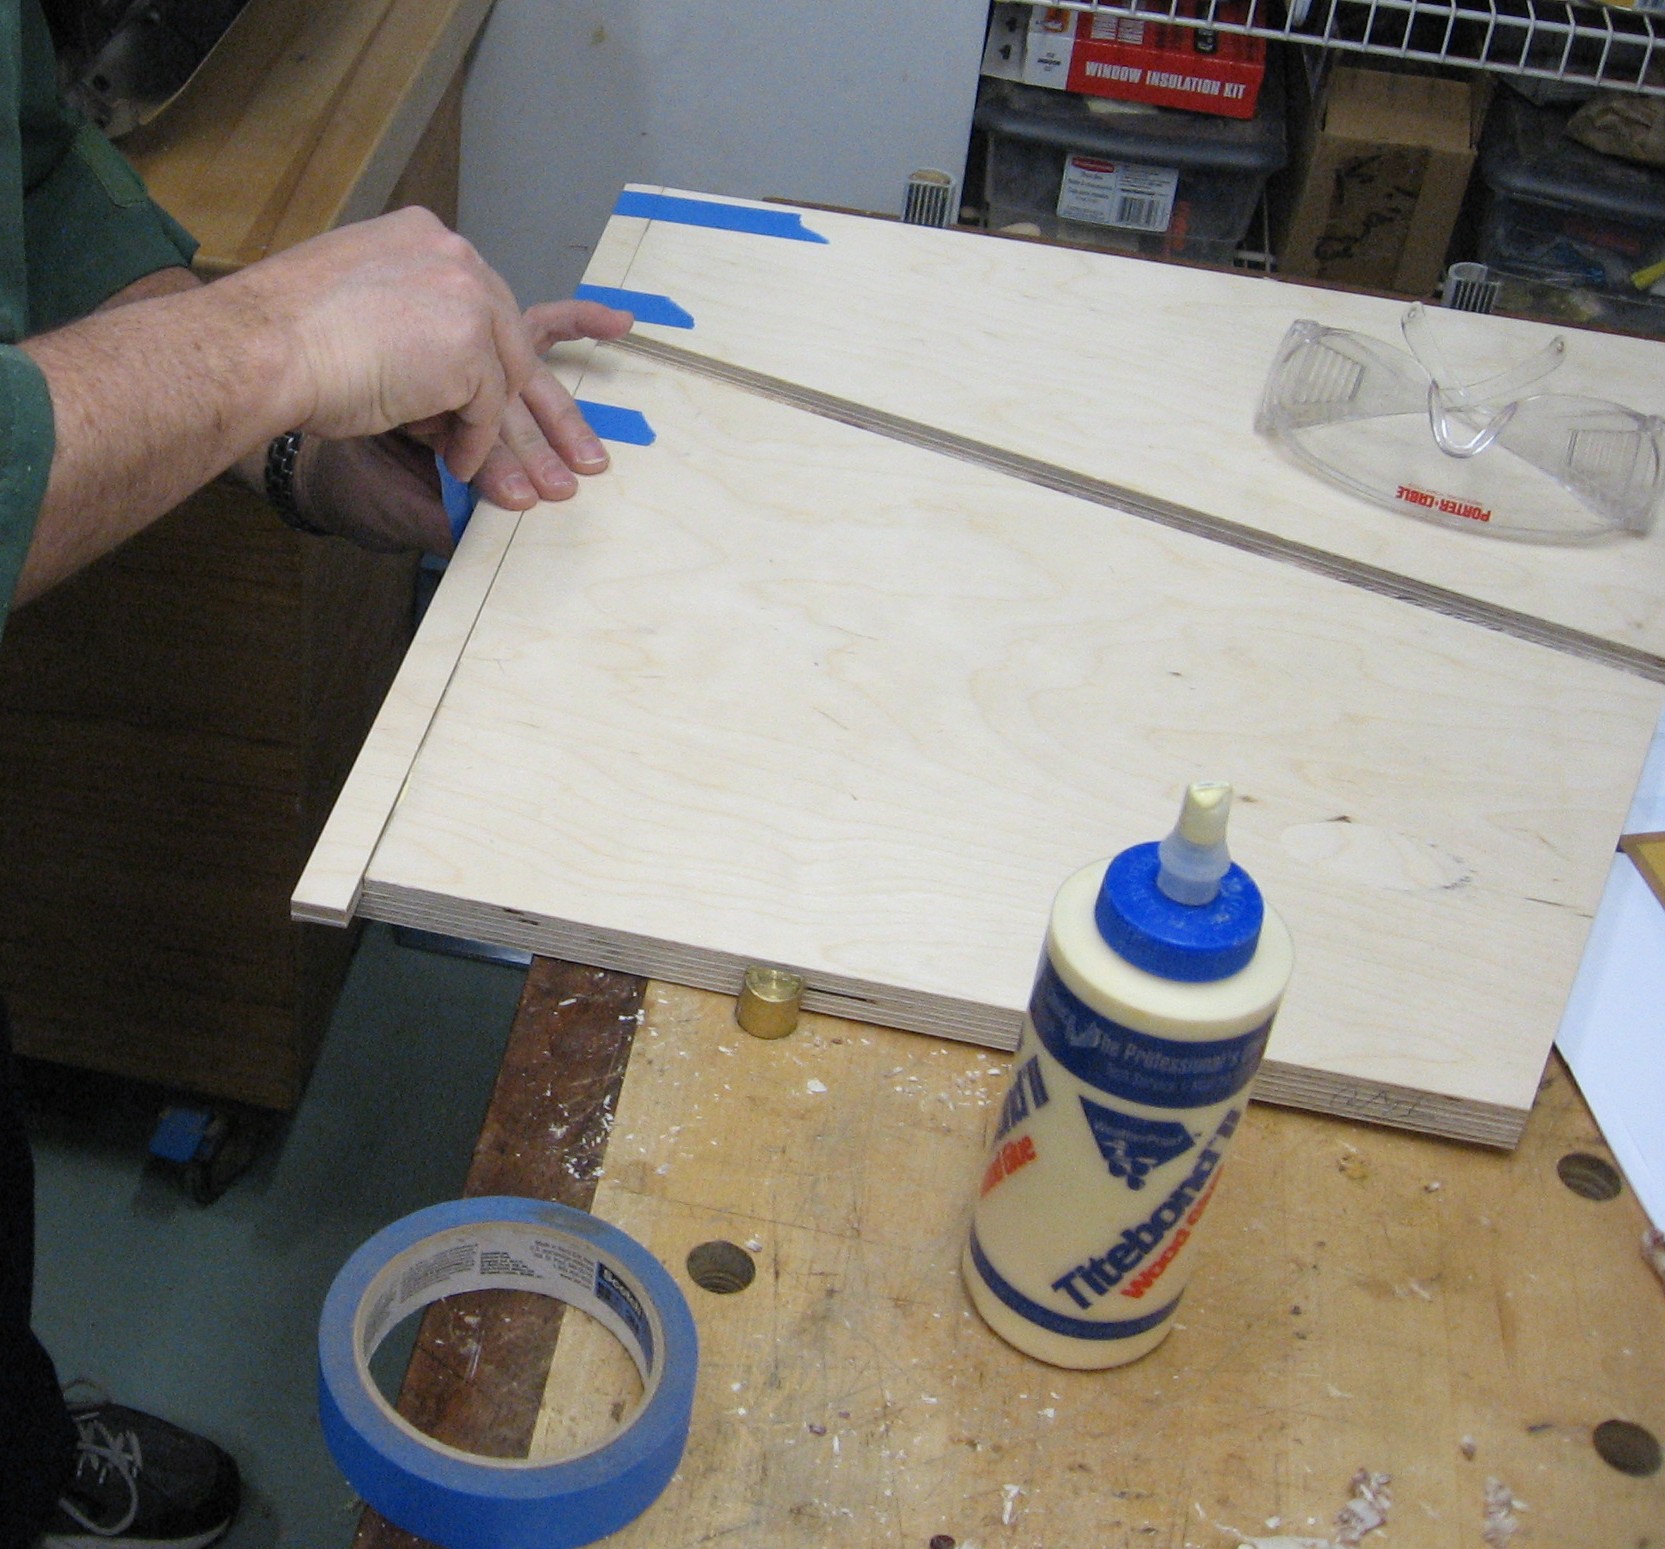
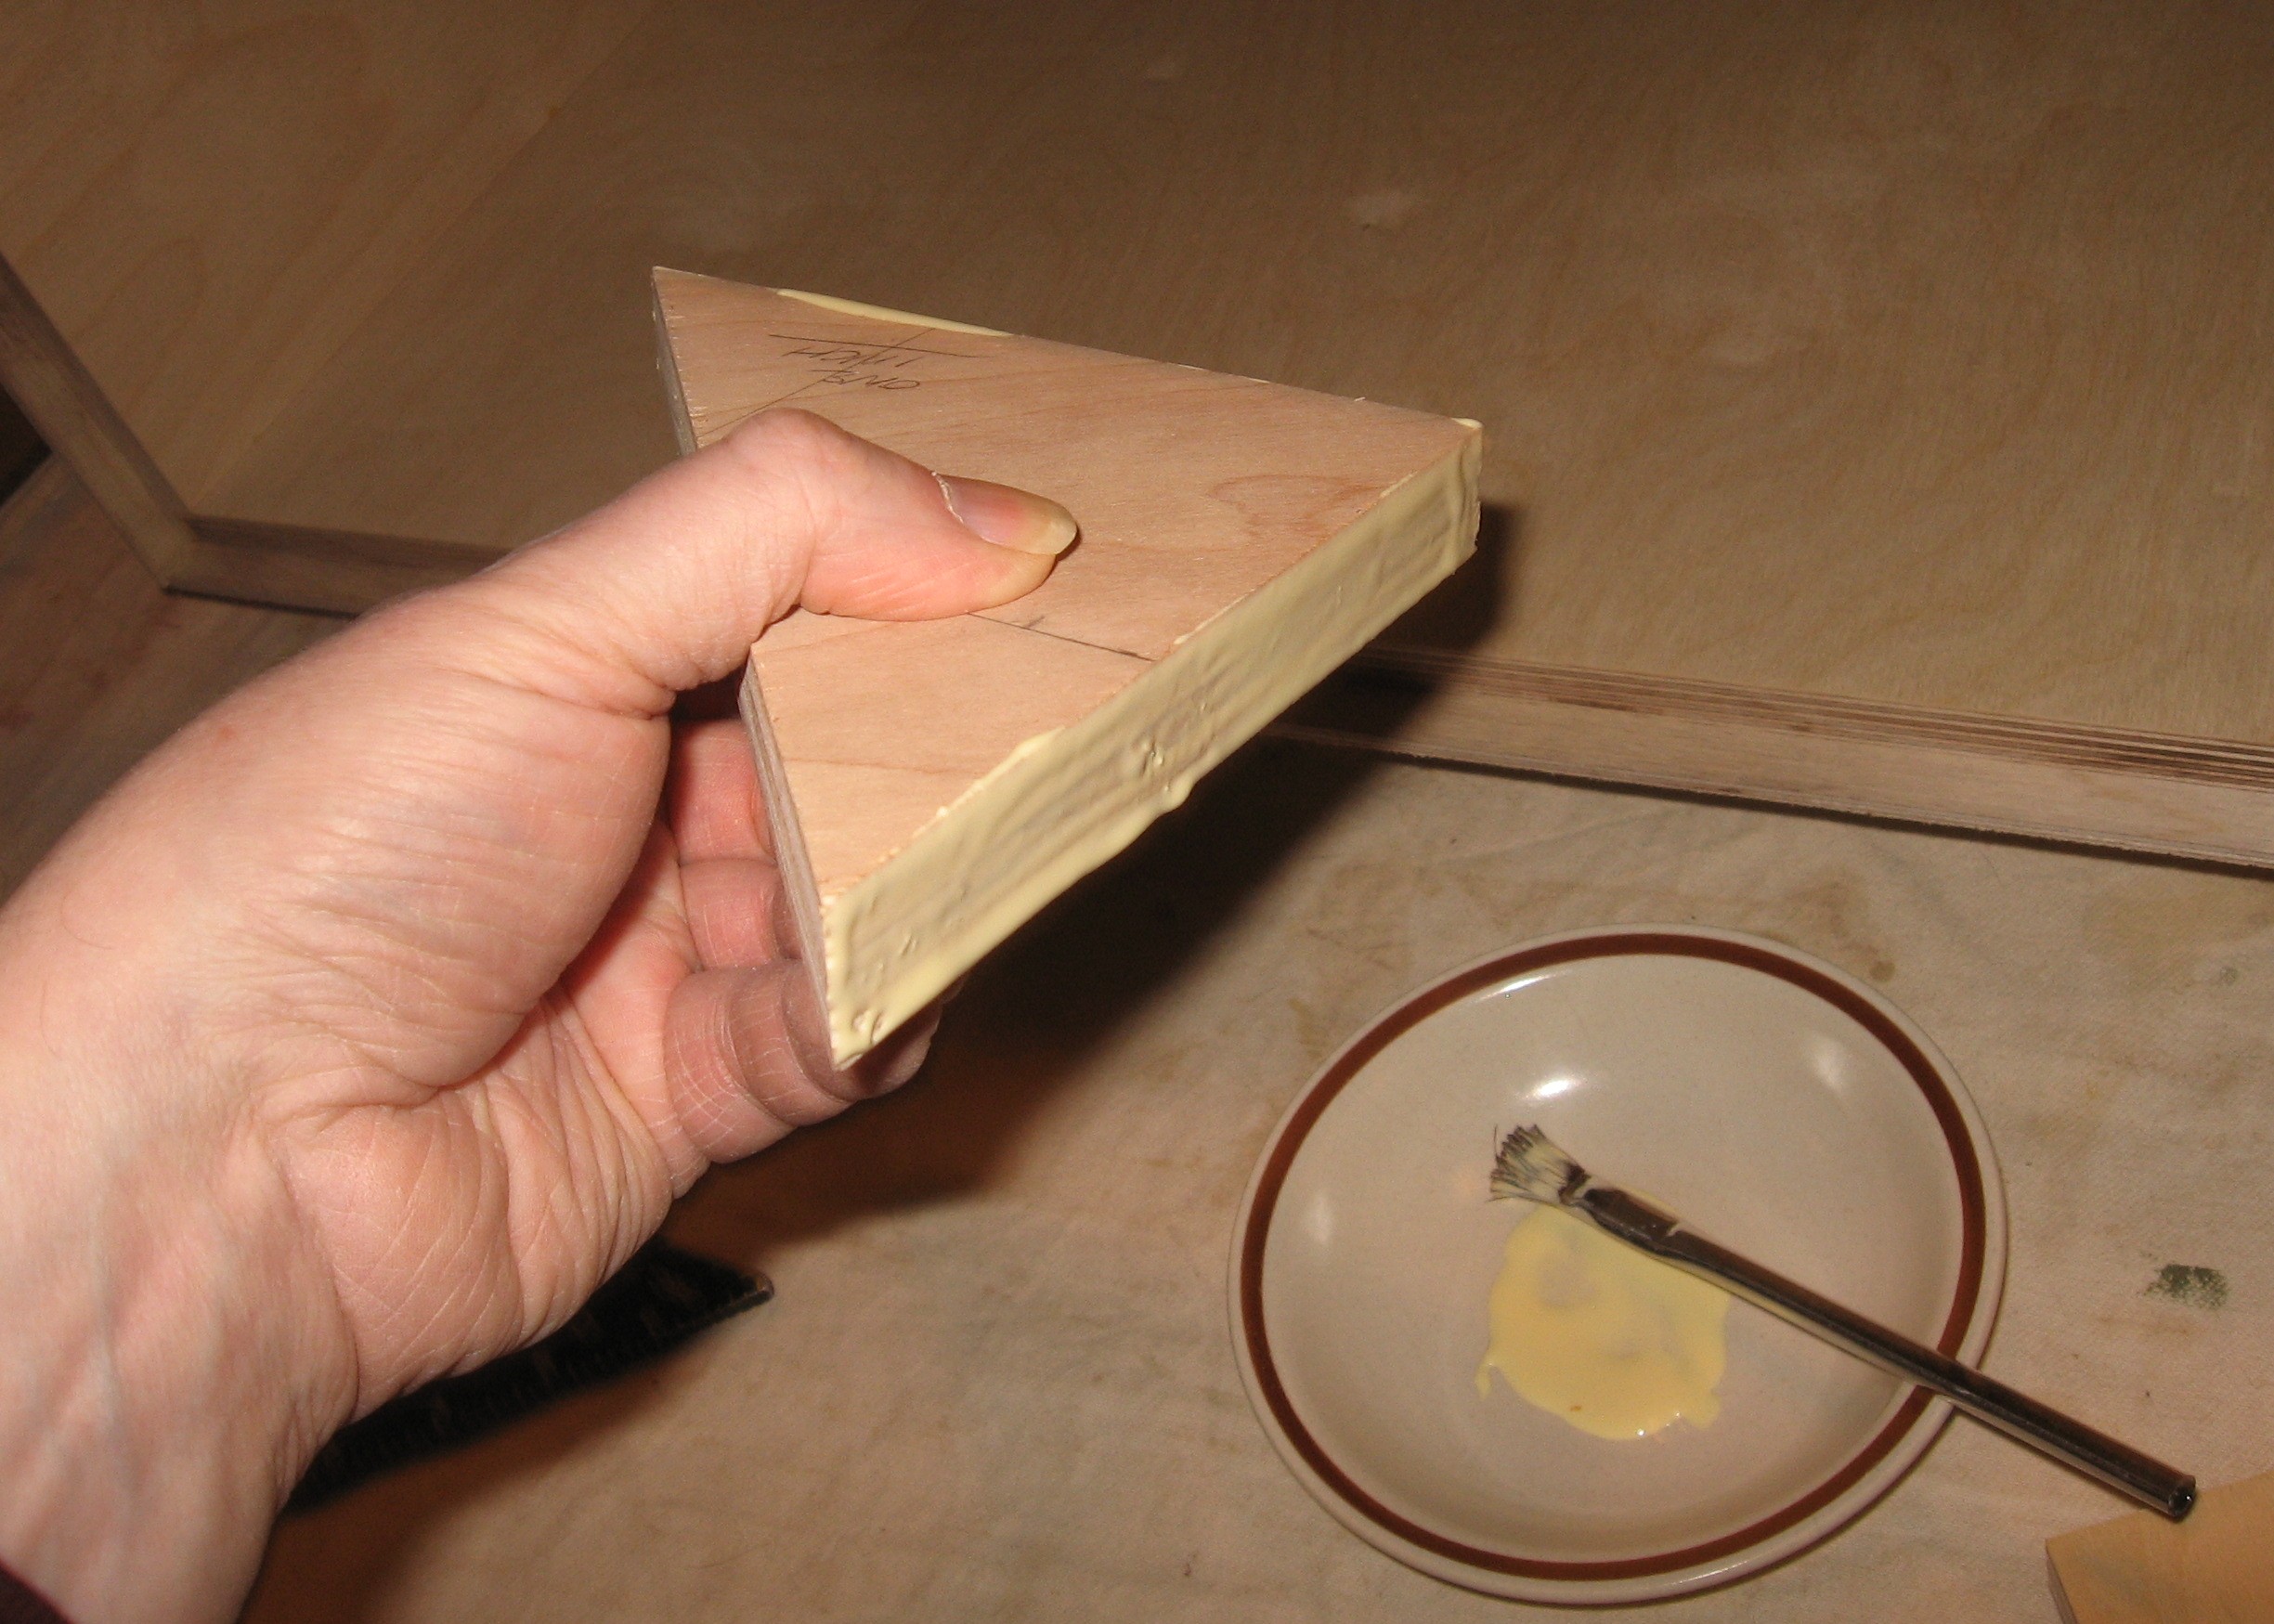
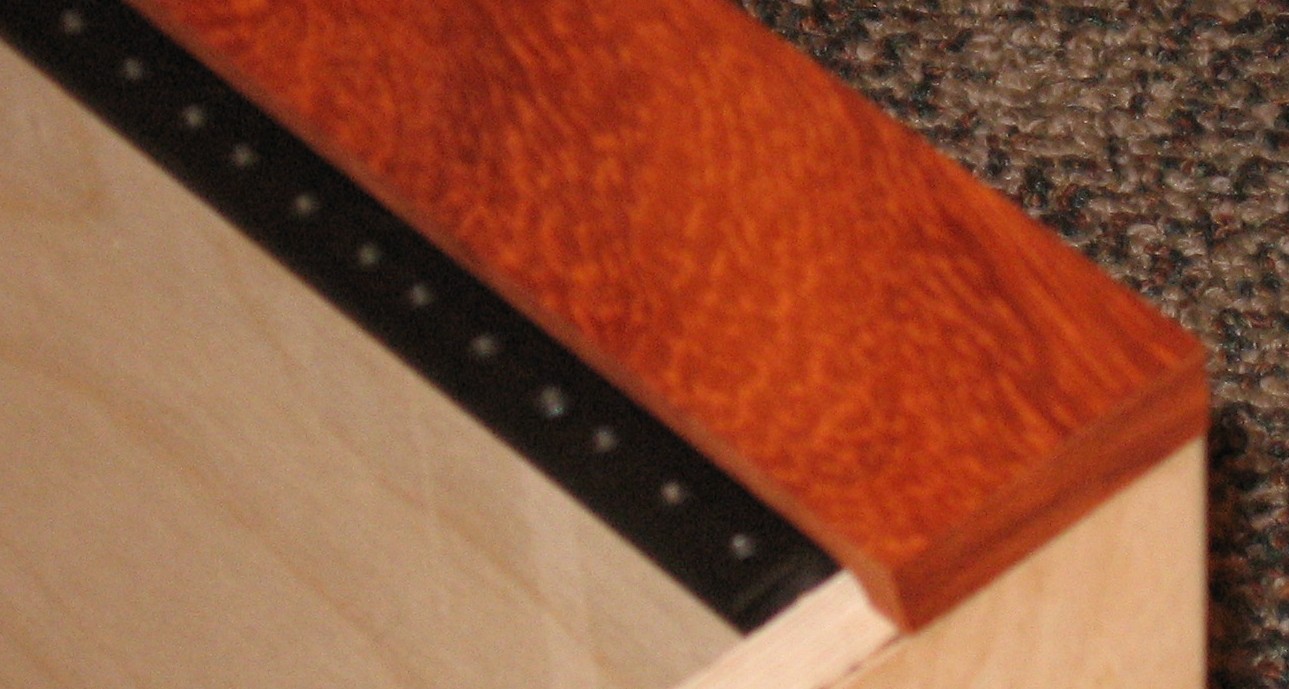
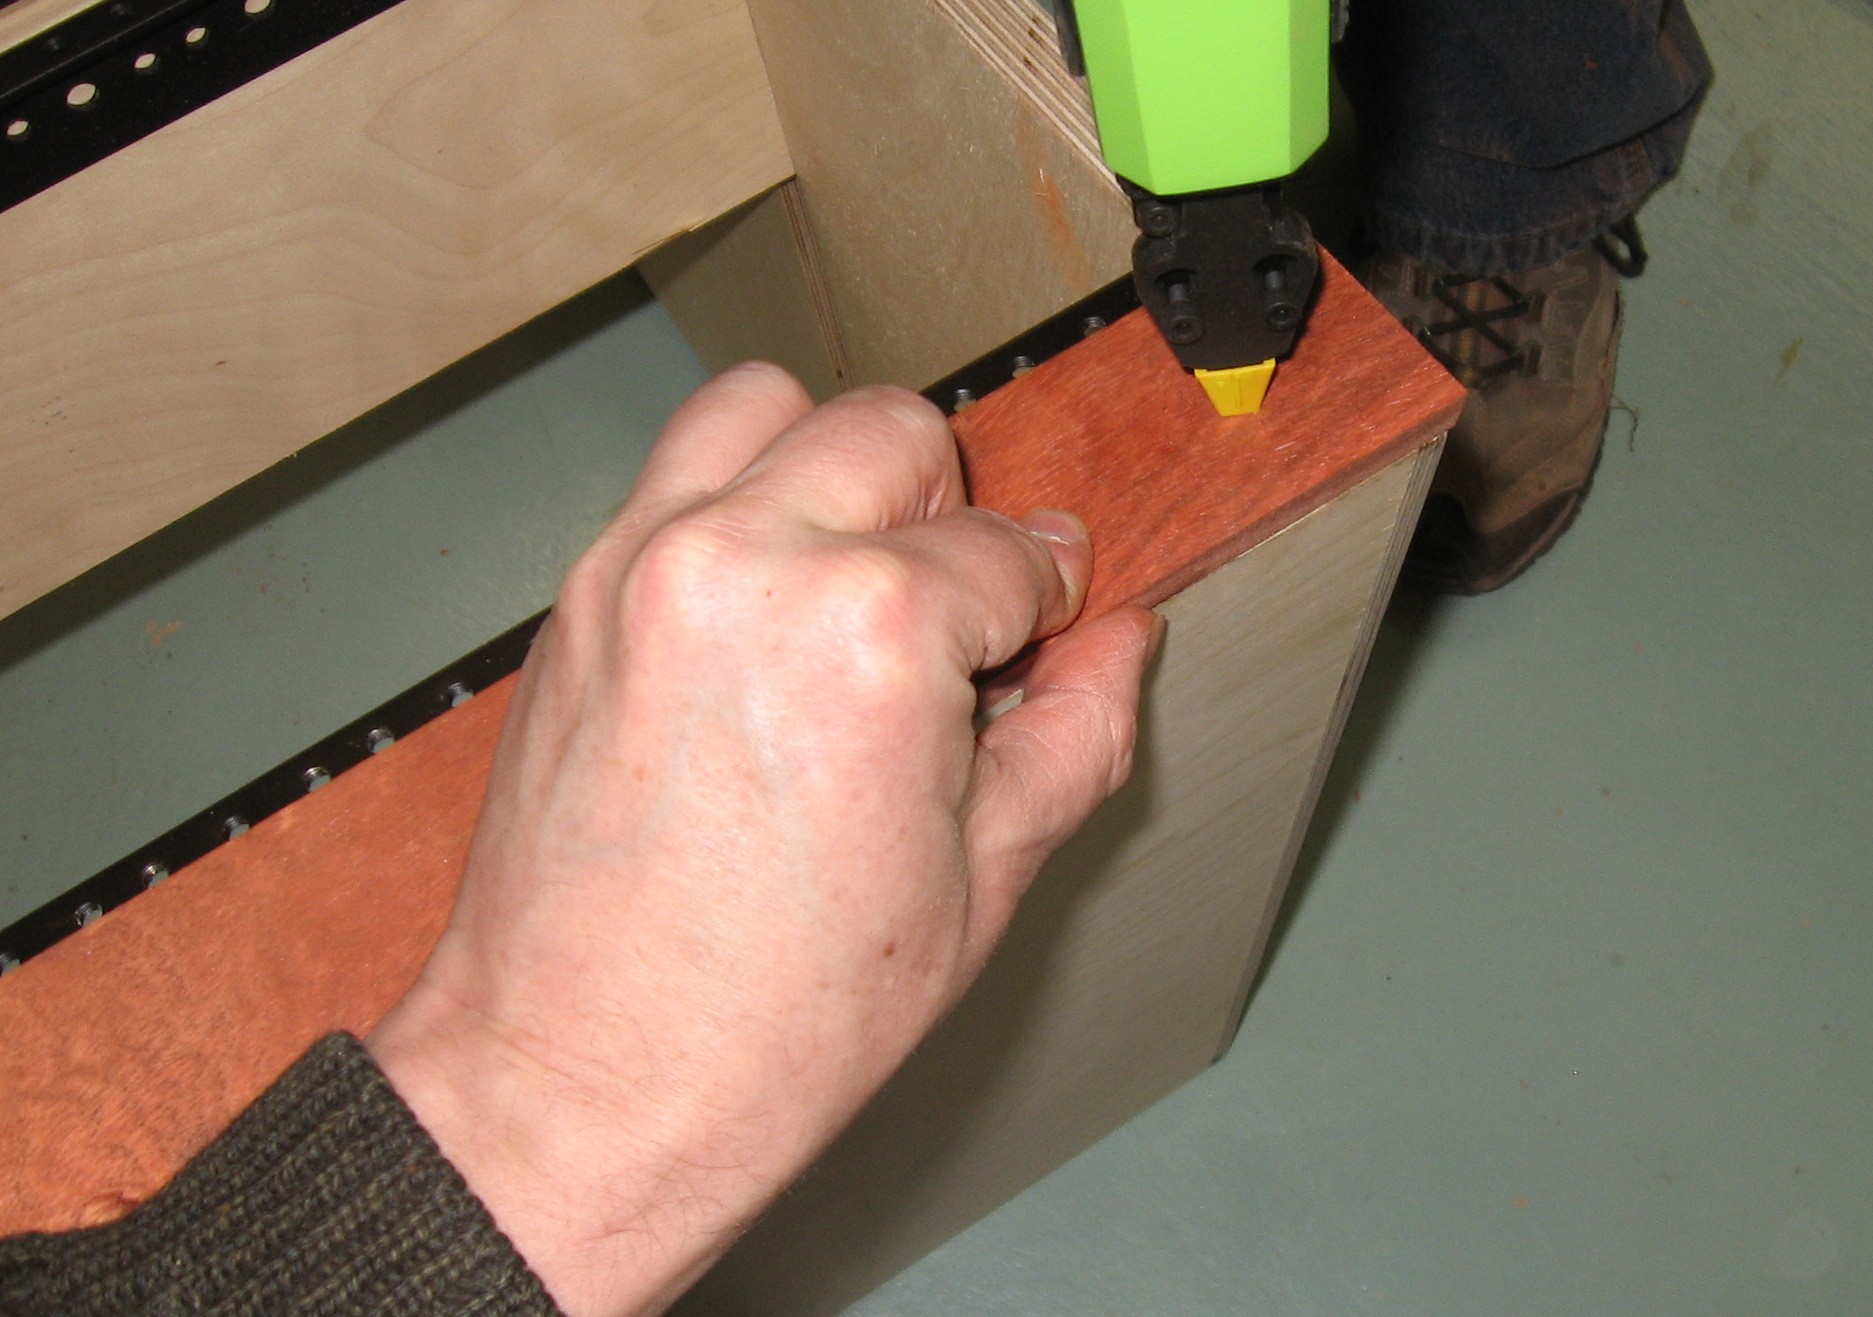
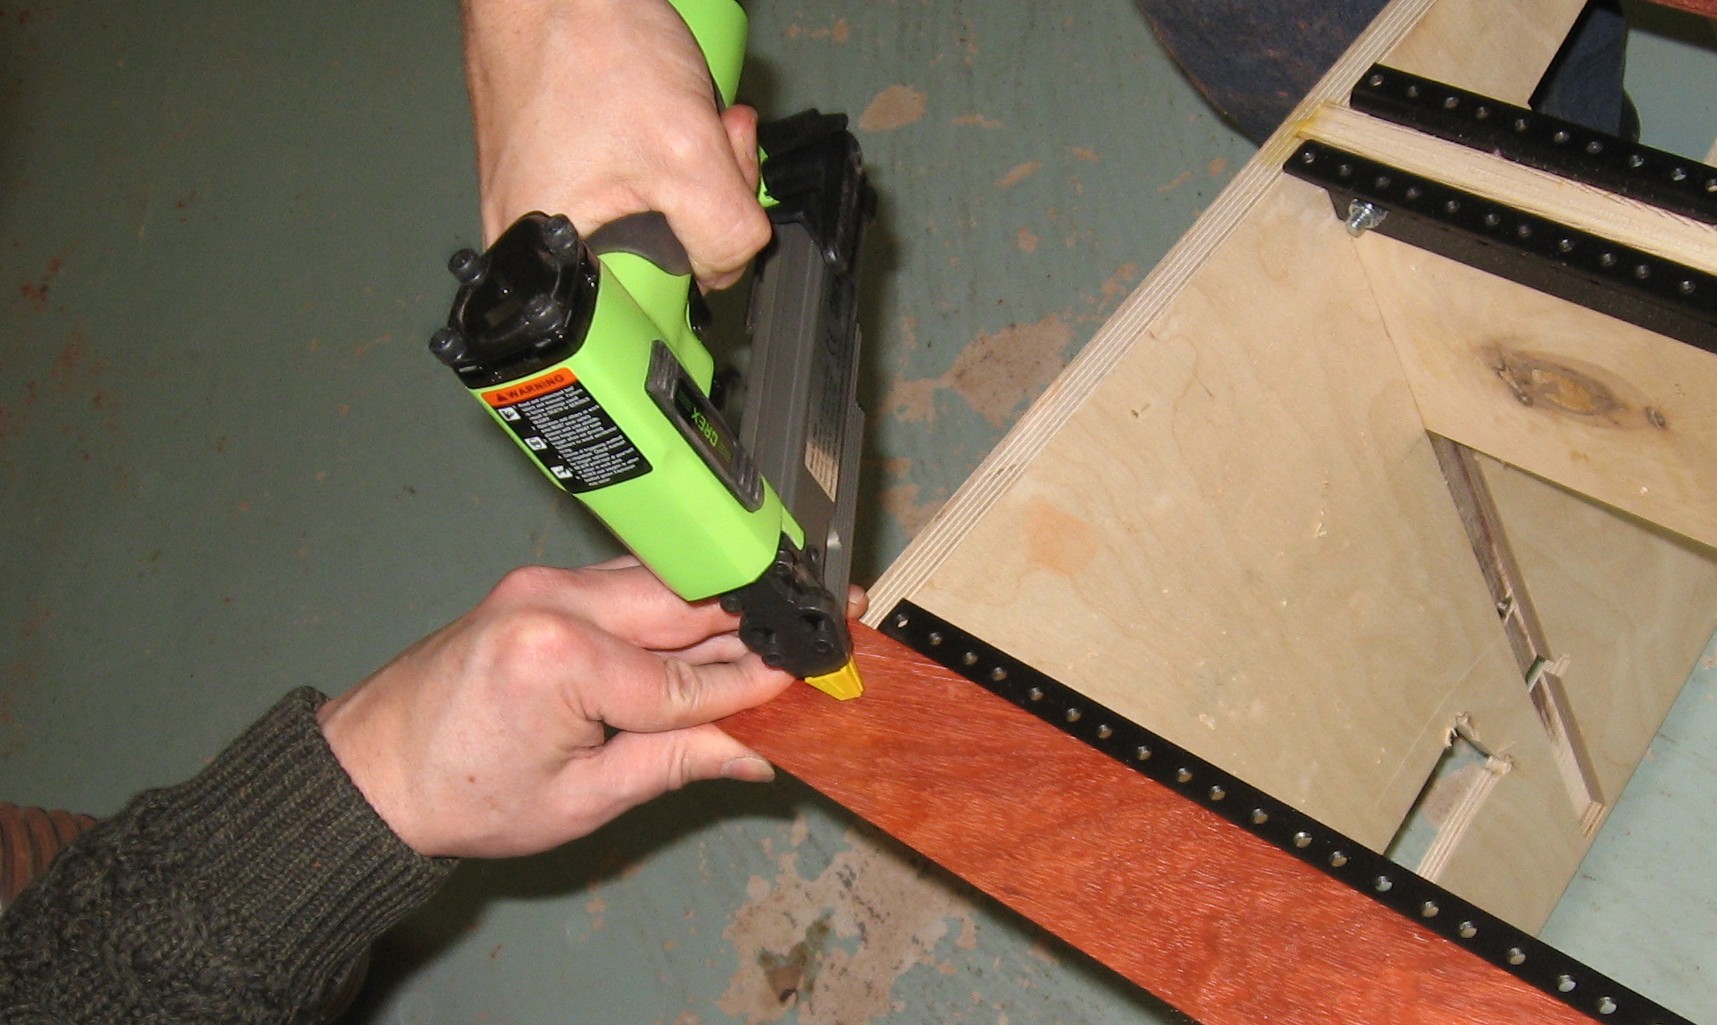
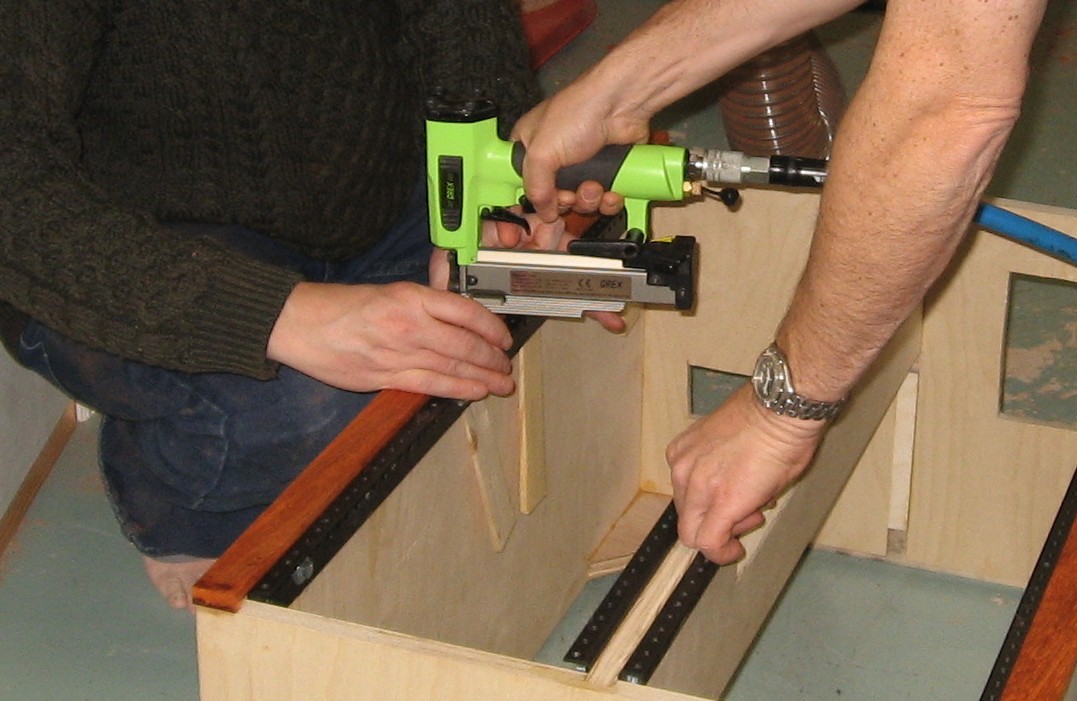
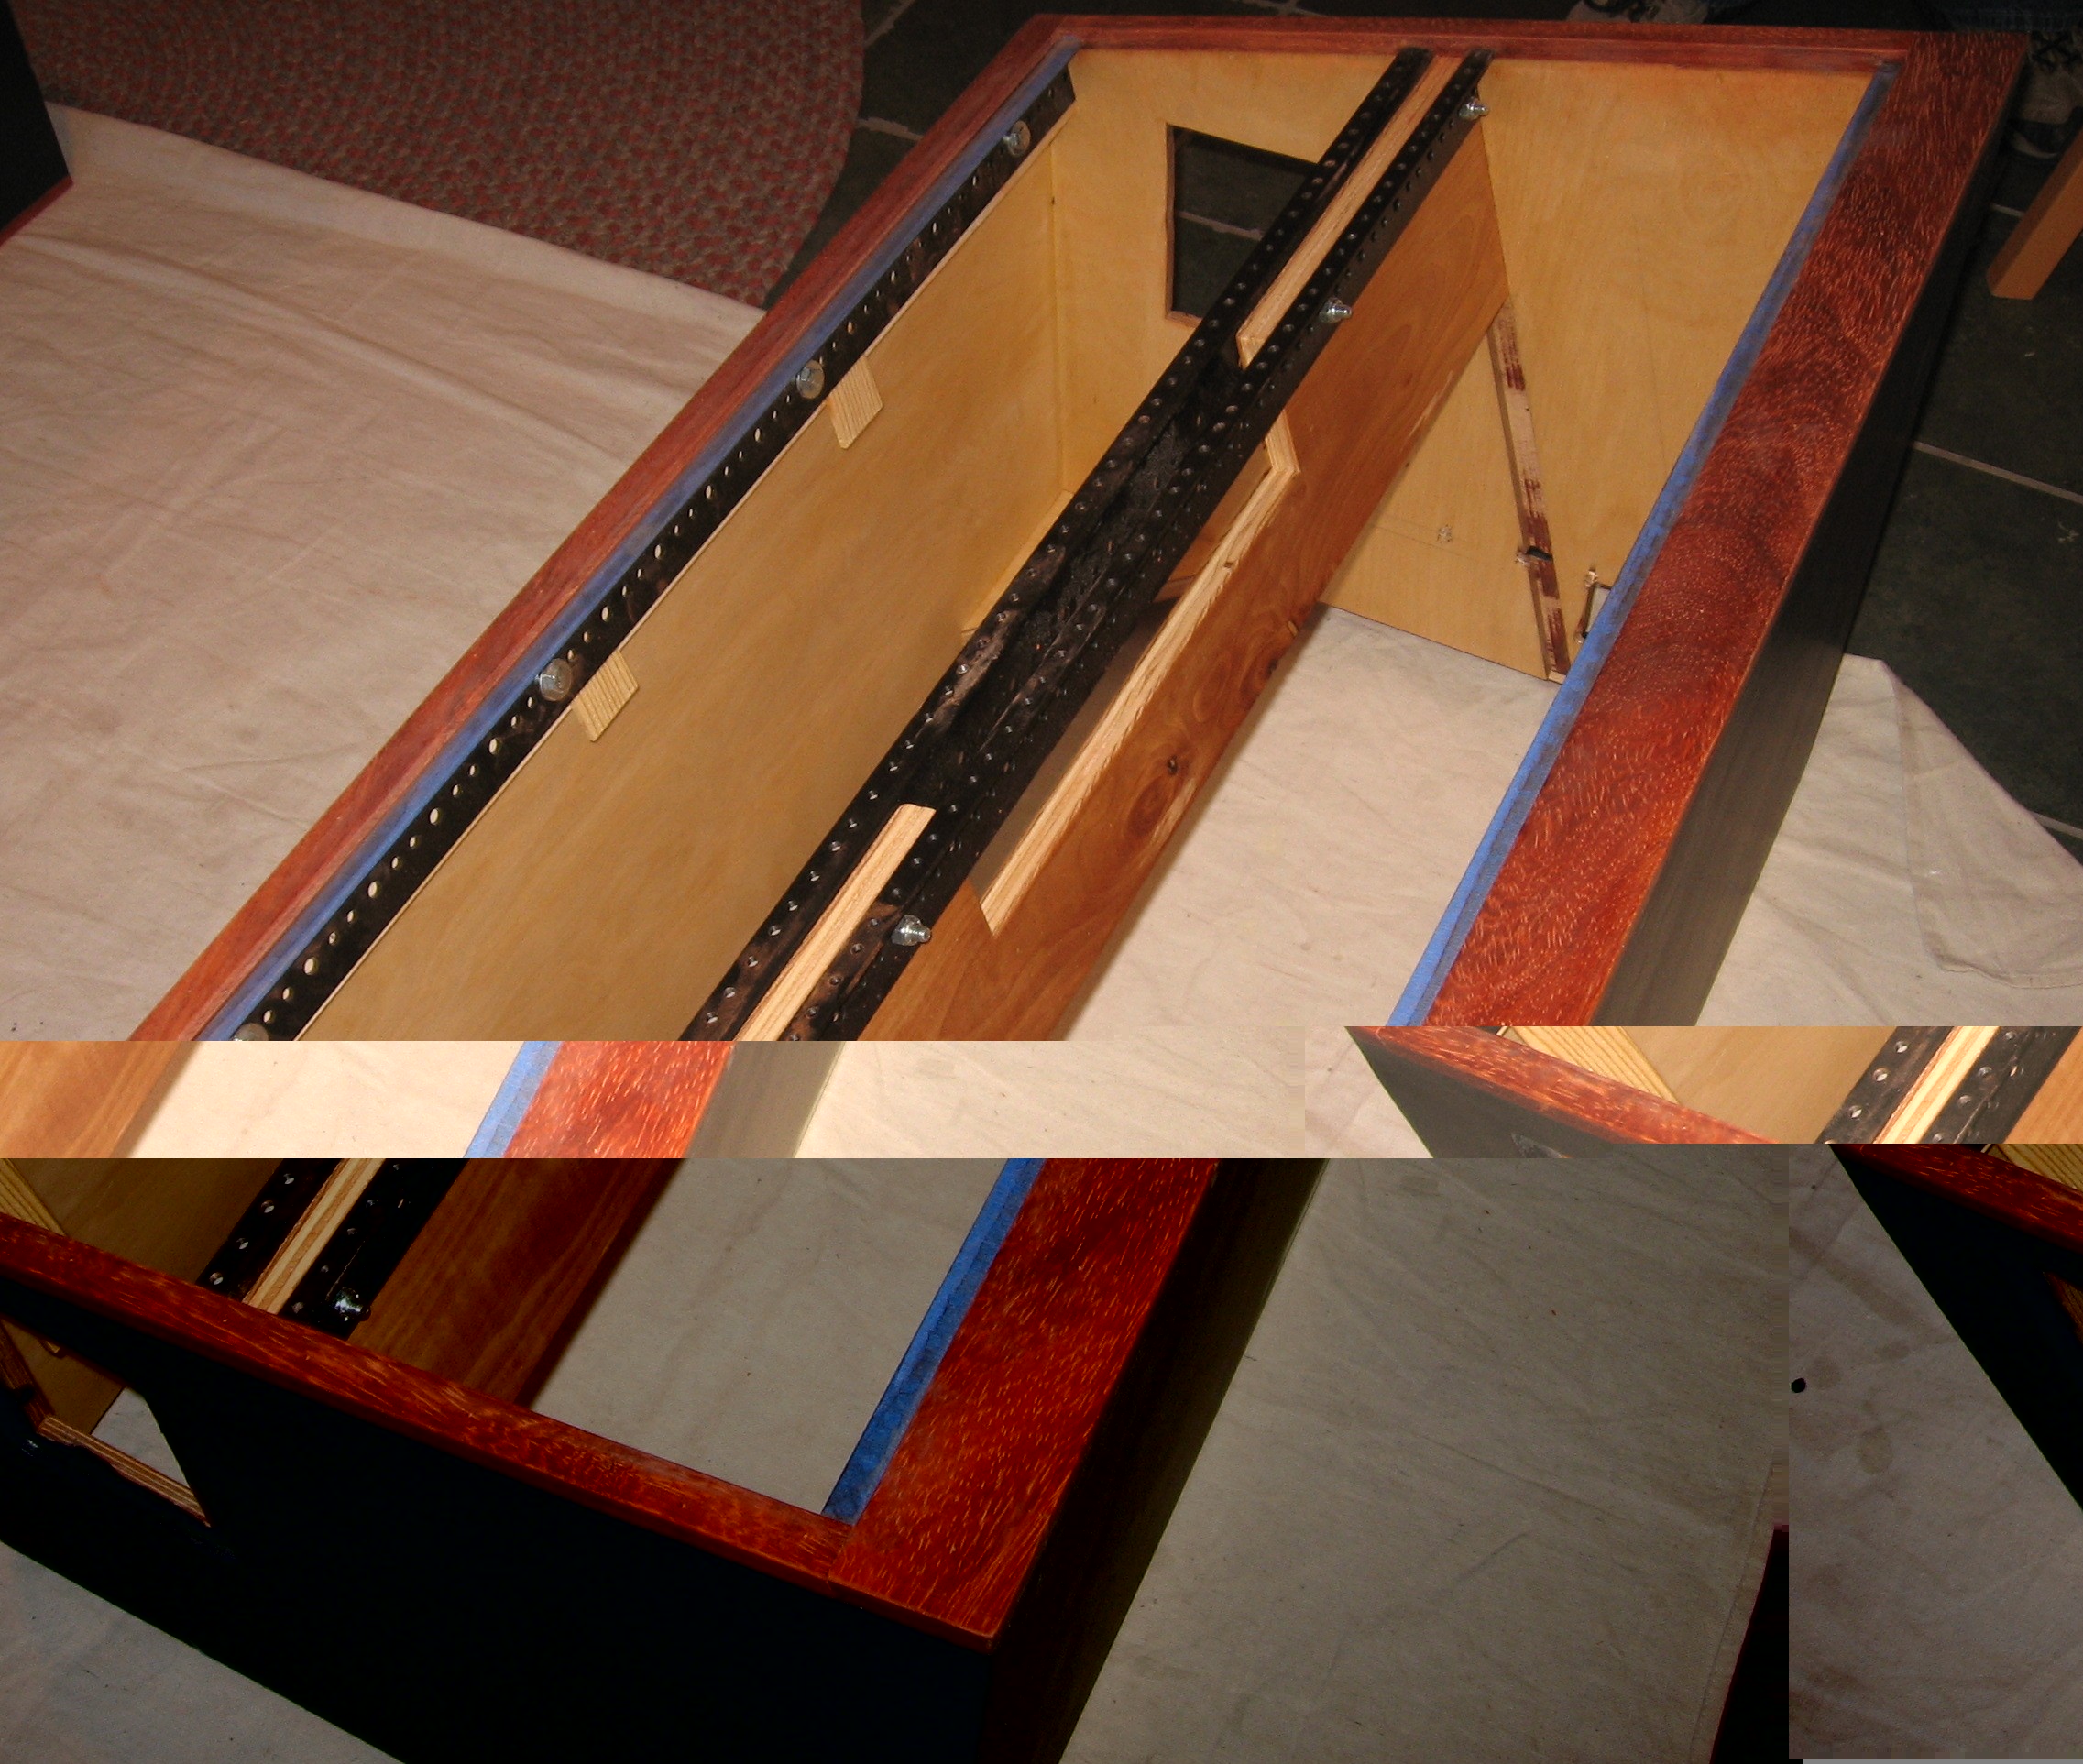
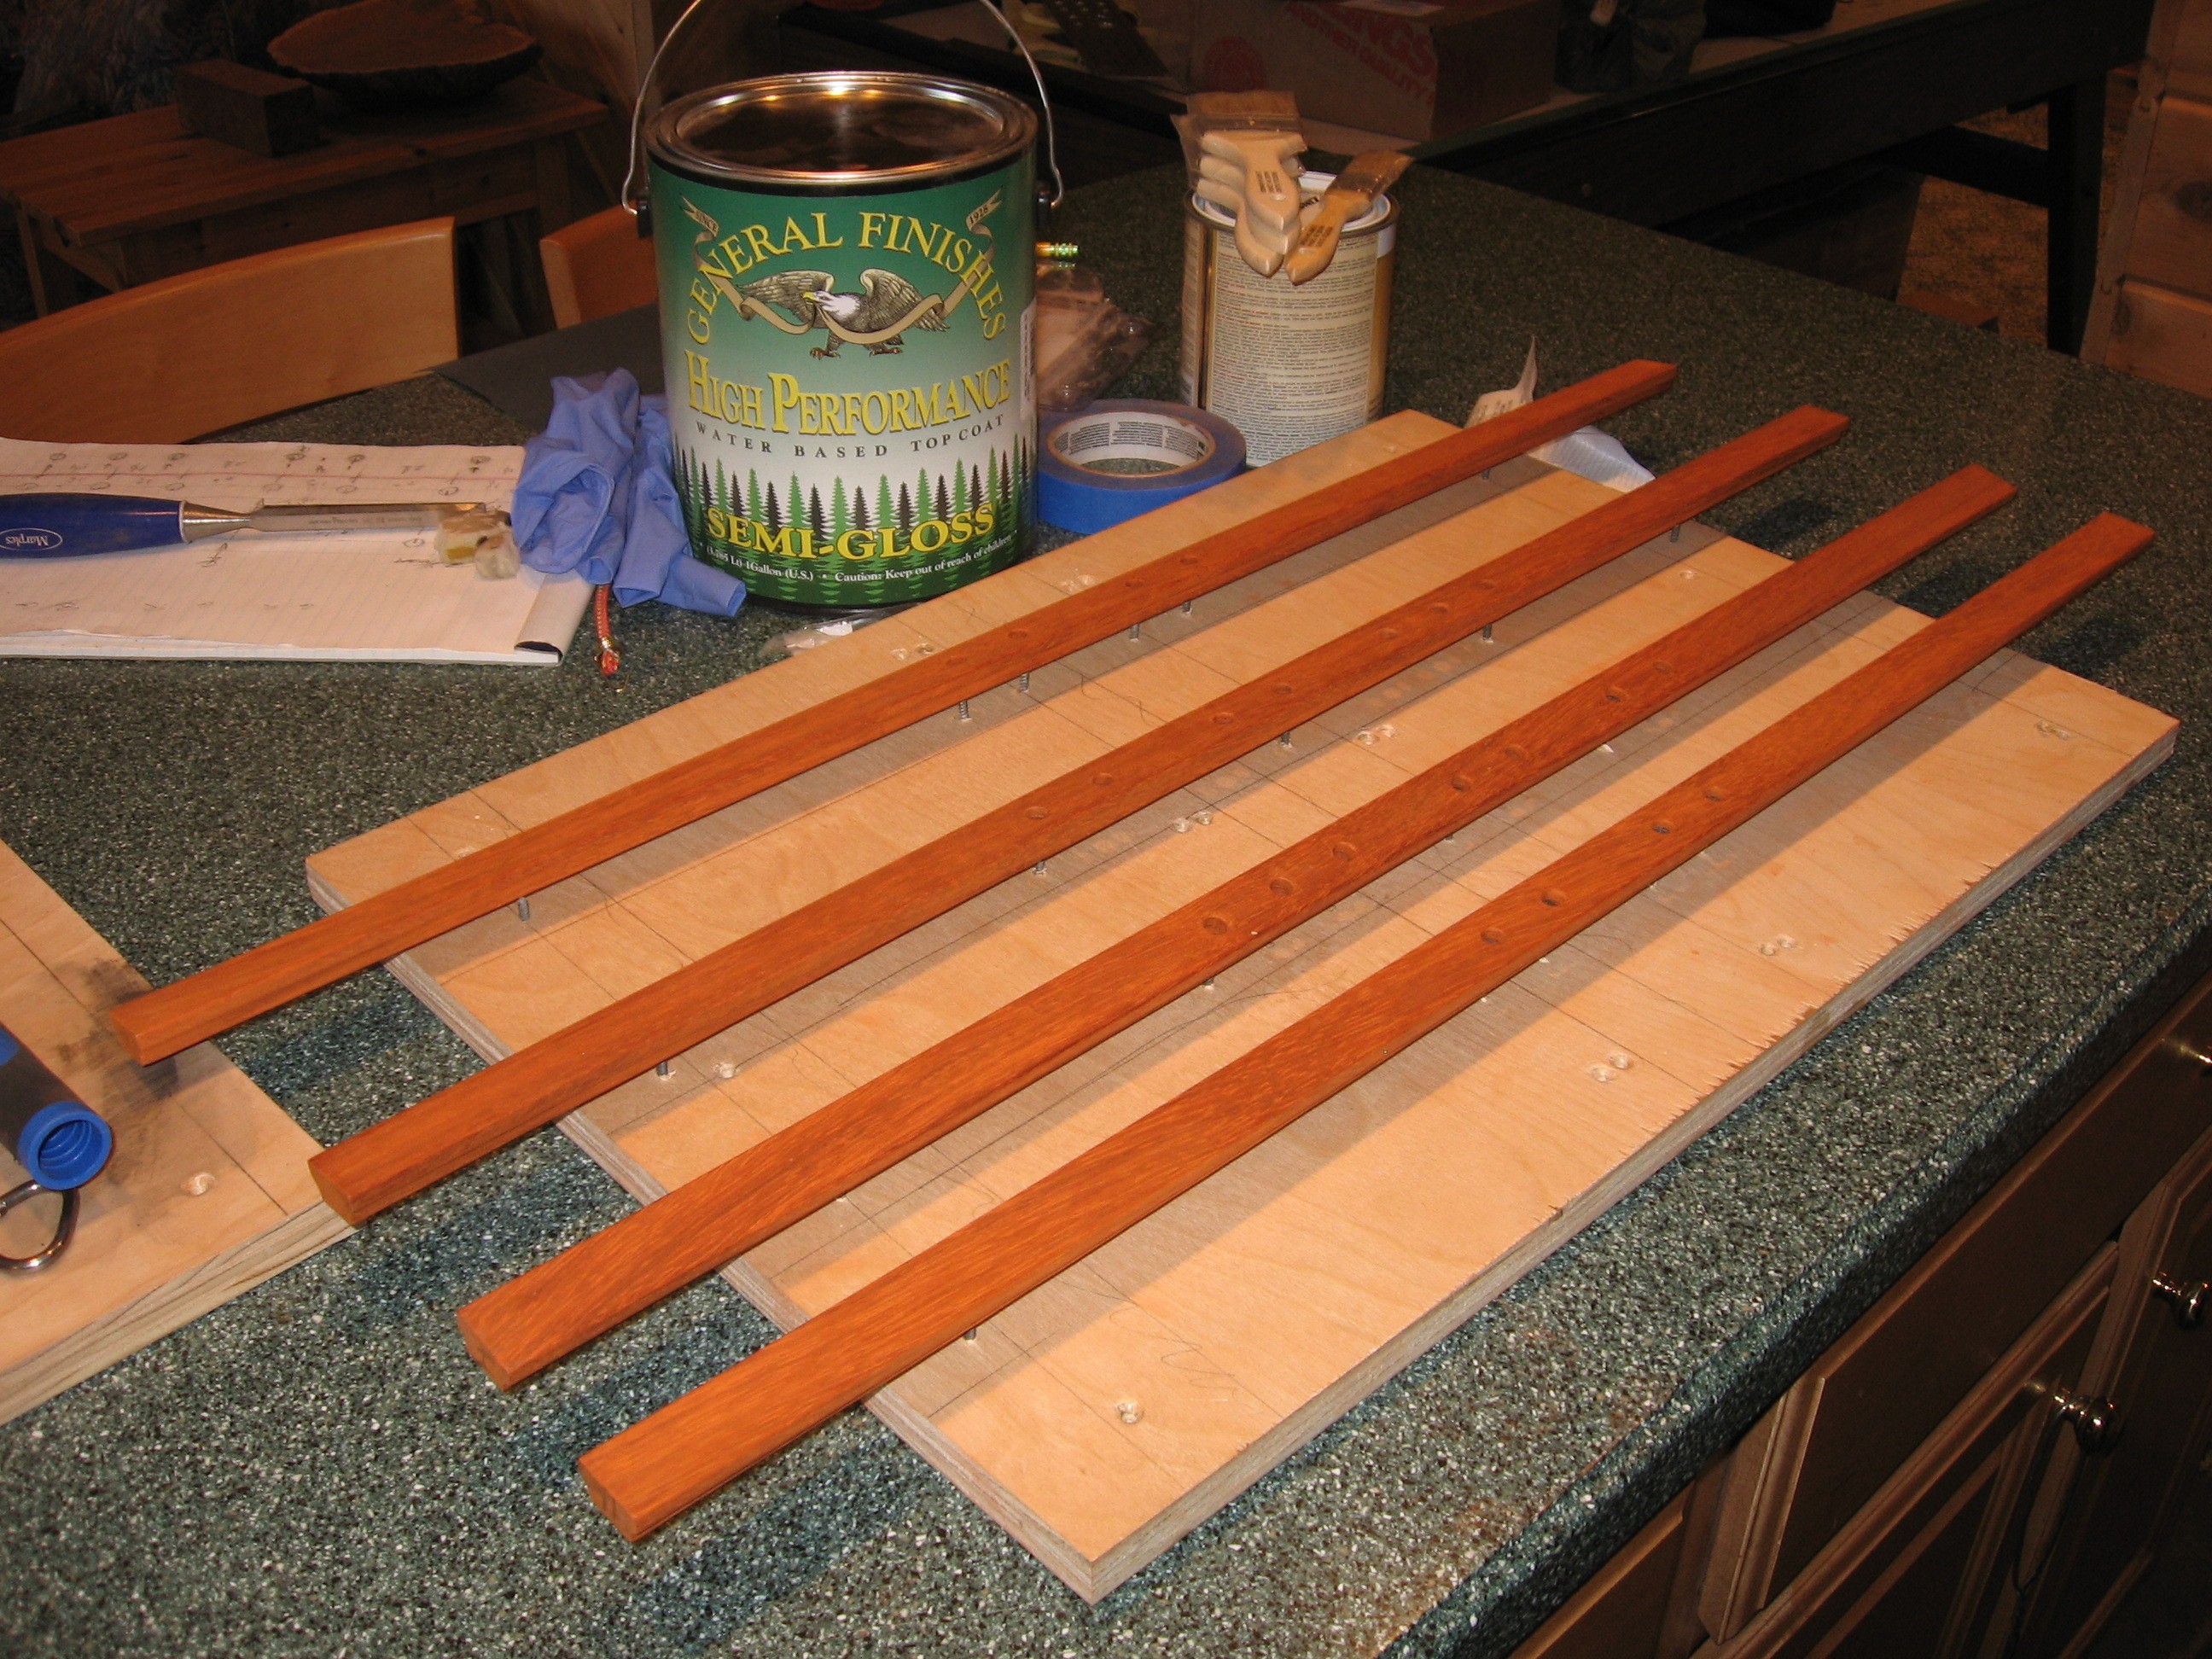
Gluing the Facings Having carefully trimmed the facings to fit both length-wise and height, we glued and pinned the top, bottom, and side facings to the cabinet carcasses
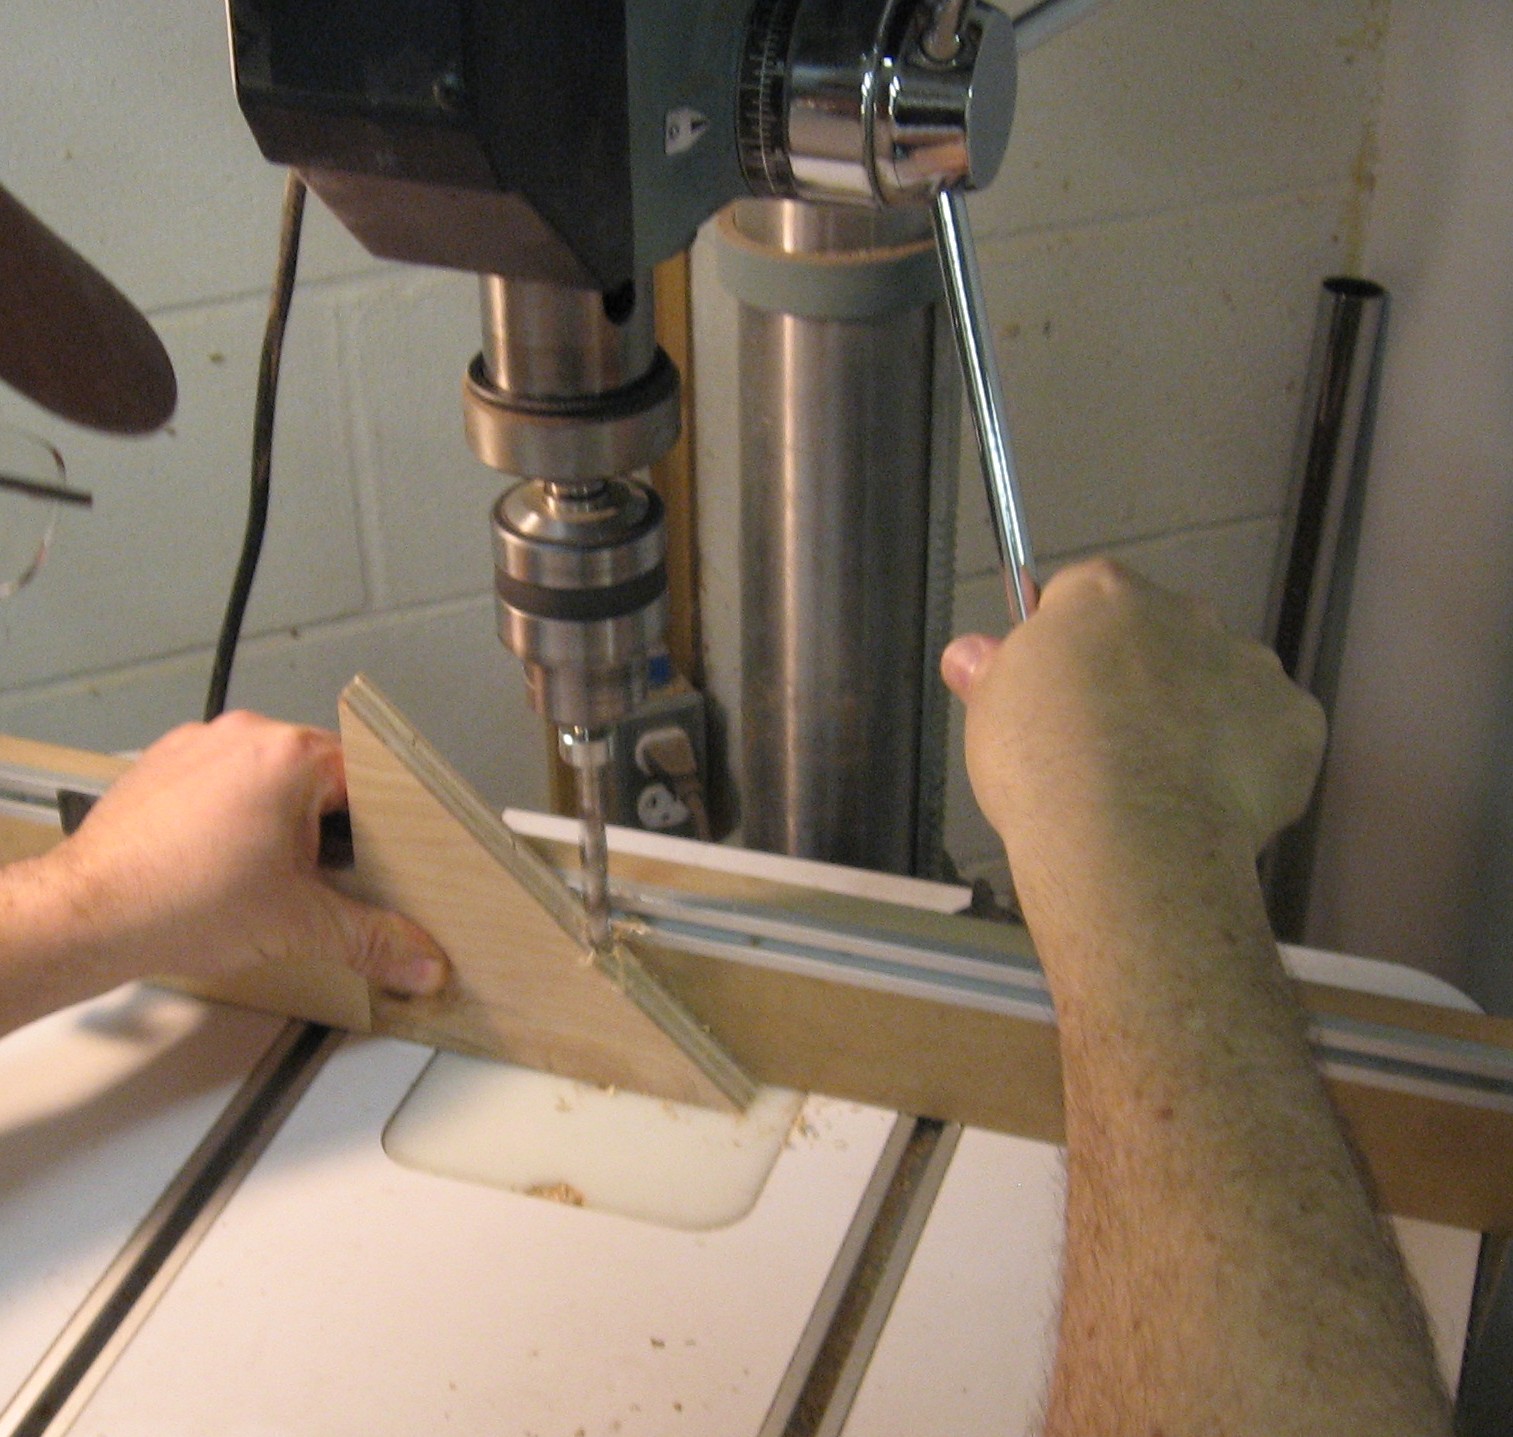
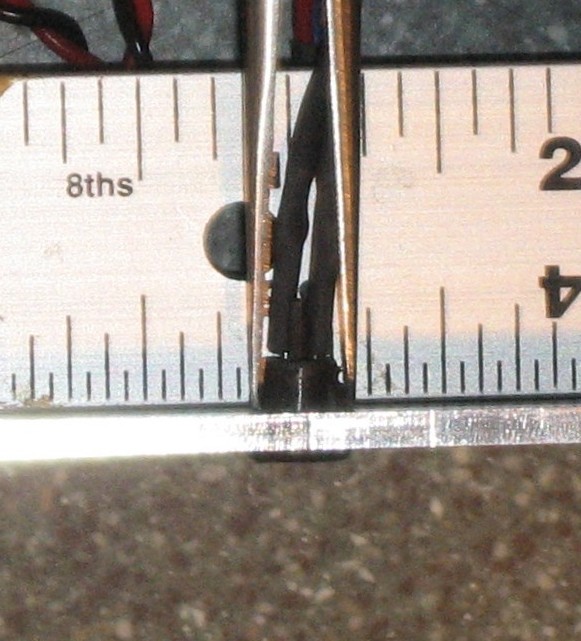
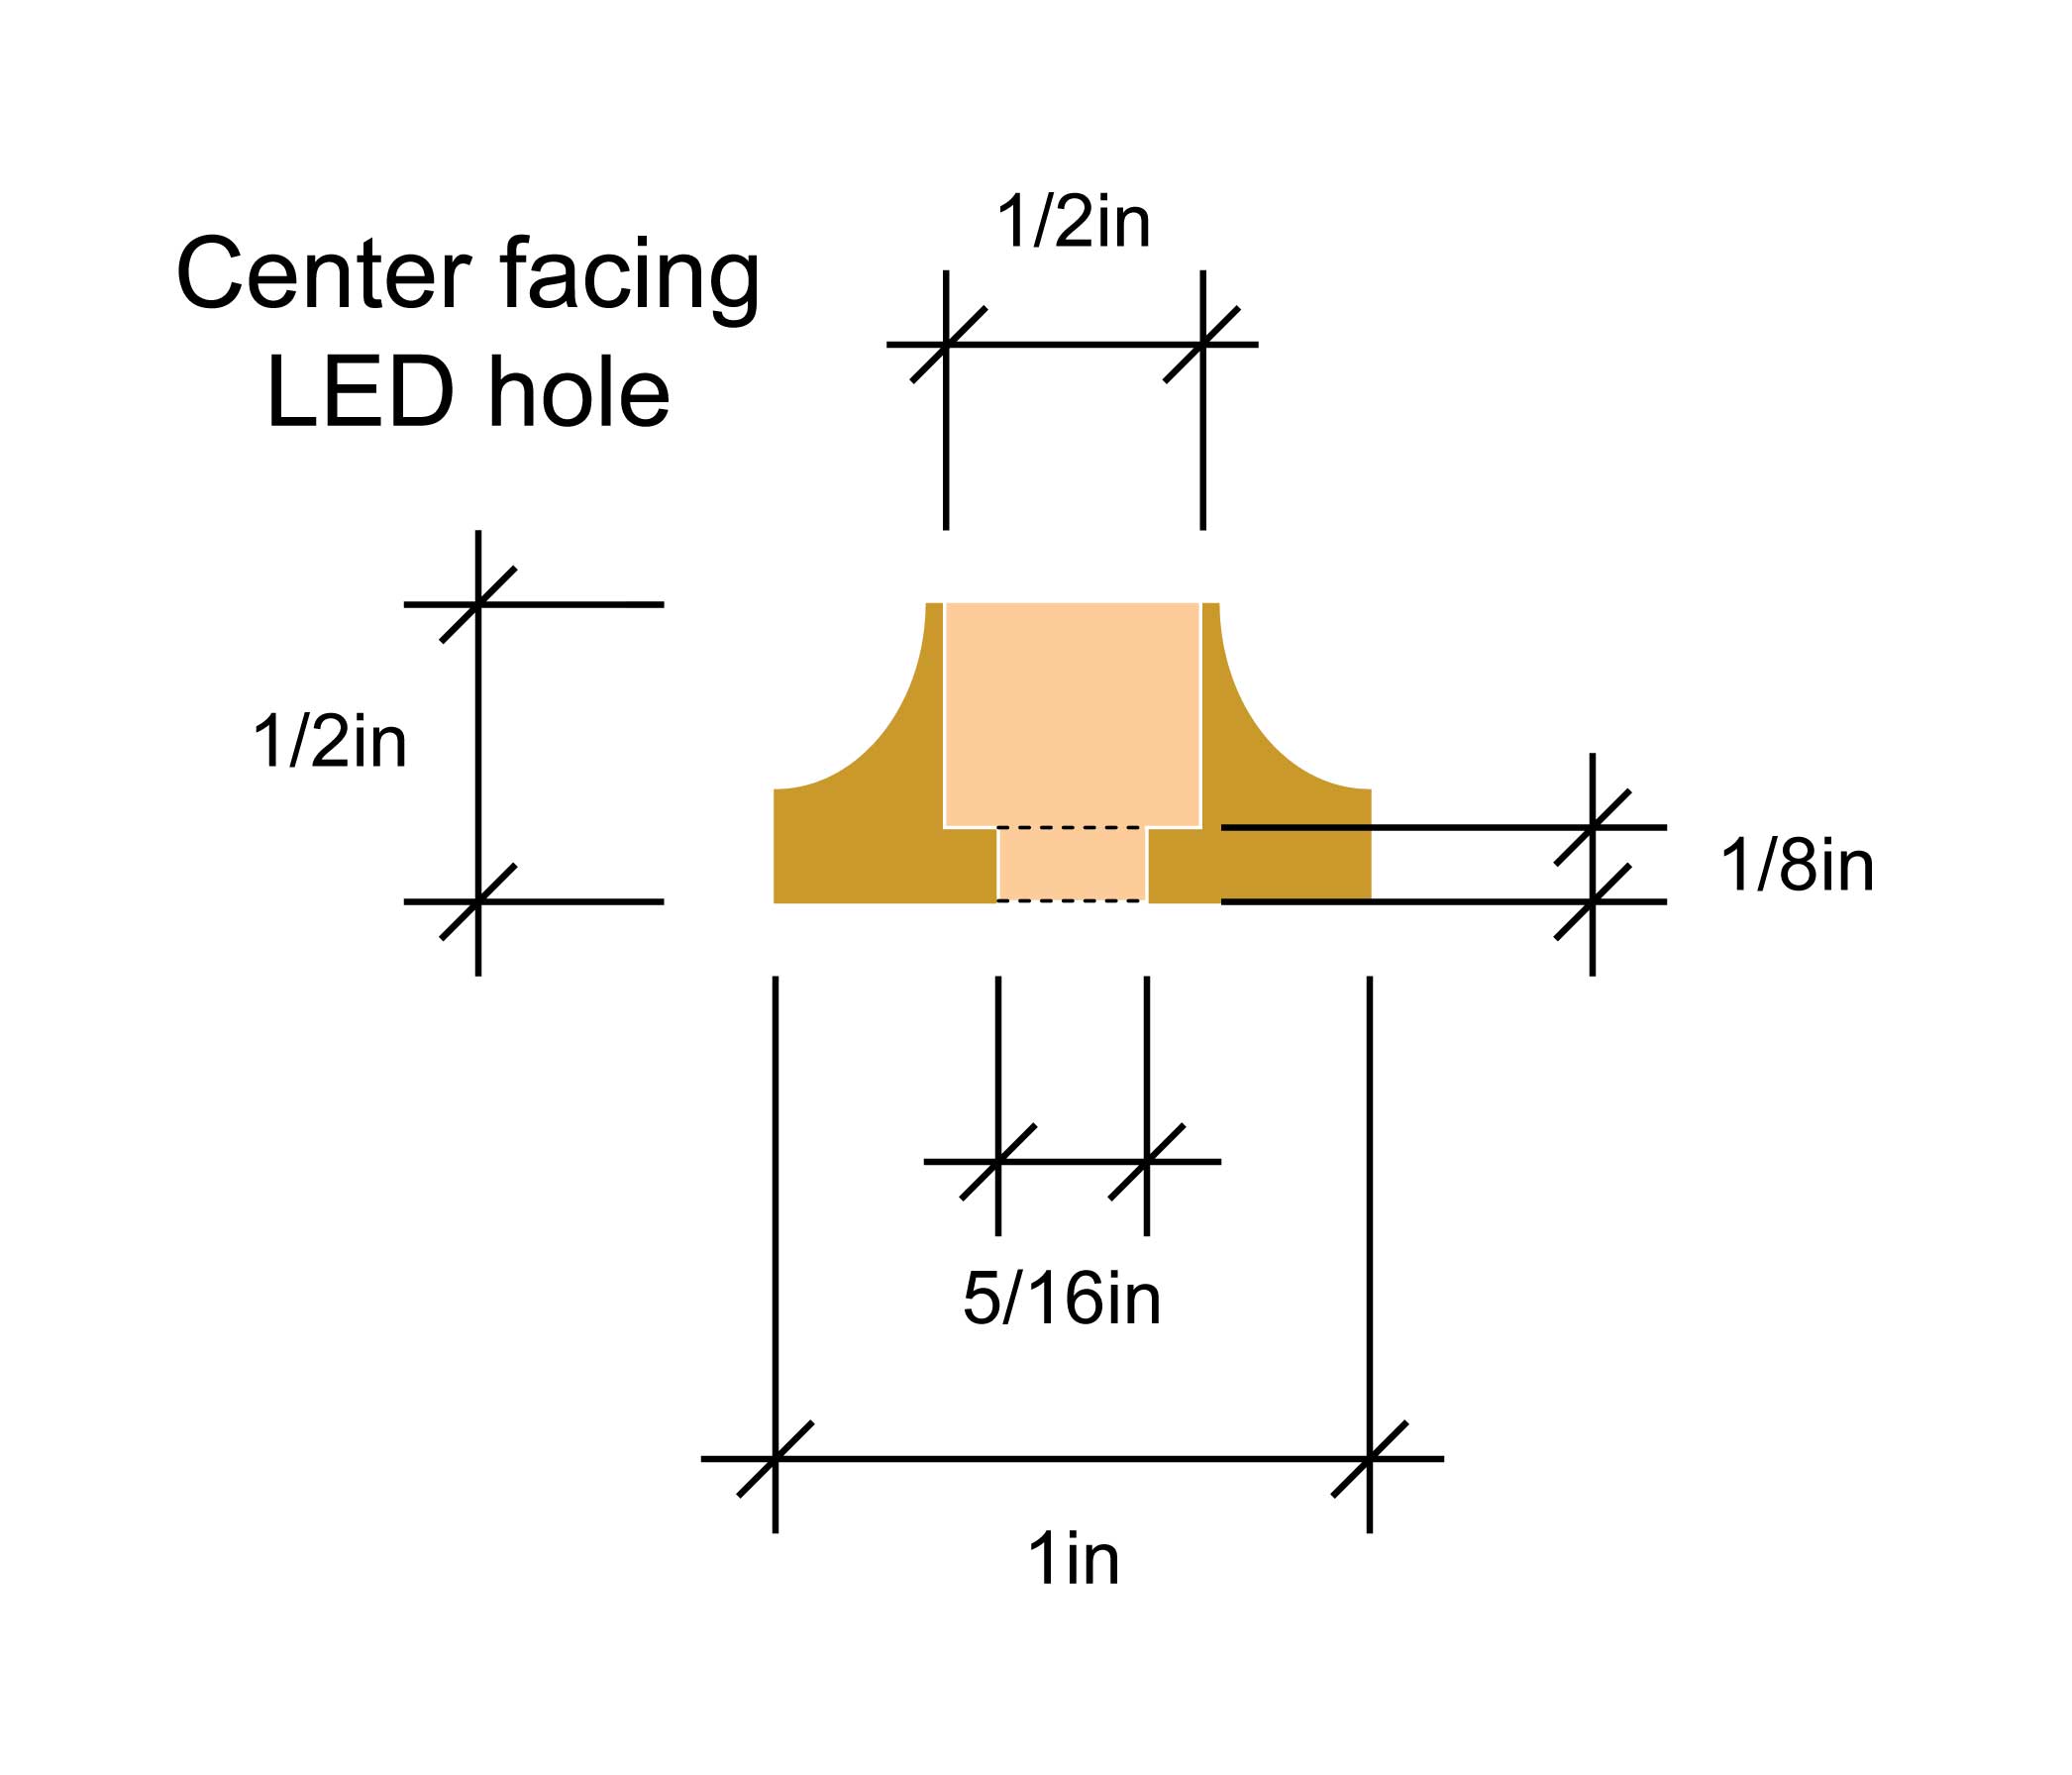
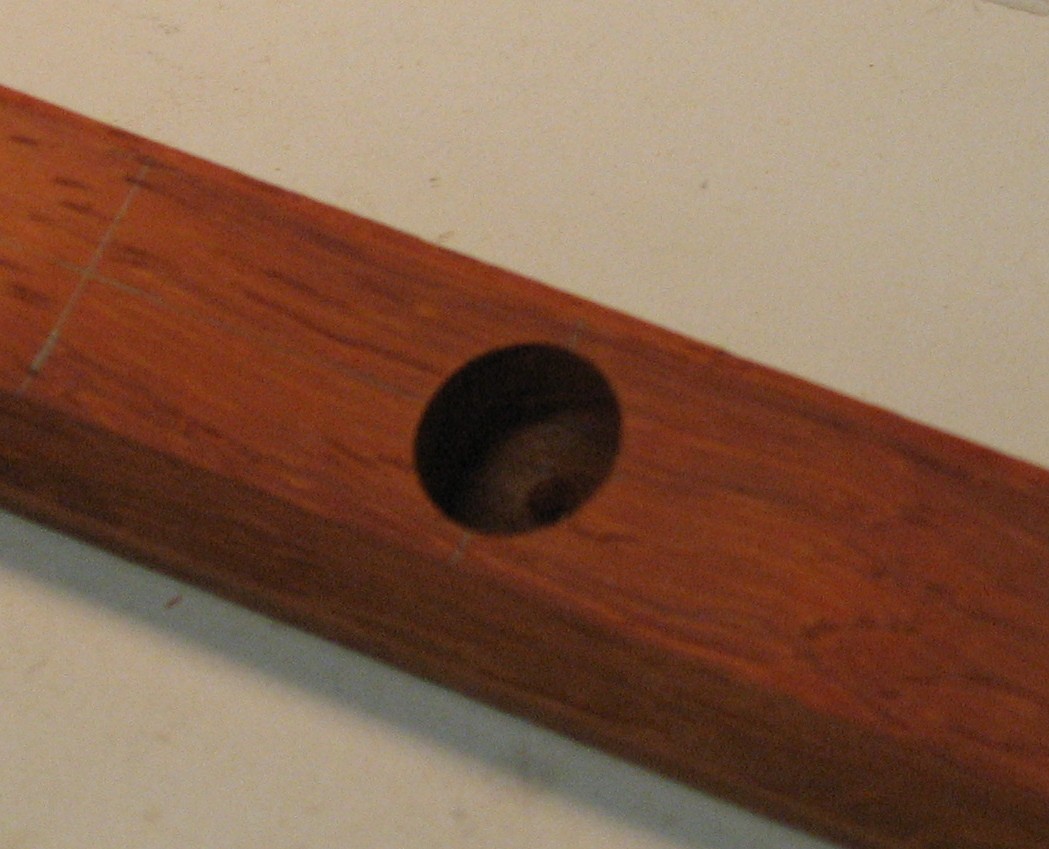
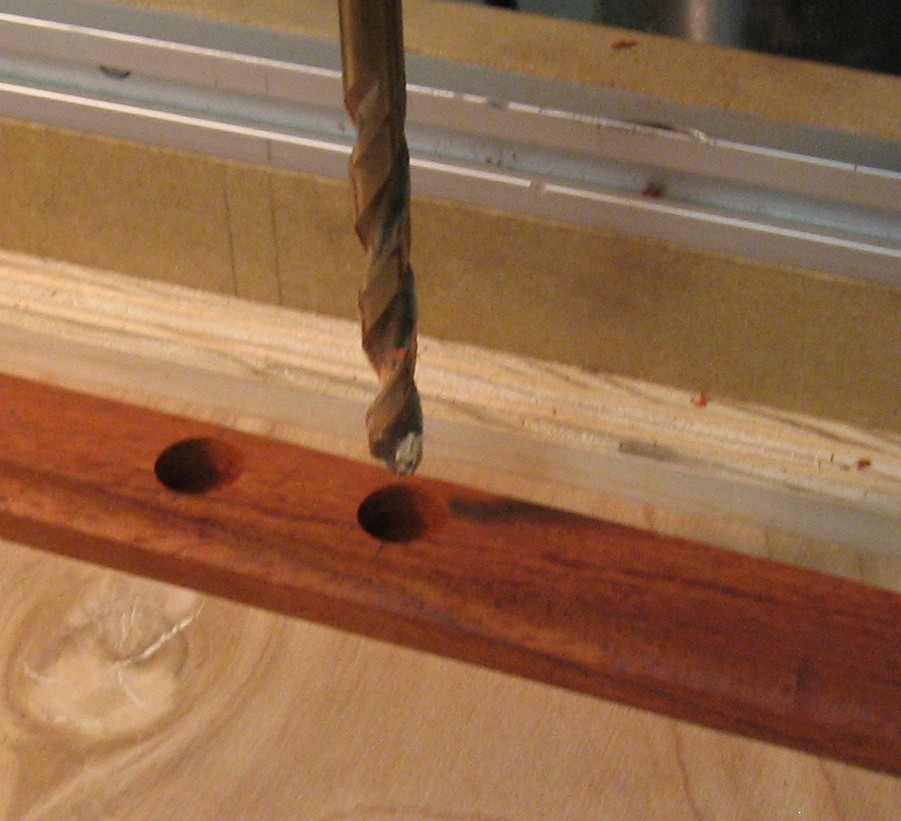
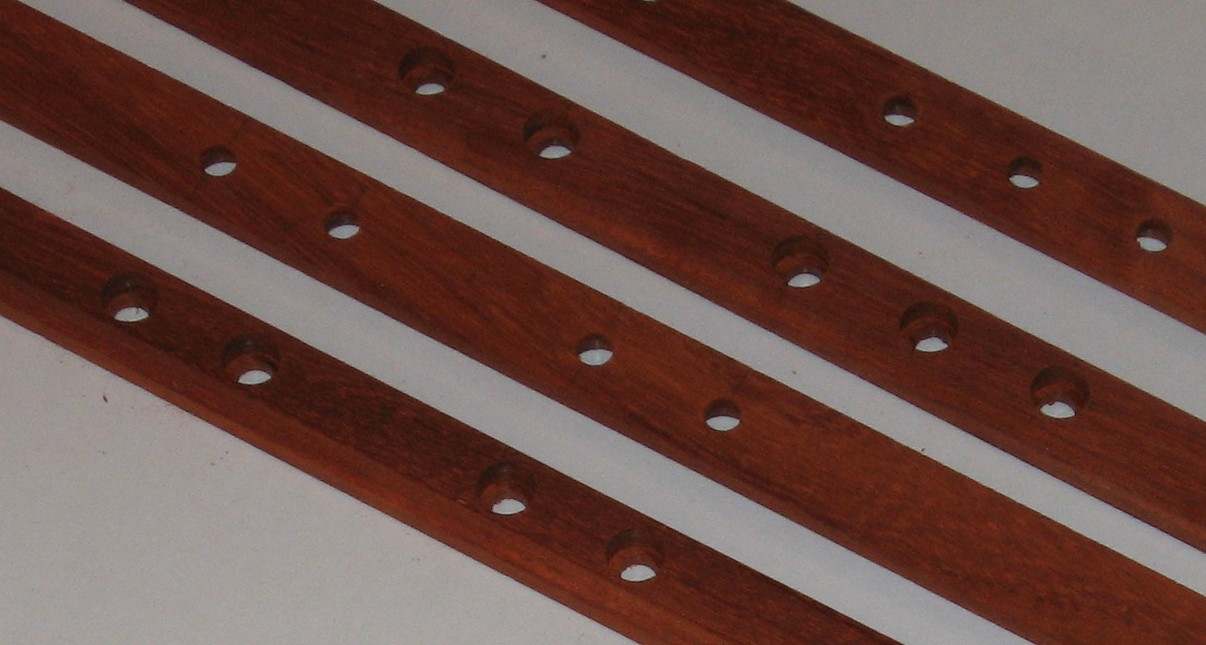
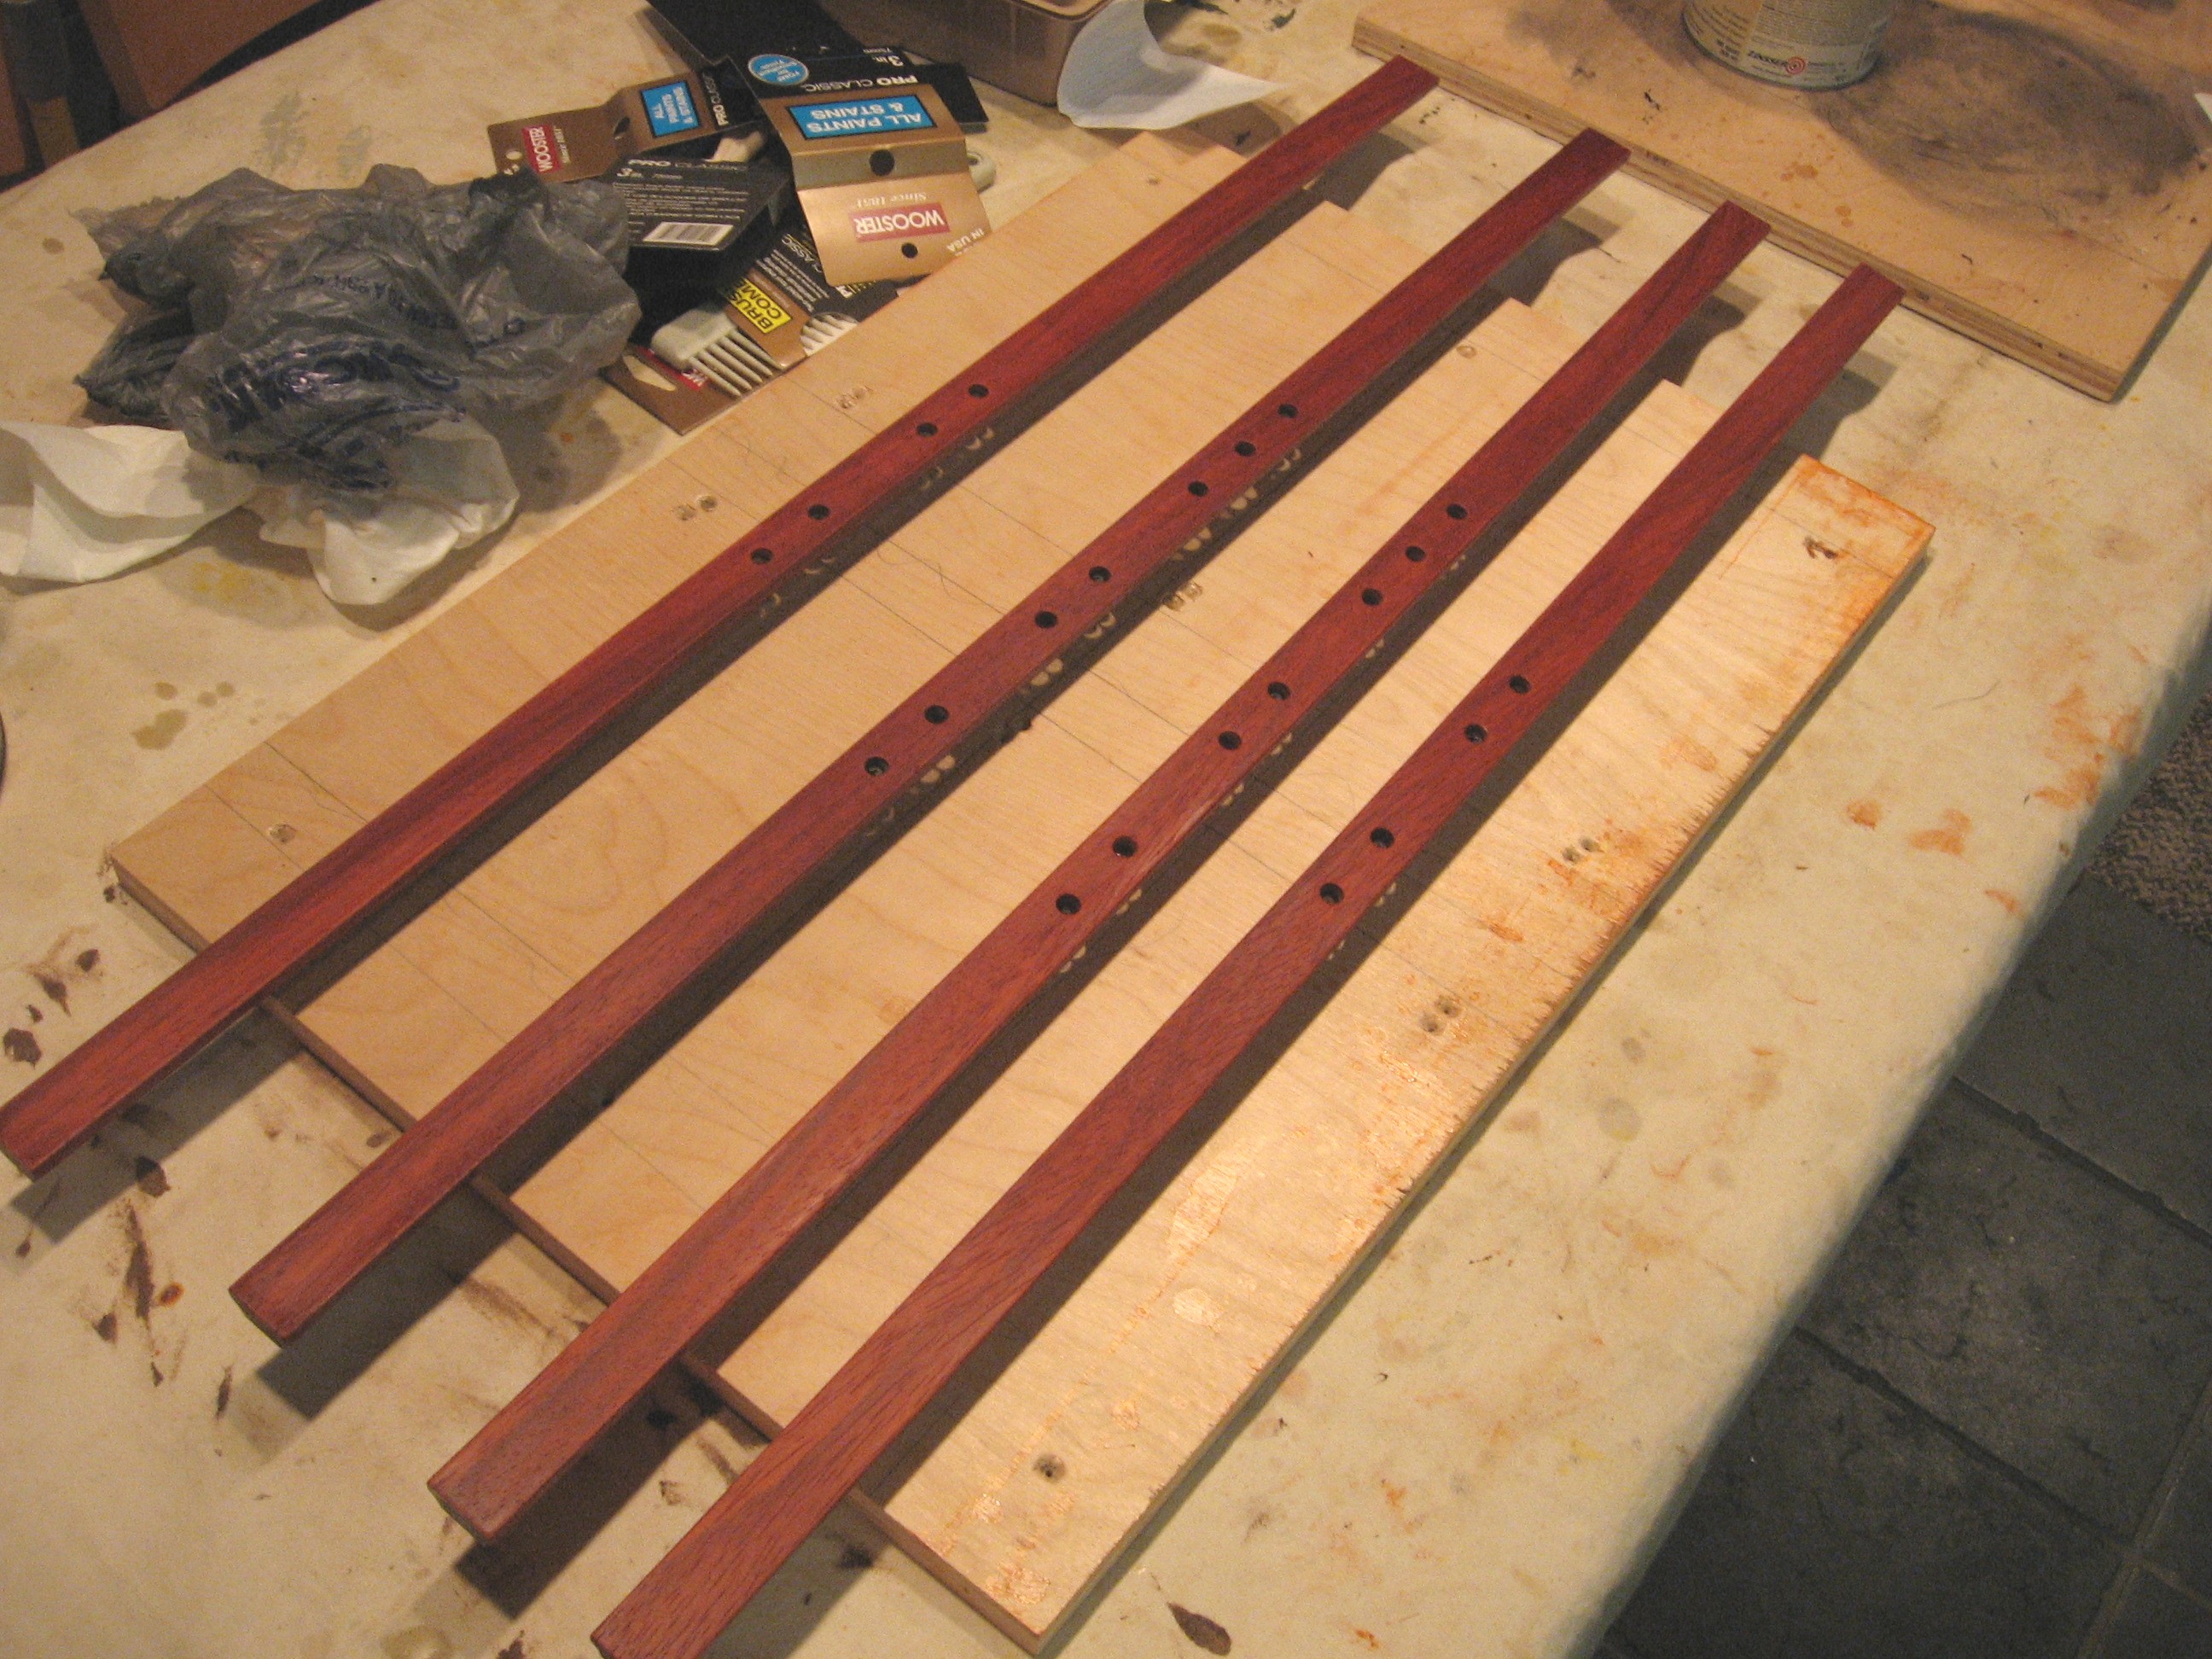
Center Facings The facings for the center shelves will have power-indicator LEDs mounted in them. These facings will be removable to allow for servicing the LEDs. They'll need LED holes drilled in them - 5/16 inch holes. But the LEDs are the standard type used on MOTM modules and they're designed to fit into 1/8 inch thick panels. So we'll drill larger holes from the back of the facing to create a 1/8 inch thickness for the LED housing to fit into.
|
||
|
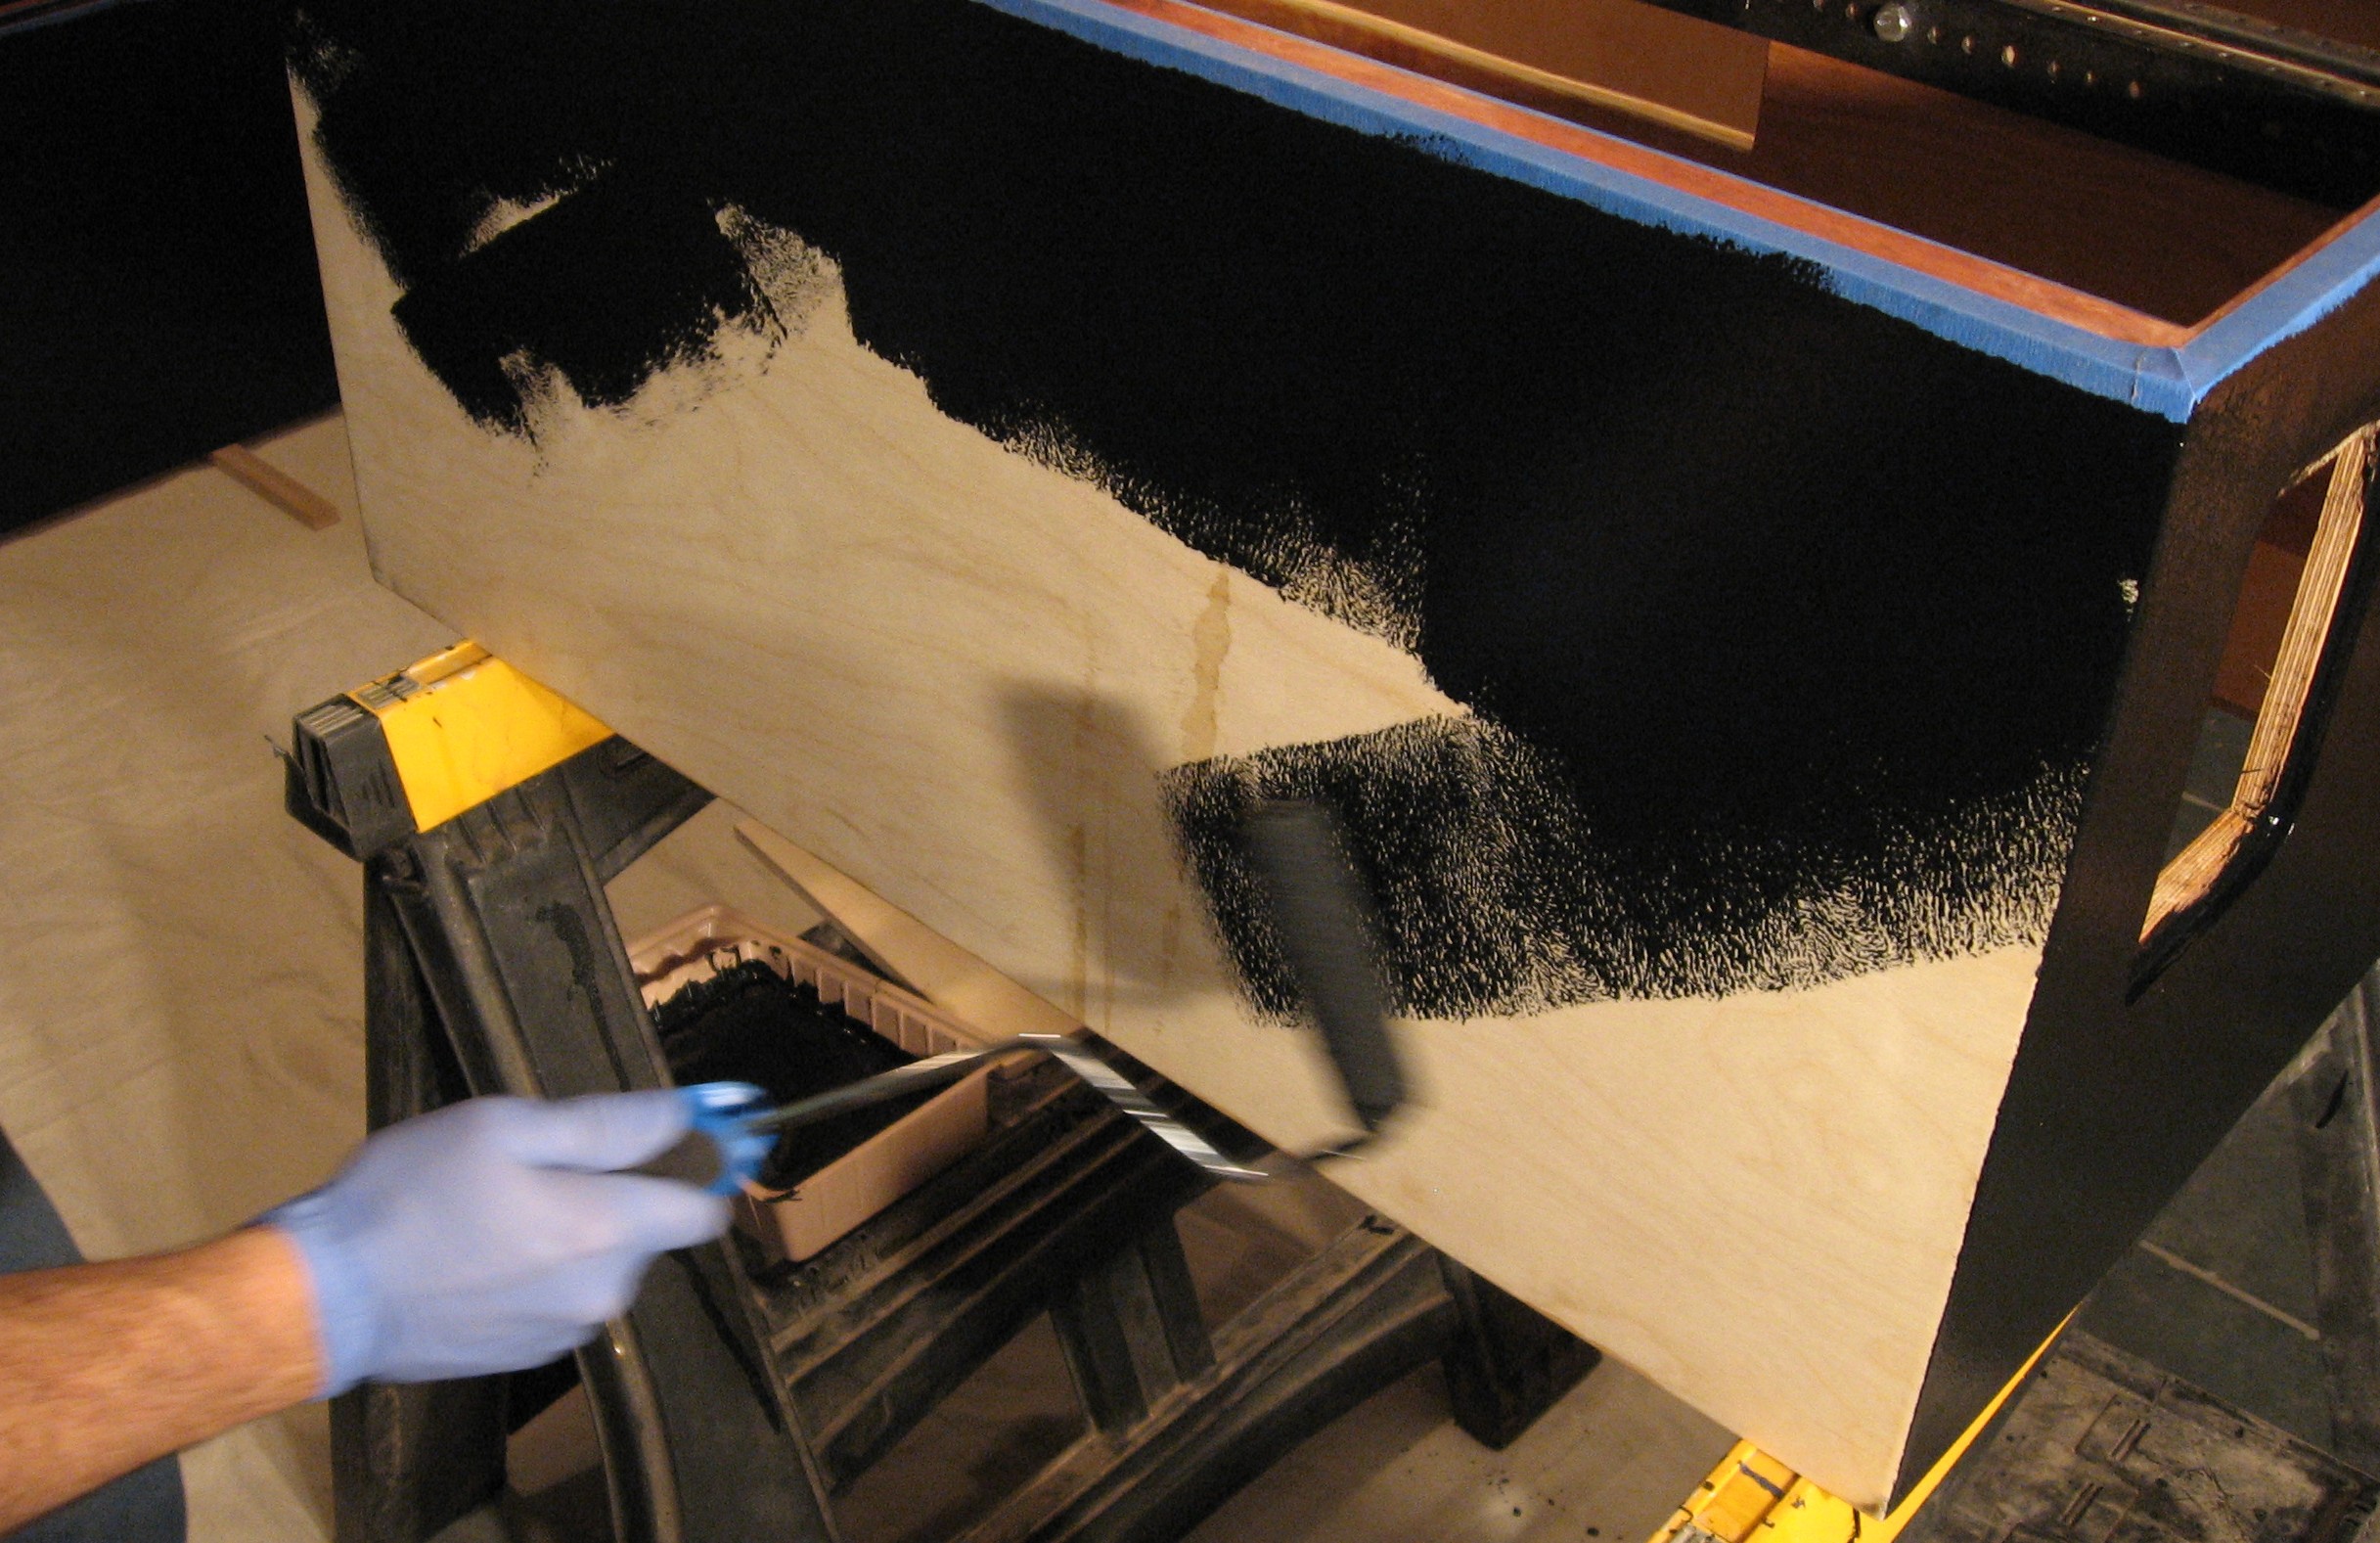
Finishing - Painting Flat black paint
|
||
|
Finishing - Polyurothane Semi Gloss
|
||
|
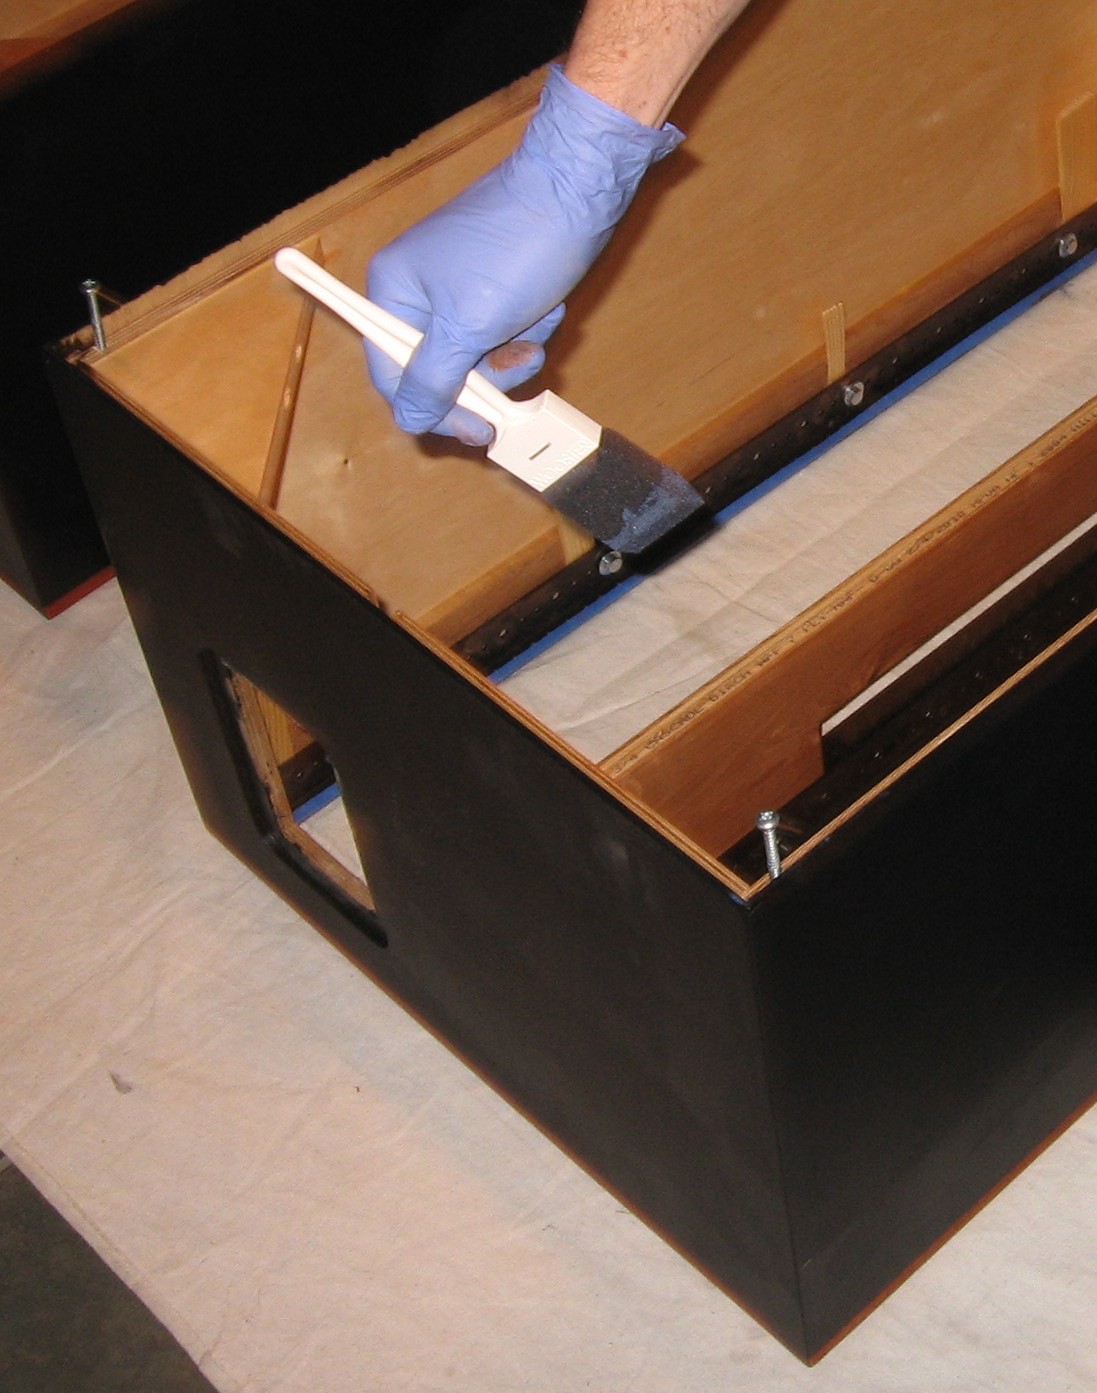
Finishing - Backs Sealing the backs with shellac
|
||
|
Finishing - Center Facings
|
||
|
Final Assembly |
||
|
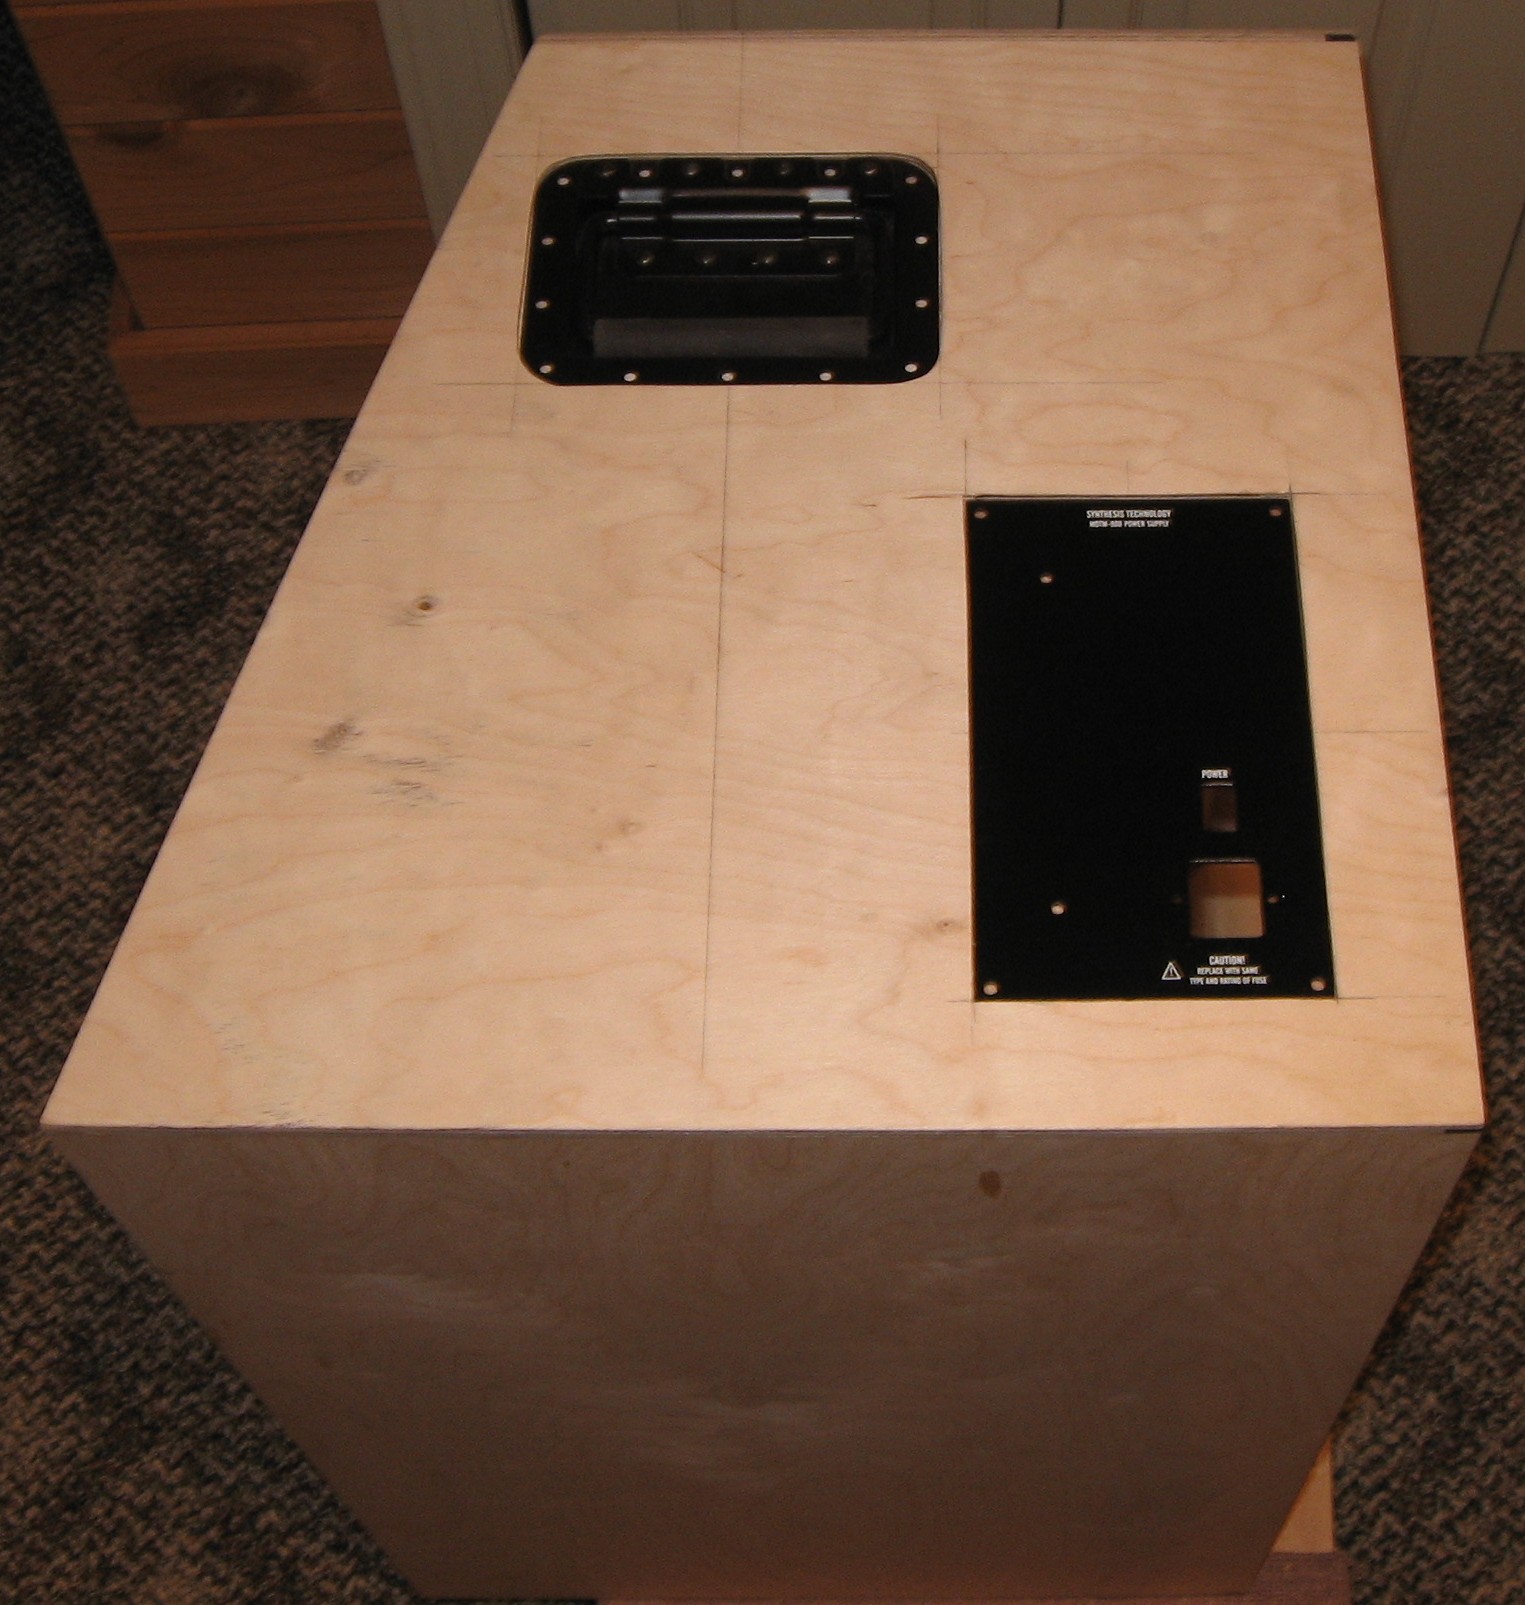
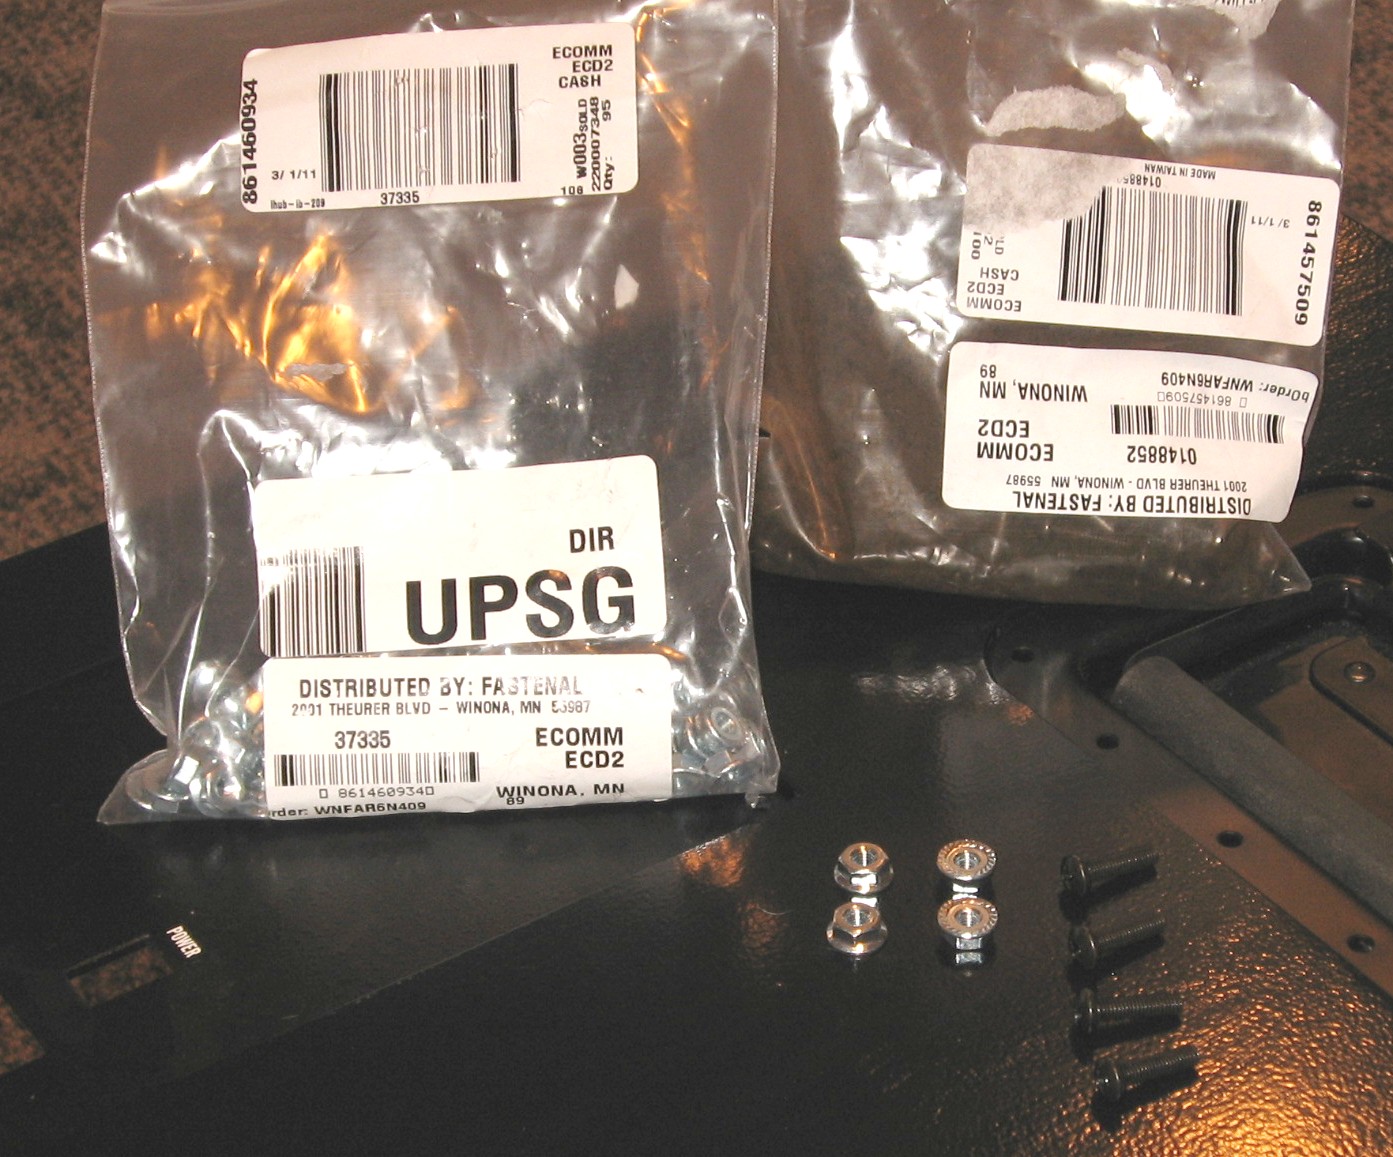
Handles - Power Panels
|
||
|
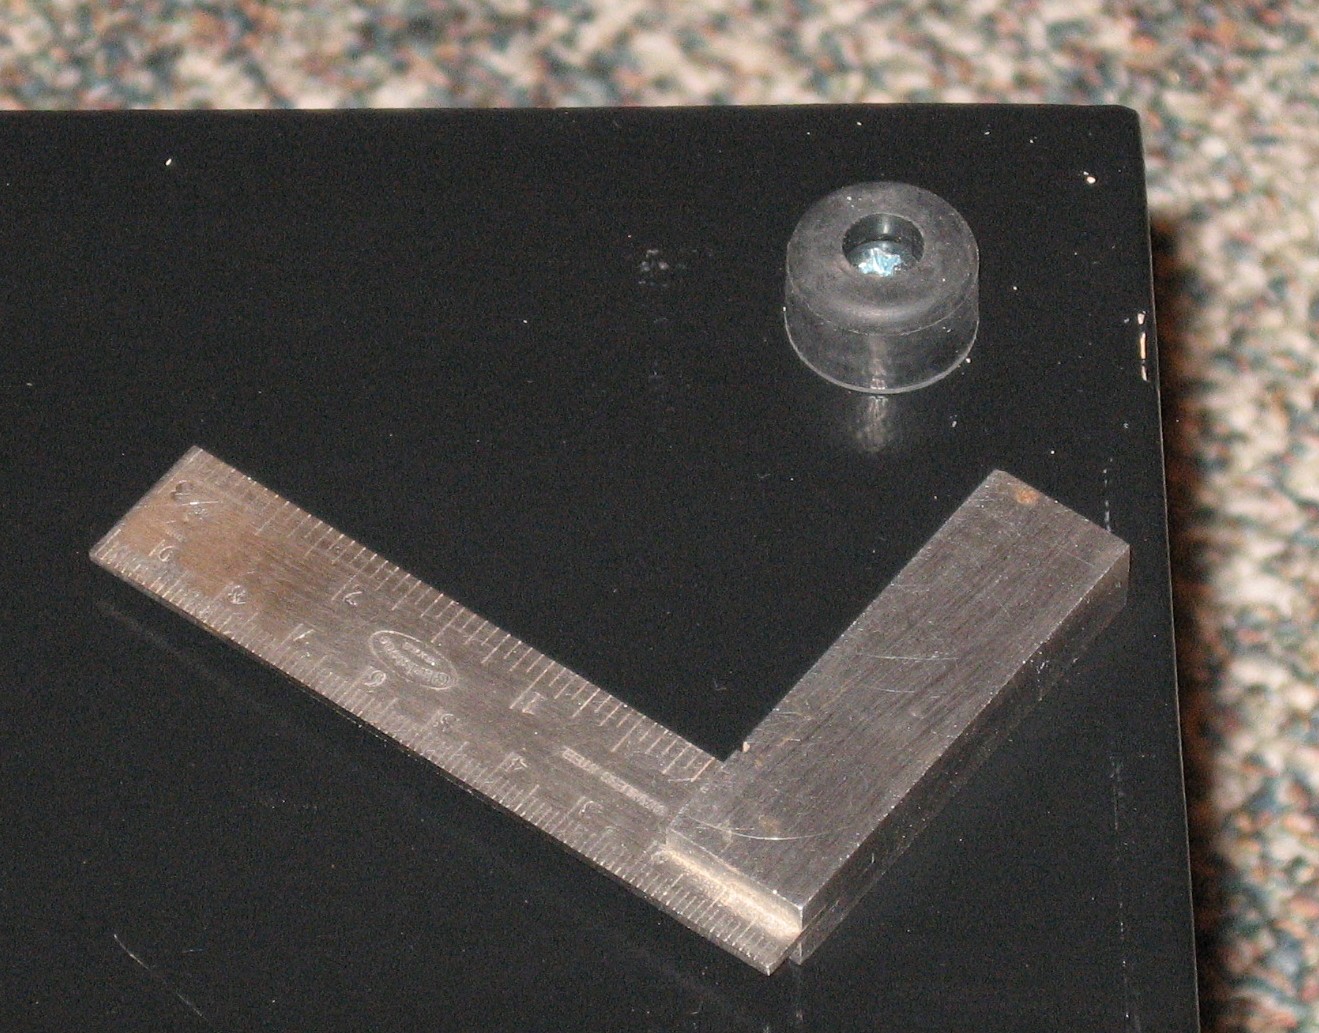
Feet
|
||
|
Done! |
||
|
|
||
|
Power |
||
|
But there was the whole issue of installing the power supplies... click here
|
||
|
|
||


|
The fine Print: Use this site at your own risk. We are self-proclaimed idiots and any use of this site and any materials presented herein should be taken with a grain of Kosher salt. If the info is useful - more's the better. Bill and Will © 2005-2011 all frilling rights reserved
|