|

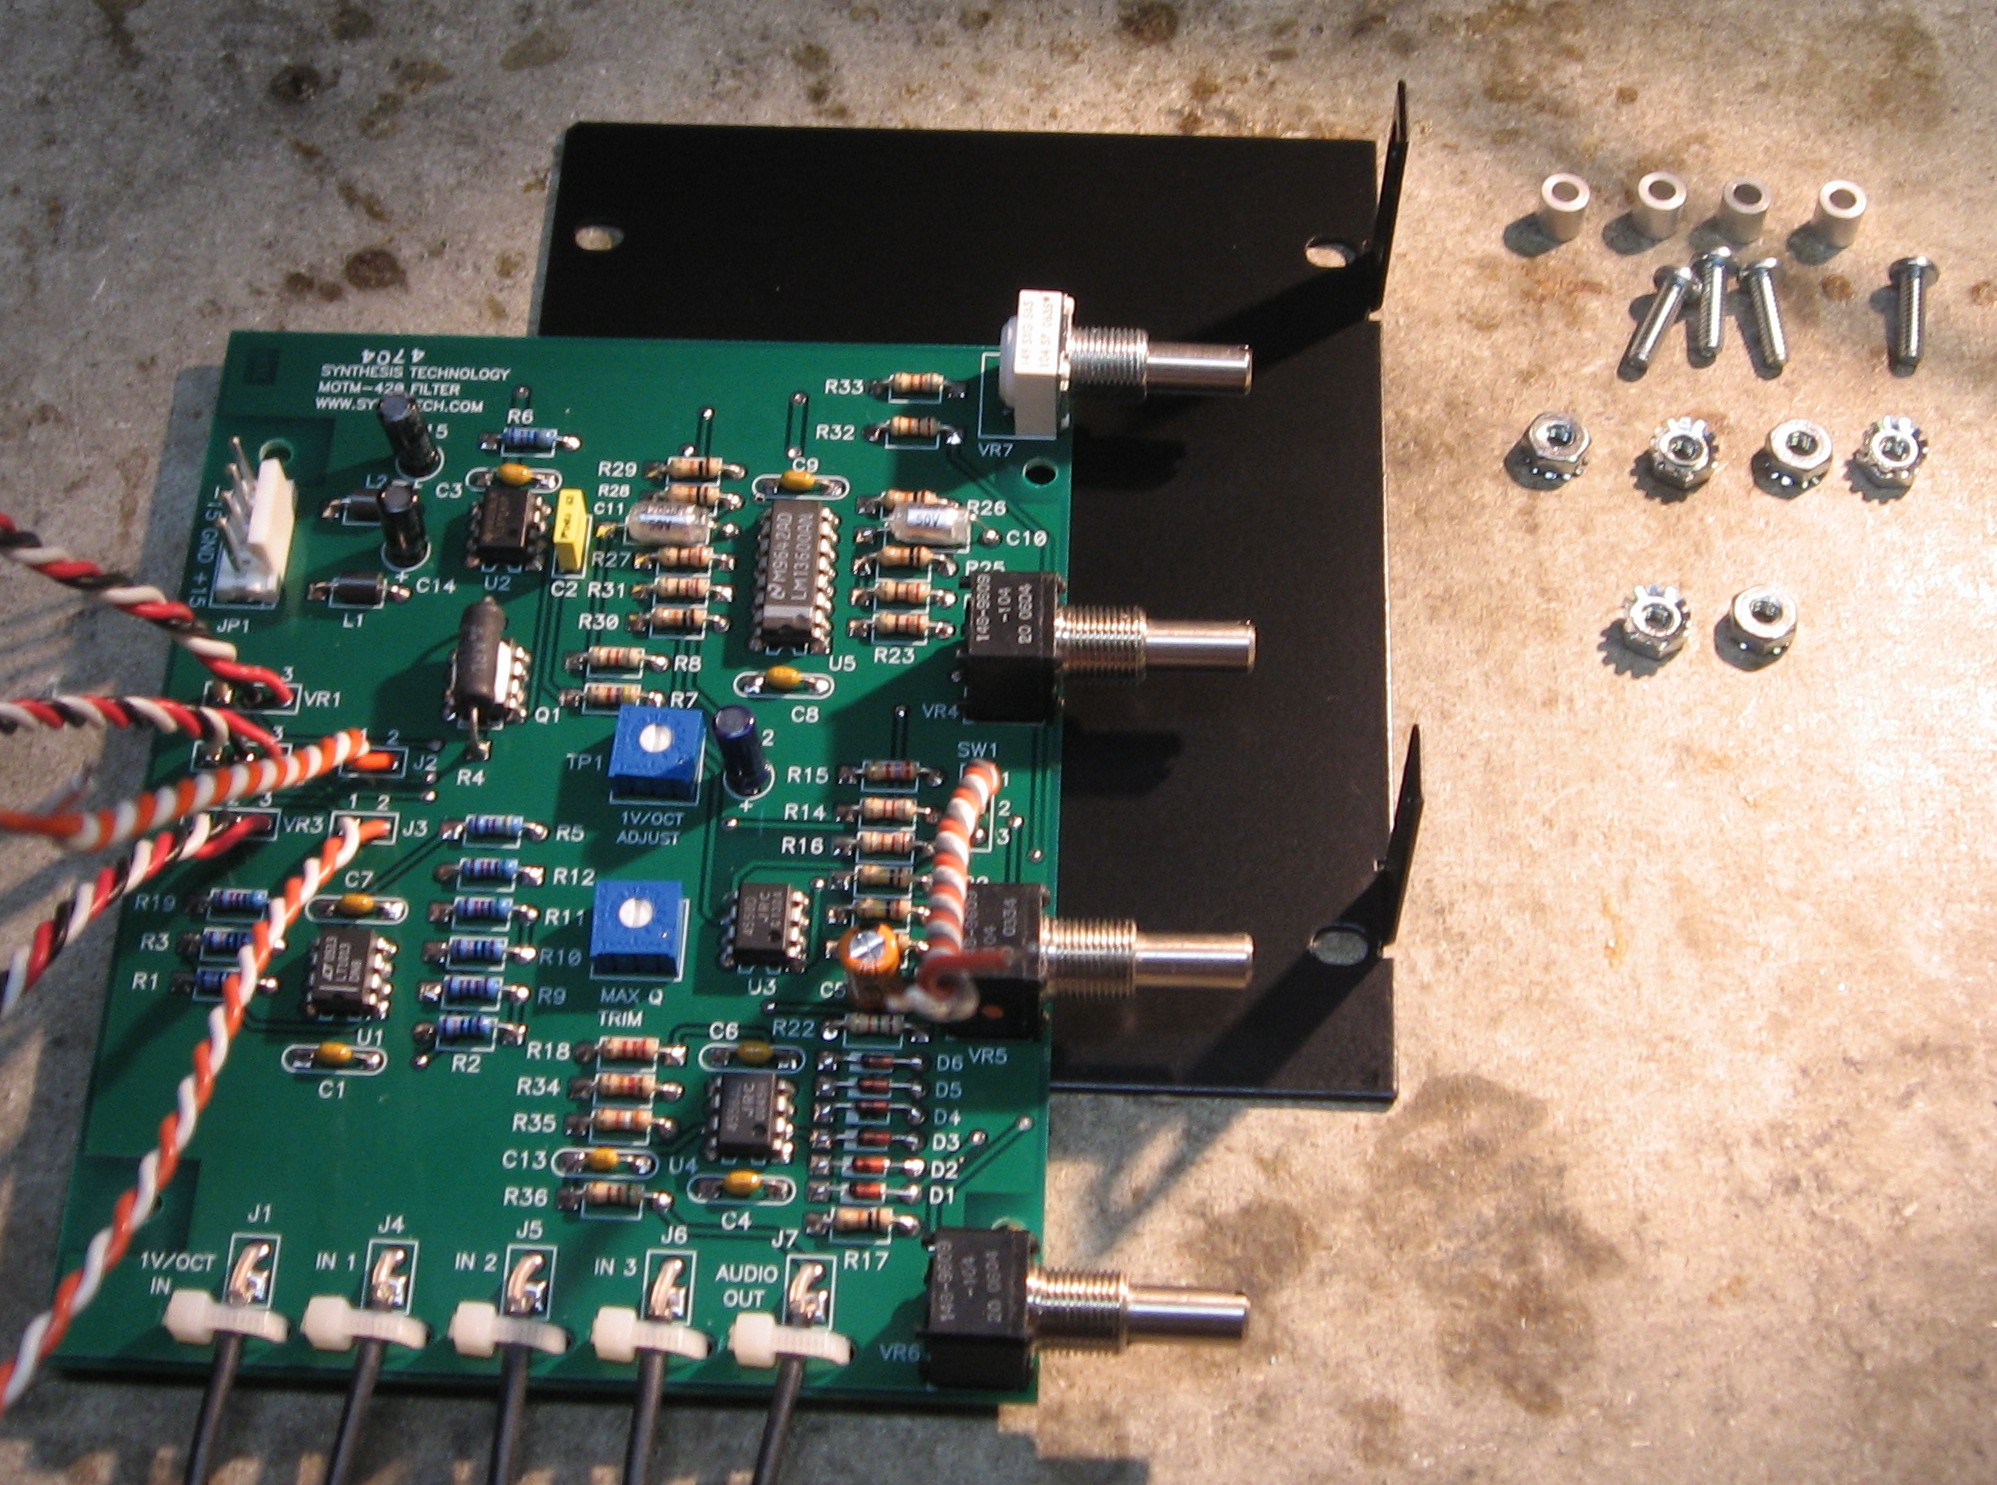
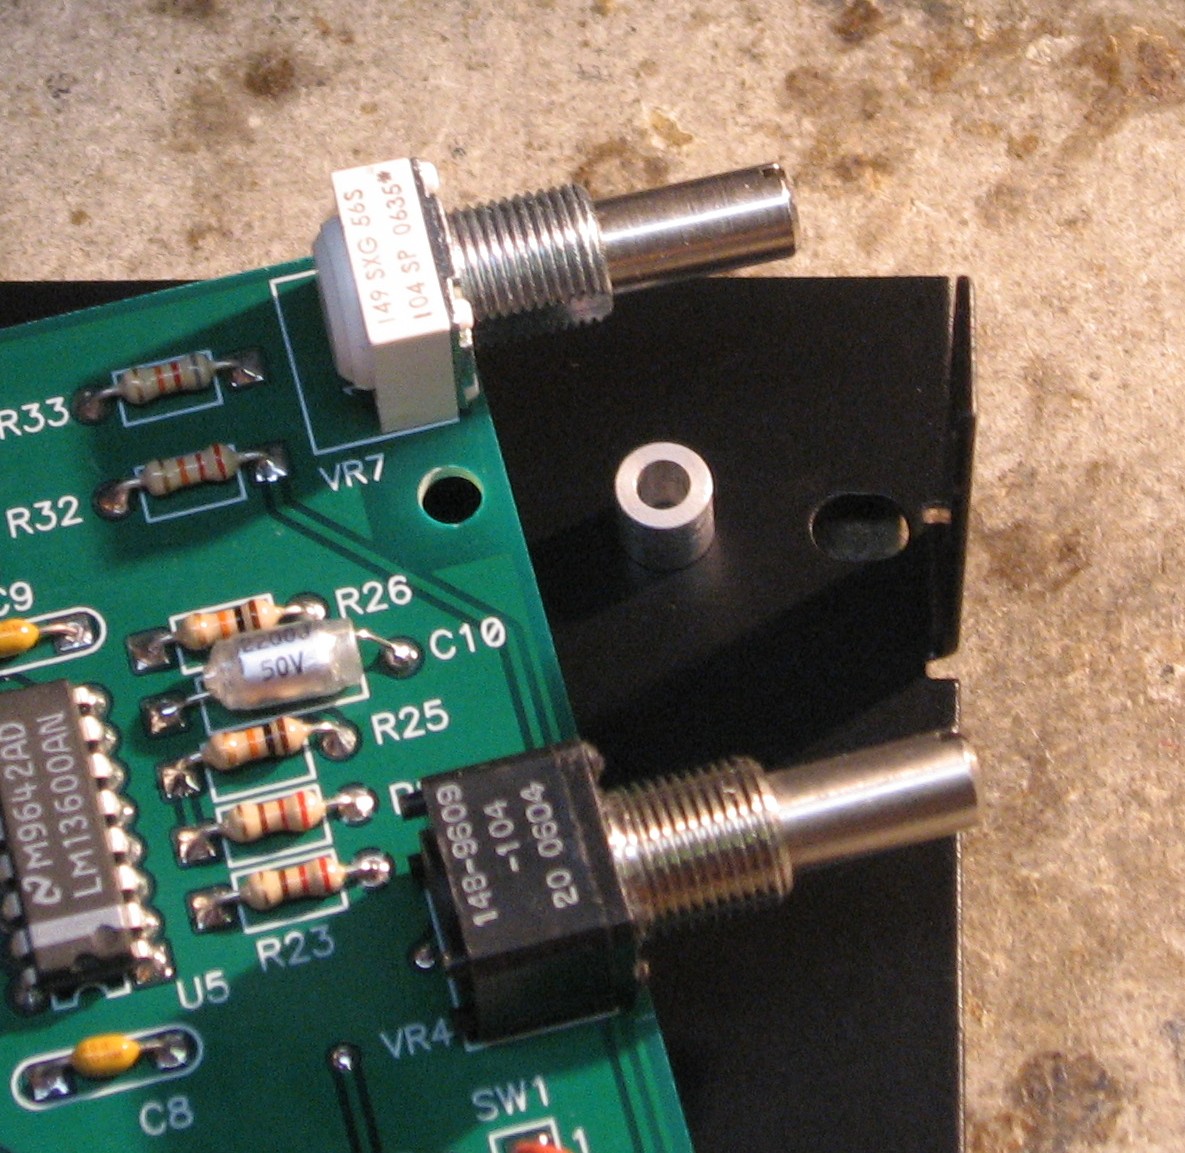
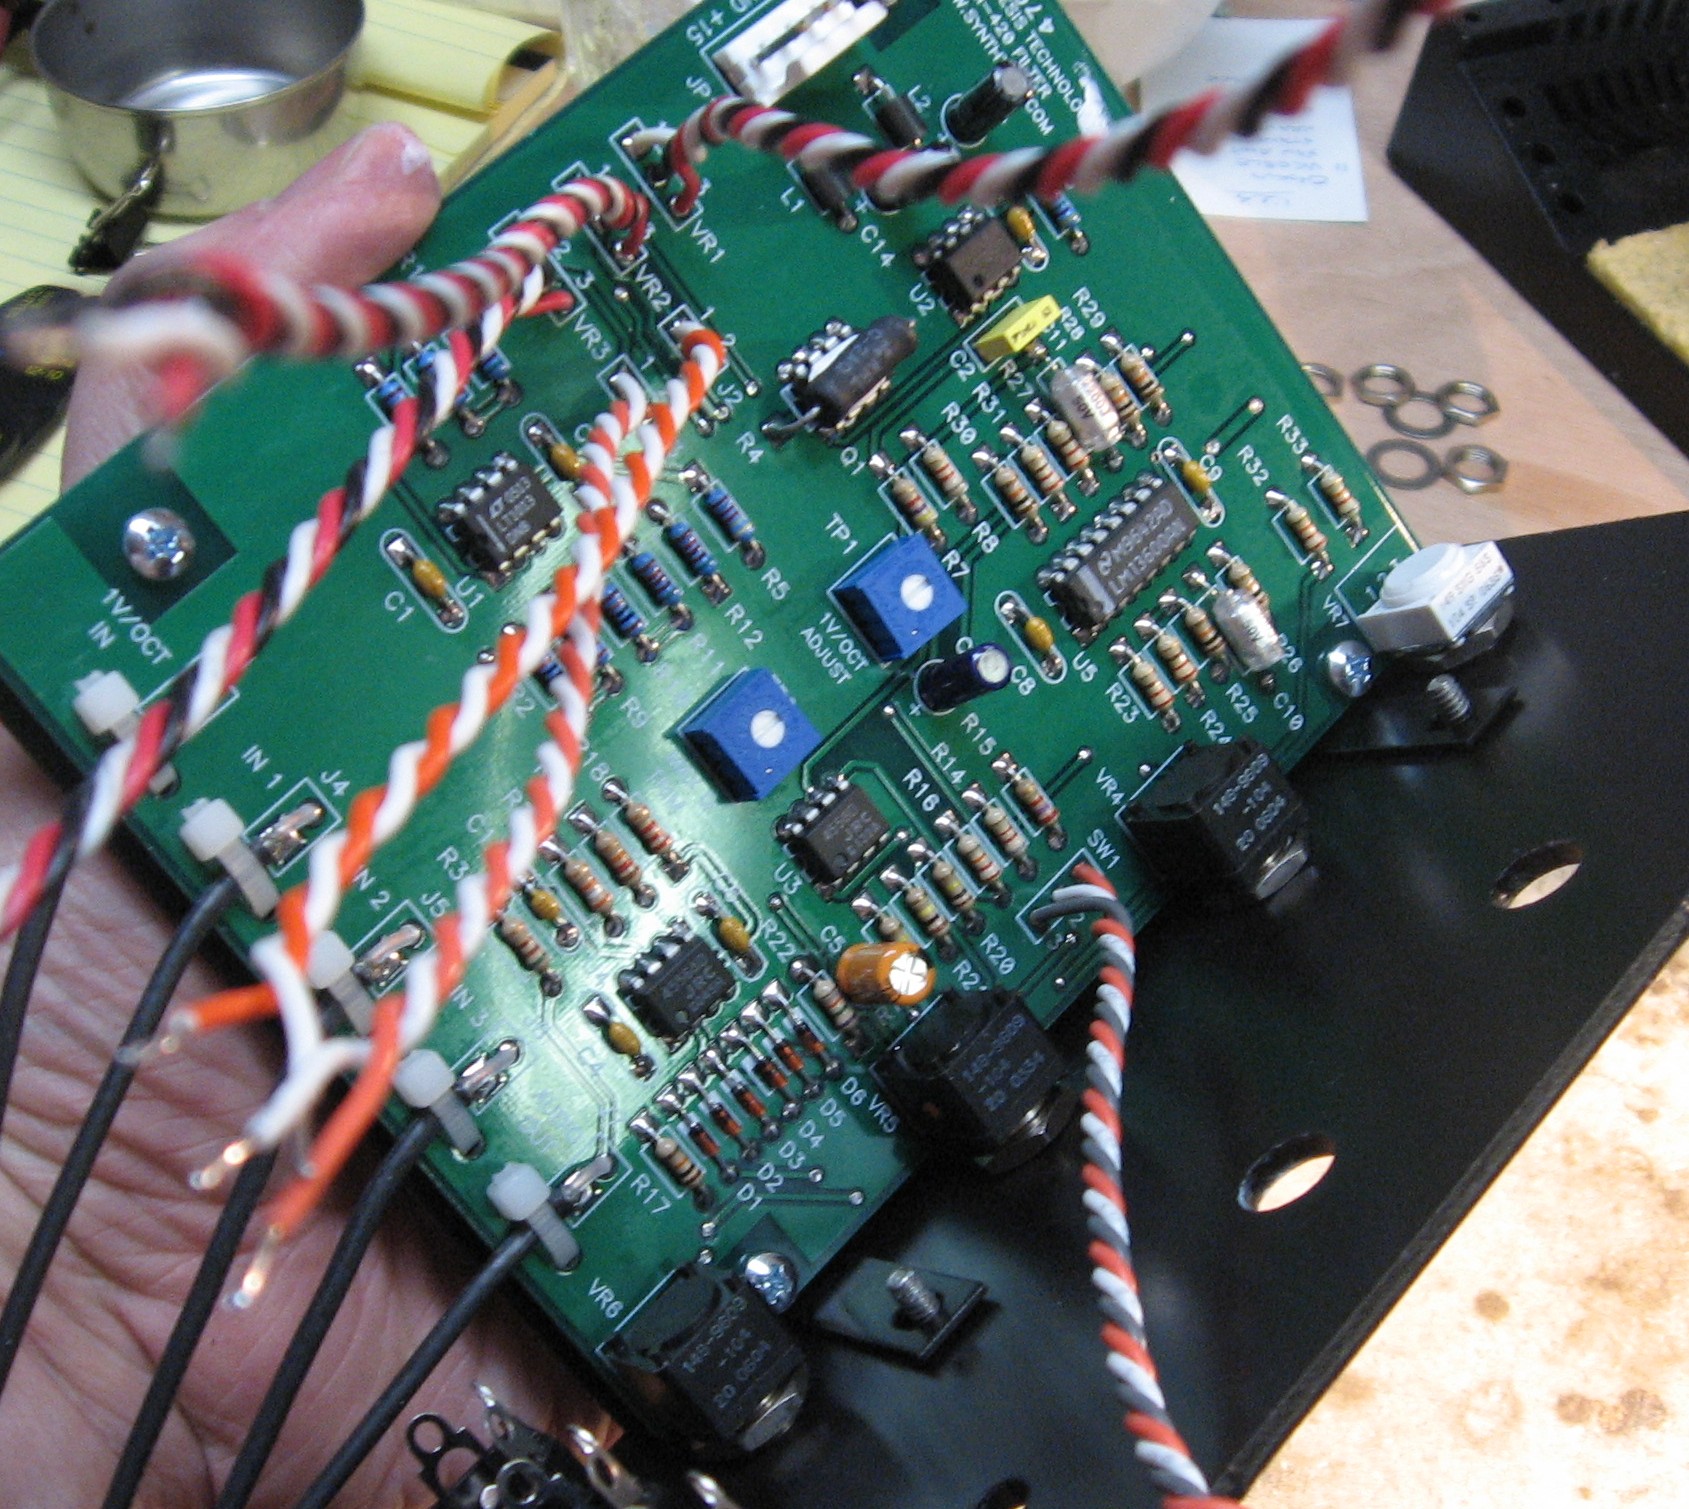
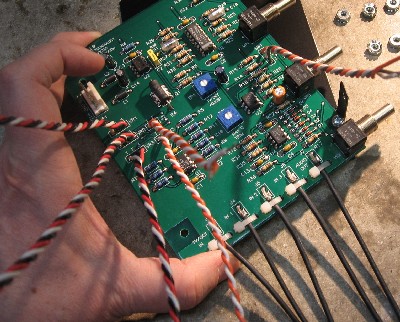
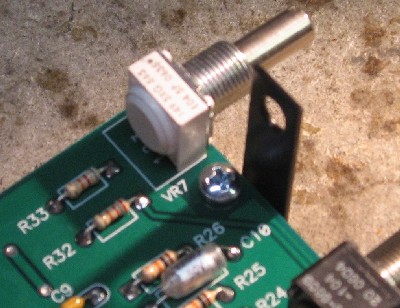
the mounting bracket with screws, nuts, and spacers
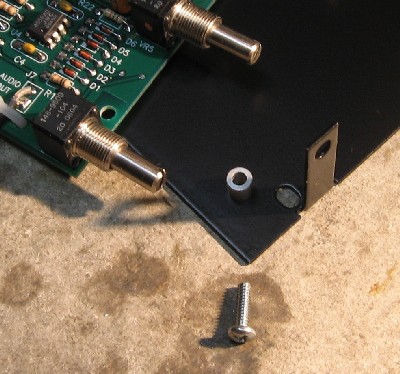  
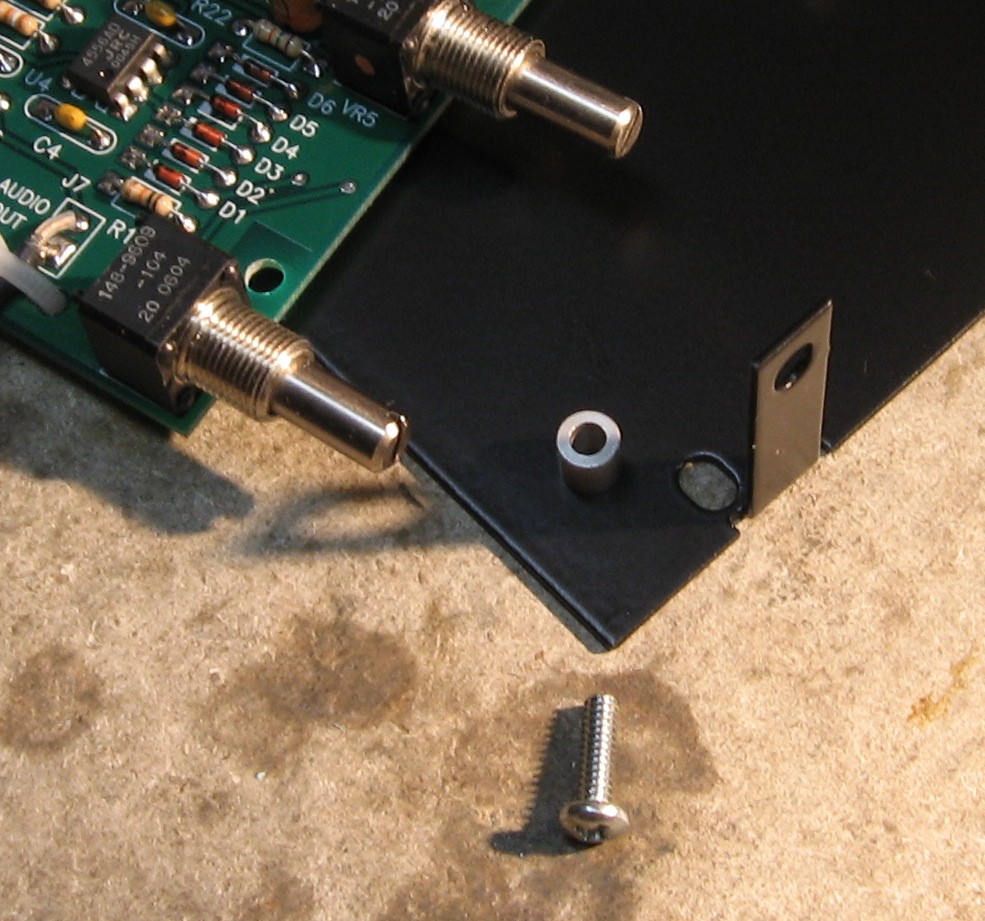
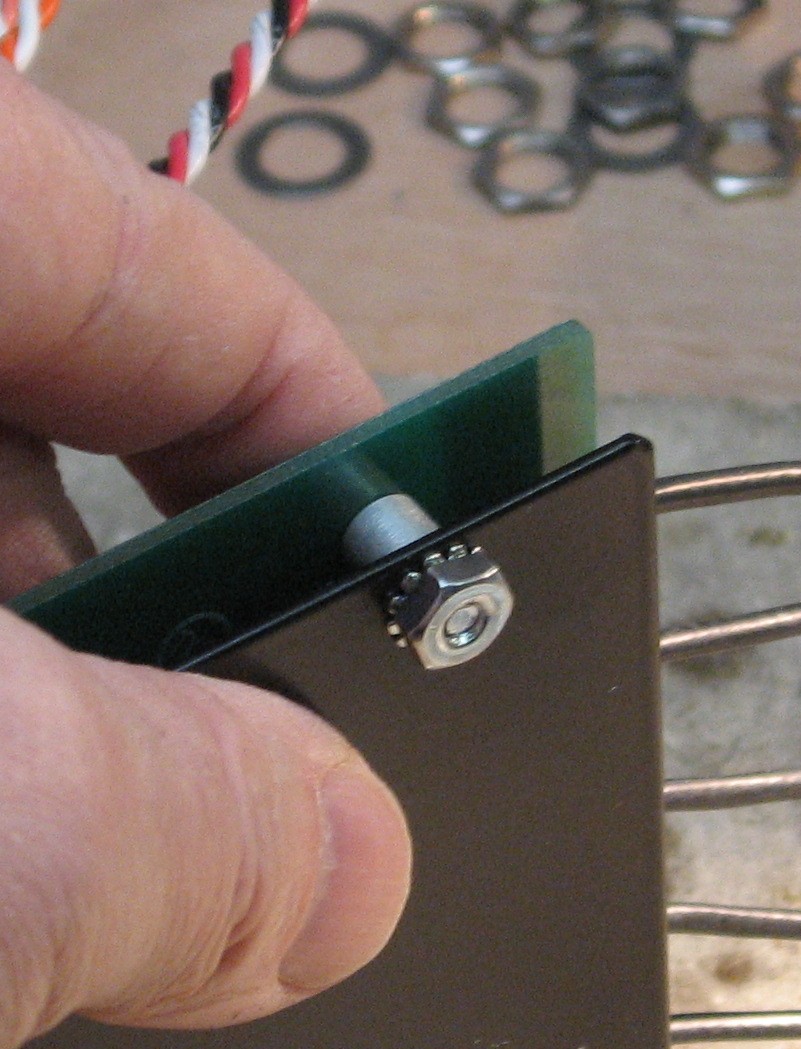
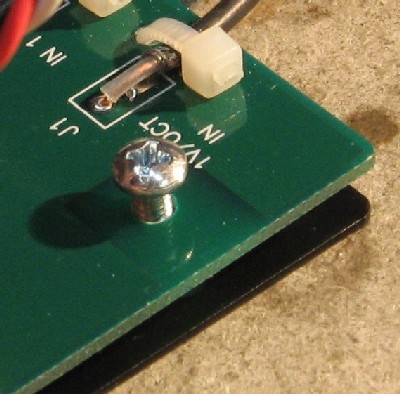
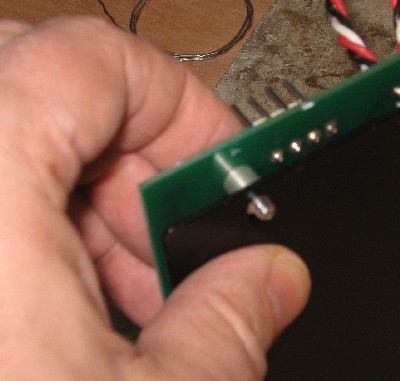
We start at the bottom corner nearest the bracket - the bottom right
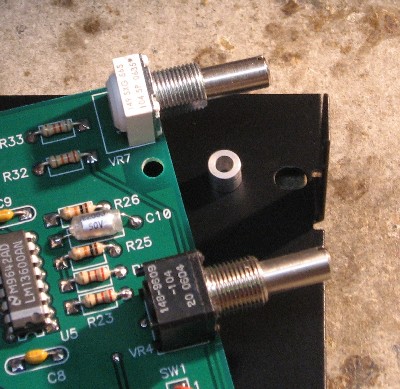
- place a spacer on the bracket
- put a screw through the pcb
- lift the pcb over the spacer so the screw plunks down into it
- then slide it over so the screw slips into the hole in the bracket
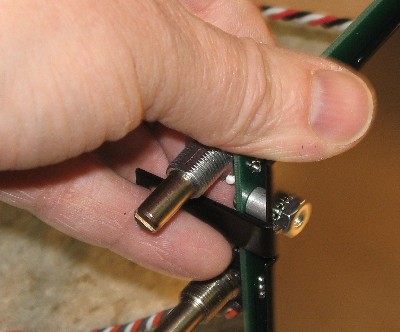
- holding the screw in place, we pick up the bracket
- fit a keps nut over the screw and tighten just enough to hold the screw in but leave the pcb quite loose
|
 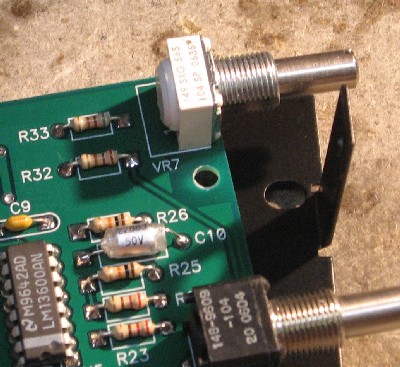 
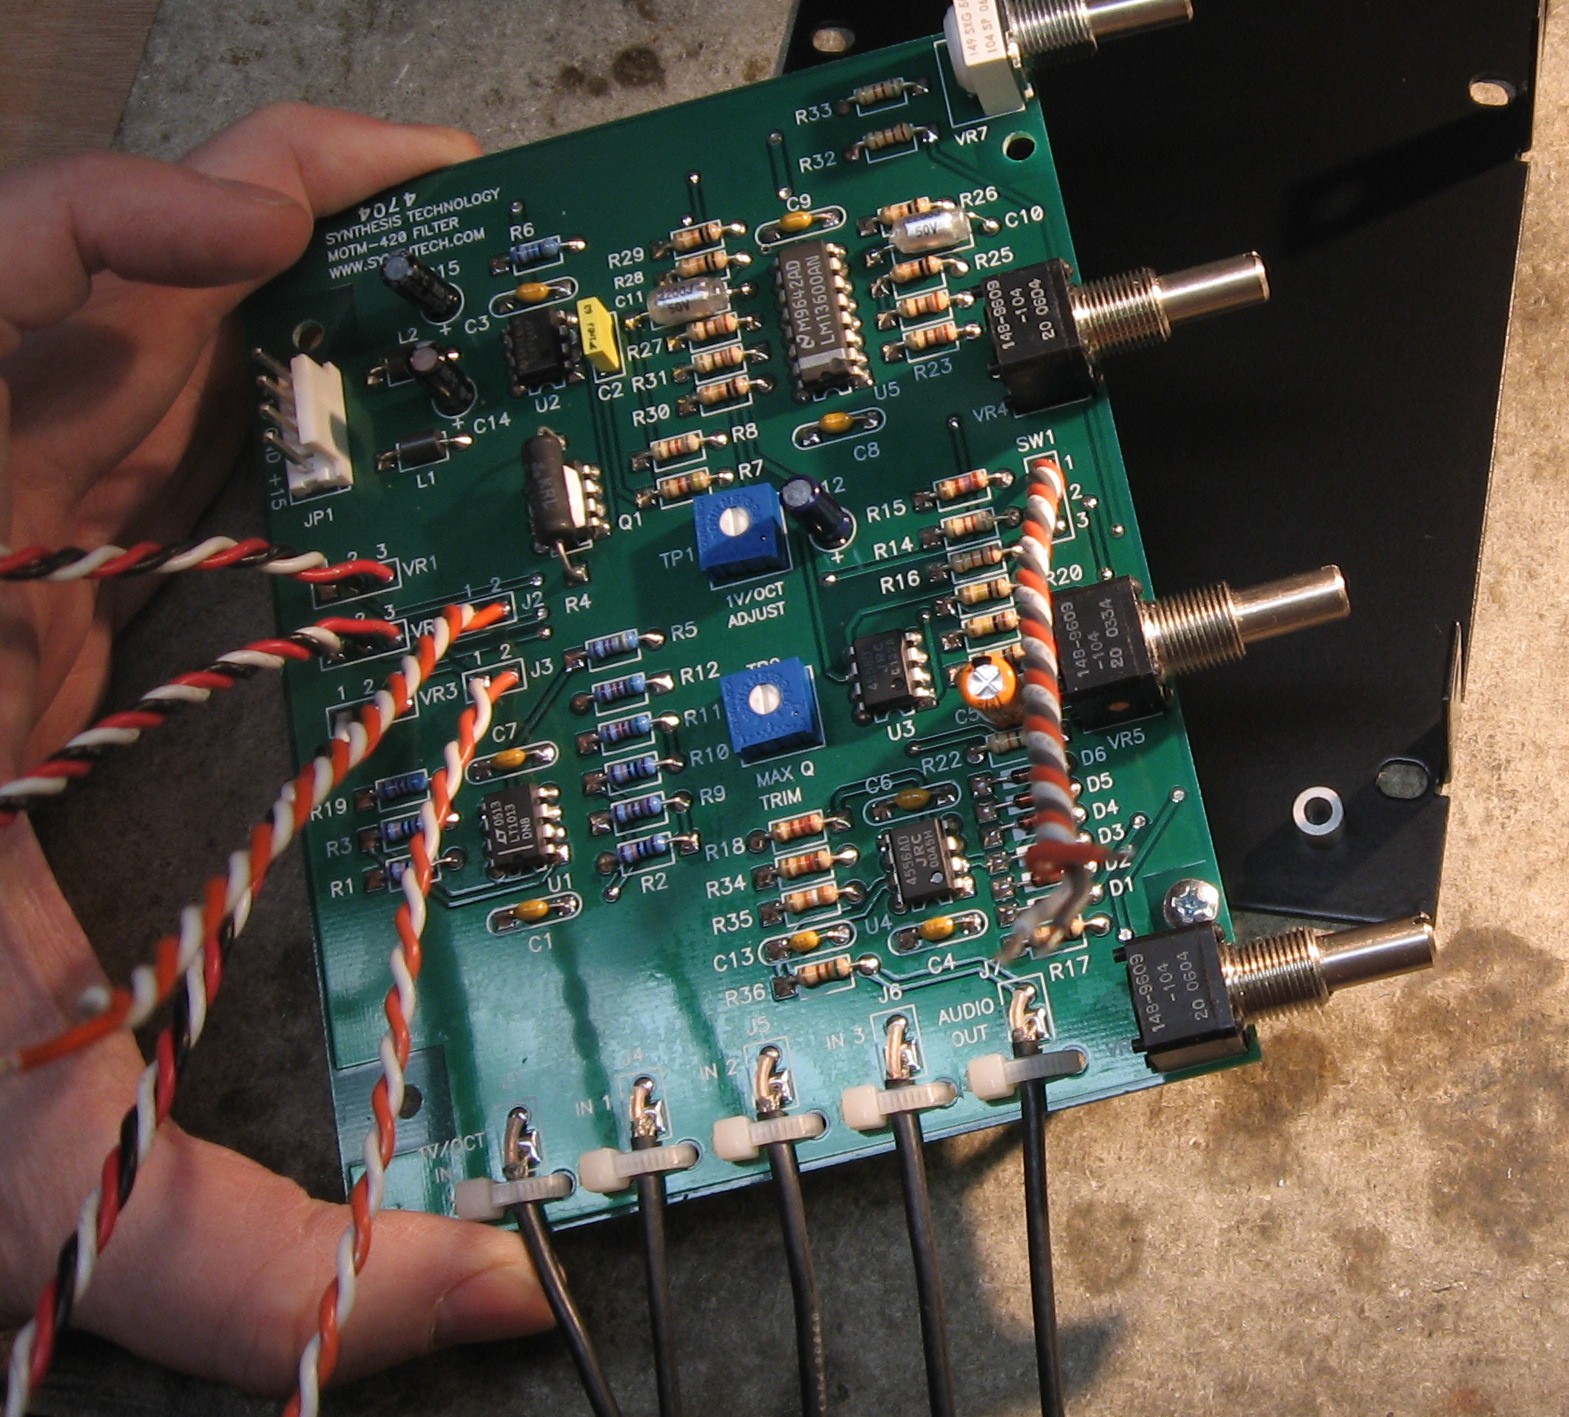
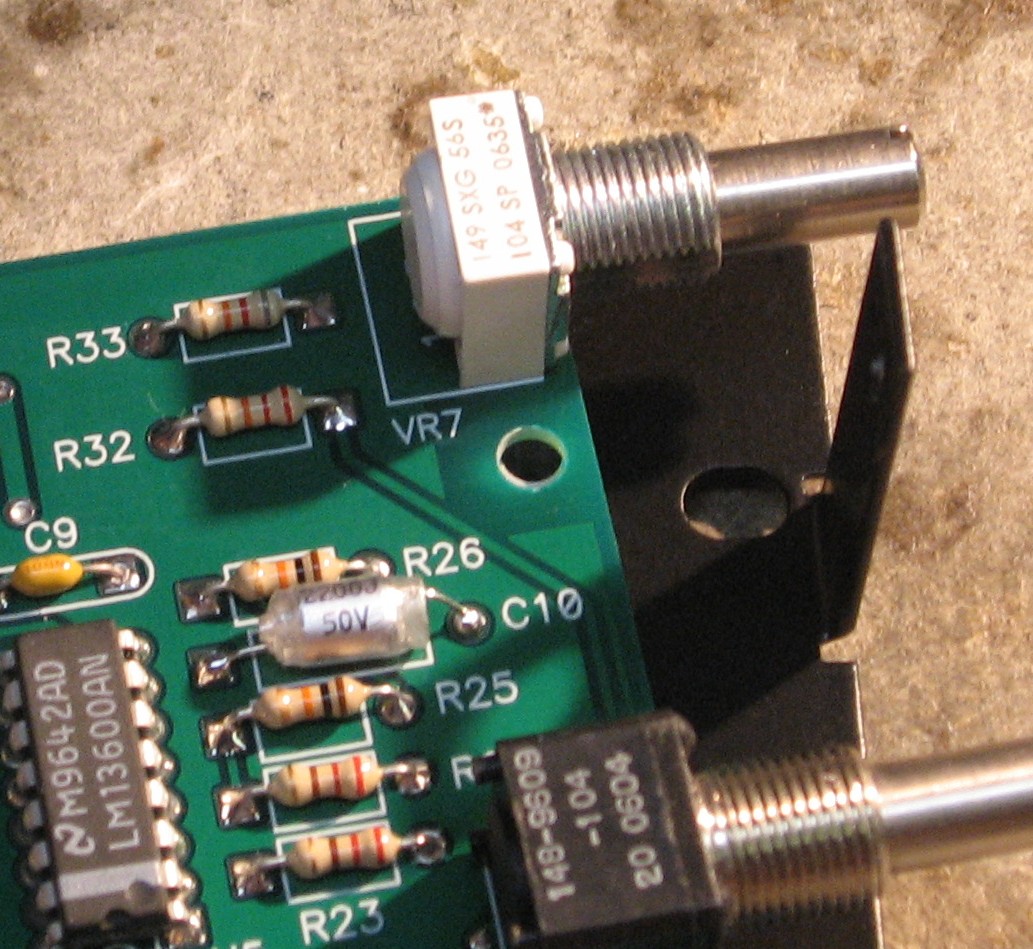
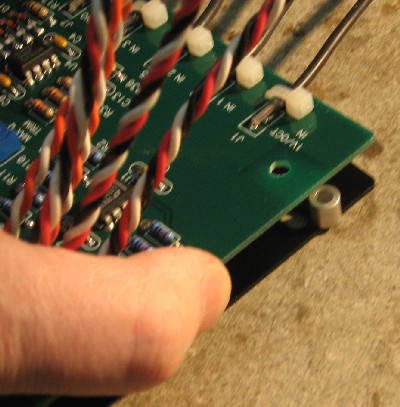
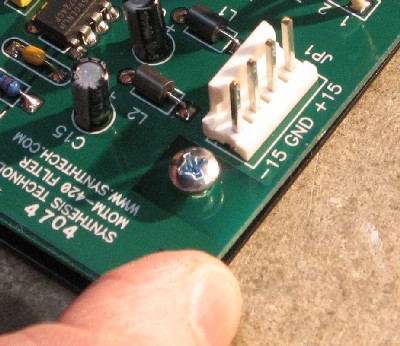
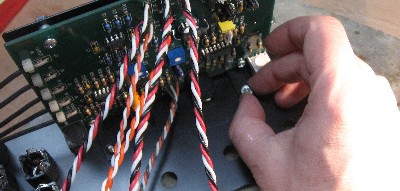
Then we do the top one near the bracket - the top right
- we rotate the pcb back a bit and place a spacer on the bracket in the arc of that rotation
- rotate the pcb back over the spacer
- slide a screw into the hole and therefore into the spacer
- rotate the pcb sliding the spacer and screw over the hole in the bracket
- holding the screw in place, we pick up the bracket again
- fit a keps nut over the screw and tighten just enough to hold the screw in but still leave the pcb quite loose
|
 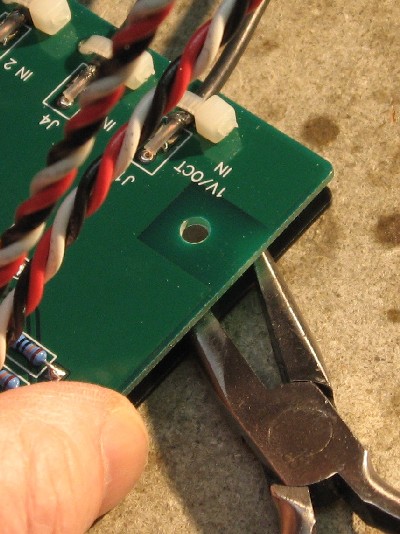  
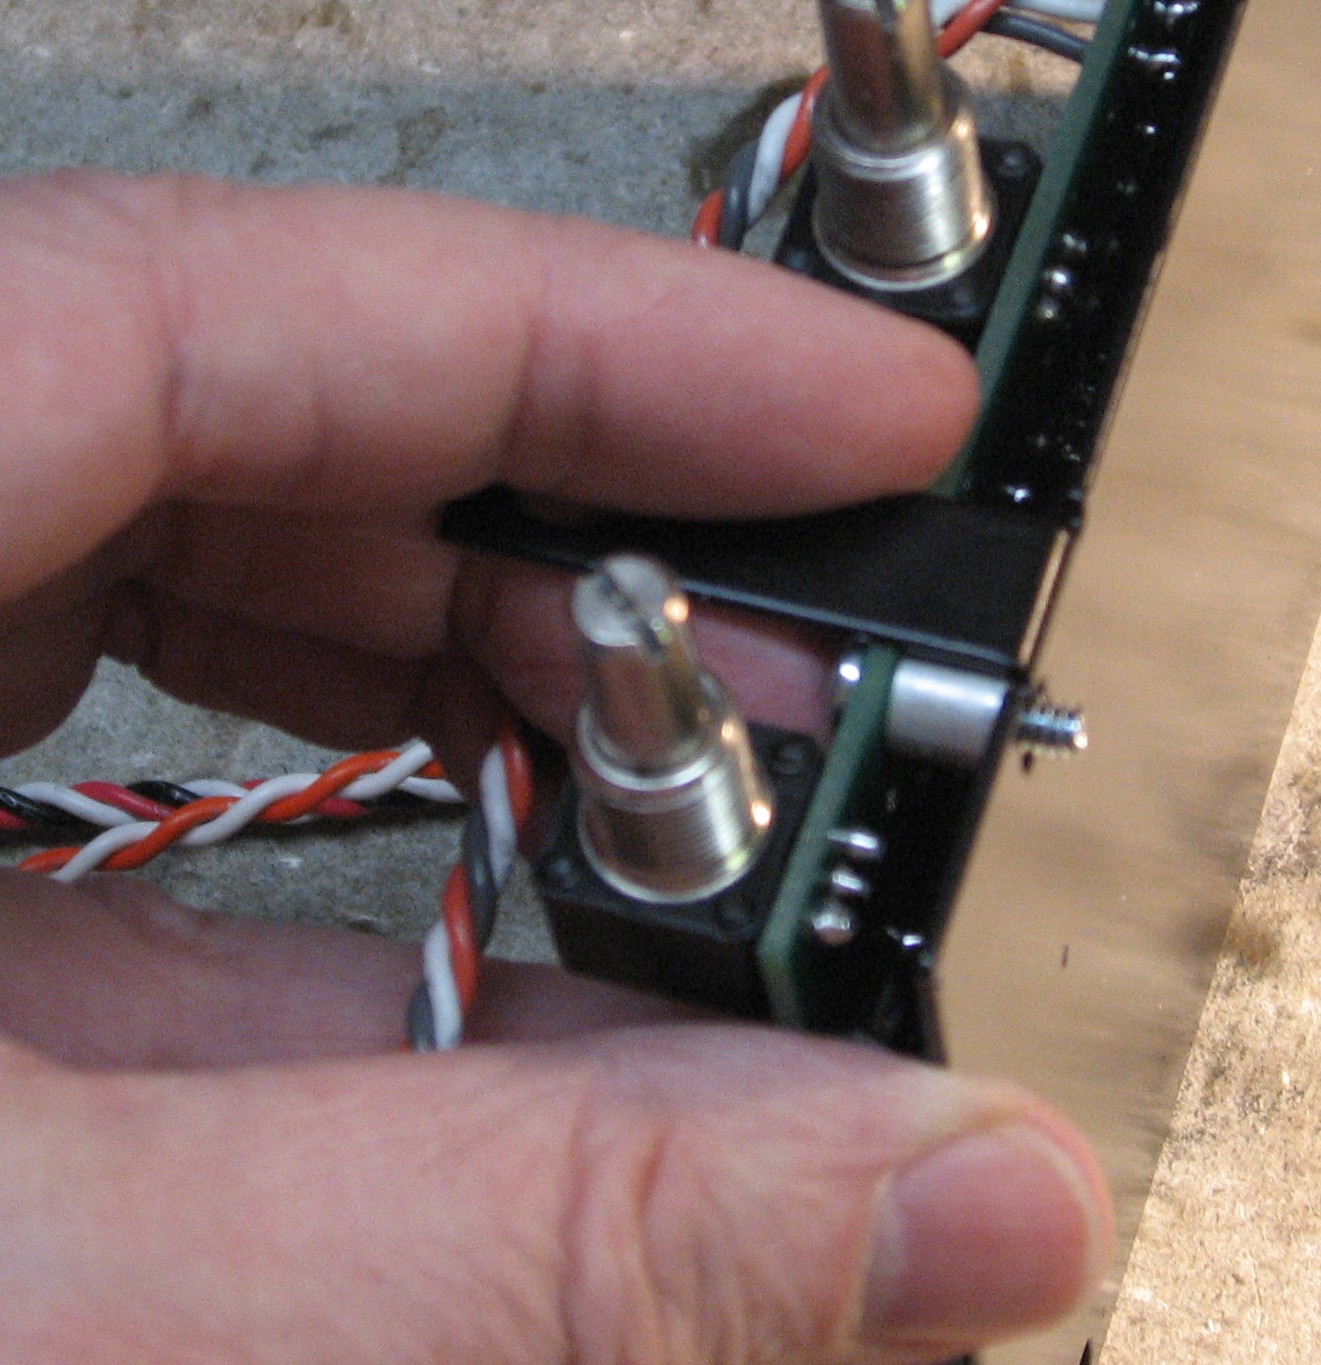
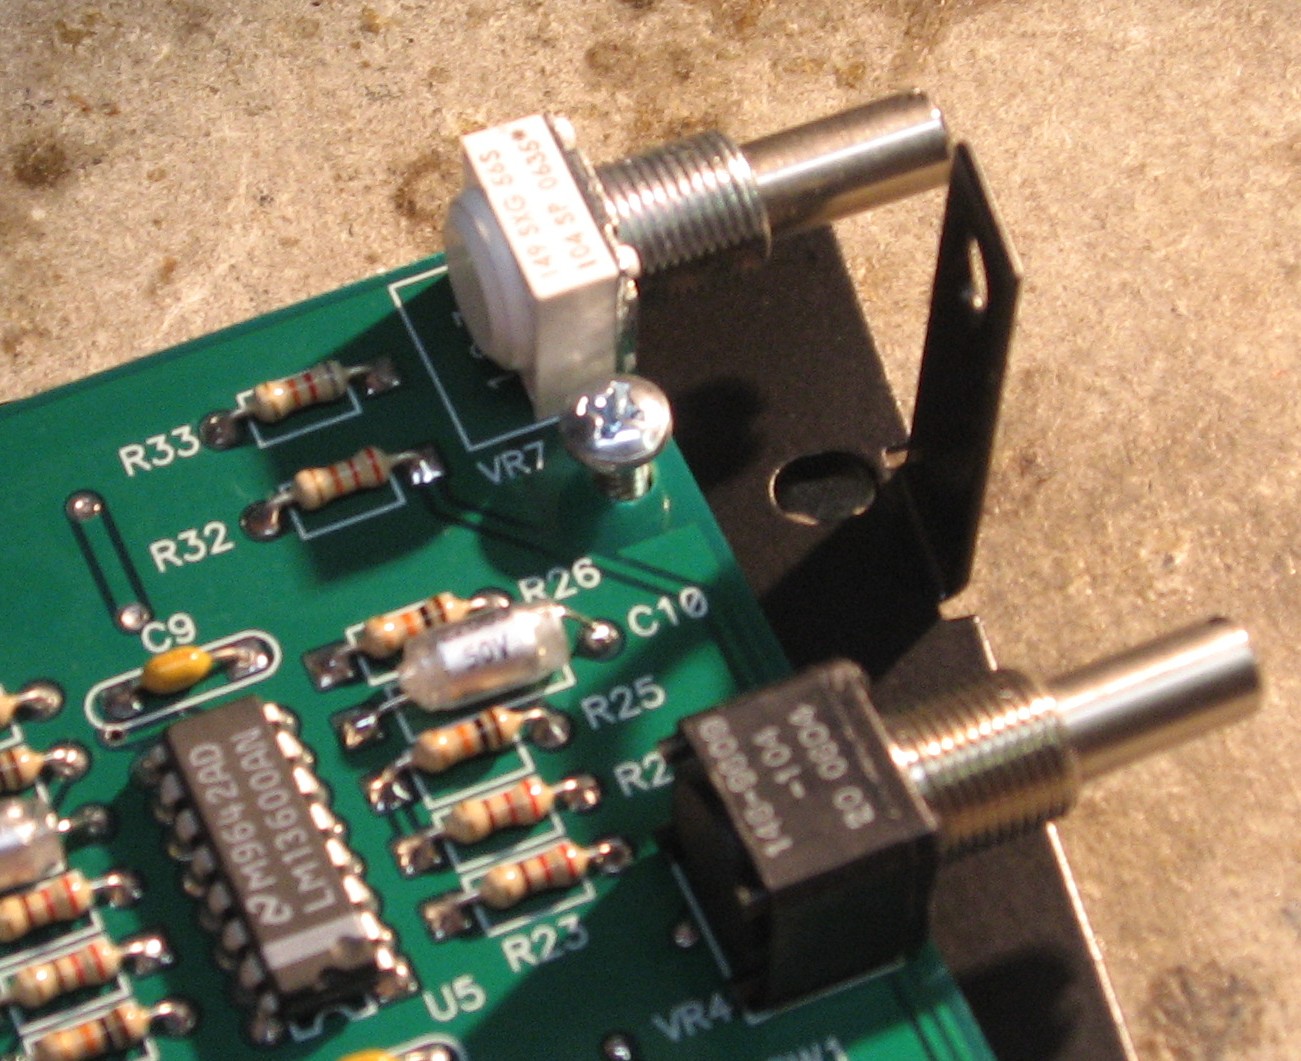
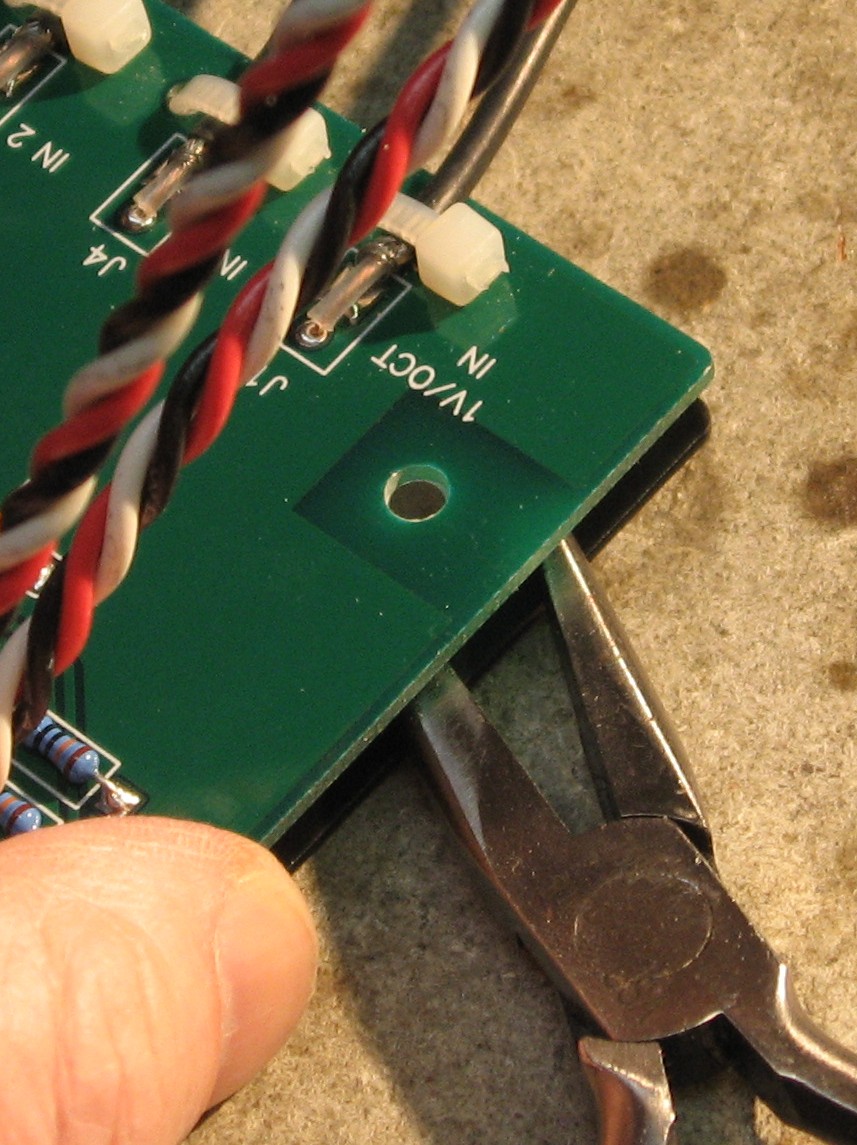
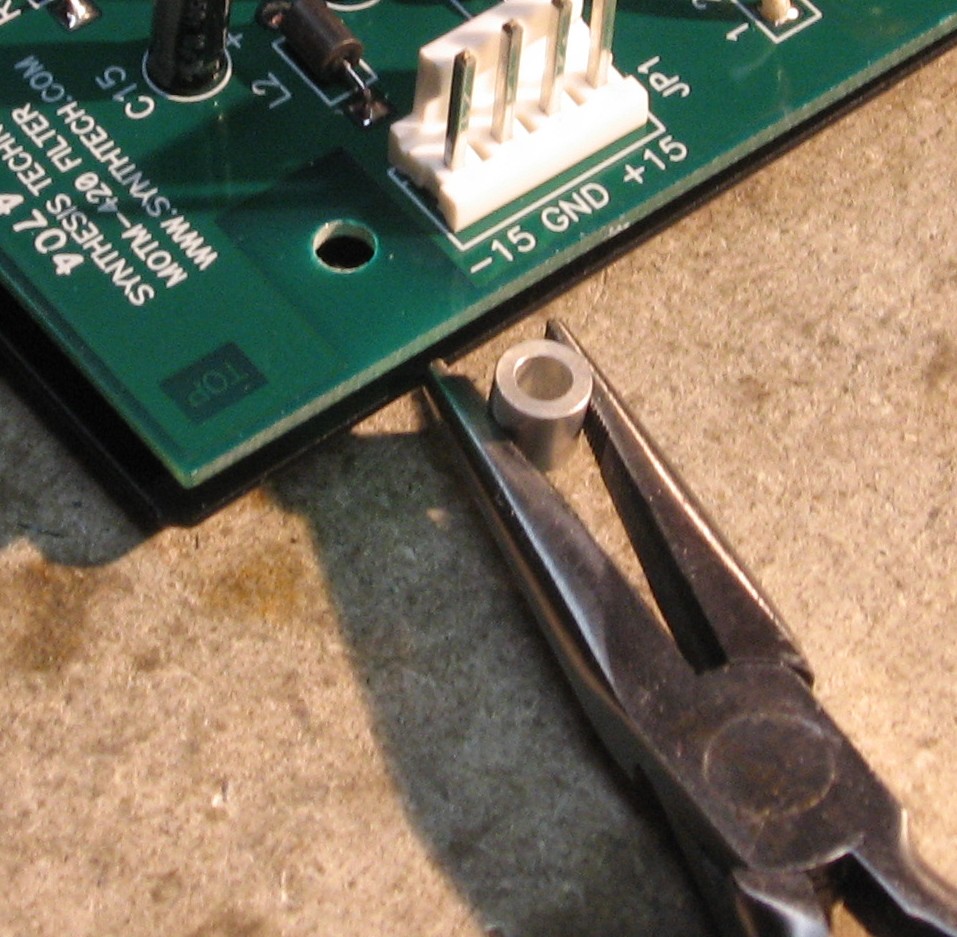
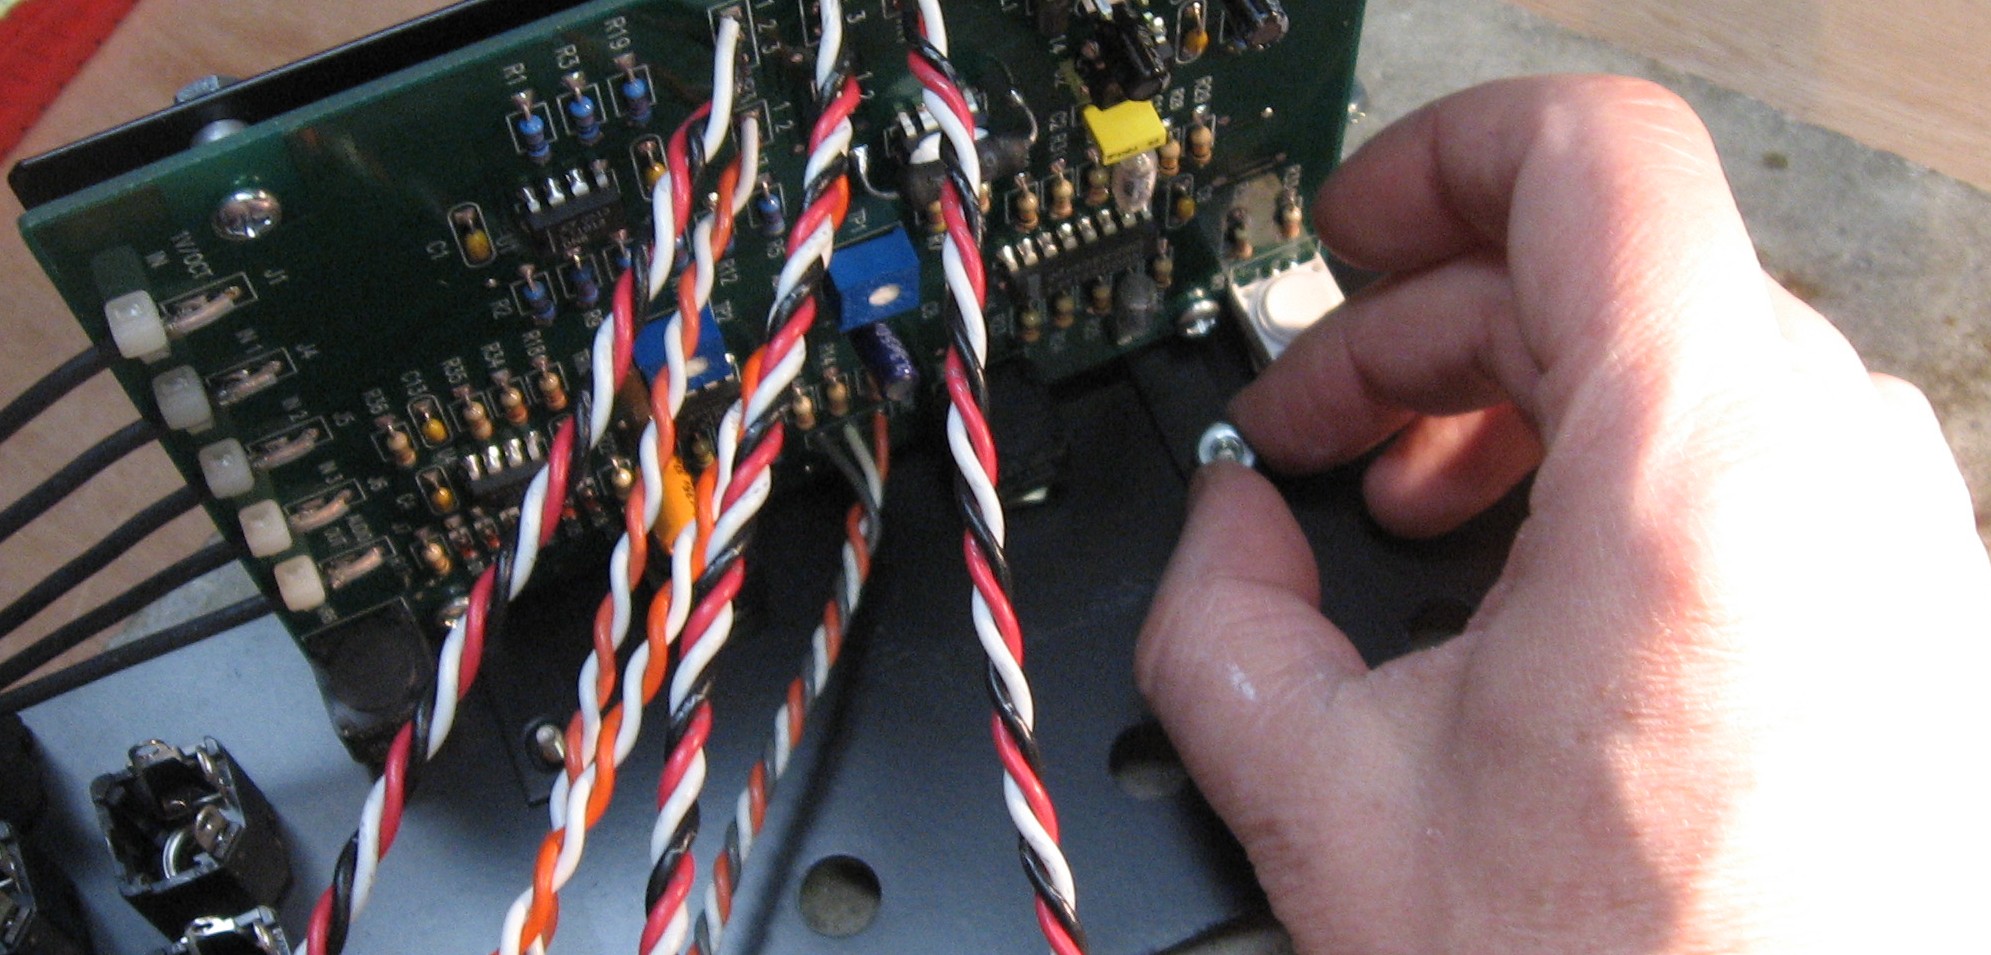
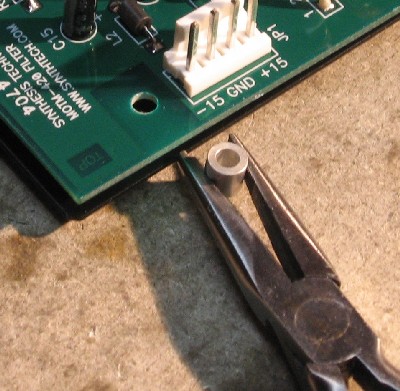
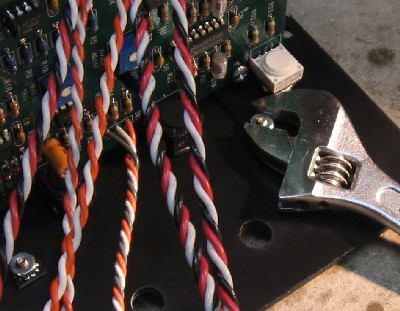
Then the bottom left
- we lift the pcb a bit and slide a spacer underneath the hole (we used pliers to hold the spacer)
- drop in a screw
- holding the screw in place, we pick up the bracket again
- fit a keps nut over the screw and tighten just enough to hold the screw in but, again, leave the pcb quite loose
|
 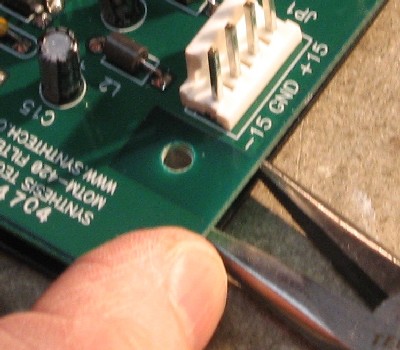 
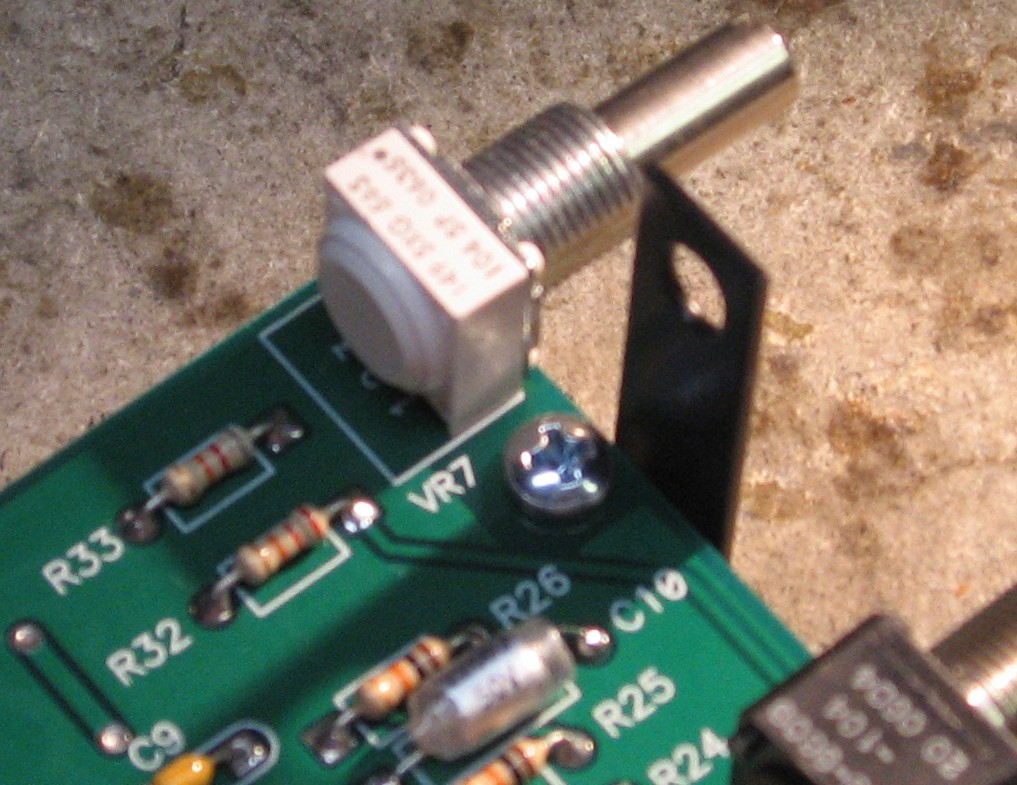
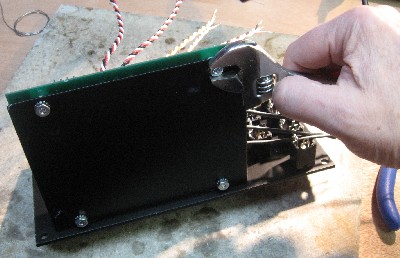
and the top left
- same routine - lift the pcb a bit and slide a spacer underneath the hole
- drop in a screw
- holding the screw in place, we pick up the bracket again
- fit a keps nut over the screw and tighten just enough to hold the screw in but, you guessed it, leave the pcb quite loose
|
 
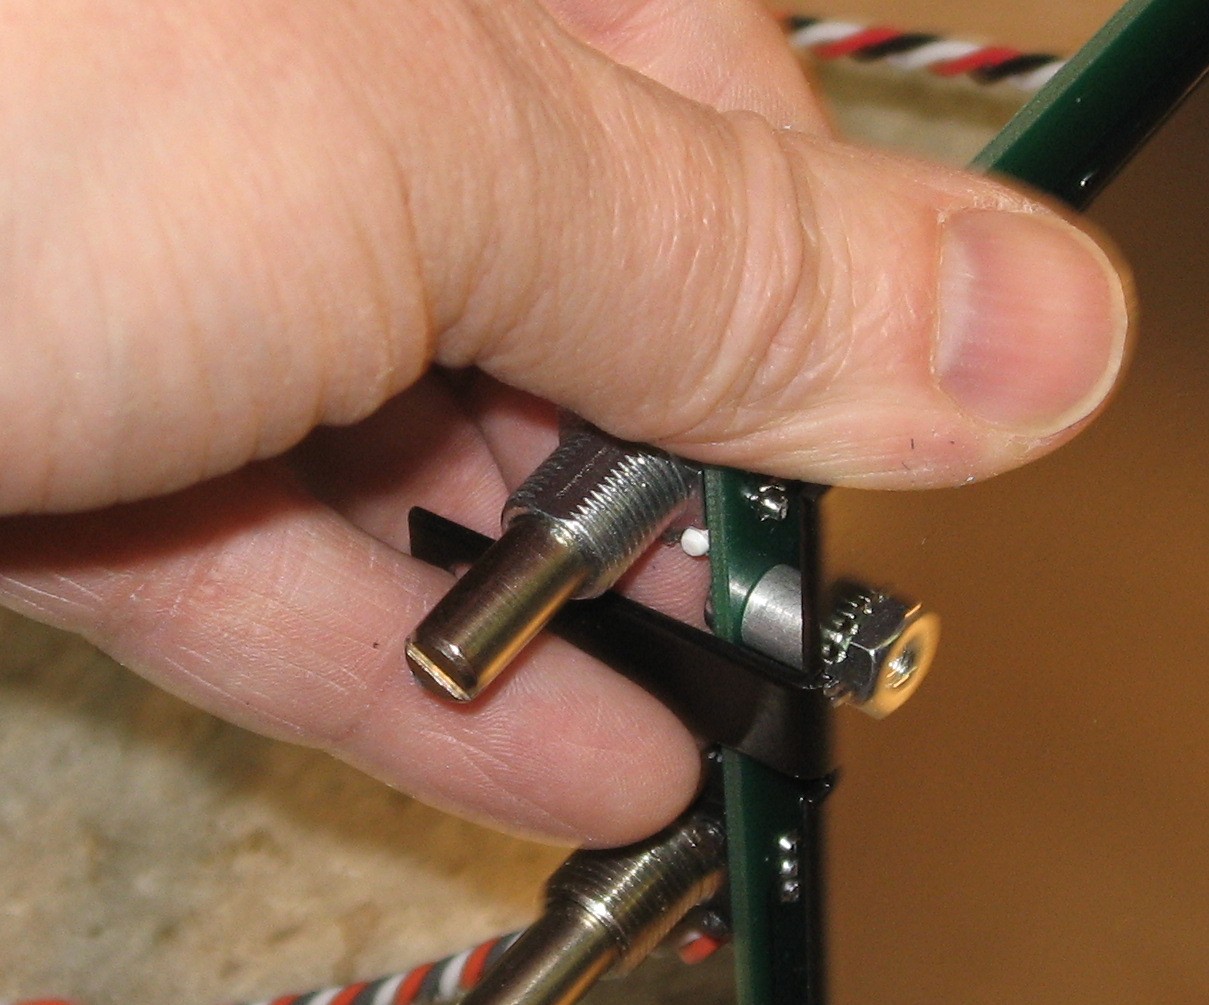
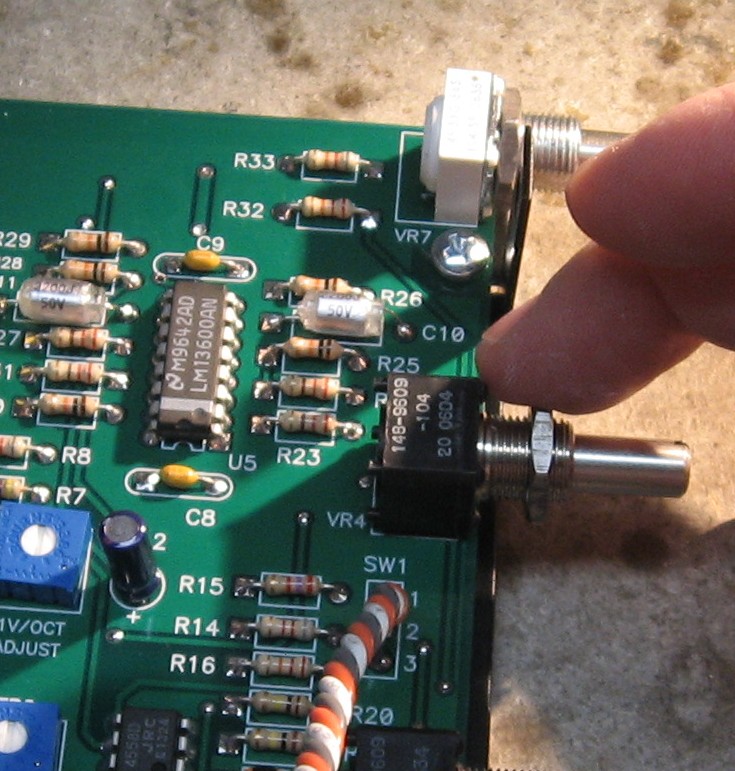
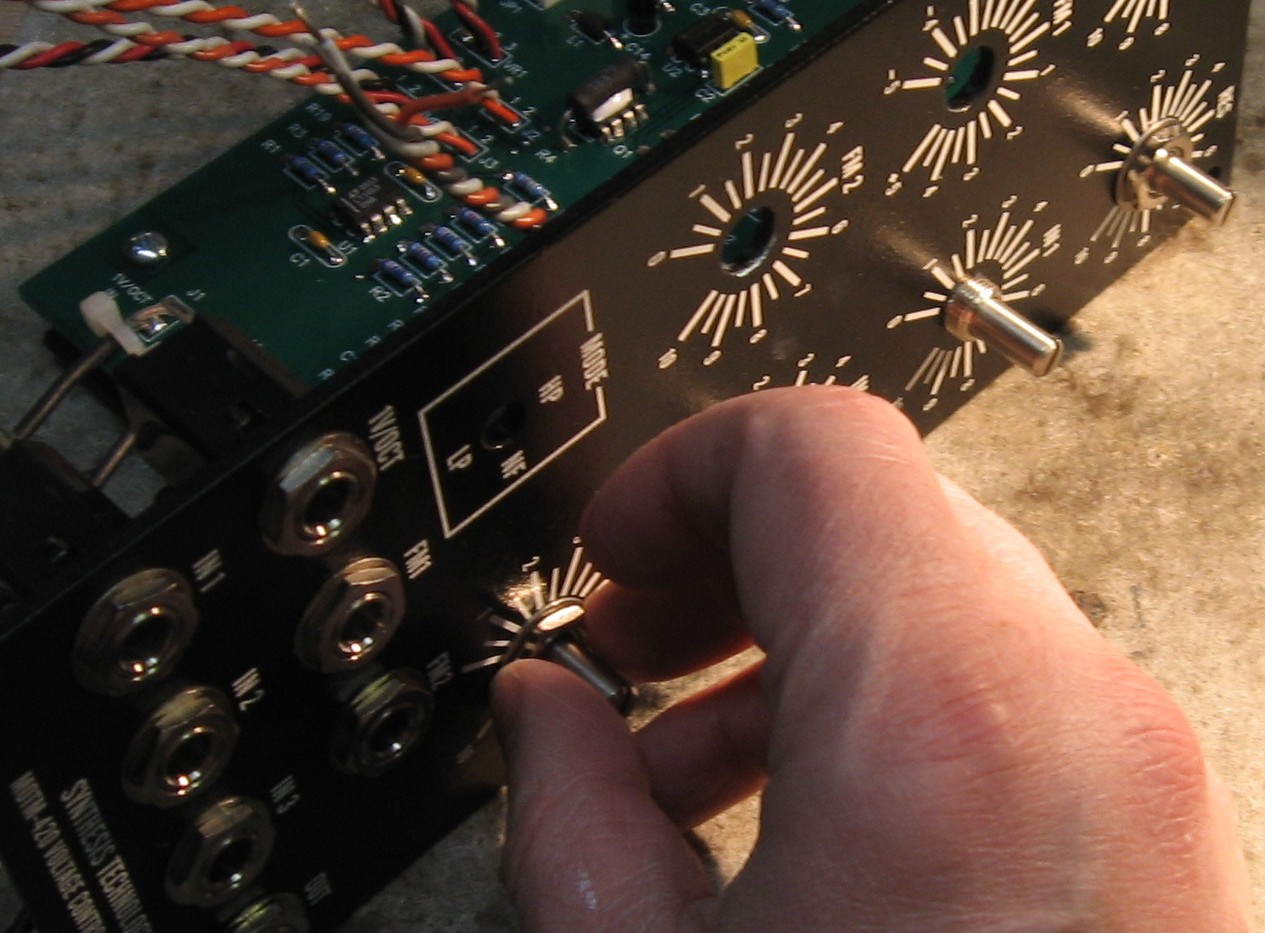
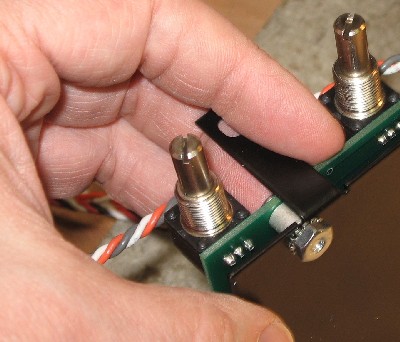
we put nuts onto the pots - just finger tight
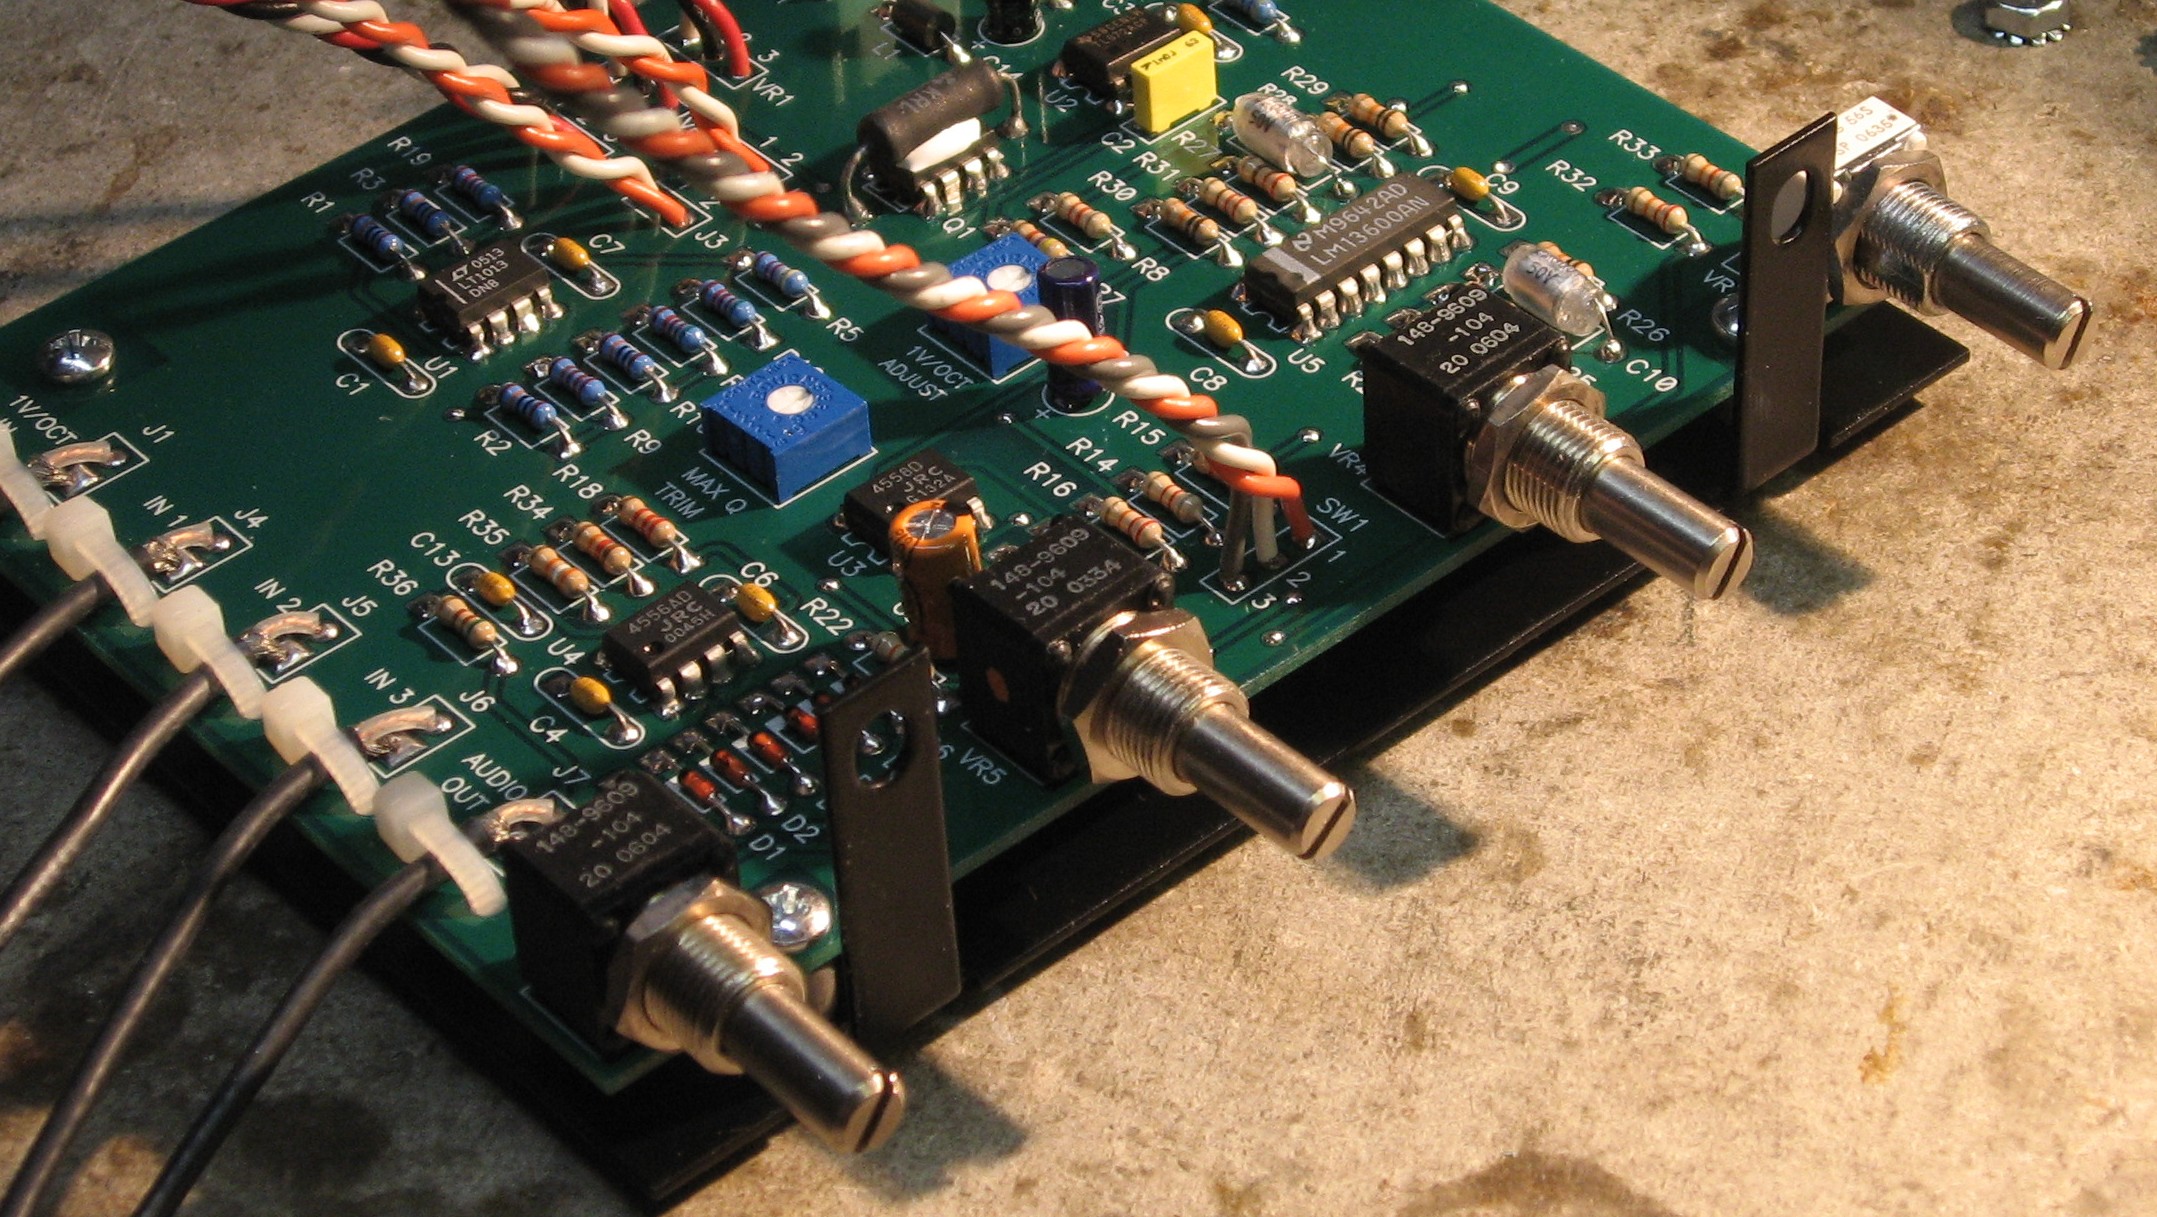
slide the pots and bracket into place and screw down the bracket with keps nuts

nuts now go on the front of the pots finger-tight - this holds the pcb snug against the panel
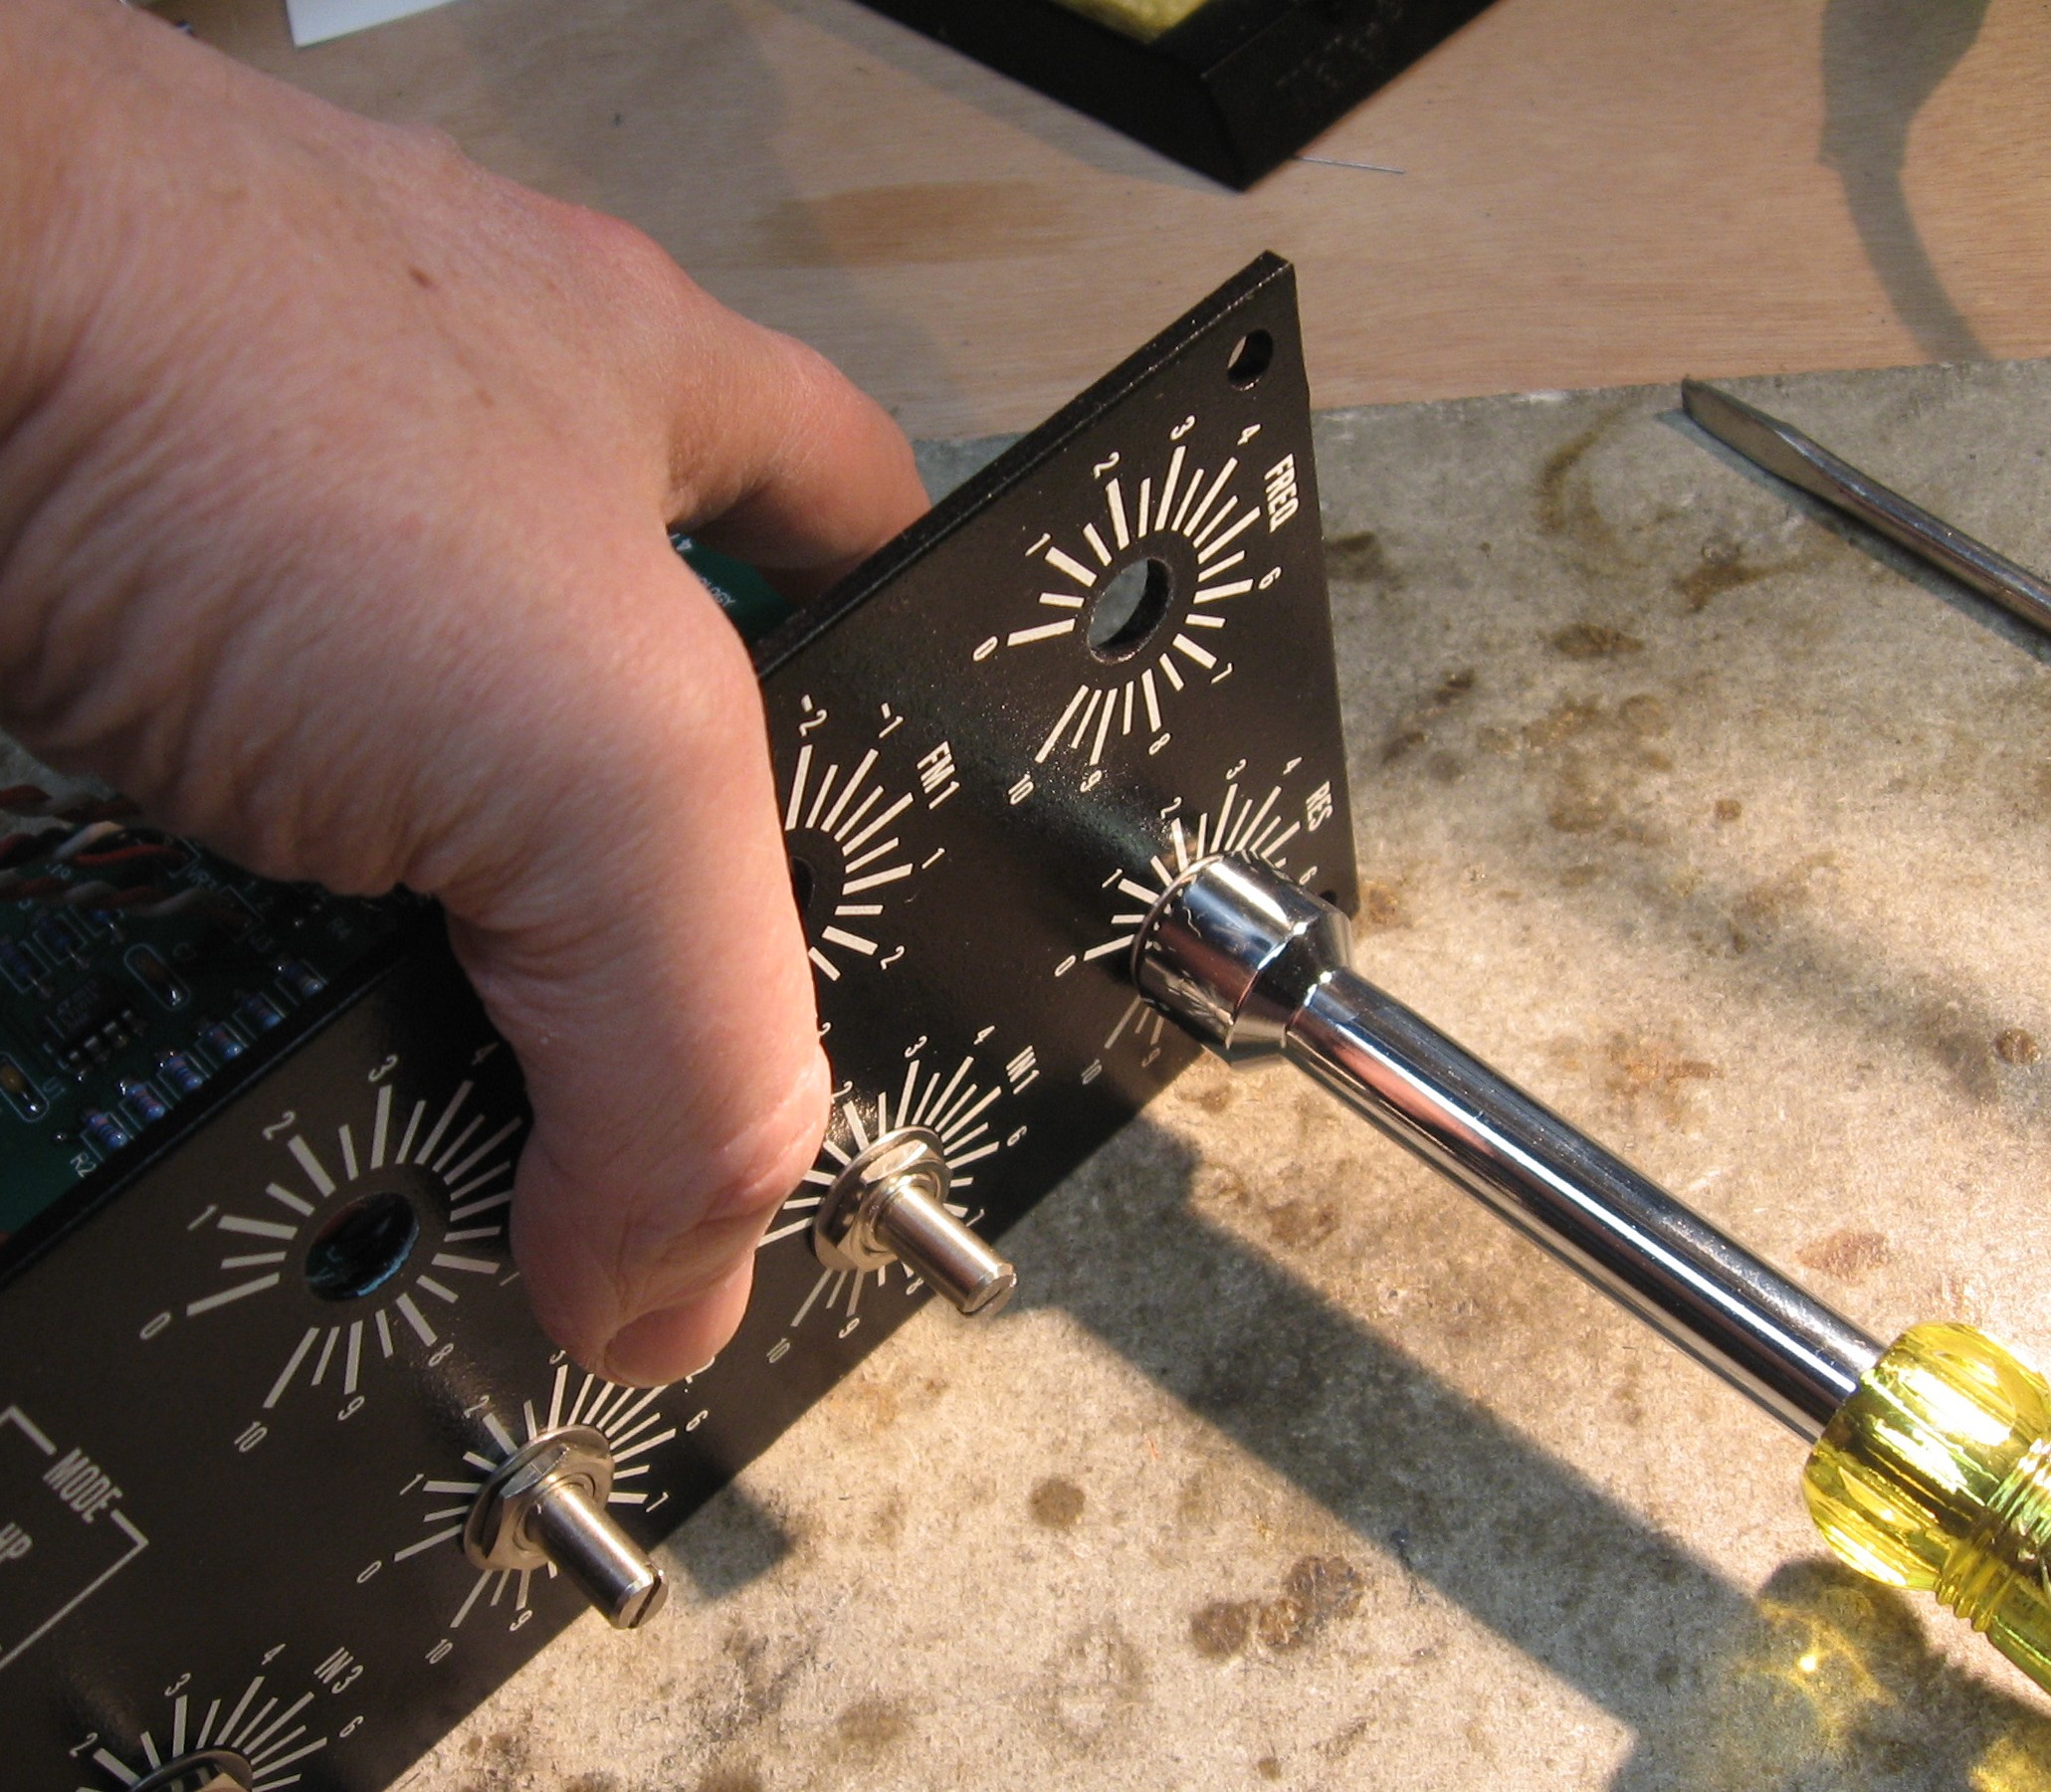
and the pcb gets tightened to the bracket

so now - anywhere there's a gap between the inside-pot-nut and the panel, the nuts get tightened back against the panel
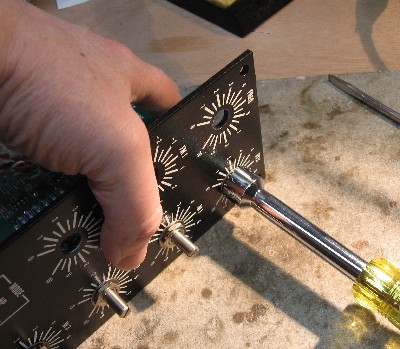
and the outside pot nuts get tightened - this way the outside nuts are actually tightened against the inside nuts rather than against the pots, see?
|